%201.svg)


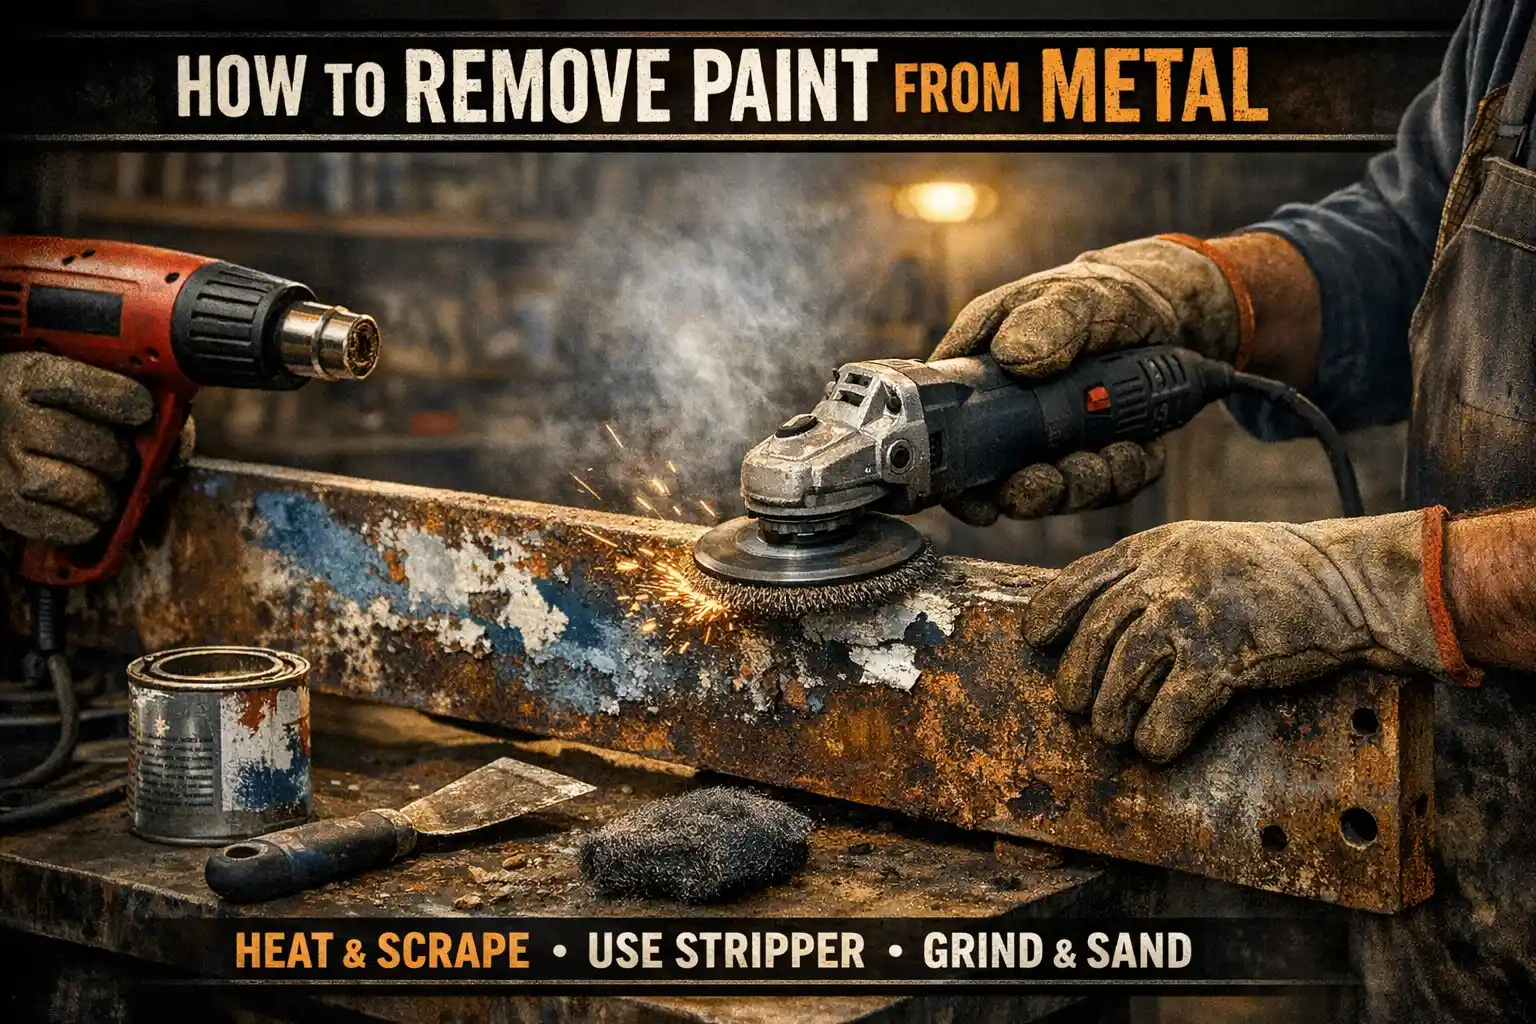
How to Remove Paint from Metal: Homeowner’s Step-by-Step Guide
Key Takeaway:
To remove paint from metal, use methods like scraping, sanding, chemical removers, or heat tools—always prioritizing safety, surface preservation, and correct disposal of debris. This guide gives homeowners proven, step-by-step techniques and professional advice on choosing the right paint removal method for any project, with essential tips for cleaning and rust prevention after stripping.
Why Remove Paint from Metal? Common Scenarios in South Puget Sound

Restoring Outdoor Railings and Fences
Whether you’re caring for a classic iron fence or updating a backyard gate, removing old paint is essential before repainting. Peeling, bubbling, or flaking paint exposes bare metal to the elements, especially in coastal and rainy regions, shortening the lifespan of metal fixtures. Stripping paint brings back curb appeal and strengthens your defenses against rust.
Refinishing Interior Fixtures
Light fixtures, radiators, and hardware deserve a fresh start when refinishing. Removing all the paint—especially multiple layers from decades past—ensures your new finish sticks, looks clean, and lasts.
Maintenance for Historic Homes
Many South Puget Sound homes feature original metalwork. Restoring these details means stripping paint safely and thoroughly, especially if the original paint contains oil based or lead-based materials. Proper paint removal preserves architectural character and structural integrity.
Protecting Metal in Wet Climates
Moisture and prolonged dampness can quickly cause rust under compromised paint. Removing paint bubbles and failed coatings gives you a clean slate for moisture-resistant primer, helping your metalwork weather our local climate.
How Proper Prep Impacts Longevity
A strong, lasting finish starts with sound surface prep. Removing all the paint means the new coat bonds tight, resists blistering, and stands up to weather year after year. Skipping or rushing removal leads to premature failure—costly and time consuming for property owners.
Quick Tips:
Always remove all loose, peeling, or bubbling paint before repainting any metal surface. Prep work pays off in extra years of protection and more professional results.
Key Considerations Before You Start
Assessing the Metal Type and Paint Layer
Steel, wrought iron, aluminum, and brass each behave differently during paint removal. Know your metal type, as softer metals (like aluminum) scratch easily, while harder metals can handle more elbow grease and power tools. Examine the number of paint layers—multiple layers may require more aggressive or repeated treatments.
Checking for Lead-Based Paints (Pre-1978)
If your home or fixture is more than 45 years old, assume old paint may be lead-based. Use a lead test kit or consult certified professionals. Stripping paint with lead requires special care—never use heat guns or sanders that create hazardous dust or fumes.
Evaluating Surface Condition
Look for rust, dents, or pitting. Severely corroded surfaces sometimes benefit from a wire brush or angle grinder, but delicate filigree or hardware may need gentler methods like steel wool and plastic scraper tools.
Understanding Regional Regulations
Some paints, strippers, or solvents are regulated. Familiarize yourself with local waste disposal rules and environmental requirements for paint removal projects. Washington State Lead Paint Guidelines are a must-read if you suspect dangerous materials.
Link: Washington State Lead Paint Guidelines
Remember: If you are unsure about the presence of lead or hazardous materials, always consult professionals like Cover Pro Painting for assessment.
Quick Tips:
Test for lead on any pre-1978 painted metal. Know your metal type and estimate the number of paint layers before choosing your paint removal method.
Safety First: What Every Homeowner Should Know

Personal Protective Equipment (PPE)
Paint removal exposes you to dust, fumes, and solvents. Always wear heat resistant gloves if using a heat gun, sturdy work gloves when scraping, and goggles to protect from flying paint chips. Respirators are a must with chemical paint strippers or when sanding paint.
Ventilation and Workspace Prep
Whether stripping paint indoors or outside, work in a well ventilated area. Open windows, use fans, and set up drop cloths to protect surrounding wood surfaces and landscaping from paint debris or stripper.
Safe Practices with Kids and Pets Nearby
Keep paint removers, chips, and tools out of reach. Even natural formulas can be irritants—thoroughly clean areas before allowing children or pets near.
Quick Tips:
PPE is non-negotiable: gloves, goggles, and a mask protect your health when removing paint from metal. Prep your workspace so that no paint chips or chemicals escape into the rest of the home.
Overview: Main Methods for Removing Paint from Metal
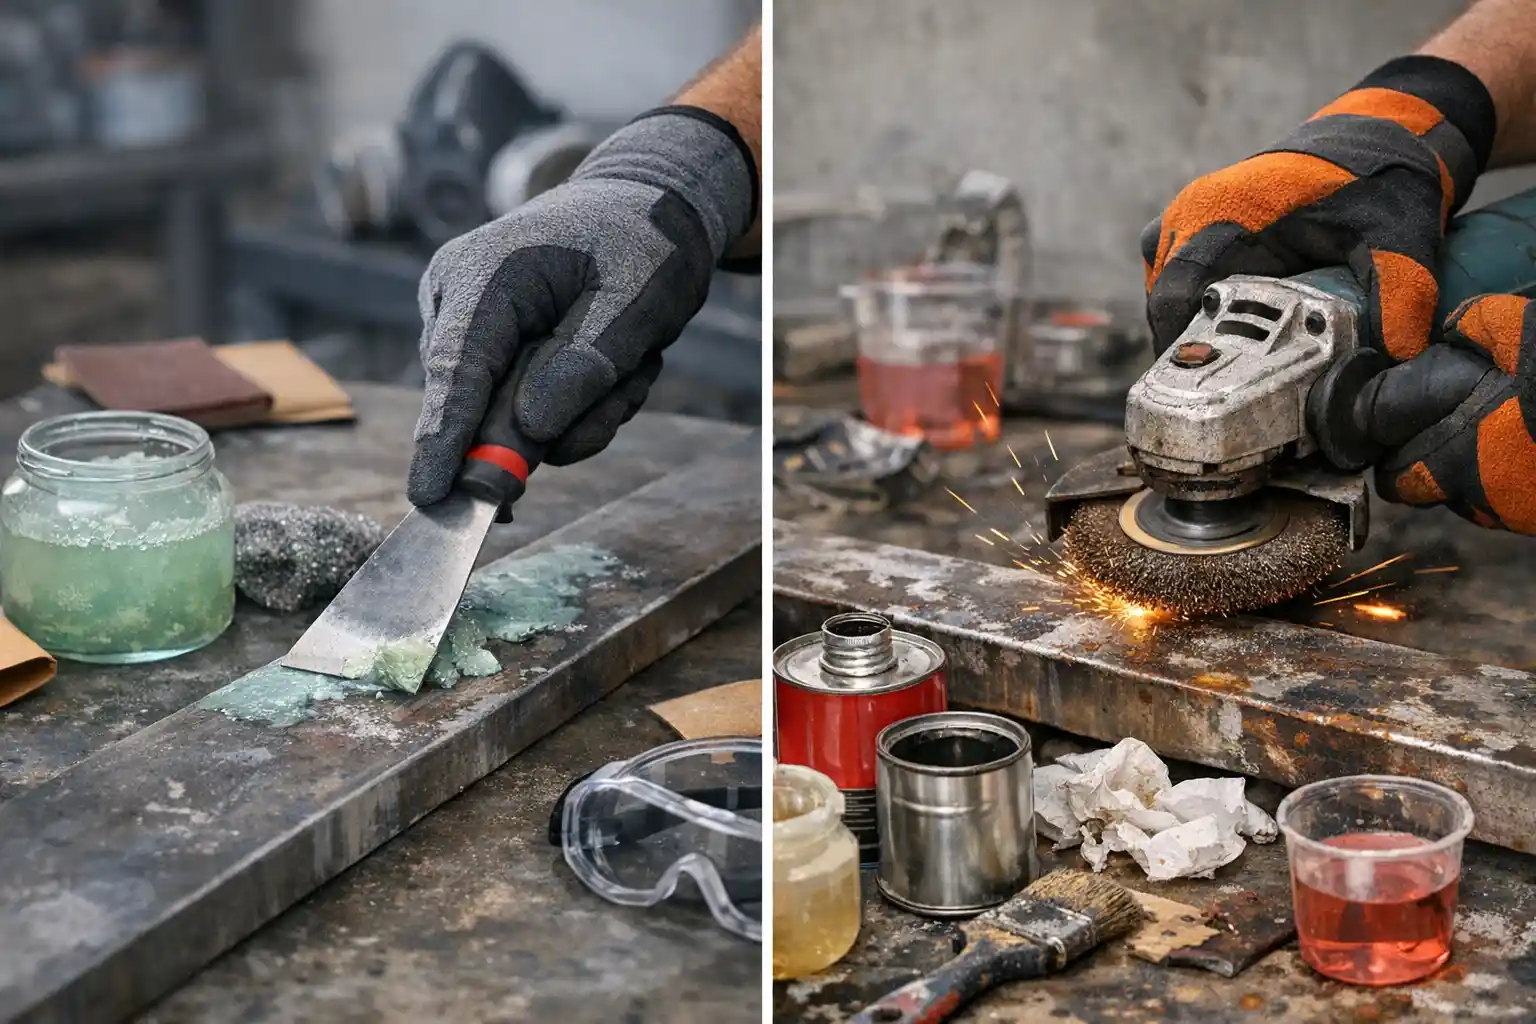
Mechanical Removal (Sanding, Scraping, and Wire Brushing)
Manual scraping, sanding, and wire brushing require elbow grease but offer maximum control. Paint scraper and steel wool help gently remove stubborn paint from intricate areas. Power tools like the orbital sander or angle grinder can speed up work on flat, robust metal pieces.
Chemical Paint Removers: Solvent vs. Eco-Friendly Formulations
Traditional chemical paint stripper products are effective and fast but can be harsh and require careful handling. Eco-friendly paint removers, often gel-based and low-VOC, offer safer and less toxic options for stripping paint from metal, especially inside the entire house.
Heat-Based Removal (Heat Guns and Infrared Tools)
Heat guns and infrared paint removers soften paint, allowing it to be scraped off more easily. Always wear heat resistant gloves and monitor for paint bubbles—which signal that the paint is ready for scraping but not yet burning.
Choosing the Right Method for Your Project
The best method depends on your metal type, paint type (oil based, spray paint, latex), environmental concerns, and your tolerance for time consuming prep. Professionals may use a blend of several techniques to remove paint efficiently and protect bare metal.
Quick Tips:
Test a small area first: if scraping with a plastic scraper removes all the paint, you may not need chemicals or heat. For thick, multiple layers or when spray paint is present, a two-step process may give the best results.
Step-by-Step: Using Mechanical Methods
Gathering Tools and Preparing the Area
Assemble your paint scraper, steel wool, wire brush, sandpaper (various grits), and drop cloths. For power tools, an orbital sander and angle grinder fitted with a stripping disk work for large or heavily painted surfaces.
Manual Scraping: Best Practices
Start with a plastic scraper to gently lift loose paint. Switch to a metal scraper for stubborn sections, using careful pressure to avoid gouging the surface. Steel wool works into corners and around hardware; a wire brush helps clear flaking paint from textured metal.
Power Tools: Sanding and Wire Brushing Tips
Set sanders to low and let them do the work; forcing the tool risks damaging the metal. Progress from coarse to finer grits—never skip straight to fine, or you’ll miss deeper layers. A power wire brush attachment is great for grilles, fences, or any heavily rusted areas.
Cleanup and Safe Handling of Debris
Collect all paint chips and dust with a vacuum and wipe down metal with hot soapy water (a bit of dish soap works well). Bag waste for proper disposal. Let the metal dry completely to assess for residual paint or rust.
Internal Link: Cover Pro Painting’s Surface Prep Process
See our in-depth approach to surface preparation before painting for professional-grade results every time.
Quick Tips:
Don’t rush sanding. Removing several layers with power tools may be tempting, but slow, steady passes protect the underlying metal and prevent gouging.
Step-by-Step: Chemical Paint Removers (Traditional vs. Eco-Friendly)
How Traditional Solvent-Based Removers Work
Chemical paint stripper products soften both water-based and oil based paints. Apply in a well ventilated area with a disposable brush. Let it dwell according to manufacturer instructions—paint will bubble up and lift off. Use steel wool, a paint scraper, or a plastic scraper to remove the loosened paint.
Eco-Friendly Paint Removers: How They Differ and When to Use
Gel-based, low-odor, or soy/citrus formulations create fewer fumes and are often safer indoors. They require a longer dwell time and sometimes several applications, but offer peace of mind for homeowners with children or pets. Most work well for spray paint and latex; very thick or decades-old layers may still require a chemical stripper.
Detailed Application and Removal Process for Each Type
Brush on paint remover in a thick coat, let it work undisturbed, then test with a scraper. Wipe with hot soapy water or denatured alcohol to neutralize residue. Always rinse well and dry completely—leftover remover can interfere with paint adhesion.
Comparing Results: Finish Quality, Safety, and Environmental Impact
Solvent-based strippers work fast but require more PPE and careful disposal. Eco-friendly removers excel for interiors or small projects, but may be too slow for large exteriors. Read labels and follow safety guidelines no matter which you choose.
Quick Tips:
Work in small sections, especially on vertical surfaces. Reapply paint remover or stripper for several layers. Always allow surfaces to dry completely before priming or painting.
Step-by-Step: Removing Paint with Heat

Choosing the Right Heat Tool
Heat guns or infrared devices soften paint without using chemicals. Always select tools rated for paint removal and never use a kitchen torch or open flame.
Technique for Safe Paint Softening
Set the tool to a moderate temperature, wear heat resistant gloves, and hold a few inches from the surface. Slowly move the tool in a sweeping motion until paint begins to blister or bubble. Don’t overheat: scorched paint can release fumes and damage the metal.
Scraping and Cooling Tips
Scrape softened paint with a metal or plastic scraper while it is still warm. Have a bucket of hot soapy water ready for cleaning tools and surfaces as you go. Allow the metal to cool and inspect for any missed spots.
Quick Tips:
Never use a heat gun on paint that may contain lead, as heated lead paint generates toxic fumes. Test for lead and always choose mechanical or chemical removal methods if there’s any uncertainty.
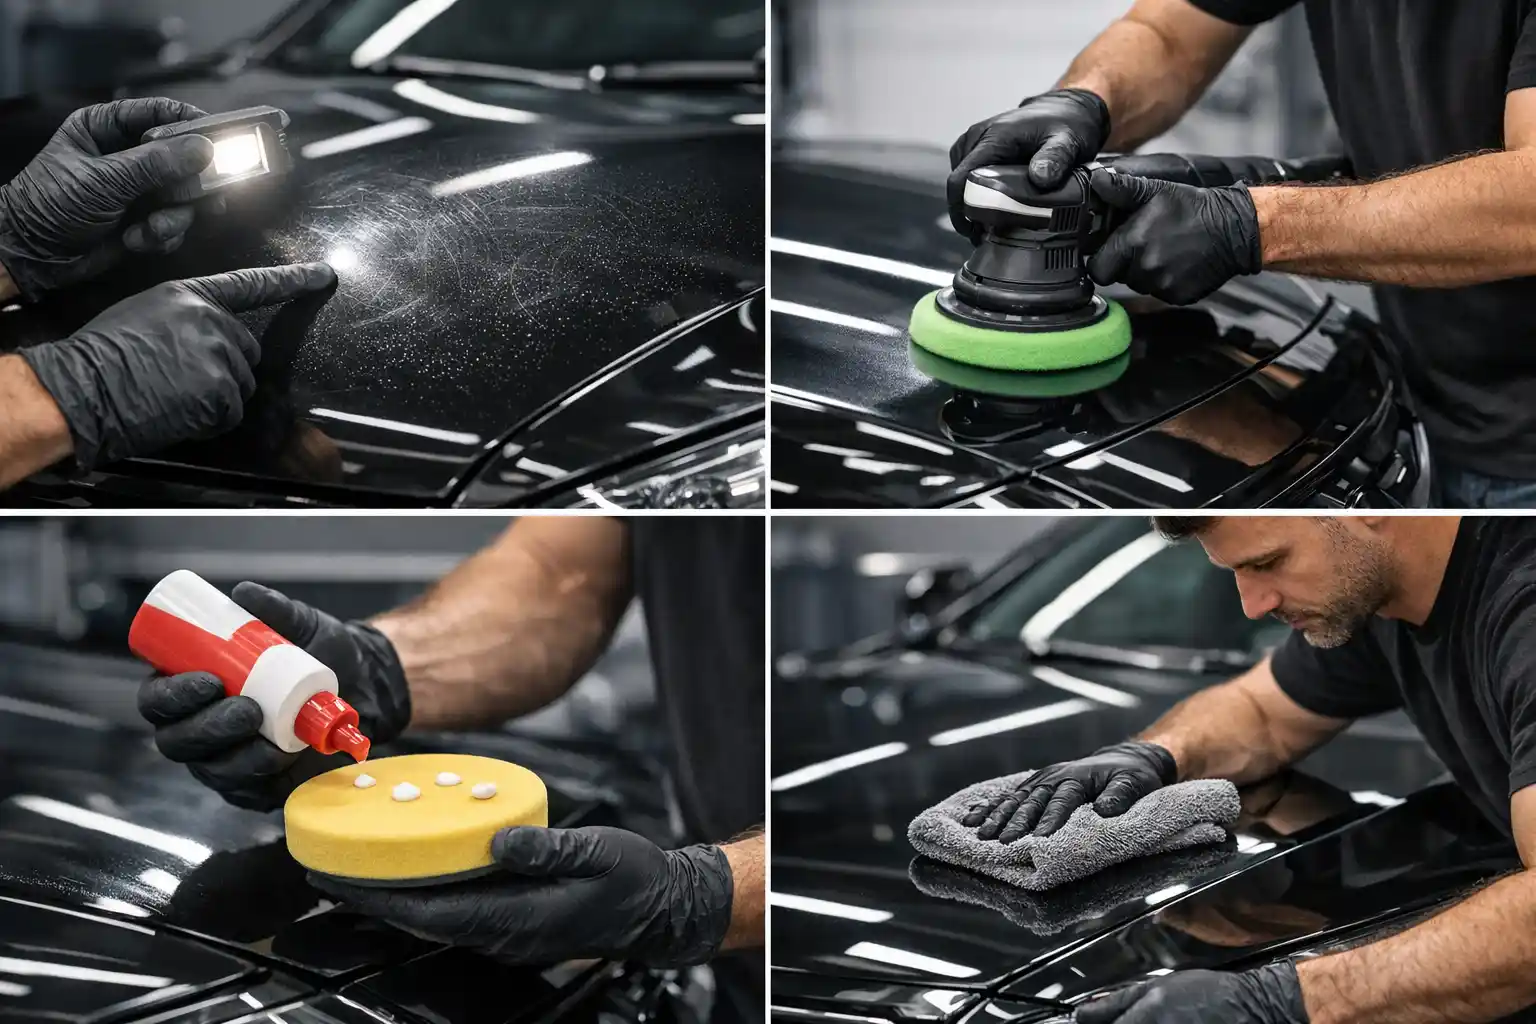
What to Do After Paint Removal: Cleaning and Rust Prevention
Thorough Cleaning of Bare Metal
Once you remove paint from metal, clean the area with hot soapy water and a scrub brush (or a little baking soda in water for extra cleaning power). Rinse thoroughly and dry completely to prevent flash rust.
Rust-Prevention in Wet Climates Like South Puget Sound
Apply a metal primer as soon as the surface is dry. Modern primers bond to bare metal and block moisture. For exterior or high-humidity installs, consider a rust-inhibiting primer for maximum protection.
Primer and Paint Recommendations
Finish with a high-quality topcoat suitable for metal. Many pros use oil based or direct-to-metal paints for outdoor items. Wait for a dry forecast before applying primer or paint to ensure a lasting bond. If you want more on moisture management and paint performance, see our guide on addressing paint cracking on home exteriors in our region.
Internal Link: Why Moisture Management Matters for Puget Sound Homes
Check out our post on why moisture management matters for paint and wood surfaces here.
Quick Tips:
Prime bare metal as soon as it’s dry. Even a few hours of exposure in damp air can trigger rust—especially outdoors or around the entire house.
Responsible Disposal: Handling Old Paint and Chemicals in Washington State
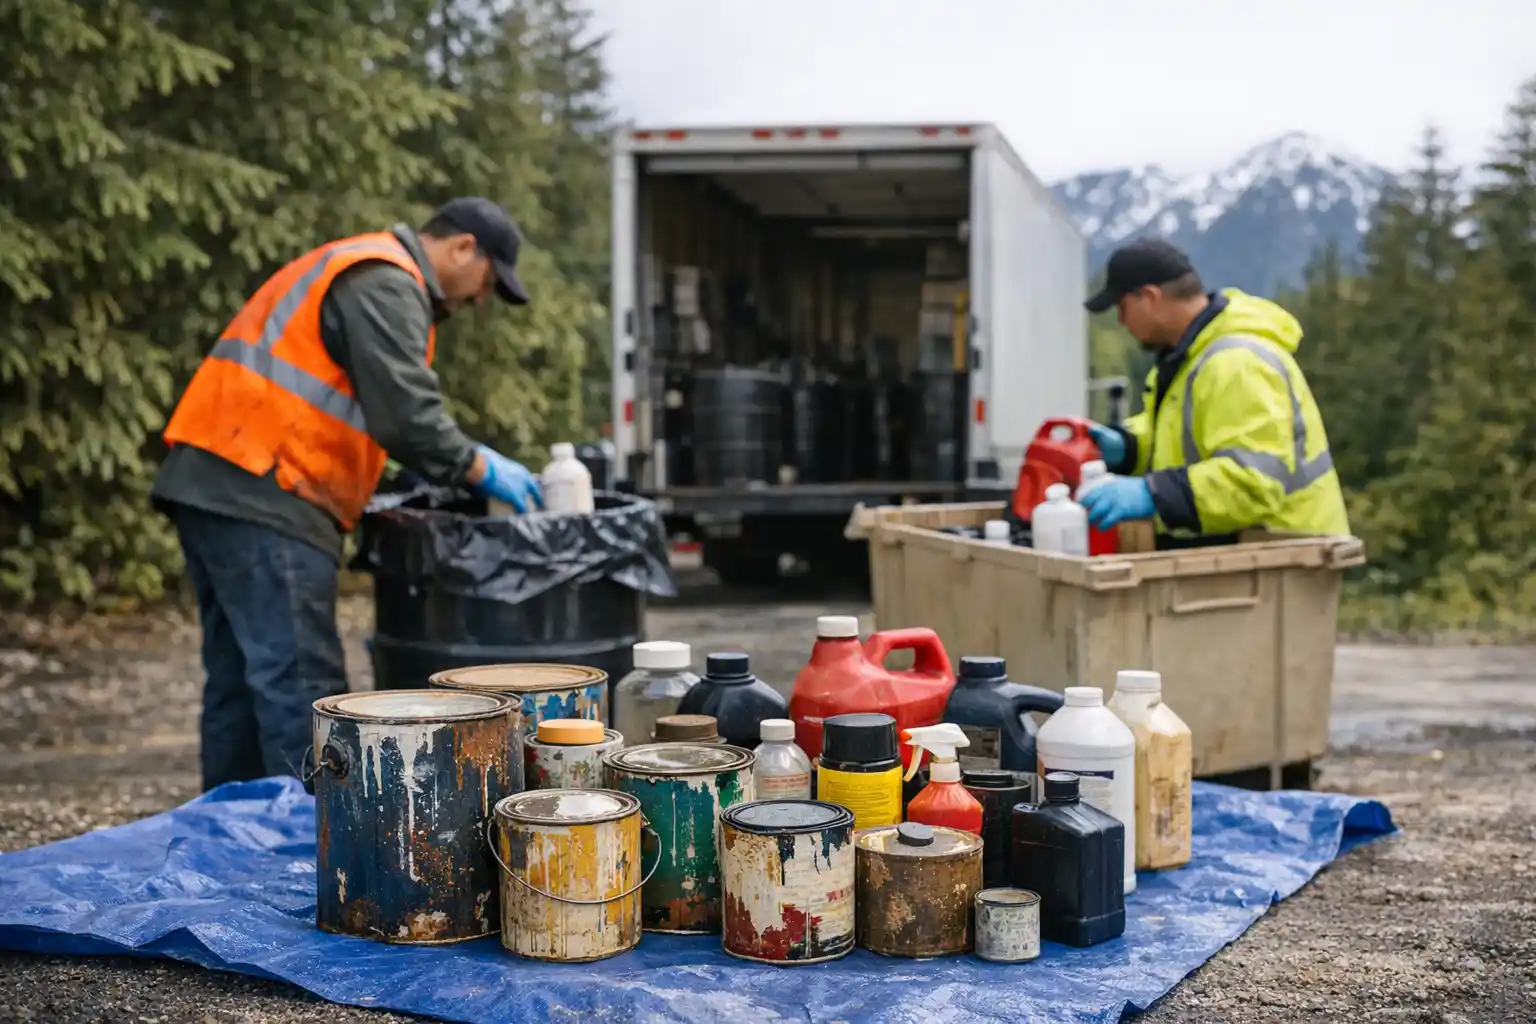
Identifying Hazardous Waste (Lead, Solvents)
Many paint chips, chemical stripper residues, and old finishes count as hazardous waste if they contain lead or solvent ingredients. Check your county’s waste and recycling rules to avoid fines or environmental harm.
Local Drop-Off and Curbside Options
Most counties in Washington offer hazardous waste drop-off days or curbside collection for paint-related debris. Don’t put old paint or used remover down the drain or in your regular trash bin.
Tips for Eco-Friendly Disposal and Recycling
Solidify small quantities of paint chips with kitty litter or sawdust before disposal (where allowed). Save and reuse tools when possible—avoid single-use plastics for paint removal projects. For regional resources, see Pierce and Thurston County’s government websites.
External Link: Pierce and Thurston County Disposal Resources
Contact your county’s hazardous waste team for up-to-date paint disposal information.
When to Call a Professional: Knowing Your Limits
Signs a Project is Best Left to the Pros
- You suspect multiple layers of old, possibly lead-based paint
- The project covers several rooms or the exterior of your entire house
- Removing paint requires ladders, scaffolding, or heavy power tools
- Detailed, ornate, or historic fixtures where finish quality matters
Cover Pro Painting’s Approach to Paint Removal on Metal
Our crews use a proven combination of careful assessment, professional prep, and safe, thorough paint removal. We use only high-quality materials and proven techniques for protecting metal in the South Puget Sound climate.
Our Licensing, Warranty, and Clean Work Promise
We are fully licensed, bonded, and insured. Our exterior work carries a five-year workmanship warranty and we always leave jobsites cleaner than we found them. Curious what your project would entail? Contact Cover Pro Painting for a free, no-pressure estimate today.
Internal Link: Contact Cover Pro Painting for a Free Estimate
Ready to let the pros handle your toughest paint removal challenges? Contact us through our easy online form or call for a quick consultation.
Quick Tips:
Lead paint, large jobs, or multi-layered applications are best handled by certified professionals. Safety and finish quality always come first.
Quick Checklist: Do’s and Don’ts for Removing Paint from Metal
Essential Prep Steps
- Test for lead paint on anything pre-1978
- Wear gloves, goggles, and a respirator
- Lay down drop cloths and ventilate the area
- Gather all necessary tools before starting
Common Pitfalls to Avoid
- Skipping surface cleaning before and after paint removal
- Using harsh methods on decorative or thin metals
- Leaving bare metal unprimed, which invites rust
- Improper disposal of paint chips and chemicals
Checklist for Protecting Your Home and Environment
- Seal off vents, doors, and windows near workspaces
- Handle all chemicals according to label instructions
- Dispose of debris per local regulations
- Prime and paint promptly after stripping
South Puget Sound Local Guidance: Regional Rules, Climate, and Resources
Local Lead Paint and Hazardous Waste Regulations
Always check regional requirements for lead paint removal and hazardous waste drop-off. Visit your county’s public works website or call for disposal rules.
Weather Timing and Moisture Concerns
Because the South Puget Sound area is prone to damp and rainy spells, time your paint removal (and most importantly, re-painting) for dry stretches. Even drying bare metal indoors is vital, as moisture accelerates rust and stains.
Where to Get Help or a Professional Quote
Cover Pro Painting is known for respectful, detail-driven service across the South Puget Sound. For paint removal, rot repair, or any home painting challenge, we’ll give you a no-nonsense assessment and an honest price. Visit our About Us page to learn more about our guarantees—or tap our blog for additional expert advice.
Frequently Asked Questions
What’s the safest way to remove old paint from metal without harming the surface?
Favor gentle methods first—test a small area with manual scraping or eco-friendly remover. Avoid aggressive grinding unless the metal is thick and sturdy.
Are eco-friendly paint removers really effective on metal, or do I need solvents?
Modern low-VOC removers work well on many paints, though thick or old coatings may still need solvent. We often start with eco-options for South Puget Sound homes and escalate only if needed.
How do I keep metal from rusting after I strip the paint in Washington’s damp climate?
Work on dry days, dry the metal thoroughly after cleaning, and prime bare metal right away. Rust can begin forming within hours if left exposed, especially in our area.
What should I do with old paint chips and used remover in Pierce or Thurston County?
Don’t toss them in household trash. Check local county hazardous waste programs—many offer drop-off or scheduled pickups for paint-related materials.
Is it ever okay to use a heat gun on metal painted before 1978?
If there’s a chance of lead paint, never use heat—scraping or sanding can aerosolize the hazard. Always test for lead and use certified removal practices for safety.
Can I repaint the metal right away after removing paint?
Only after cleaning, de-greasing, and fully drying the surface. Priming immediately helps protect against flash rust, especially outdoors.