%201.svg)


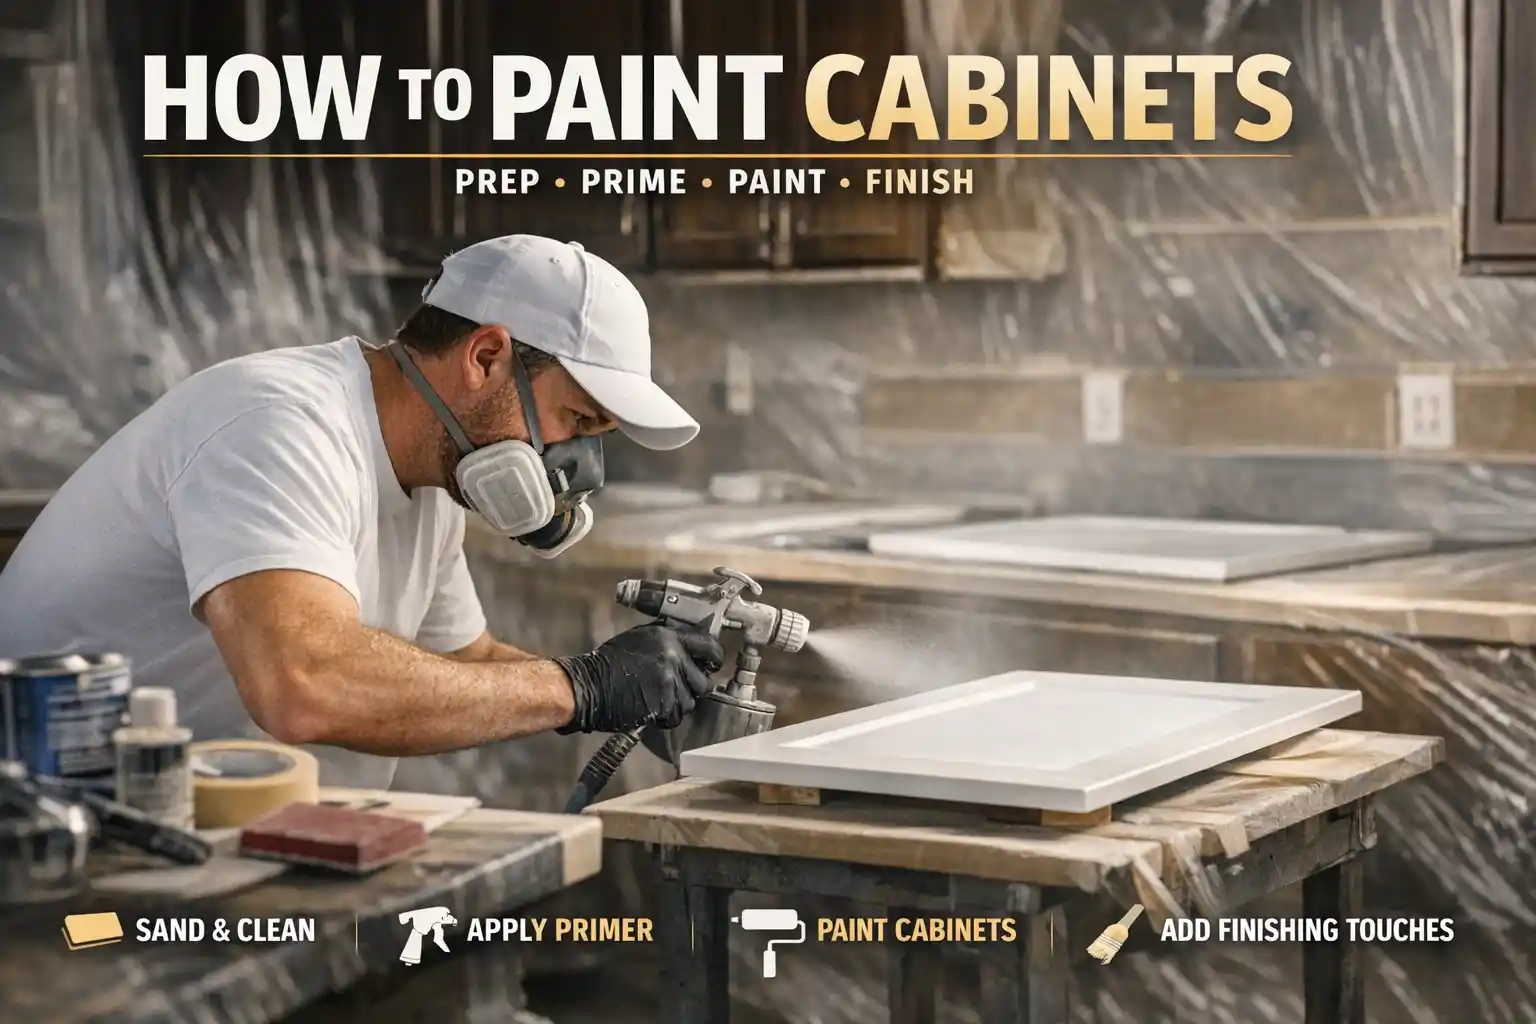
How to Paint Cabinets: A Guide to Lasting Results
Key Takeaway:
Painting your kitchen cabinets is an affordable and effective way to give your space a fresh, durable finish—if you use the right prep, products, and technique. Our step-by-step professional guide reveals the tools, products, and methods that deliver flawless results, along with expert tips for every cabinet material and situation. Trust Cover Pro Painting to help you achieve a smooth, long-lasting cabinet transformation—no matter your starting point.
Thinking about painting your kitchen cabinets? Whether you want a dramatic kitchen update or have tired bath cabinets ready for a fresh look, a quality cabinet painting job delivers both style and durability. At Cover Pro Painting, we sweat the details to ensure our cabinet paint jobs last years—not months. Here’s our trusted, step-by-step game plan for painting cabinets the right way, start to flawless finish.
Why Paint Cabinets? The Practical Benefits

Cost Comparisons: Painting vs. Replacement
Swapping out your kitchen cabinets for new can cost tens of thousands of dollars—and much of that expense is in the boxes, shelves, and labor to reconfigure a working kitchen. Choosing to paint cabinets, on the other hand, delivers a dramatic, cost-effective upgrade. With a pro-level painting process and the right cabinet-specific paint, families can slash remodel costs by 60% or more while creating a custom look. Painting is hands-down the best ROI in kitchen and bath renovations when cabinet structure is sound. That’s why this upgrade has exploded in popularity nationwide over the past decade.
Trends in Kitchen & Bath Updates
Painted kitchen cabinets have become a design go-to, showing up everywhere from minimalist modern to classic farmhouse. Specialty finishes—think semi gloss or soft satin—help accent modern pulls, durable hardware, and trending colors. DIY home renovators and pro contractors alike now rely on paint to freshen old oak, highlight wood grain, or transform basic laminate cabinets for a fraction of the cost of replacement. Updating cabinet doors and hardware is a quick way to change the entire look and feel of your space. The increase in using the best paint products and high quality paint contributes to longer-lasting, beautiful results.
Durability and Warranty: What to Expect
Quality prepping, priming, and using the best paint products results in a finish that can withstand daily cleaning and heavy traffic. Choose pro-applied paint systems, and you’ll benefit from warranties (like Cover Pro Painting’s five-year guarantee) covering paint adhesion, color retention, and durable finish for peace of mind. Done right, painted cabinets rival or exceed the performance of factory finishes—even on older cabinet boxes or surfaces with existing paint.
Quick Tips: Painting cabinets instead of replacing them can save thousands of dollars, deliver faster results, and lets you choose exactly the finish and color you want.
Understanding Your Cabinet Types: Wood, Laminate, and More
Common Cabinet Materials in Puget Sound Homes
Not all kitchen cabinets are created equal. Most common materials include solid wood (oak, maple, cherry), plywood or MDF with wood veneer, and laminate cabinets (plastic or melamine finishes). You may also encounter thermofoil—an easy-clean vinyl glued over fiberboard. Each material requires slightly different prep, paint adhesion, and painting process for a durable finish. Wood grain cabinets, for example, soak up paint differently than slick factory surfaces, so selecting the right cabinet specific paint or primer is crucial.
Special Considerations for Factory-Laminated and Thermofoil Cabinets
Laminate and thermofoil require a specialty approach. Paint products react differently to these slick, non-porous surfaces, so you must lightly sand and degloss for the paint to properly adhere. Cabinet specific paint with high-bonding primer is non-negotiable here—don’t skip steps, and always follow the manufacturer’s instructions for surface prep and cure times. Using a high quality primer designed for laminate cabinets ensures long-lasting paint adhesion and a smooth finish.
Essential Tools and Materials for Cabinet Painting

Must-Have Prep and Painting Equipment
- Medium grit sandpaper (120-180 grit) for scuff sanding and smoothing surfaces and cabinet frames
- Microfiber cloth, tack cloth, paint stick, and vacuum for dirt and dust removal before each coat
- Screwdriver/drill for removing cabinet doors and hardware
- Drop cloths, plastic sheeting, and painter’s tape/masking film for containment around cabinet boxes
- Respirator mask and safety gear for dust and vapors
- Foam roller, high quality brush (angled sash or “cutting in” brush), and mini roller for smooth, streak-free finishes on flat surfaces and cabinet frames
- High quality primer designed for cabinets and stain block (like bonding or shellac-based)
- Top-tier cabinet paint: brush-on, roll-on, or spray applied (semi-gloss or satin for durability and cleaning)
- Wood filler and caulk for filling dings, cracks, and old hardware holes
- Paint store resources and paint stick for proper mixing of advance paint and other specialty paint products
Why the Right Primer and Paint Make All the Difference
Cabinet boxes, doors, and frames take abuse—so your primer must offer top-tier paint adhesion and stain blocking. A high quality primer helps the paint stick, blocks old paint or grease, and seals wood for a super smooth final finish, especially on flat surfaces. The best paint for cabinets is specifically formulated for high-traffic, washable surfaces and often labeled as “cabinet, door & trim” or “advance paint.” Using two coats of cabinet specific paint over high quality primer delivers an attractive, durable, and washable result that will stand up to daily use.
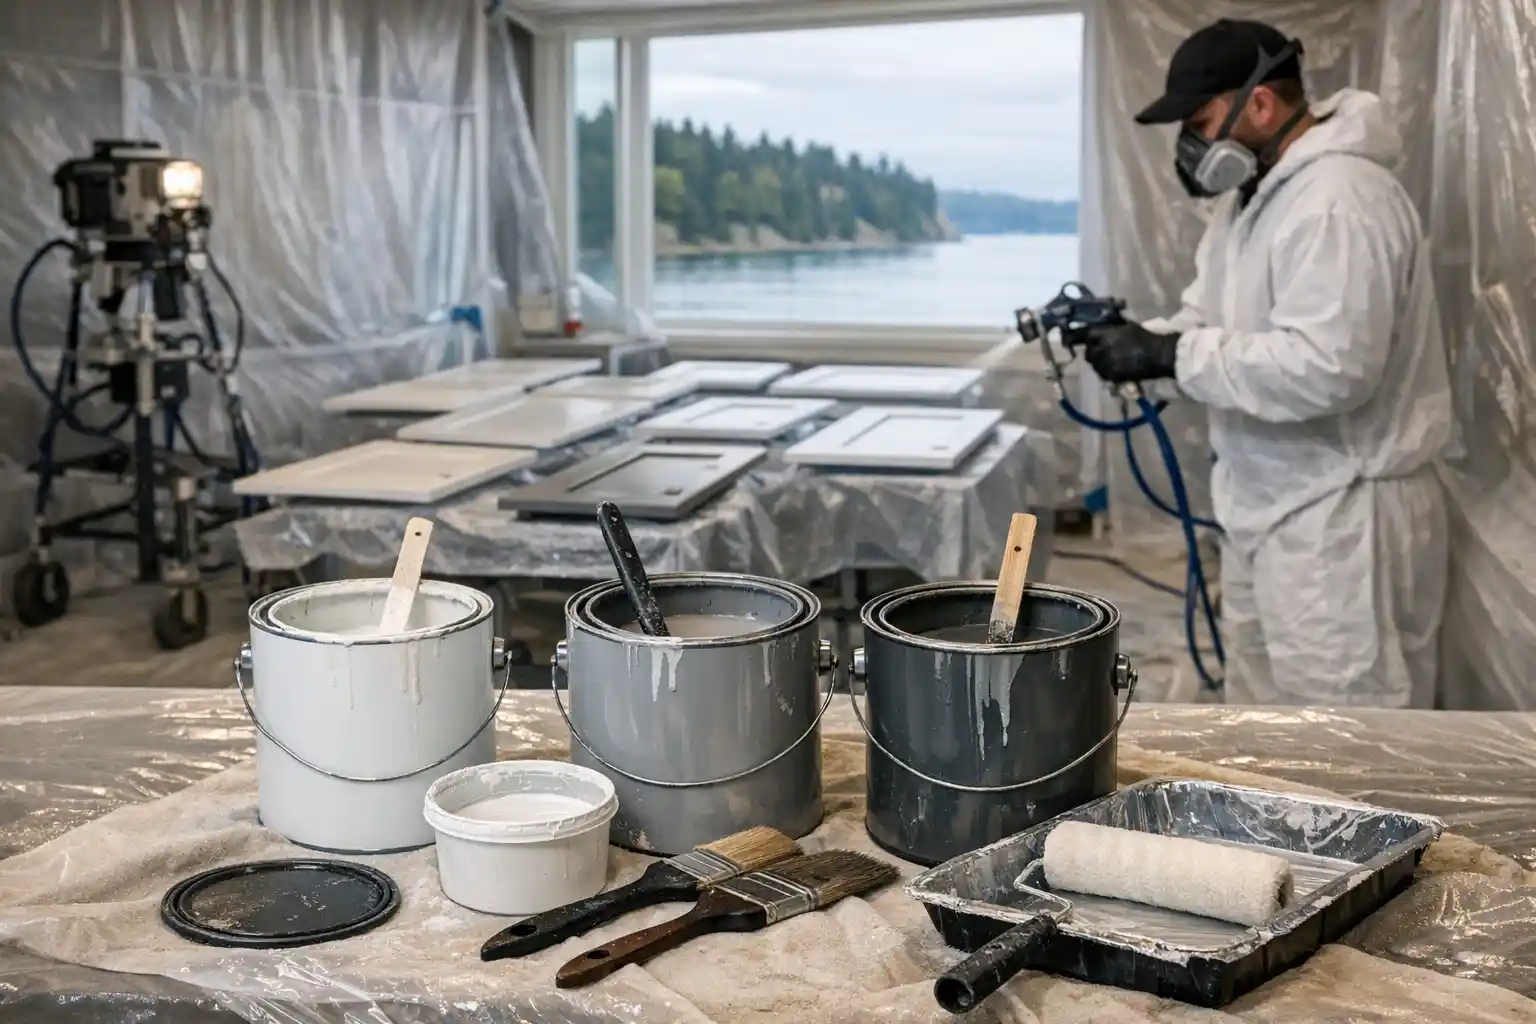
Products Our Pros Trust (Sherwin-Williams, Benjamin Moore & More)
- Sherwin-Williams Emerald Urethane Trim Enamel: Exceptional flow, durability, and a smooth finish on cabinets and trim, ensuring great paint adhesion on cabinet doors and frames.
- Benjamin Moore Advance: Hybrid alkyd formula for cabinet doors and woodwork, quick self-leveling, and professional sheen. Advance paint provides a smooth finish ideal for high-end cabinet painting projects.
- Zinsser BIN and Insl-X Stix Bonding Primer: For maximum primer adhesion on laminate cabinets and glossy surfaces, ensuring the new paint will adhere even on tough substrates.
- High quality foam roller and Purdy or Wooster brushes: For minimal brush marks and flawless application of every coat—primer, paint, and finish. A high quality brush or foam roller ensures streak-free surfaces.
Quick Tips: Start with the best primer and paint you can buy—they’re responsible for 90% of a cabinet’s durability, washability, and lasting color. Buy from your trusted paint store for cabinet specific paint and expert advice.
Prepping Cabinets the Pro Way: Set Up for Success
Detailed Cleaning: Removing Grease, Dust, and Residue
Cabinets (especially in the kitchen) accumulate grease, oils, and cooking residue that kill paint adhesion. That’s why true pros scrub every surface with degreaser or TSP substitute, rinse, and allow thorough drying before moving on to sanding or masking. Taking shortcuts here sabotages your finished result and affects how well paint will adhere.
Deglossing vs. Sanding: When—and Why—You Need Both
On new cabinets and most wood finish, a combination of deglossing (liquid sander or chemical) and a light sanding with medium grit sandpaper ensures paint will adhere with maximum strength. For slick surfaces (like laminate), a light but uniform sanding with a sanding sponge or medium grit sandpaper is critical to break the gloss and help primer grab. This step is essential for getting the best possible paint adhesion on different paint and surface types.
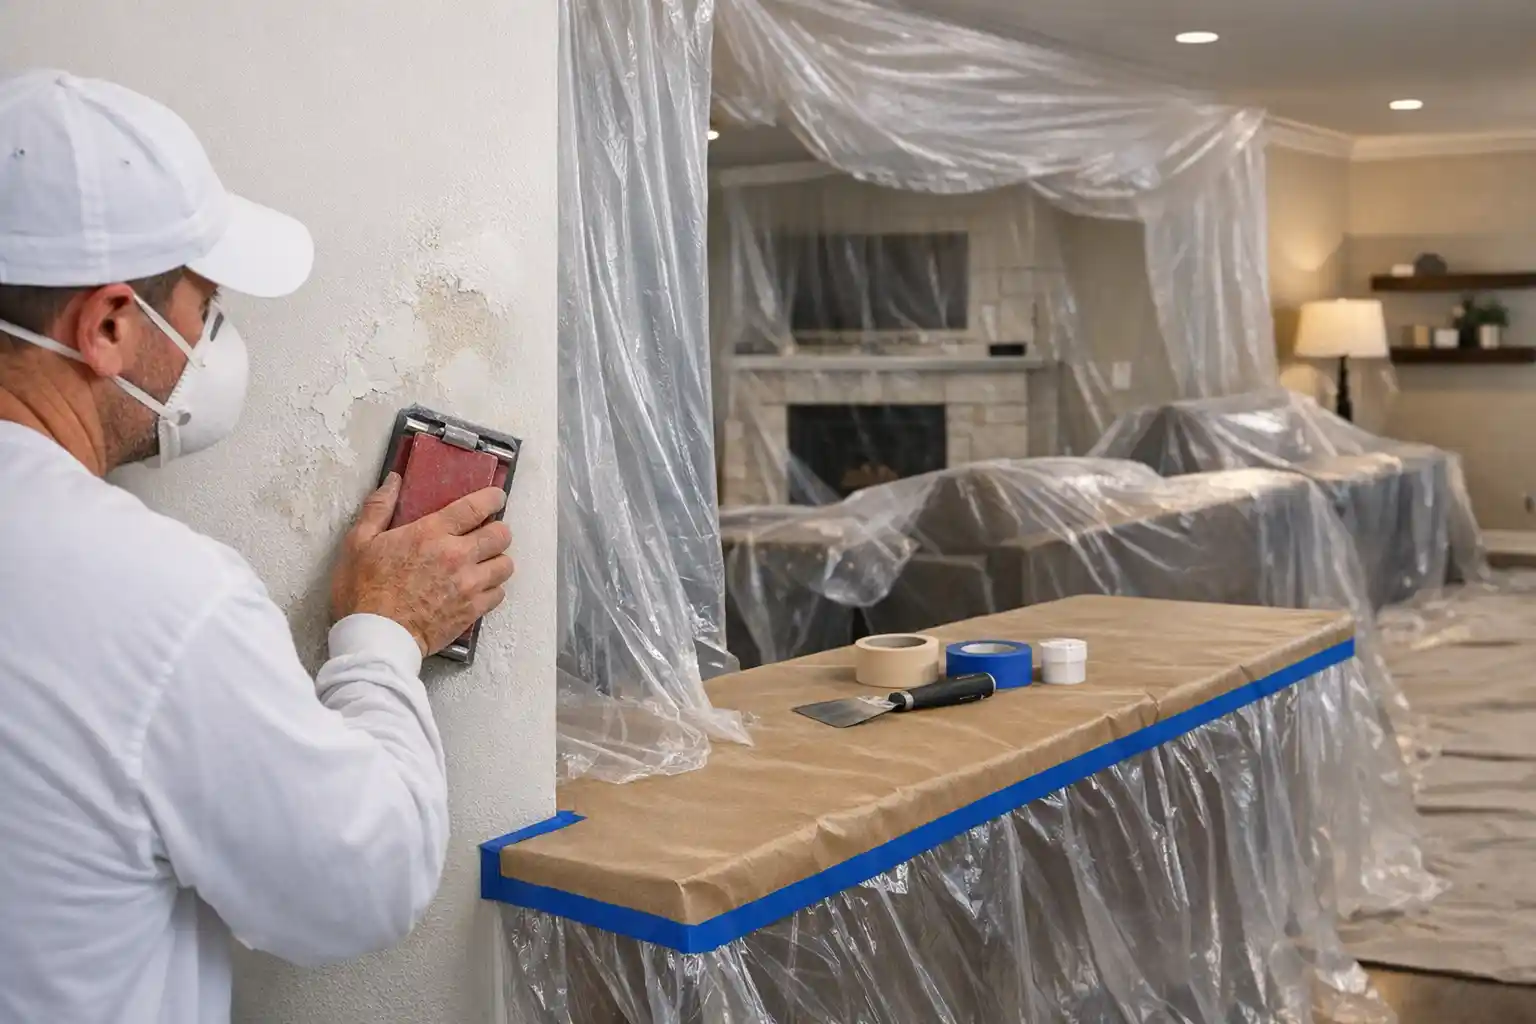
Safe Containment for Homes and Rentals: Dust and Fume Control
Paint dust and fumes have no place in your living space. We always use plastic sheeting, zip walls, and painter’s tape to separate the work area around cabinet boxes. In busy or rental homes, we add HEPA air scrubbers and positive ventilation to keep dust out and homes safe for kids and pets—even during the project. Safety gear, such as masks and goggles, should always be worn during the painting process.
Setting Up Plastic Sheeting and Zip Walls
Install heavy-duty plastic sheeting floor to ceiling around the project. Secure with blue tape. For best results, use a zippered entry—these are affordable at any paint store and make it easy to get tools in and out without letting dust roam.
Using Ventilation and Air Scrubbers
Run a box fan out a window or use a portable HEPA scrubber to draw out dust and VOCs. This step is non-negotiable in enclosed homes—especially for sensitive households or renters who need a no-trace finish when you’re done with their freshly painted cabinets.
Quick Tips: Thorough cleaning, containment, and air management are the real secrets to a professional cabinet painting result at home—don’t skip these steps to achieve a flawless and durable finish on kitchen cabinets.
Repairing and Masking: Smooth Surfaces Matter
Filling Dings and Seam Gaps with the Right Filler
Old paint, dents, open seams, or nail holes ruin the look of even the best cabinet painting job. Use high quality wood filler to correct nicks or damage on cabinet doors and boxes. Sand flush after drying, vacuum, and wipe surfaces—any dust or debris left behind will show up in your final finish. A dab of caulk helps seal any joints or cracks that might open up with seasonal wood movement, essential for maintaining a smooth finish.
How to Mask for Clean Edges and Hardware Protection
Remove all handles, knobs, drawer pulls, and hinges if possible for the smoothest paint results. Use painter’s tape or masking film to cover any glass panels, appliance faces, or walls adjacent to the cabinet boxes. Label hardware and keep screws in bags for easy reassembly. This attention to detail sets a professional job apart and helps achieve that 'factory' finish, even if you’re working with existing paint or wood grain.
Priming for Adhesion and Stain Block: No Skipping Steps
Priming Bare Wood vs. Laminate or Factory Finish
Bare wood cabinets require a stain-blocking, high quality primer to prevent bleed-through from wood tannins. Laminate or glossy painted cabinets need a bonding primer that will help the new paint adhere where old paint and slick finishes otherwise repel new coatings. Use a high quality brush or mini roller to work primer into corners and flat surfaces alike for the best foundation before applying the first coat of your cabinet specific paint.
Choosing the Right Specialty Primer for Tough Surfaces
Stuck with stubborn stains or glossy laminate cabinets? Opt for a shellac or urethane primer—these products anchor even the toughest new paint and block greasy kitchen stains that lower-quality primers can’t handle. Always allow primer to dry per manufacturer’s instructions before sanding lightly with medium grit sandpaper and wiping clean for extra-smooth results. This careful preparation is crucial for optimal paint adhesion and a durable finish that lasts.
Quick Tips: The single most important factor in professional, lasting results is top-tier primer. Don’t skimp; treat your primer step like it matters as much as your final coat, especially for high-traffic kitchens or old paint.
Selecting the Best Paint for Cabinets: Puget Sound Tested
Top Product Picks for a Durable, Washable Finish
Look for paint products labeled “cabinet, door, and trim” that feature a hybrid alkyd or urethane-alkyd formula. Benjamin Moore Advance and Sherwin Williams Emerald Urethane are industry benchmarks—providing a durable finish that resists scratches, washing, and stains. Both work over old paint with the right primer and yield a semi gloss or satin sheen. For a factory-grade feel, stick with products recommended by your professional paint store rather than box store “paint + primer in one.” Using a high quality paint, such as Advance paint, ensures that your kitchen cabinets will have a lasting, professional finish.
Understanding VOCs and Cure Times in a Humid Climate
Cabinet paints vary in VOC content and cure times—read the manufacturer’s instructions closely. In humid or cool weather, double the recommended drying time between coats. Use a paint stick to stir thoroughly before pouring, as cabinet paint has special binders for strong adhesion and leveling, helping avoid brush marks even on tough surfaces. Allow two coats, with a light sanding using medium grit sandpaper in between for a smooth finish on both cabinet frames and doors.
Application Techniques: Brush, Roller, or Sprayer?
Comparing Pros and Cons for DIY and Pro Jobs
- Brush: Good for tight edges and detail around cabinet frames. Use a high quality brush for minimal marks and the least visible brush marks.
- Foam roller/mini roller: Best for flat surfaces. Delivers smooth, streak-free finish with high quality cabinet paint.
- Sprayer: Yields the smoothest, “like new” finish but requires rigorous masking and rental of pro equipment for best results. Be sure to follow the same process for priming, painting, and sanding between coats as with brush or roller applications.
How to Get a Factory-Smooth Finish On Site
Work in thin, even coats. Apply the first coat of primer and let fully dry. Lightly sand, vacuum, and wipe down again. Repeat using your first coat of paint, correct any dust nibs, and always allow a few hours between coats to let paint products settle and bond. The best results come from patience and an even hand: spray or roll broad, flat surfaces, and cut in edges and details with a high quality brush. Be sure to apply two coats for maximum coverage and durability, and to minimize brush marks for a professional result.
Controlling Drips and Orange Peel in Real-World Conditions
Thin coats beat thick coats every time. If you see drips on cabinet doors or boxes, catch them immediately. Use a foam roller for second coat applications and maintain a wet edge for the smoothest factory-look sheen. Pay attention to humidity—curing can take longer, and that’s not a problem so long as you wait the proper time between coats. Lightly sand between coats to achieve a smooth finish and correct any orange peel or texture issues from previous layers.
Quick Tips: The same process used by professionals—prime, two coats of specialty paint, light sanding between—delivers the most durable, streak-free finish possible. Using high quality paint and tools, such as a high quality brush, foam roller, and cabinet specific paint, are essential for painting kitchen cabinets well.
Drying, Curing, and Reassembly: Timing is Everything
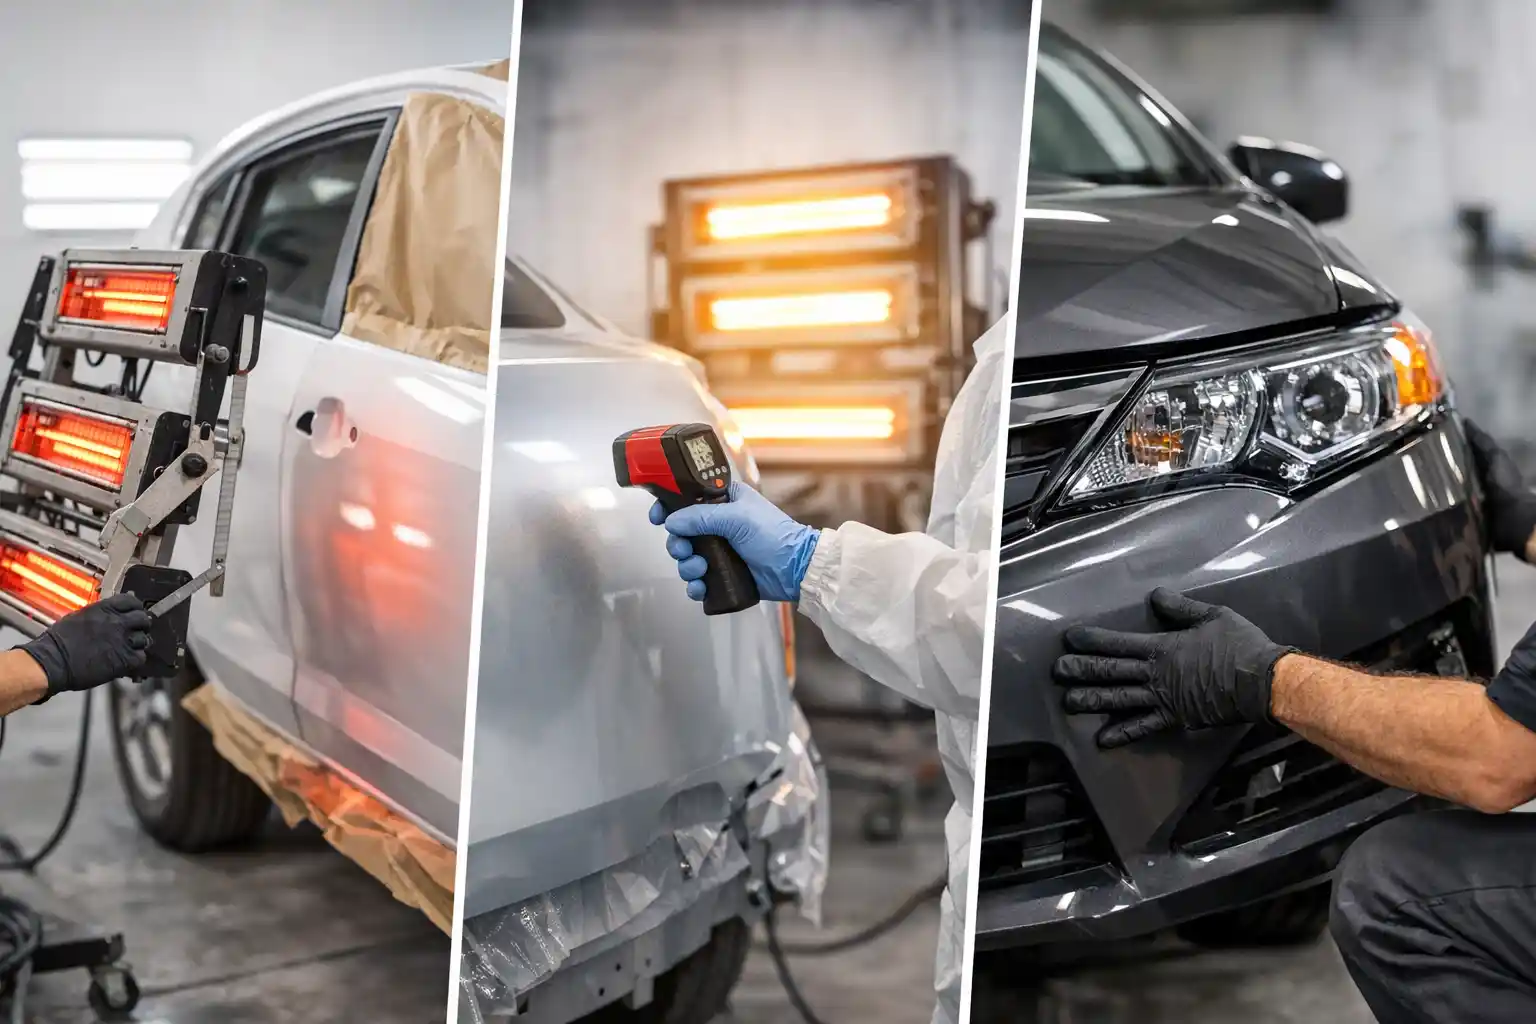
How Long to Wait Between Coats (and Why It Varies in the Northwest)
Oil and hybrid paints often need 16-24 hours to fully cure between coats—especially in cool or wet weather. Waterborne alkyds (like the best paint for cabinets today) dry fast but still benefit from at least a few hours between coats for maximum durability. Rushing this crucial step leads to sticky drawers and fingerprints in your “final reveal.” Medium grit sandpaper may be needed to smooth any imperfections after each coat before the second coat is applied.
When Cabinets Are Ready for Everyday Use
Although painted surfaces feel dry to the touch in hours, true cure takes anywhere from 7 days (Benjamin Moore Advance) to 30 days (oil-based or thick coats). We recommend treating freshly painted cabinets gently for at least two weeks and avoiding aggressive cleaning until fully cured. This is essential for protecting the durable finish and ensuring paint adhere is optimal for longevity on both new cabinets and those with existing paint.
Tips for Reinstalling Hardware and Doors Cleanly
Label cabinet doors and hardware in advance for easy reinstallation. Use a soft cloth to protect the surface when screwing in new hardware or adjusting doors. Touch up minor marks with a small artist brush. A pro clean-up at this stage means no dust, debris, or paint on hinges or slides—delivering a professional, move-in ready result and preserving the smooth finish achieved during the painting process.
Quick Tips: Allow more time than you think between coats and before full use. That patience is the secret to a rock-hard, furniture-grade finish for all painted cabinet doors and boxes.
Rental-Safe Containment and Cleanup: Leave No Trace
Protecting Floors, Walls, and Appliances in Occupied Homes
Occupied kitchens and rentals deserve special care. We mask all adjacent floors, backsplashes, and countertops with builder’s paper or plastic sheeting. Appliances are fully covered, and hardware is bagged and labeled for seamless handover. Always wear safety gear—masks and gloves—during sanding and painting stages, especially when applying high quality primer or sanding down old paint.
Cleaning Up Dust, Debris, and Odors After the Job
A true pro leaves your space cleaner than found. After the final coat cures, we remove all masking, vacuum all dust, and wipe down painted surfaces gently. Open windows or use fans overnight to clear residual odors—especially important for rental turnovers. This helps to ensure there’s no trace of paint products or dust, and allows for a fresh look and a clean final reveal.
Disposal: Handling Paints and Solvents Responsibly
Never pour paint or solvents down a drain. Use up leftovers for touch-ups or bring them to local recycling centers. Always check with your local disposal or recycling program for safe, legal options. Responsible cleanup protects your home and our environment and ensures that new cabinets and laminate cabinets alike are painted safely and sustainably.
When to Call a Pro: Understanding the Limits of DIY
High-Risk Situations: Heavy Use Kitchens, Rental Properties, Commercial Spaces
DIY paint jobs can deliver great results—up to a point. For rental properties, heavy-traffic kitchens, or unique commercial settings, it’s smart to hire a professional team. We provide strict containment, the right advanced paint products, and a warranty on paint adhesion, so your investment is truly protected no matter how busy your kitchen.
Assessing Your Skills and Schedule
Cabinet painting is more complex than many DIYers realize. If you don’t have the time for careful prep, specialty tools, or extensive masking (or need a result good enough for a home sale or rental inspection), what you save in labor might be lost on repainting and repairs later. That’s why so many homeowners call in pros for high-visibility, high-ROI spaces like kitchen cabinets.
Quick Tips: If you’re after a flawless, ‘factory’ finish—or want a warranty to back your investment—call the pros. Our process, products, and guarantee outlast DIY shortcuts every time. We use the best paint products, follow manufacturer’s instructions closely, and guarantee paint adhere even in the most challenging conditions.
Cover Pro Painting’s Process: Trust, Warranty, and Follow-Through
Our Five-Year Workmanship Warranty
We believe a quality job deserves to last. Our five-year workmanship warranty on exterior projects covers peeling, cracking, and adhesion issues, so you can trust your freshly painted cabinets to hold up. We’re licensed, bonded, insured, and committed to industry-leading standards on every project we take on—including all cabinet painting projects using high quality paint and cabinet specific paint.
What Local Homeowners Can Expect from Start to Finish
Every cabinet painting job starts with a detailed, written proposal—no guesswork or fine print. Our crews are punctual, tidy, and always communicate next steps. We build in time for extra-long curing due to the Pacific Northwest’s humidity, and we never cut corners on prep, primer, or specialty cabinet paint. Our reputation is built on follow-through; from proposal to punch list, we stay on schedule and on budget—and you can always contact Cover Pro Painting for a free consultation or detailed quote.
Internal Links: Resources for Next Steps

- Guide to Choosing Interior Paint Colors and Finishes
- Understanding Our Proposal and Quote Process
- South Puget Sound’s Best Exterior Painting Tips
- See More Pro Painting Advice in Our Blog
Local Considerations: Cabinet Painting Success in Puget Sound
Humidity and Drying Times
Our region’s moisture-rich air does affect the painting process. Always allow longer between primer and paint—use fans to help dry, and don’t rush. If painting in a heated or unventilated kitchen, professional-grade HEPA air scrubbers can keep things safe and VOCs low. Always read the manufacturer’s instructions and allow advance paint and other premium paint products the extra drying time needed for the best results.
Lead Paint and Rental Rules
If your cabinets predate 1978, consider lead-safe work practices—especially for rentals or homes with children. We are fully certified and can advise if abatement or special procedures are required under state or federal law.
Pro-Grade Finishes for Heavy Use
In high-humidity or heavy-traffic kitchens, the right specialty paint makes all the difference. We use cabinet finishes formulated for our local climate to ensure your new cabinets won’t peel or lose their new-sheen look, even after years of scrubbing. For added durability, choose cabinet specific paint in a semi gloss finish, apply two coats, and use a high quality primer on both old paint and bare surfaces for maximum longevity of painted kitchen cabinets.
Frequently Asked Questions
Can I paint over laminate or thermoplastic cabinets?
Yes, but it requires a specialty primer and extra prep for lasting adhesion—our process for laminates includes thorough deglossing/cleaning and a bonding primer we’ve tested in local homes. For even coverage and optimal paint adhesion, always use a foam roller and apply two coats of cabinet specific paint for best results.
What’s the best containment system for a fully occupied home?
For rental or occupied homes, we use plastic sheeting, zip walls, and HEPA air scrubbers to keep dust and smells out of living spaces. Cleanup is thorough—no paint tracked anywhere. Safety gear and containment systems help protect floors and cabinet boxes during every step.
How long will it take for painted cabinets to cure in the PNW climate?
Depending on paint type, surface, and humidity, final cure can vary from 7 to 30 days. We recommend gentle use for the first two weeks; we’ll walk you through the specifics at job closeout. For the most durable finish on kitchen cabinets, avoid heavy use until the final reveal and full cure.
Is cabinet painting really durable, or just a ‘quick fix’?
Done right, painted cabinets hold up for years—even in busy kitchens. Our five-year workmanship warranty covers adhesion and finish so your investment is protected. With advance paint, high quality primer, and careful application, you’ll enjoy a gorgeous fresh look for years to come.
Do I need to remove the cabinet boxes to get a professional finish?
No. With careful masking, proper prep, and the right application tools (foam roller, high quality brush, mini roller), we can achieve a smooth, ‘factory’ finish right in your home—even around floors, walls, and countertops. Use wood filler on nail holes and sand with medium grit sandpaper for perfectly smooth cabinet frames and doors.
How should I clean my painted cabinets after they’re done?
Use a soft cloth and mild soap for routine cleaning; harsh abrasives break down even the toughest coatings. We provide a care sheet with each job, so you know exactly what works best. Wait until the full cure period is complete to ensure the paint finish is as durable as possible.
Will painted cabinets hold up against the damp, wet climate?
We use products and primers that are specifically chosen for our local humidity and temperature swings; drying times are longer here, but our process accounts for Puget Sound’s conditions for lasting results. Always allow a few hours or more between coats so paint can properly adhere and prevent future problems.