%201.svg)


Revive Your Home: Tackling Exterior Siding, Trim, and Wood Rot with Confidence
Why Exterior Trim Painting Transforms Your Home's First Impression
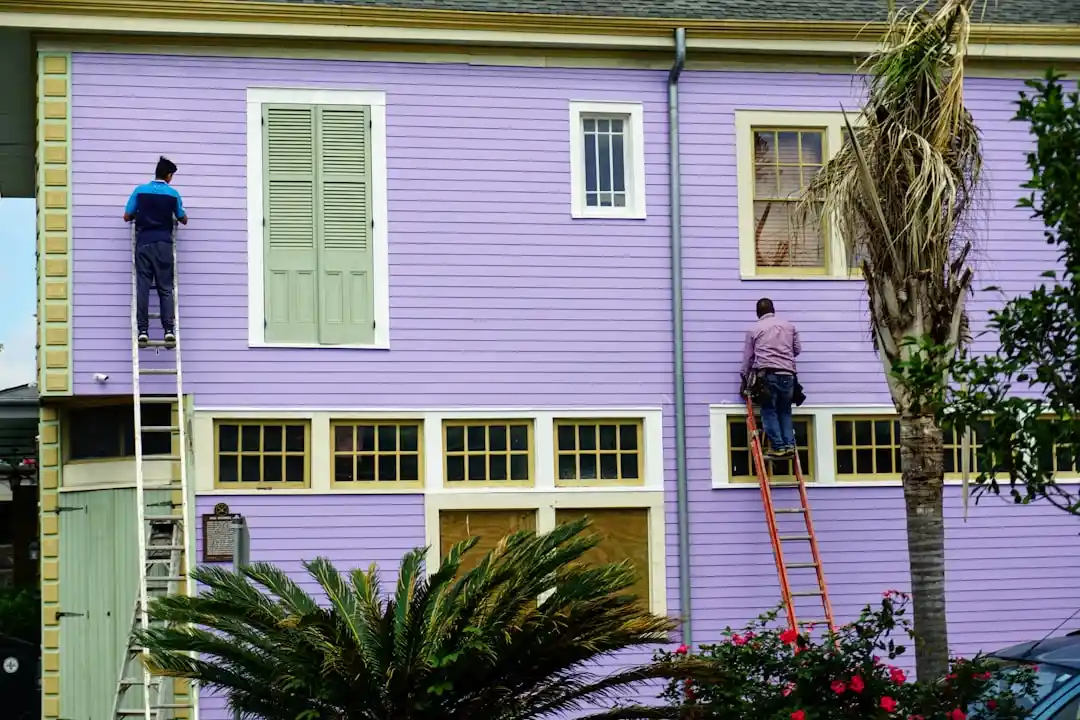
Exterior trim painting is the process of applying protective and decorative coatings to the elements that frame your home's doors, windows, corners, and roofline. This crucial task not only boosts curb appeal but also shields your property from weather damage and extends the life of your trim.
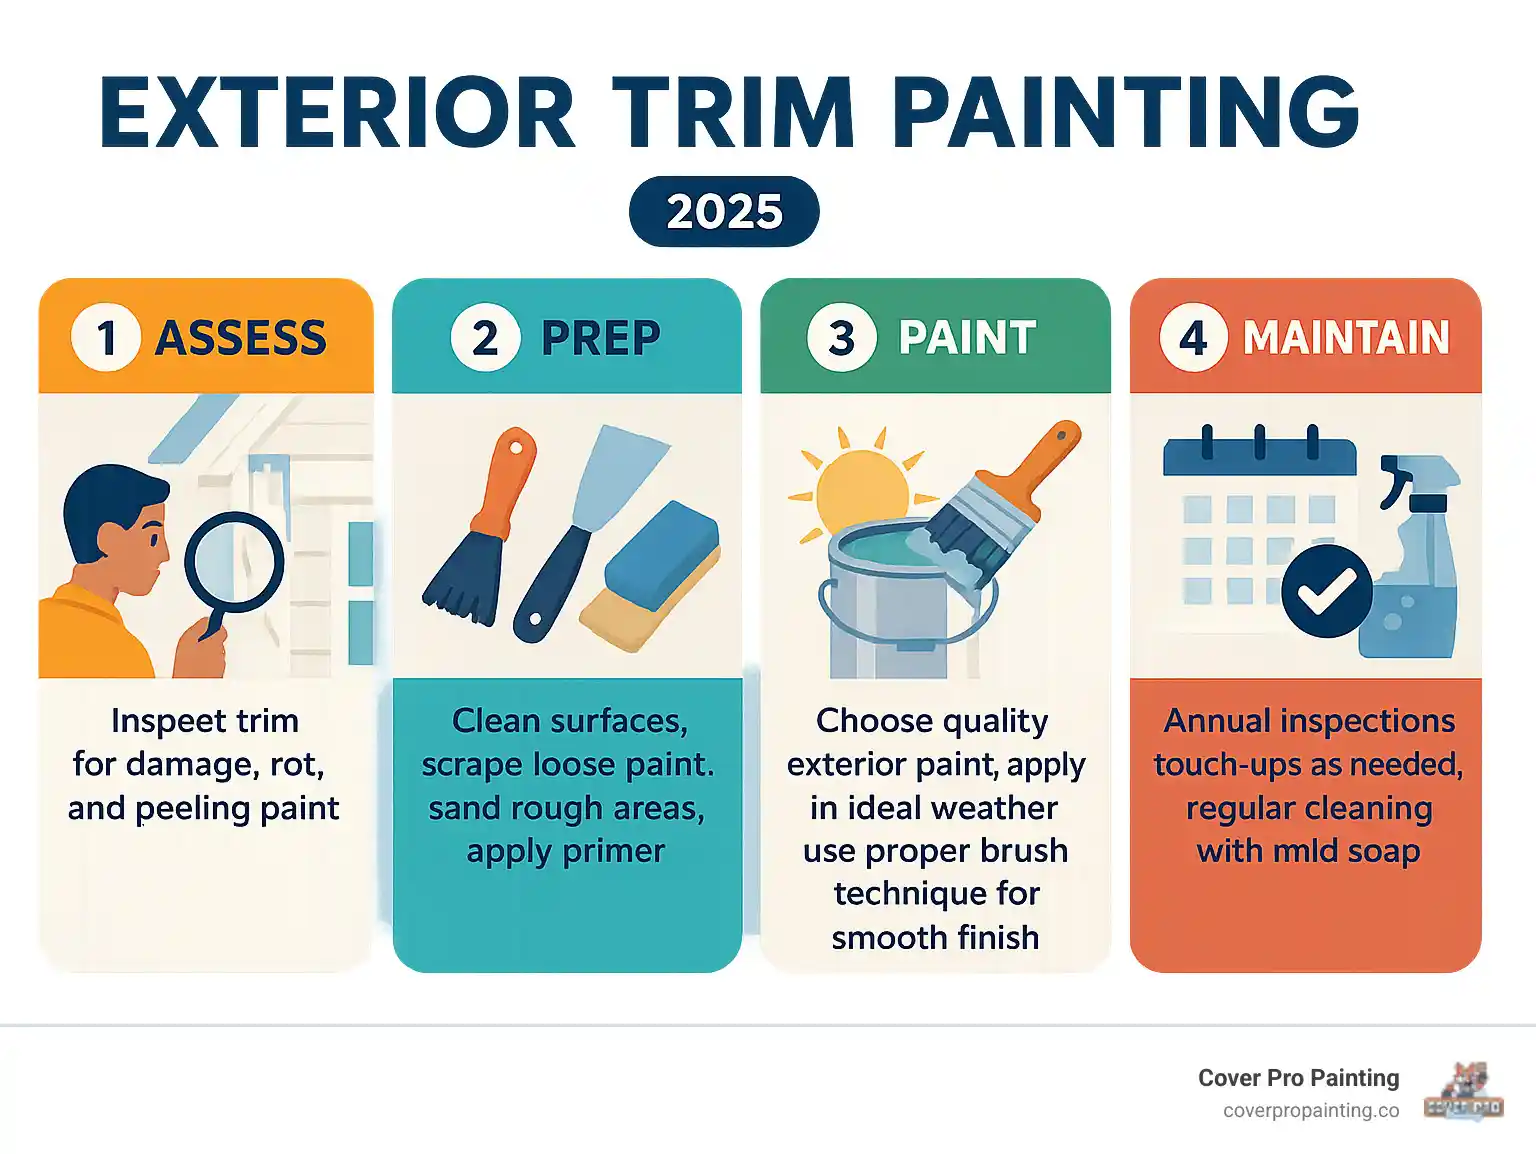
Quick Guide to Exterior Trim Painting:
- Assess - Check for rot, peeling paint, cracks, and mildew
- Prep - Clean, scrape, sand, and prime surfaces
- Paint - Apply 2 coats of quality exterior paint in ideal weather
- Maintain - Inspect annually and touch up as needed
Your home's exterior creates the first impression. Peeling, faded, or s
treaked paint on trim can significantly lower a home's curb appeal. The trim around doors and windows is the "jewelry" of your home's facade; when it looks fresh, your entire property appears more valuable and inviting.
Exterior trim endures more weather abuse than any other painted surface. Its edges and corners face more wind, rain, and UV exposure. That's why exterior paint is formulated with more binders and protective additives like mildewcide for extra protection.
This guide will walk you through every step of exterior trim painting, from identifying wood rot to achieving a professional finish. You'll learn the techniques and tips to ensure your hard work lasts for years.
First Things First: Assessing and Preparing Your Exterior Trim
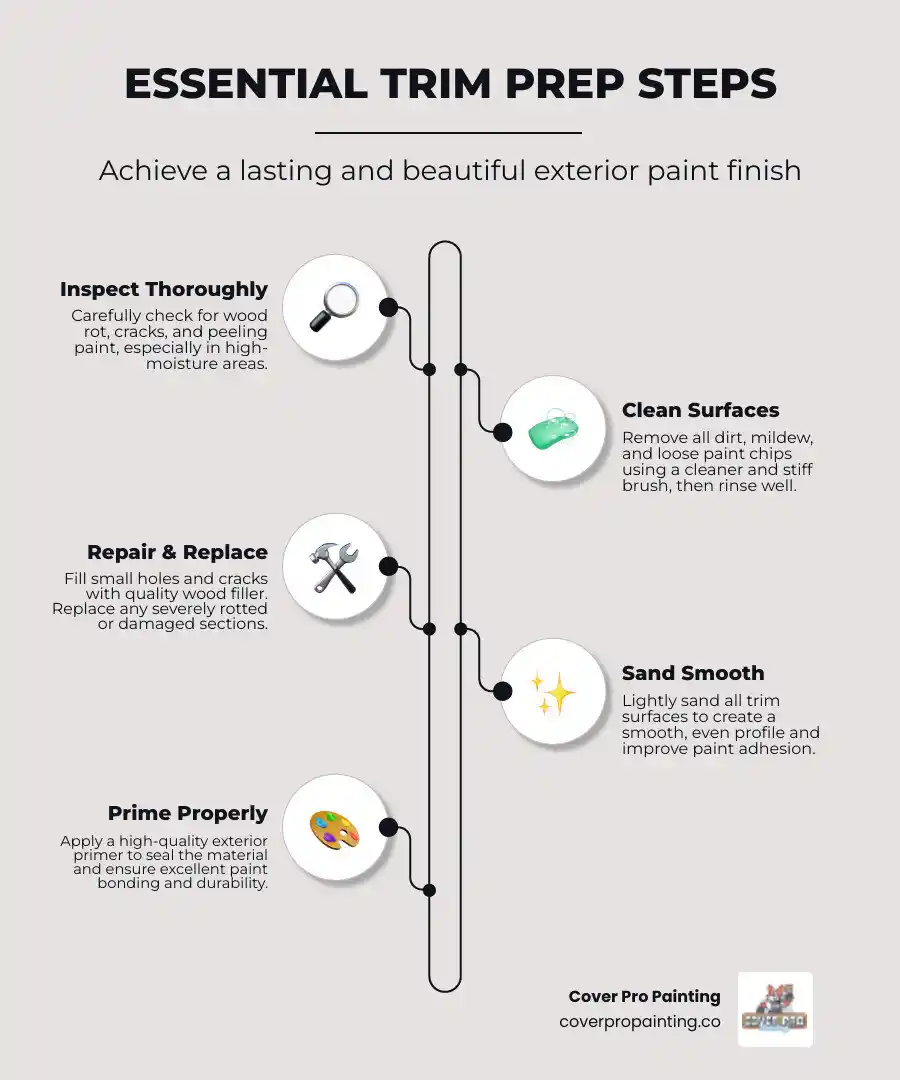
The secret to a long-lasting exterior trim painting job isn't the paint—it's the prep. Skipping this crucial first step is tempting, but proper preparation is what separates a professional finish from one that peels next season.
Inspect your trim carefully. Every crack, peel, and discolored spot reveals what needs attention.
Start by walking around your home. Peeling paint is the most obvious issue; new paint won't adhere to loose, flaking areas. Look for cracks and gaps, which are entry points for moisture, wood's worst enemy.
Keep an eye out for mildew (green or black spots) and the biggest problem: wood rot. Soft, spongy areas indicate that moisture has been damaging your wood for a long time.
Once you've identified problem areas, it's time to prep. Start by pressure washing away dirt and grime, using gentle pressure to avoid damaging the wood. A mild bleach solution can treat stubborn mildew. Once dry, use scraping tools to remove all loose and flaking paint. This step is vital for ensuring the new paint adheres properly.
Next, sand surfaces smooth, especially where old paint is rough or you've scraped to bare wood. This creates the perfect "tooth" for the new paint to grip. Finally, caulk gaps and joints to keep moisture out and create clean, professional lines.
You can learn more about tackling these challenges in our guides: How to Spot Early Signs of Wood Rot and Professional Solutions for Peeling Paint.
Identifying and Handling Wood Rot
Wood rot can be deceptive, often hiding under what looks like good paint. You need to investigate. Grab a screwdriver and gently probe suspicious areas. Soft spots that give way under pressure are clear signs of rot. Warping and splitting are also red flags that moisture has penetrated the wood.
Now, decide whether to repair or replace. For small areas of rot, a repair is often possible. Dig out all rotted material, treat the area with a wood hardener, and fill it with wood putty or epoxy fillers designed for exterior use. These modern fillers are durable and can be sanded smooth once cured.
However, if the rot is extensive or affects the trim's structural integrity, replacement is the only viable option. Painting over severely damaged wood is a temporary fix that will fail quickly.
For deeper dives into this topic, check out Address Wood Rot in Home Exterior Trim and our local expertise in Rot Repairs in Edgewood, WA.
Safety with Older Trim: Lead Paint Considerations
If your home was built before 1978, its trim paint might contain lead. This is a serious health hazard that requires careful handling.
Lead paint hazards become a concern when the paint is disturbed through scraping, sanding, or demolition. The resulting dust can be dangerous, especially for children and pregnant women. Inexpensive testing kits are readily available so you can know what you're dealing with.
If you find or suspect lead paint, take proper precautions. Safe removal practices include containing the work area with plastic sheeting, wearing proper respirators (not just dust masks), and keeping surfaces wet to minimize airborne dust.
Dust containment is crucial. Use a HEPA vacuum for cleanup and wet cloths to wipe down surfaces. The EPA has comprehensive guidelines worth reading: Information on lead paint from the EPA. Your family's safety is worth these extra steps.
The Ultimate Guide to Exterior Trim Painting: From Prep to Finish
With your trim prepped and repaired, it's time to paint. But first, let's talk about timing. Weather conditions can make or break your exterior trim painting project. Avoid painting in direct sunlight, as paint that dries too quickly can result in brush marks, uneven coverage, and premature peeling.
The ideal window for painting is when temperatures are between 50 and 85 degrees Fahrenheit and humidity is between 40 and 70 percent. These conditions allow the paint to level out and cure properly, creating a strong, long-lasting bond with your trim. For more insights on how weather impacts your home's exterior, check out our article: How Weather Affects Home Wood Structures.
Choosing the Right Paint, Primer, and Sheen
Not all paints are created equal, especially for exterior trim painting. The paint you choose must be tough enough to handle the elements.
100% acrylic latex paint is our top recommendation. It's flexible, moving with your trim as it expands and contracts with temperature changes, which prevents cracking and peeling. It also resists fading and is easier to work with than oil-based paints.
Oil-based paint creates a hard, durable finish but becomes brittle over time, leading to chipping. It also has a strong odor and a much longer drying time.
Exterior paint is formulated with more binders for durability and inorganic pigments that resist sun and rain. Many also include mildewcide additives to fight mold and mildew—a major benefit in the Pacific Northwest.
Primer is a non-negotiable insurance policy for your paint job. Always prime bare wood or composite materials, when making drastic color changes (like dark to light), or to block stains from knots or water damage. Oil-based primers are excellent for sealing raw exterior wood.
For sheen, higher gloss means better performance. Satin offers a soft sheen that hides minor flaws and is easy to clean. Semi-gloss provides noticeable shine and excellent durability, making it the most popular choice. High-gloss delivers a mirror-like finish that is incredibly durable but highlights any imperfections.
Sheen TypeDurabilityCleanabilityAppearanceNotesSatinGoodEasySoft sheen, subtleGood for most trim, hides minor imperfections.Semi-GlossVery GoodVery EasyNoticeable shine, reflectivePopular choice, very durable, easy to clean.High GlossExcellentEasiestMirror-like, very reflectiveMost durable, highlights imperfections, often used on doors.
For more guidance, see our guide: Choosing the Right Paint for Siding Repairs.
Color Selection and Material Impact
Choosing your trim color is a fun but crucial decision. The color should harmonize with your siding, roof, and landscaping. The main question is contrast versus blend. Light siding often looks stunning with darker trim for bold definition, while dark siding benefits from lighter trim to avoid looking too heavy.
Pro tip: Always test colors on the actual trim and observe them at different times of the day. A color wheel can help you find complementary shades.
Your trim's material also influences paint choice. Wood trim takes paint well but requires thorough prep. Vinyl and PVC trim need specific paints like acrylic latex; avoid dark colors, which absorb heat and can cause warping. Poly-ash trim (like TruExterior) is dimensionally stable and can be painted any color, even black, without issue.
For seasonal color ideas, see our article on Spring Paint Colors to Refresh Home's Exterior.
Essential Tools and Calculating Paint Needs
The right tools are essential for a professional-looking result. You'll need:
- A high-quality three-inch angled trim brush
- Painter's tape
- Drop cloths
- A sturdy ladder
- A small paint bucket
- Prep tools: scraper, sandpaper, caulk gun, and rags
To calculate your paint needs, measure the linear feet of all your trim and multiply by its average width to get the square footage. (e.g., 100 linear feet of 6-inch wide trim = 50 sq. ft.). Most exterior paints cover 250-400 square feet per gallon.
Crucially, plan for two coats. A second coat is essential for proper color, finish, and durability. Double your square footage calculation to ensure you have enough paint. It's always better to have extra for touch-ups.
Mastering the Application for a Professional Finish
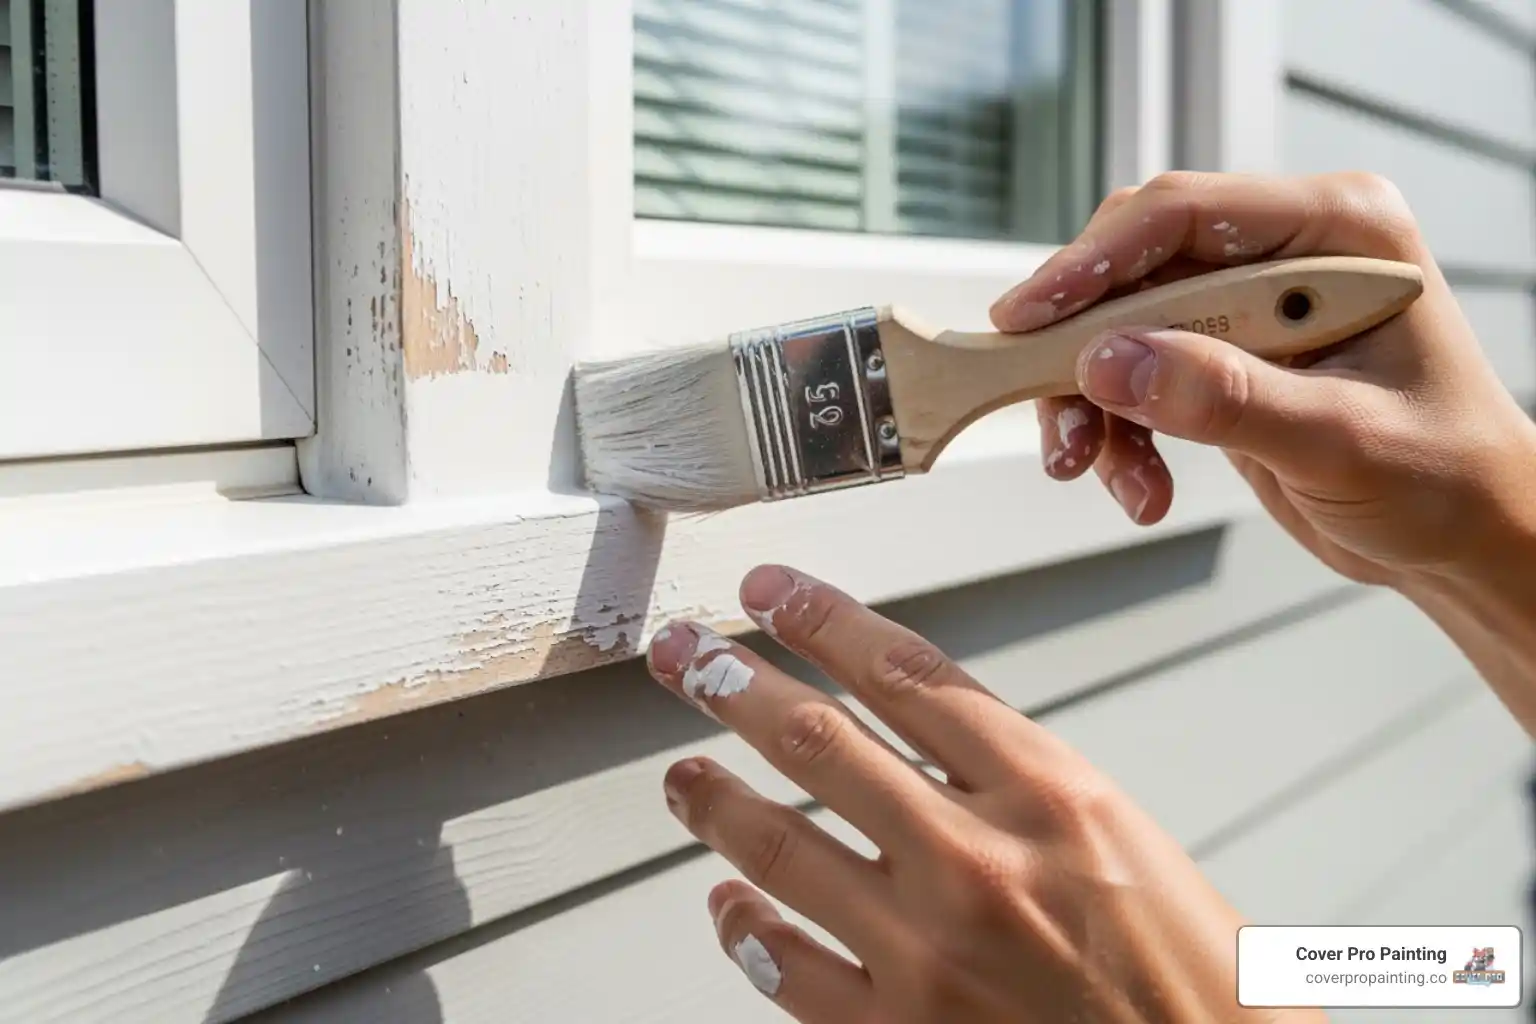
With the prep work done, it's time to paint. Achieving a professional exterior trim painting finish comes down to mastering a few key application techniques.
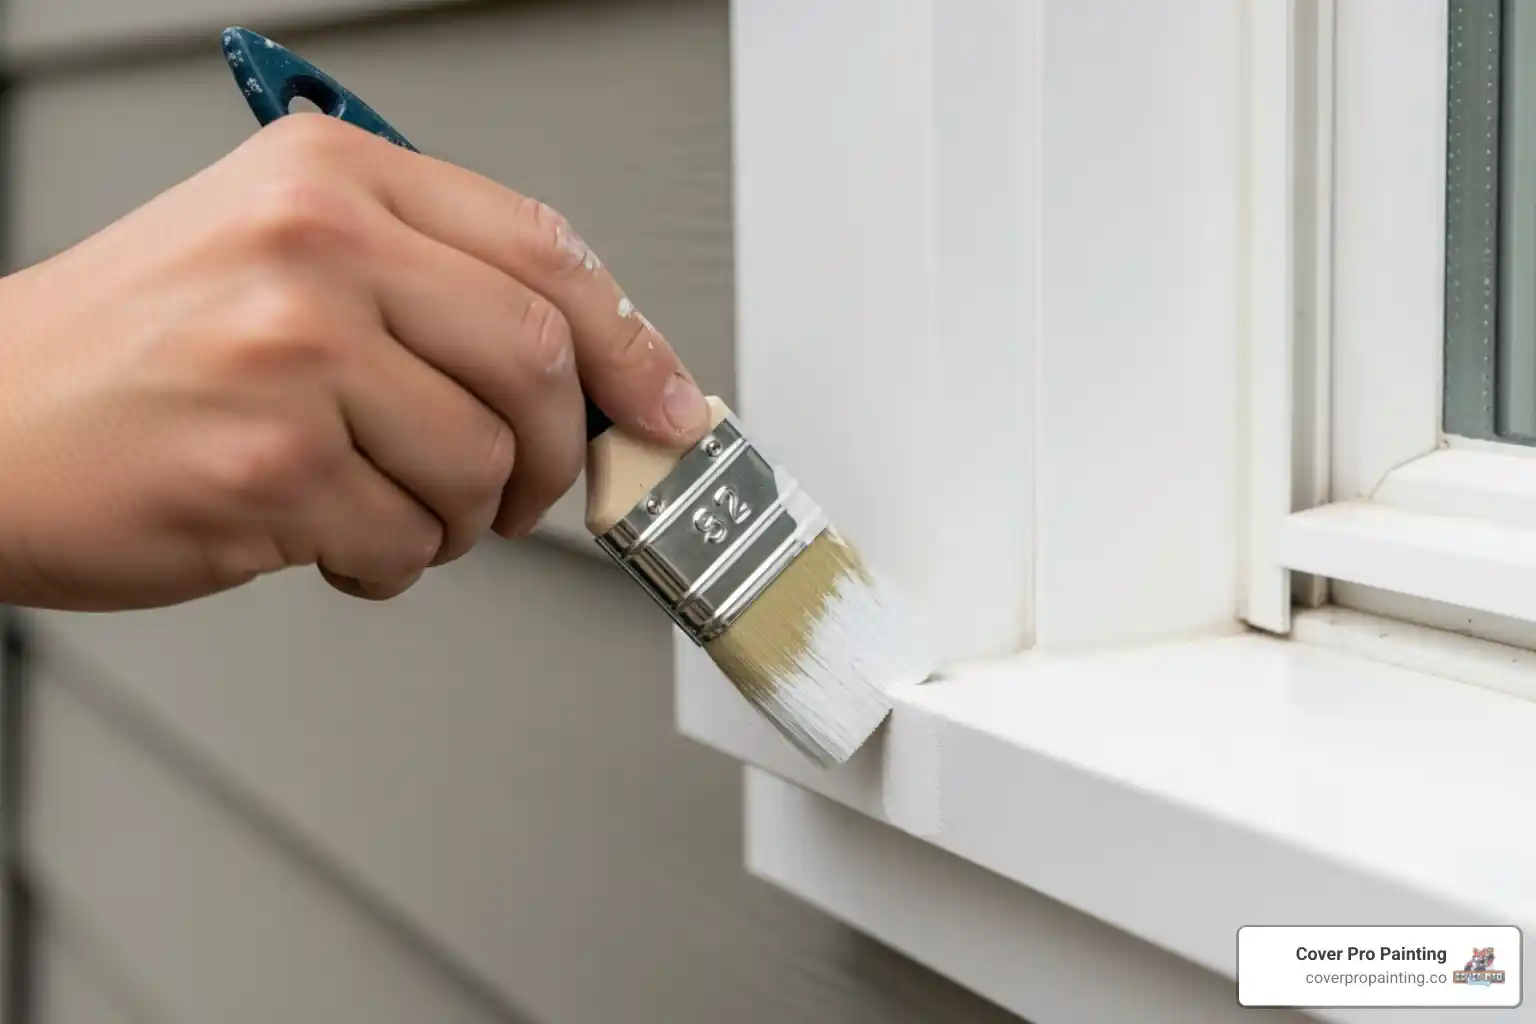
Work from the top down. This simple rule prevents drips from ruining finished work below.
Maintain a wet edge to avoid lap marks. Always brush from the wet, freshly painted area into the unpainted section with long, continuous strokes.
Prevent drips by loading your brush correctly. Gently tap excess paint against the inside of your bucket instead of wiping it on the rim. Reload your brush when it starts to feel dry.
Painting paneled doors requires attention to detail. Paint the recessed areas of each panel first, from top to bottom. Then, paint the flat sections. Smooth out each panel with light strokes and feather the edges. Avoid brushing over areas that have been drying for more than a few minutes, as this can create marks.
For additional insights, check out our guide on Tips for Painting Trim and Baseboards.
Step-by-Step Application Process
Follow this step-by-step process for professional-quality results.
Start with cutting in. Use your angled brush to create clean, straight lines where the trim meets siding, windows, or doors. A steady hand can often eliminate the need for tape.
Master your brush techniques. Dip the bristles into the paint and apply it using long, smooth strokes, following the wood grain when possible. For larger flat trim like fascia boards, use a small roller to apply paint quickly, then smooth it with your brush.
Apply your first coat evenly. Two thin coats are always better than one thick coat, which can drip and peel prematurely.
Respect the drying time on the paint can. This is critical for proper adhesion and a smooth finish. Rushing this step can cause peeling and bubbling.
Lightly sand between coats. For an ultra-smooth finish, gently sand the first coat with 220-grit sandpaper to remove any minor imperfections. Wipe away all dust before applying the next coat.
Apply the second coat. This coat builds the color depth and provides full protection. Two coats can last twice as long as a single coat, making it a smart investment.
Clean up immediately to keep your tools in good condition. Use warm, soapy water for latex paint and the appropriate cleaner for oil-based paints.
The attention to detail you invest in your exterior trim painting application will pay off in appearance and longevity. For more techniques, see our Professional Fence Painting Techniques guide.
Frequently Asked Questions about Exterior Trim Painting
Here are answers to the most common questions about exterior trim painting to help you make informed decisions.
What is the main difference between interior and exterior paint?
Interior and exterior paints are fundamentally different, engineered for completely different environments.
Exterior paint is built for durability. Its formula contains more flexible binders that allow the paint to expand and contract with temperature swings, preventing cracking. The pigments are inorganic materials that resist fading from UV rays and rain.
Additives like mildewcide are included in exterior paint to fight mold and mildew. Interior paints, by contrast, focus on washability and low odor.
In short, exterior paint is a protective shield for your home, while interior paint is designed for indoor aesthetics. Using interior paint outside will lead to rapid failure.
How long should a quality exterior trim paint job last?
The lifespan of your paint job depends on several key factors:
- Paint Quality: High-grade 100% acrylic latex paints will outlast cheaper alternatives by years.
- Preparation: A paint job is only as good as the prep work. Thorough cleaning, scraping, sanding, and priming are essential for longevity.
- Climate: Homes in harsh climates with intense sun, heavy rain, or freeze-thaw cycles will need repainting more often.
- Maintenance: Annual cleaning and prompt touch-ups can add years to your paint job's life.
With quality materials and proper application, you can expect your exterior trim painting to look great for 5-7 years. Premium systems applied with meticulous prep can last even longer. Applying two coats can double the paint's protective lifespan.
For more tips, see our guide on Professional Paint Protection Tips for Home Exterior.
When should I hire a professional instead of doing it myself?
While DIY can be rewarding, sometimes hiring a professional is the smartest and safest choice. Consider a pro in these situations:
- Height and Safety: If your home has multiple stories or you're uncomfortable on ladders, hire a pro. They have the right safety equipment and experience to work at heights safely.
- Project Scale: A large home with extensive trim can be an overwhelming DIY project. Professionals can complete the job in a fraction of the time.
- Time Commitment: Proper painting is time-consuming. If your schedule is tight, a project can drag on, leaving your home looking unfinished.
- Extensive Damage: Significant wood rot or widespread peeling requires professional expertise to repair correctly before painting.
- Lead Paint: Homes built before 1978 may have lead paint, which requires certified professionals for safe handling and removal.
- Quality Expectations: For a flawless, durable finish, professionals have the refined techniques and specialized tools to deliver superior results.
If your project feels overwhelming, hiring a professional can save you time and prevent costly mistakes. Learn more in our article: When & Why Hire Professionals for Residential Painting.
Protect Your Investment with Proper Maintenance and Professional Care

Congratulations on completing your exterior trim painting project! To protect your investment and maintain that fresh look, a little regular maintenance is key.
Regular cleaning is essential. Wash your trim twice a year with mild soap and water to remove dirt and grime that can break down the paint's protective barrier. A gentle power washing also works, but keep the pressure low.
Perform annual inspections. Each spring, walk around your property and look for small chips, cracks, or any areas where the paint looks worn. Catching these issues early allows for a quick touch-up instead of a full repaint.
Touch up problem areas promptly. When you spot an issue, remove any loose paint, lightly sand the area, prime if needed, and carefully repaint the spot. This prevents small problems from becoming big ones.
This routine will maximize your home's curb appeal and protect the investment you made in your exterior trim painting project.
We understand that life gets busy and some projects are too large to tackle alone. When you need a reliable professional, Cover Pro Painting is here to help. Our team brings years of experience and professional-grade equipment to deliver a flawless finish. We handle everything from rot repair to complete exterior makeovers.
Whether you're in Edgewood, Newcastle, Tacoma, Sammamish, Renton, Puyallup, North Bend, Mercer Island, Maple Valley, Kent, Issaquah, Gig Harbor, Federal Way, Des Moines, Covington, Burien, Bellevue, Auburn, or Milton, Washington, we're ready to help transform your home's exterior.
Ready to take your home's curb appeal to the next level? Check out our insights on Maximizing Curb Appeal with Professional Painting or Contact us for professional painting services in Issaquah, WA. We're happy to discuss your painting needs and help you keep your home looking its best.