%201.svg)


Professional Fence Painting Techniques for Your Edgewood Property
Painting your fence is an essential aspect of maintaining your Edgewood property. A well-painted fence not only enhances the overall appearance of your home but also serves as a protective barrier, shielding the wood or metal from the effects of weather. Over time, exposure to elements like rain, sun, and wind can cause a fence to deteriorate, leading to costly repairs or replacements. Therefore, investing time in proper fence painting can save you significant expense and effort in the long run.
When considering fence painting, it is important to approach the task with a clear plan and the right techniques. Professional fence painting involves a mix of preparation, product selection, and application strategies tailored to Edgewood's climate. By following structured techniques, homeowners can extend the lifespan of their fences and enhance the beauty of their outdoor spaces.
Preparing Your Fence for Painting
Preparation is the foundation of a successful and long-lasting paint job on your fence. Before applying any paint, it is crucial to prepare the surface to ensure that the paint will adhere properly. Follow these steps to get your fence ready for painting:
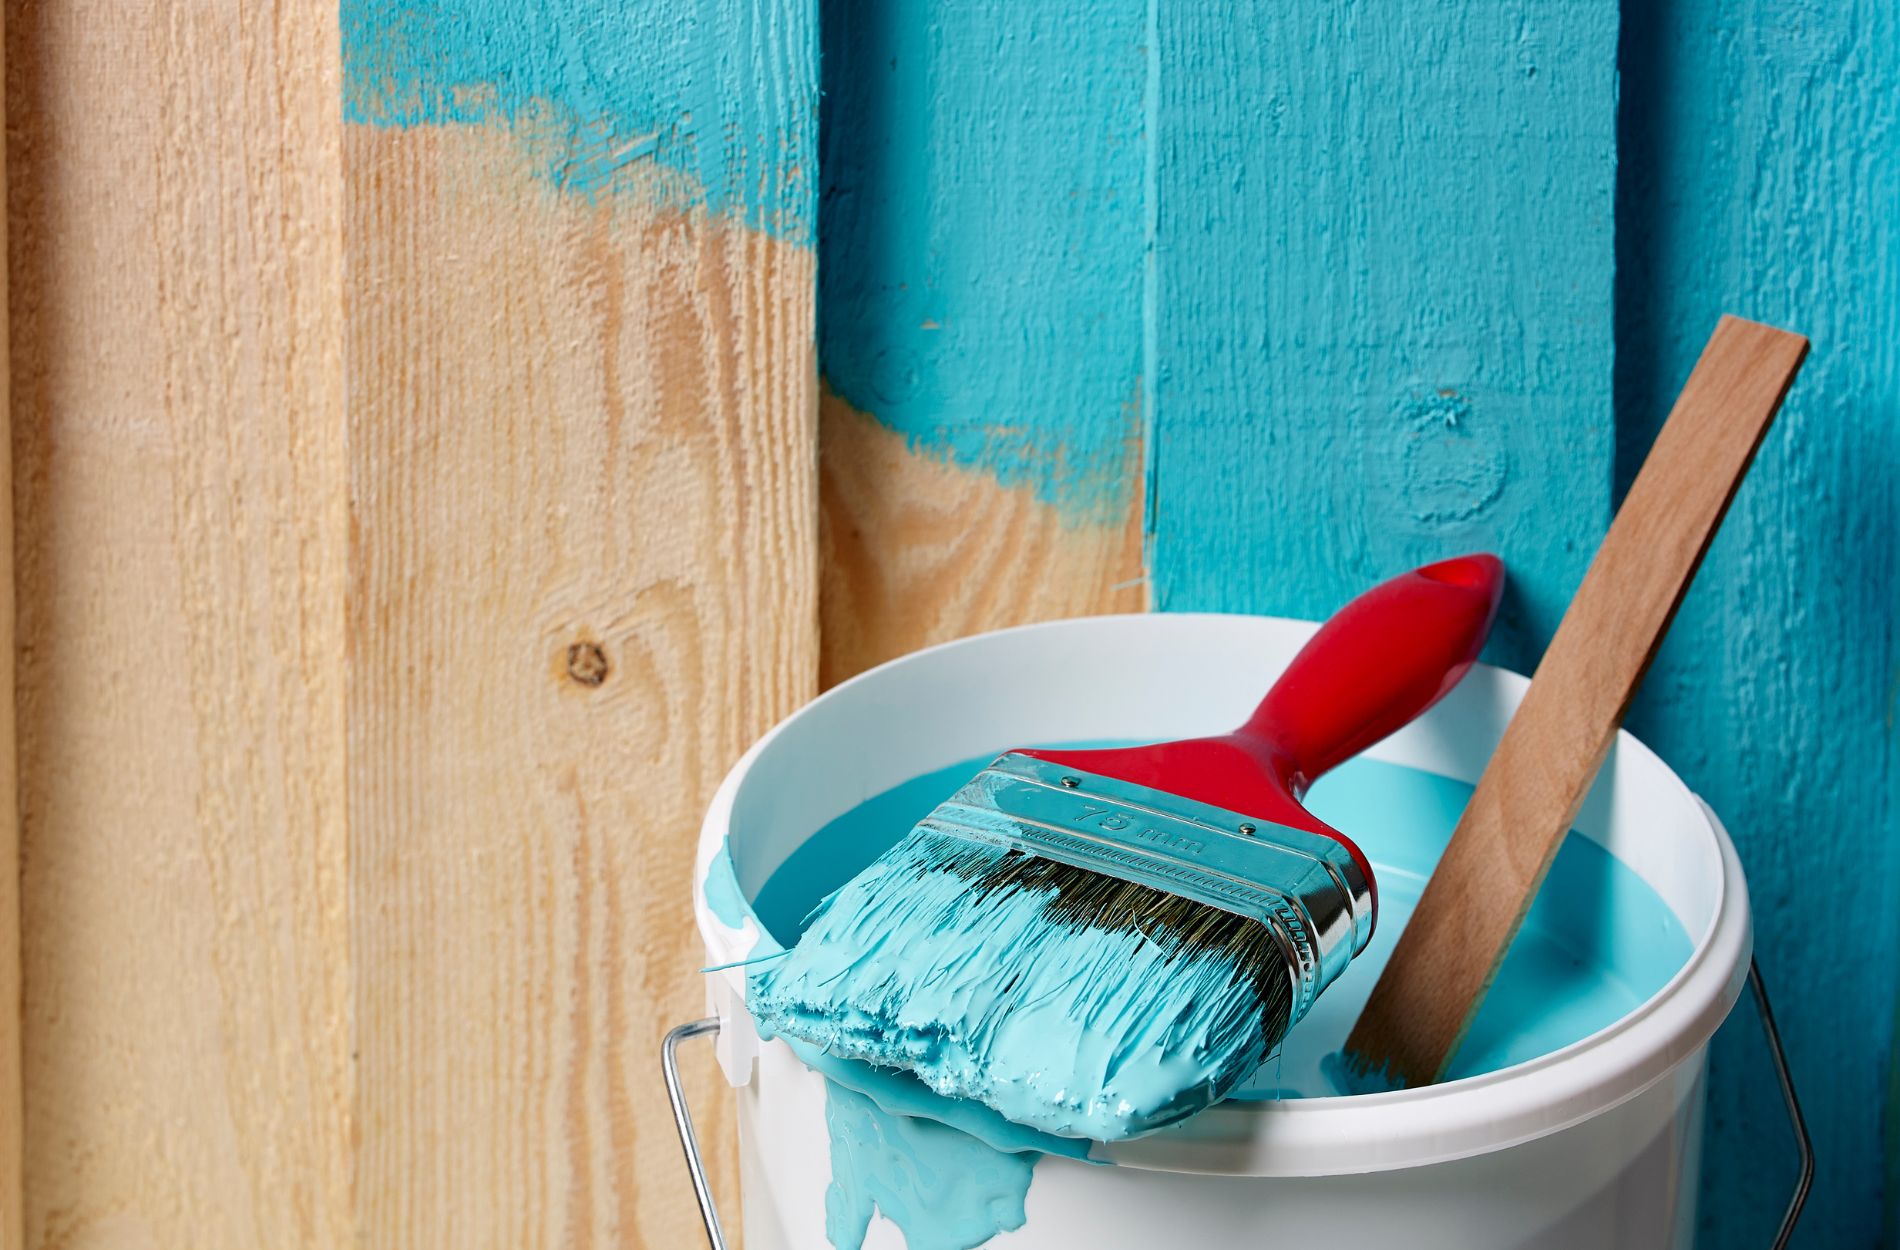
1. Clean the Fence: Start by removing dirt, grime, and old paint flakes from the fence surface. Use a power washer to thoroughly clean the fence, ensuring that all debris is removed. Allow the fence to dry completely after washing.
2. Sand the Surface: Use sandpaper or an electric sander to smooth out any rough spots and remove any remaining loose paint. This step is essential for creating an even surface that allows the new paint to adhere well.
3. Repair Any Damage: Inspect your fence for any damage, such as loose boards, nails, or rusted areas. Tighten or replace loose screws and nails and repair any broken sections. If your fence is metal, ensure that any rust is thoroughly removed and treated with a rust converter.
4. Protect Surrounding Areas: Cover nearby plants, grass, or structures with protective tarps or sheets to prevent accidental paint spills or splatters.
Taking the time to prepare your fence properly can mean the difference between a flawless paint finish and one that needs to be redone in a short time.
Choosing the Right Paint and Tools
Selecting the appropriate paint and tools is essential for achieving a lasting finish that withstands Edgewood's weather conditions. Here's what to consider when choosing materials for your fence project:
- Choose the Right Paint: For wooden fences, opt for high-quality exterior paint or stain that provides UV protection and is weather-resistant. For metal fences, use a rust-resistant primer followed by a durable metal paint.
- Consider Paint Type: Latex paints are popular due to their durability and flexibility, which allows for expansion and contraction with temperature changes. Oil-based paints provide a rich finish and are excellent for water resistance.
- Use Proper Tools: Invest in quality brushes, rollers, or paint sprayers for even application. A brush is ideal for cutting in edges and corners, while a roller can cover larger, flat surfaces quickly. Sprayers are beneficial for a smooth finish on intricate designs or large surfaces.
- Additional Supplies: Don't forget painter's tape for protecting areas that should not be painted, as well as drop cloths to keep your work area tidy.
By choosing the right paint and tools, you ensure that your fence not only looks great but also stands up to the elements year-round in Edgewood.
Step-by-Step Painting Techniques
Once your fence is properly prepared and you have chosen the right paint and tools, it's time to start painting. Following a structured process will help you achieve a smooth and even finish. Here's a step-by-step guide to painting your fence effectively:
1. Apply Primer: Begin with a primer coat to ensure better paint adhesion and durability. Use a suitable primer for your fence material—wood or metal—to create a solid base for the paint.
2. Start with Edges and Corners: Use a brush to paint the edges and corners of the fence first. This approach allows for precise work in areas that are difficult for a roller to cover.
3. Use a Roller or Sprayer for Large Areas: For flat surfaces, use a roller to cover large sections quickly and evenly. A paint sprayer can help achieve a uniform finish, especially if your fence has intricate designs.
4. Apply Even Coats: Apply two to three thin coats of paint, allowing each coat to dry completely before adding the next. Take care to follow the grain of the wood for a natural look or use steady, consistent strokes on metal surfaces.
5. Touch Up Details: Inspect the fence for any missed spots or inconsistencies once the main coats are dry. Use a brush to touch up these areas for a flawless finish.
By carefully following these painting steps, you will ensure your fence in Edgewood looks stunning and retains its appearance for years to come.
Post-Painting Maintenance Tips
Maintaining your painted fence is crucial to prolong its life and keep it looking pristine. Regular attention will prevent minor issues from becoming significant problems.
- Routine Inspections: Check your fence regularly for peeling paint, discoloration, or damage such as wood rot or rust. Early detection allows for timely repairs.
- Seasonal Care: Adjust maintenance activities according to the seasons. During summer, ensure adequate watering to prevent wood from drying. For the wet months, clear drainage paths to avoid water accumulation around the fence base.
- Cleaning: Wash the fence every few months to remove dirt and mold. Use a mild detergent and a soft brush to scrub the surface, followed by rinsing with a garden hose.
- Touch Up Paint: Keep a small amount of the original paint for touch-ups when necessary. Address chips and scratches promptly to prevent moisture from seeping into the wood or rust forming on metal.
- Repainting Schedule: Plan on repainting every few years, depending on the wear and climate exposure. Generally, every five to seven years is a good rule of thumb, but monitor your fence's condition to determine the right timing for a new coat.
Timely maintenance not only keeps your fence looking great but also maximizes its protective benefits, saving time and money over the years.
Enhance Your Edgewood Property with Professional Painting
The advantages of professionally painted fences are clear. A well-done paint job enhances curb appeal, increases property value, and provides essential protection against the elements. Quality fence painting in Edgewood is not merely a cosmetic upgrade. It's a wise investment in preserving the structural integrity and aesthetic charm of your home.
For optimal results and long-lasting satisfaction, consider hiring professionals who bring expertise and quality workmanship to the table. With professional service, you ensure the job is done right the first time, with high-quality materials and meticulous attention to detail. Let skilled technicians handle the complexities of painting, so you can enjoy a beautiful and durable fence that complements your property effortlessly.
Elevate your home's protection and appearance with professional fence painting in Edgewood that stands up to harsh weather and everyday wear. Our professionals use top-quality materials and proven techniques to deliver results that keep your fence looking great and preserving your property's value. If you're ready to secure exceptional quality and lasting durability for your fence, please contact us today for a quick estimate or to book a service visit.