
%201.svg)


Painting Wood Paneling: How to Get a Finish That Lasts

Key Takeaway
Painting wood paneling succeeds or fails at the prep stage, not the painting itself. Clean the walls with a heavy-duty degreaser, scuff sand glossy faces with 120 to 150 grit sandpaper, and apply the correct primer for your surface before any paint goes on. Homes built before 1978 require lead safety precautions, and moisture or loose panels must be repaired first.
Yes, most wood paneling can be painted successfully. Lasting results depend on identifying whether your walls are solid wood, veneer, laminate, or paneling someone already painted, then cleaning, repairing, deglossing, and priming that exact surface correctly. Never paint over wax, heavy gloss, loose panels, moisture damage, or possible lead paint without solving that problem first.
If you're staring at dark wood paneling from another decade, you probably want a finish that still looks right in five years, not one that scratches off in two. Rolling paint onto the panels is the easy part. The prep work decides the outcome, and that's what this step by step guide to painting wood paneling is really about.
Can You Paint Directly Over Wood Paneling?
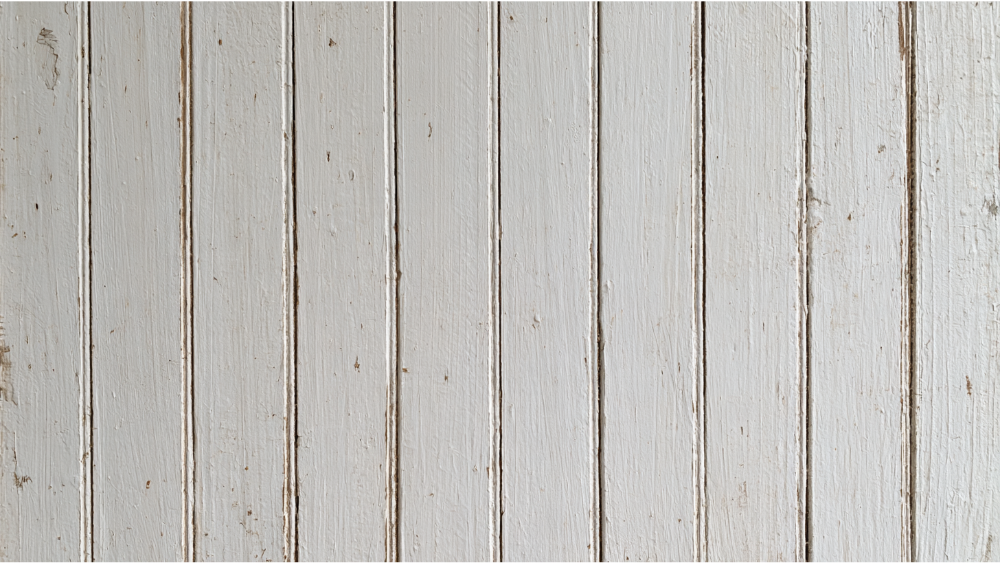
Not if "directly" means skipping the cleaning, the deglossing, and the primer. That's where peeling, scratching, and bleed-through come from. Decades of furniture polish, cooking grease, and smoke residue sit on wood paneling and block adhesion, no matter how good the paint is.
Every decision in this article comes down to two things. The first is adhesion: will the paint physically grip the surface it's applied to? The second is stain blocking: will something underneath push back through the finish? Most paneling projects need you to solve one of those. Plenty need both. Get them right, and painting paneling is one of the better returns you can get on a dark, dated room. A fresh coat gives old paneling new life and can completely change how a space feels, faster than almost anything else you can do indoors.
Should You Paint, Preserve, Repair, or Remove Old Wood Paneling?
Most guides assume you've already decided to paint paneling. Take a minute on this first, because paint is very hard to reverse.
- High-quality original solid wood with real character: consider preserving or refinishing the wood instead. Stripping paint off milled hardwood paneling later is slow, expensive work.
- Dated sheet paneling or faux paneling: an excellent candidate for paint. A light color instantly brightens dark walls and can make the room feel larger.
- Loose, swollen, water-damaged, or delaminating panels: repair or replace that wood before any coating goes on. Paint hides nothing structural.
- Removal: know what's behind the paneling. Sometimes it's drywall that needs patching. Sometimes it's bare studs or damaged plaster, which turns a paint project into a wall rebuild.
One note worth having up front: carpentry, panel replacement, and rot repair can be handled in the same engagement as the painting. You shouldn't have to coordinate a carpenter and a painter on separate schedules to finish one set of walls.
How Do You Identify Your Paneling Type?
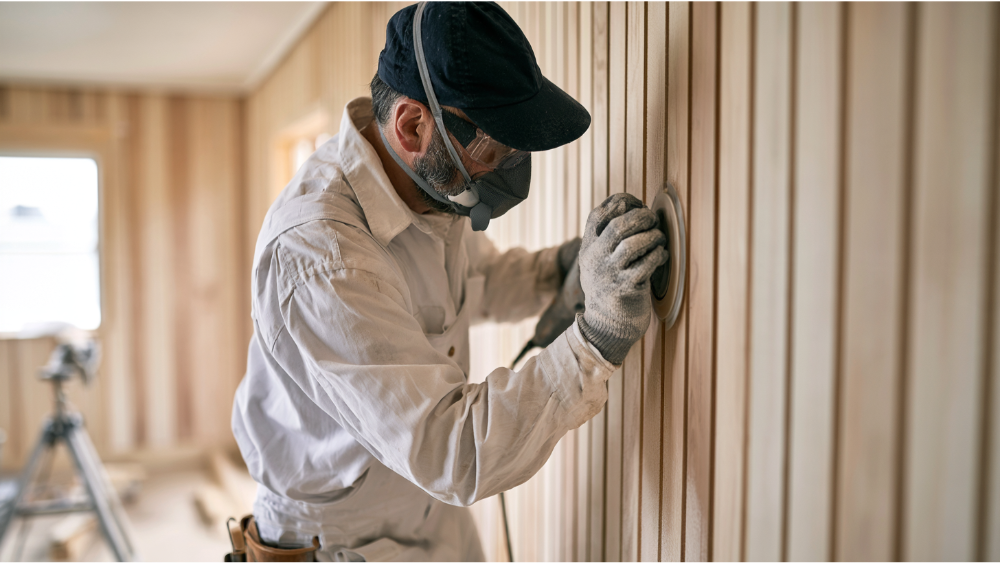
The quickest way to tell what you have is to look at an exposed edge. Carefully remove a vent cover, an outlet plate, or a piece of trim and inspect the cut edge of the panel. Solid wood continues all the way through. Veneer shows a paper-thin wood face over a different core.
The paneling type dictates two things: which primer you need and how aggressively you can sand the walls.
Check for Lead, Moisture, and Damage Before You Sand
This step comes before any abrasive touches the walls. Lead-based residential paint was banned in 1978. The EPA estimates some lead-based paint is present in 87% of homes built before 1940 and 24% of homes built between 1960 and 1978, and advises homeowners to assume pre-1978 paint contains lead unless a certified professional evaluates it.
The EPA's Renovation, Repair and Painting (RRP) Rule generally requires paid contractors who disturb painted surfaces in pre-1978 housing or child-occupied facilities to be certified and use lead-safe work practices. The minor-repair exception is 6 square feet or less per room indoors, 20 square feet or less outdoors, and demolition of painted surfaces or window replacement stays covered regardless of size. Scraping and sanding are exactly the activities that create hazardous dust. We're EPA Lead-Safe (RRP) Certified, which is the main reason old wood paneling in an older home isn't a complication for us.
Moisture is the other thing to settle now. EPA remodeling guidance says to find and correct the cause of damaged paint, whether that's a leak, condensation, or impact, before recoating. Soft wood, open seams, swelling, and delamination get repaired or replaced. They don't get painted over.
Keep the Paneling Grooves or Fill Them for Smooth Walls?

This is a design decision, not a right answer.
Keep the grooves. Far less labor, and the shadow lines read as intentional texture once the walls are a single painted color. Many homeowners prefer this look on old wood paneling once they see it in a light tone.
Go for smooth walls. Fill the broad decorative grooves with wood filler or joint compound using a putty knife, feather the edges, sand smooth, then prime the filled areas. Expect several fill-and-sand rounds across an entire wall. Be realistic: seam lines can telegraph back as the wood moves with humidity.
Here's the distinction most guides get wrong. Rigid wood filler is for leveling the decorative grooves. Paintable caulk belongs in the panel-to-panel seams, because those joints actually move and rigid filler will crack there. Chasing a perfectly smooth surface is time consuming, and it's one of the most common reasons homeowners call us instead of finishing it themselves.
Tools and Materials You'll Need
- Drop cloths and plastic sheeting for floors and furniture
- A heavy-duty degreaser such as TSP (trisodium phosphate), warm water, lint-free rags, and a damp cloth for the final wipe
- 120 to 150 grit for scuff sanding, fine grit sandpaper around 220 for light finish sanding, plus a sanding block or pole sander
- Spackle, wood filler or joint compound, a putty knife, and paintable caulk
- Bonding primer, stain-blocking primer, or an oil based primer, depending on what the paneling hands you
- Premium interior paint
- An angled sash brush, a short-nap paint roller, and a foam roller if you've filled the grooves flat
- A vacuum with a brush attachment
- Eye, skin, and respiratory protection per the product labels and the work being done
How to Prepare Wood Paneling for Paint: The Key Steps
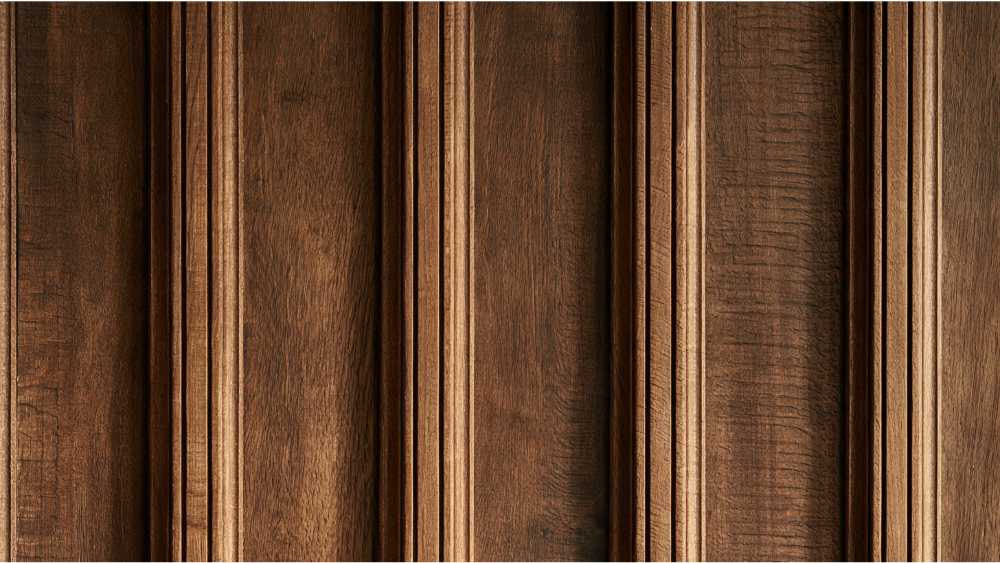
- Mask everything. Floors, furniture, trim, outlets, and fixtures.
- Resecure loose paneling and correct any moisture or wood damage you found during inspection.
- Wash the walls top to bottom with a degreasing cleaner, rinse with a damp cloth, and let the paneling dry completely. Old furniture polish and cooking grease are the single most common reason paint fails on wood paneling.
- Fill nail holes and dings with spackle or wood filler and let them dry.
- Scuff sand glossy faces with 120 to 150 grit, then sand patched areas smooth with 220 grit. Go light on veneer so you don't cut through the thin wood face.
- Vacuum and wipe every surface. Primer will not bond to sanding dust.
- Run a small adhesion test patch in an inconspicuous spot when the existing finish is unknown or extremely slick.
Preparing the surface properly is where the quality actually comes from. It's also the part cut-corner jobs skip, which is why those walls look fine for a season and then start failing at the corners.
What's the Best Primer for Wood Paneling?
There isn't one. Painted paneling fails more often from a primer mismatch than from the paint itself, so pick the primer by the problem in front of you.
Apply primer with a brush in the grooves first, then roll the faces. The right primer helps the topcoat grip and keeps what's underneath from pushing through. A quality primer tinted toward your finish color cuts the number of paint coats needed over dark wood, and a tinted primer is worth asking for whenever you're going light. A second coat of primer evens out blotchy paneling. Sand lightly over the dried primer and check for imperfections before applying paint, because that's what gives the first coat a smooth finish.
Paint-and-primer-in-one is a self-priming topcoat for sound, previously painted walls. It is not a substitute for a problem-solving primer on raw wood, heavy gloss, or stained paneling. We break that down further in our article on paint and primer in one.
How to Paint Paneling: First Coat to Second Coat

Cut in with an angled brush along the ceiling, trim, and corners. Brush out all the grooves next, then roll the flat wall faces with a paint roller while that brushwork is still wet so the two blend instead of showing a line.
Before the paint sets, go back and check the grooves for sags and buildup. Heavy material trapped in a groove stays soft, looks sloppy, and never fully hardens.
Two thin coats beat one heavy coat every time. The first coat is the foundation. Two coats deliver uniform color and real durability, and the second is non-negotiable over dark wood paneling or a large color change. Waterborne alkyd products cure to a hard, furniture-quality finish that suits paneling, trim, interior doors, and a front door equally well. Follow the label's recoat window rather than a stopwatch.
Painting Wood Paneling in a Living Room, Den, or Basement
The room changes the plan. Before you paint paneling in a living room or family room, think about containment as hard as you think about color, since that's usually where the furniture and the daylight both are. Basement paneling deserves the toughest moisture check, because those walls often sit against concrete and the wood wicks whatever the foundation gives it. A den or office with heavy smoke staining needs a sealing primer before anything decorative happens. The painting process stays the same everywhere, but the emphasis shifts.
Drying vs. Recoating vs. Curing (And Why It Matters)
.webp)
Three different things. Dry to the touch means it won't transfer to your finger. Ready to recoat means the film can accept another coat. Fully cured means the paint has reached its final hardness. A common interior acrylic might be dry to the touch in about an hour, recoatable in one to two hours, and need roughly two weeks to fully cure. Those numbers belong to that product's label, not to every product, and temperature, humidity, ventilation, and coat thickness all shift them.
Practically: don't press furniture, artwork, or tape against walls that aren't cured. Ventilate during the work and for at least 72 hours after, per EPA remodeling guidance.
Why Painted Paneling Fails, and How to Prevent It
Choosing a Color and Sheen: Bright White or Something Darker?

A crisp off-white or a bright white paint opens up dark wood paneling and makes a room feel considerably larger. White paint also reads cleanly against stained floors and leaves you free to change everything else later. A deep navy or charcoal does the opposite on purpose, turning paneled walls into a focal point. Paneling texture catches light differently than a flat wall of drywall, so sheen matters more here: a washable low-sheen works well across broad walls, with a semi gloss finish on trim, doors, and the front door where hands land. A free color consultation comes with every project, and whatever paint color you land on, sampling it on the actual walls is worth the extra day.
What We Inspect Before We Agree to Paint Paneling
On a walkthrough, here's what we're looking at:
- Paneling material and the existing finish
- Wax, furniture polish, grease, or smoke residue
- Loose panels, open seams, swelling, or water-damaged wood
- Knots, tannins, and existing stains
- Pre-1978 lead considerations
- Whether you want visible grooves or smooth walls
- A small adhesion test where the finish is uncertain
That inspection is what makes the estimate accurate before anyone opens a can of paint.
Should You Paint Wood Paneling Yourself or Hire a Pro?

Painting wood paneling is within reach for a confident DIYer under the right conditions. A single clean, sound, previously painted accent wall is a realistic weekend project. Be honest with yourself about the rest.
Bring in a professional when the home predates 1978 and paint will be disturbed, when the paneling is veneer or hard to identify, when there's water damage or loose panels or suspected rot behind the walls, when smoke or heavy stains are present, when you want genuinely smooth walls, when spraying and containment are involved, or when an earlier coat of paint is already peeling.
We handle rot repair, siding, and carpentry with the same team that does the painting, so damaged wood doesn't become a second project with a second contractor. We're licensed, bonded, and insured in Washington State.
Frequently Asked Questions
Can I just paint over wood paneling?
Not bare. Dirt, grease, and old polish block adhesion, and gloss gives primer nothing to grip. Cleaning, deglossing, and choosing the right primer are the difference between paint that lasts and paint that scratches off with a fingernail.
What kind of paint can I use on wood paneling?
A premium interior latex or a waterborne alkyd over the correct primer. Waterborne alkyds cure hard and give paneling, doors, and trim a furniture-quality feel. Choose the sheen based on how the room gets used.
Can you paint over 70s wood paneling?
Yes, and old wood paneling from that era is the most common case we see. Identify whether it's real wood paneling or faux wood paneling first, since that changes the primer. Treat anything from those years as pre-1978 for lead safety.
What happens if you don't sand paneling before painting?
On a glossy face, primer has nothing to grip, so expect scratching, peeling, and visible brush drag. Light 220-grit scuffing, or a bonding primer you've tested on a small patch, solves it.
Can I use the same paint on my trim and front door?
Often yes, in a harder sheen. A waterborne alkyd that works on paneling also performs well on trim and a front door, where the surface takes hands, weather, and daily contact.
Start With a Free Estimate
The first coat of paint doesn't decide how wood paneling turns out. The prep does, and that work happens before anything looks different.
Start with a free estimate and see exactly what your project will involve, including a free color consultation. Call us at 206-222-0435 or send us a note through our contact form. We offer 0% APR financing and 10% off for first-time customers.
