%201.svg)


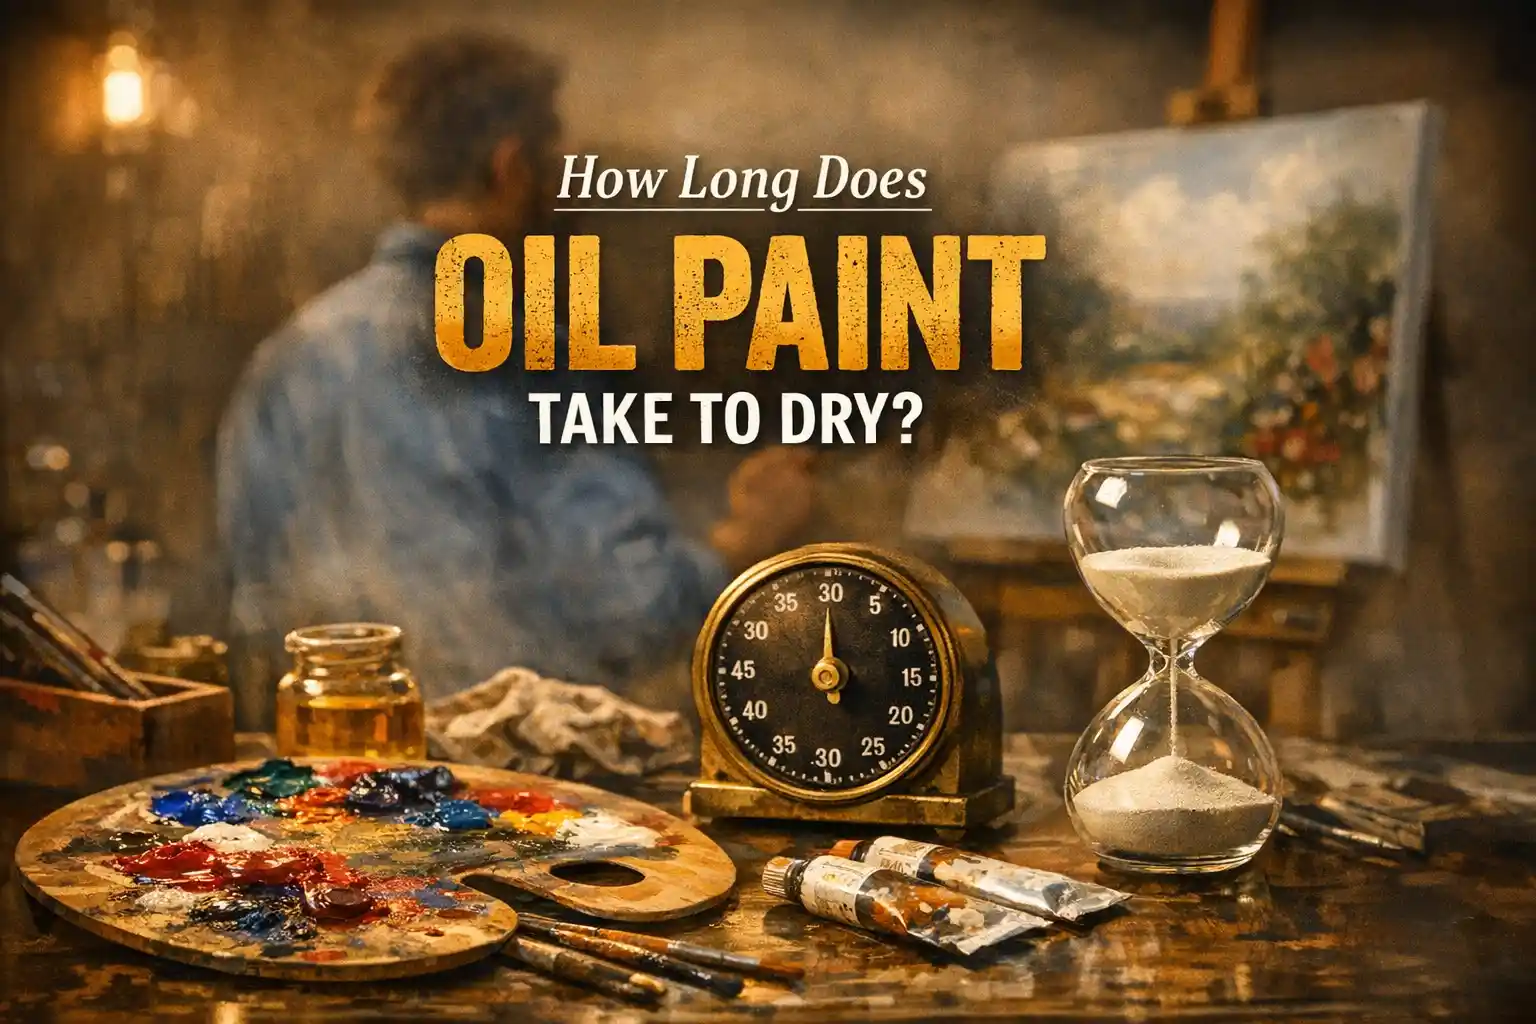
How Long Does Oil Paint Take to Dry?
:
Oil paint drying time depends on several factors such as formulation, application thickness, environmental conditions, and air circulation, but most oil paints require 8–24 hours to become dry to the touch and up to 7 days or longer to fully cure. For best results and to prevent issues like cracking or tacky surfaces, Cover Pro Painting recommends waiting 24–48 hours between coats and ensuring good airflow, moderate temperatures, and thin paint layers during any residential or commercial painting project.
If you’re considering oil-based paint for your home project, you’re asking the right questions. At Cover Pro Painting, we know you don’t want surprises when it comes to paint drying times — especially with how unpredictable the weather can get. Oil paint offers lasting beauty and protection, but it demands careful planning and know-how. Let’s walk through everything you need to know about oil paint, drying processes, and how to avoid the most common pitfalls homeowners face—including answers to how long does oil paint take to dry.
Understanding Oil-Based Paint Drying Times

Why Homeowners Ask: Delays, Expectations, and Scheduling
Whether you’re updating trim or tackling a full exterior repaint, understanding how long does oil paint take to dry is crucial. The drying time for oil paint affects everything: your home’s protection, project costs, and your ability to get back to normal life. Many homeowners are surprised to discover that oil paints dry much slower than popular acrylic paints. Factor in weather, paint thickness, different pigments, and environmental conditions, and it’s no wonder drying times cause scheduling headaches.
Difference Between Dry to Touch, Recoat, and Fully Cured
Oil paint undergoes a unique chemical reaction as it dries—it doesn’t simply “dry” like water-based paints. Here are the distinctions:
- Dry to the touch: When a thin layer of oil paint doesn’t feel tacky or come off on your finger—but the paint may still be wet underneath.
- Ready to recoat: The layer of paint is firm enough to support another coat without causing wrinkling, or cracks in the underlying paint layers. This stage usually takes longer to reach than just dry to touch.
- Fully cured or completely dry: Oil paint is only completely dry when all solvent and oil evaporation/oxidation are finished. This means the entire thickness, including any layers underneath, is fully set. Maximum durability, strength, and resistance are reached, which may take a few days to several weeks depending on conditions.
When is it Safe to Handle or Recoat?
The short answer: Wait at least 24 hours before recoating with oil paint—48 is often safer, especially for thicker layers. Handling before it’s truly ready risks damaging the layer underneath and can cause the painting to crack or trap solvents inside, leading to issues with the drying process and longevity of your finish.
A Quick Look at Oil vs. Latex Paint Drying
If you’ve used latex or acrylic paints before, prepare for a much slower drying process with oils. While some acrylic paints are dry in a few hours, classic oil paints take far longer. Water-based paints simply evaporate, while oil paint relies on a chemical reaction with air and oxygen to convert oil to a solid paint film. Specific oil mediums like linseed oil or safflower oil and the use of mineral spirits as a thinner will alter the drying rates of oil paint compared to fast-drying acrylic paints.
Quick Tip: Even if oil paint feels ‘dry to the touch’ after 8 to 12 hours, it may remain soft or wet underneath. For best results, allow the recommended time between coats and always test before moving forward, especially for thicker layers.
Typical Oil Paint Drying Times: Manufacturer Specs vs. Real-Life Experience
What Paint Cans (and Data Sheets) Say
Most manufacturers (like Benjamin Moore or Sherwin Williams) list drying times of 8–24 hours for a thin layer of oil paint to become dry to the touch. For recoating, they almost always recommend 24 hours or longer—often a few days for best results. Colors made with pigments like raw umber or naples yellow sometimes dry faster, while paints with titanium white or alizarin crimson can take a bit longer—due to the inherent drying rates of different pigments and binders. Your paint’s drying time is also affected by oil type (linseed oil dries faster than safflower oil), the use of drying agents, and the thickness of your first layer.
Actual Timelines We See in South Puget Sound
Experience beats any label. In local real-world conditions, even a thin layer of oil paint takes 12–24 hours to dry to the touch. If you apply a thicker layer, or if the weather is cool and humid, this extends drying time—sometimes to 48 hours or more. Ignoring these timelines and recoating too soon leads to dull spots, surface imperfections, or areas where the painting simply will not dry and may eventually crack as the layers underneath finally cure.
Why Your Results May Vary: Washington's Unique Weather
Local environmental conditions—especially high humidity, fluctuating temperature, and persistent damp air in the Puget Sound—can easily double or triple published drying times. For example, after a rainy spell, even a fast-drying paint with added drying agents, or an alkyd medium, may remain wet underneath for days. Air circulation and a warm environment help, but the speed of the drying process will always be influenced by many factors: type of oil, pigment, thickness, and the natural airflow of your space.
Quick Tip: If you’re facing unexpected delays, don’t rush. Applying heat or sealing the area can lock in moisture and solvents, causing yellowing, wrinkling, or even long-term paint failure. Patience is key to avoiding issues with paint layers or causing your painting to crack.
Factors That Affect Oil Paint Drying Time

- Temperature: Cool air (below 50°F) can nearly halt the drying process. A warm environment (65–75°F) allows the oil medium to properly oxidize and cure. The warmer the air, the faster your paint dries.
- Humidity and Dampness: High humidity slows the oxidation that dries oil paint, keeping surfaces tacky for several days. That’s why drying time is unpredictable during rainy seasons.
- Air Circulation: Good air circulation ensures consistent drying by carrying away solvents and bringing in fresh oxygen for the chemical reaction. Using fans is a proven way to help oil paints dry faster—but don’t overdo it so dust doesn’t stick to wet paint.
- Surface Material: Different substrates (wood, masonry, metal) interact uniquely with oil. Porous wood can absorb oil from the first layer, extending drying times compared to non-porous materials.
- Paint Thickness and Application Method: Thicker layers and uneven applications trap solvents and slow the drying process. Apply a thin layer with each coat for faster drying. Spraying and rolling tend to lay down thinner applications than brushing.
Does Paint Brand or VOC Level Matter?
Yes. Premium paint brands use higher quality binders and pigments, plus drying agents that are finely tuned to the product. Low-VOC or environmentally-friendly paints may take a bit longer to dry due to fewer accelerators. Always check the dry time recommendations—sometimes, a bit of patience prevents lots of problems later.
Quick Tip: Choosing your oil medium makes a big difference: linseed oil is standard, but safflower oil (and others) can alter drying time considerably. Talk to your painter or supplier about the best options to speed up drying for your project, and avoid using too much mineral spirits, which can weaken the final paint film.
Seattle’s Wet Climate: What Homeowners Need to Know
How Rain and Dew Impact Drying and Curing
One mistimed rainstorm or heavy overnight dew can undo hours of work. Moisture interrupts the chemical reaction that lets oil paint dry, trapping water and solvents and slowing the process. The result: tacky finishes, foggy streaks, and pitting—especially in thicker or poorly ventilated areas. Wet paint and wet underneath layers are extra sensitive to even brief weather exposure. Many factors in our local climate mean you must allow paint to dry more than manufacturer minimums.
Common Drying Mistakes We Fix after a Wet Week
We’re often called to repair jobs where oil paints never cured due to a sudden rain, ignored dew points, or thick applications that held moisture inside. Skipping weather protection or trying to rush a project with plastic covers (which block air) usually backfires, leading to required stripping, sanding, and repainting. Each additional paint layer extends overall drying time, so patience keeps costs and headaches down.
Surface Tenting, Dew Shields, and Other Pro Tricks
Our crews use specialized surface tenting, breathable dew shields, and high-quality mineral spirits as appropriate thinners to protect fresh oil paint. When rain is possible, creating airflow to dry oil paint faster is critical, but always use breathable protection rather than plastic tarps, which can trap humidity. Fast-drying pigments like raw umber, naples yellow, or cadmium red can also speed up drying rates for key areas.
Quick Tip: No matter how tempting, never cover wet paint with non-breathable plastic sheets or tarps. Always use breathable fabric or professional-grade tenting to allow proper air circulation, which helps each paint layer dry evenly and thoroughly.
How to Tell If Oil Paint Is Dry: Pro Tips

Classic Visual and Touch Tests
A matte or eggshell look often replaces the gloss of wet paint as it begins to dry to the touch. Run a clean finger along a hidden area to check—remember, thicker layers and areas with less air circulation or different pigments will dry at different rates. Edges may lag behind trim or detailed moldings, especially if there are multiple paint layers or the initial layer was applied thickly.
The ‘Fingernail’ Test—When and How to Use It
Gently press your fingernail into the most inconspicuous part of the painted surface. If it leaves a visible mark or dent, the paint is not completely dry or ready for another layer. It is especially important to wait longer between coats if you used mineral spirits, thick applications, or slow-drying colors like titanium white or alizarin crimson.
Why Dry to Touch Isn’t Always ‘Ready’
It’s a common misconception that “dry to touch” means fully set. Oil paints dry top-down, so a thin dry film can cover a layer that’s still wet underneath. Adding more paint, taping, or putting pressure on areas before a full cure risks wrinkling, surface marring, or permanent texture flaws caused by trapped solvents in paint layers below.
Risks of Early Recoating—What Can Go Wrong
Recoating too soon can trap wet paint or solvents deep in the layers underneath, leading to foggy, tacky finishes, eventual peeling, and, on exteriors, painting to crack as exposure and weather test the strength of improperly dried coats. Allow a few days for each layer, especially in poor drying conditions, to minimize risk.
Quick Tip: When in doubt about drying times, add extra time—rushing the process is the cause of most paint-drying disasters, not waiting too long for oil paints to dry.
Speeding Up the Drying Process—What Actually Works
Professional Approaches to Faster Drying
- Apply only thin, even coats to minimize time each layer needs to dry.
- Use alkyd medium (a synthetic resin oil medium) as a drying agent—alkyds can force oil paint to dry to the touch in a few hours rather than a day.
- Maintain good air circulation—fans or carefully controlled mild heat sources can help speed up drying during the curing process.
- Choose faster-drying colors: raw umber, cadmium red, and naples yellow dry faster than titanium white or alizarin crimson.
What NOT to Do (and Why Quick Fixes Can Hurt Results)
Don’t blast oil paint with direct heat or excessive airflow—sudden changes can lock in solvents, causing the paint to dry only on the surface while remaining wet underneath. Over-thinning with mineral spirits or using too many drying agents also weakens paint film over time. Always allow each layer of paint to dry naturally, and avoid covering with airtight plastic.
Protecting Painted Surfaces from Dampness and Debris
After painting, protect surfaces with breathable dust covers or dew shields. Avoid heavy traffic and dust, especially before the finish is fully dry to the touch. For exterior work, watch the weather and prioritize completion of critical areas before humidity or rain returns.
Are Additives or Low-VOC Oils Worth It?
Some products claim to make oil paints dry faster, including alkyd mediums or specialized drying agents, but improper use can harm color and final texture. Low-VOC or specialty oils (like safflower) often take a bit longer to set. Consult with a professional if you have environmental concerns, as they can recommend adjustments to speed up drying that won’t affect final quality.
Quick Tip: To minimize downtime, ask about alkyd medium or other additives that speed up drying rates without sacrificing durability or appearance. Professional crews know the right balance for your project and climate.
Exterior Projects: Planning for Success in Washington

Timing Your Painting around the Weather
Oil paint projects are best booked for stretches of dry, moderate weather. Our crews use environmental forecasts to stage jobs, prepping surfaces and adjusting application thickness based on drying conditions. Drying time is always longer after a rainy stretch; patience prevents failure and maximizes protection.
Setting Expectations for Decks, Siding, and Fences
Allow at least 24–48 hours before exposing any painted exterior surface—decks, railings, fences, or siding—to rain or moisture. Even if paint feels dry to the touch, layers underneath may still be setting. Fast-drying pigments (raw umber, naples yellow) help, while slow-drying colors (titanium white) will take longer, especially in thicker applications. To ensure a hard, weather-resistant finish, extend drying time during cool or humid periods and shield paint with breathable tenting when needed. See more on deck painting timelines here.
How Cover Pro Painting Plans Our Job Timeline
We use premium primers, proper drying agents, and monitor airflow and temperature for every project. Each layer of paint is allowed to dry completely before the next is added, and jobs are scheduled to avoid risky weather windows. We document each stage for our 5-year workmanship guarantee.
Key Steps in Our 5-Year Workmanship Guarantee Process
We pay meticulous attention to drying time: tracking humidity, managing airflow, and following product-specific guidance for drying oil paint faster—but never rushing when environmental conditions could compromise results. Our process ensures that your project is both beautiful and long-lasting. Learn more here.
Quick Tip: Delay landscaping, pressure washing, or outdoor events for a few days after exterior painting, so every layer of oil paint—especially thicker layers—has time to become completely dry before stress or exposure.
Interior Oil Paint Projects: What to Expect
Drying Times for Walls, Trim, and Cabinets
Trim and cabinets painted with oil paint typically become dry to the touch in 8–24 hours, but need several days to become completely dry for light use. Heavy contact or cleaning should be avoided for at least a week. Multiple paint layers or heavy use of oil medium slows the drying process. Open doors and windows to enable air circulation and help speed up drying in indoor environments.
Ventilation and Odor Control for Families
Good air circulation makes a big difference indoors: open doors and windows, run box fans, and use low-odor or low-VOC oil paints where family sensitivity is a concern. This not only helps oil paints dry faster, but clears odors and aids in a smooth, even cure throughout all paint layers.
Safety Tips When Painting Indoors
Always keep the area ventilated while painting and during the drying process. Never apply open flame near wet paint or containers of mineral spirits. Store drying agents and paint out of reach of kids and pets. Choose products with fewer fumes, and keep spaces off-limits until all layers are thoroughly dry to the touch and fully cured.
Recommended Wait Times before Return to Use
For most interior oil paint projects, wait at least 48 hours before moving furniture or returning to regular use—longer if multiple coats or thicker layers were applied, or if airflow and temperature are less than ideal. Always check each layer for full cure using tests described above before returning heavy objects or starting cleaning.
Quick Tip: If you need to speed up the process, ask about alkyd medium or modern fast-drying oil paints. Many formulas today are designed to deliver a fully dry finish in a fraction of traditional time, with minimal odors and high durability.
Common Drying Time Myths and Mistakes

Some guides promise that oil paint dries overnight, but actual conditions in the Pacific Northwest mean that only the surface may dry that quickly—layers underneath, especially with thicker paint, can remain soft. This leads to paint cracking or peeling, especially if you push the schedule with a second coat too soon. The answer to this question always depends on thickness, environmental conditions, and pigment choices.
‘It’s Dry When It Looks Dry’ and Other Troubles
Don’t trust just the surface appearance. Oil paint may skin over but still be wet underneath—different pigments dry at different rates, and failure to verify with a tap or nail test means risk of flaws as the drying process continues out of sight. Multiple paint layers or a heavy hand always takes a bit longer to fully cure—even if the paint feels dry to the touch.
Trusting Online Forums vs. Local Pros
The answer to how long does oil paint take to dry will differ for each home and room—most online advice uses ideal conditions not found in Washington. Local pros know how to get oil paints dry faster without compromising quality, thanks to experience with unique environmental conditions and the impact of real-world paint drying agents, air circulation, and proper surface prep.
Local Resources for Paint Project Planning
For in-depth troubleshooting and the latest on products that help speed up drying, check our painting blog or reach out for a tailored consult. We can guide you through the nuances of different paint, oil mediums, and techniques to achieve the best results in the South Puget Sound.
Quick Tip: Remember: the majority of paint failures come from ignoring proper drying time, layering too thick, or using products that don’t match local environmental conditions. Invest in expertise if your project matters!
Choosing a Pro: Why Drying Time Knowledge Matters
The Importance of Realistic Schedules and Clear Communication
One of the main reasons homeowners call us to fix DIY jobs is paint that won’t dry properly—wrinkling, tacky spots, or full layers that never cure. Unrealistic expectations or cutting corners between coats increases costs, wastes time, and opens your investment up to long-term issues. Every paint layer and drying period should be planned into the schedule—especially for oil projects in multi-layer jobs.
Cover Pro Painting’s Expertise and Warranty
Every service we offer includes a detailed approach to drying time and the Puget Sound’s best workmanship warranty. We use products that encourage thorough drying, whether we’re using traditional linseed oil paints, faster-drying alkyd mediums, or specialty solutions for unique surfaces.
Why Homeowners Choose a Licensed, Bonded Painter
Experienced painters understand the interactions of air, oil mediums, pigment types, mineral spirits, and environmental conditions that affect drying rates in oil paints. We’re licensed, bonded, and insured—raising drying time issues before they cost you extra money or hassle, and providing layers of advice for interior and exterior needs. Learn more about our credentials here.
Next Steps: Request Your Detailed Proposal
Ready for an honest project estimate and a realistic timeline that respects all layers of your paint job? Contact us today for a tailored proposal—considering how long oil paint takes to dry, real-world conditions in your home, and the best methods to deliver a lasting finish.
Frequently Asked Questions
Why does oil paint take longer to dry in Seattle compared to other places?
Moisture levels—especially during rainy spells—increase drying time significantly. Oil paint dries via a chemical reaction called oxidation, which is slowed by high humidity and cool air. As a result, oil paint may take a few days instead of a few hours to dry to the touch, and thick paint layers or slow-drying pigments like titanium white can stretch out the drying process even more.
What can I do to help oil paint dry faster in my home?
Boost air circulation with fans, maintain a steady warm environment (ideally 65–75°F), and use thin layers. Choose pigments with faster drying rates (like raw umber, naples yellow, or cadmium red) and ask your pro about alkyd medium or drying agents to speed up the drying process. Avoid over-thinning with mineral spirits.
Is oil-based paint still a good choice for my exterior in Washington’s climate?
Oil-based paint remains extremely durable for siding, trim, and metal features—but requires more planning. With the right air circulation, drying agents, and protection from rain/dew, oil paints can provide a tough, long-lasting finish on exteriors. Proper timing is essential given the long drying time.
How long should I wait before recoating or exposing new oil paint to rain?
Wait at least 24–48 hours before recoating or rain exposure, even if the paint feels dry to the touch. A bit longer is safer for thicker layers, pigments like titanium white, or during periods of low temperatures and high humidity—a hallmark of the Puget Sound.
Can I speed up oil paint drying with heaters or chemicals?
Professional techniques—like using alkyd medium or proper air circulation—are best to dry oil paint faster. Avoid uncontrolled heaters or aggressive drying agents that may cause uneven drying, cracking, or color shifts in different paint layers.
What if unexpected rain hits before my oil paint is dry?
Immediate protection is key. Use breathable covers to block rain and maintain airflow. If a layer of oil paint gets wet underneath, let it dry thoroughly before adding more paint. Sometimes, sanding back to a dry layer is needed for the best results.
Does paint thickness affect drying time?
Absolutely—thicker paint layers slow dry time considerably and are prone to remaining wet underneath even when they appear dry to the touch. Always use a thin layer and allow each coat to become completely dry before recoating.
How can I tell if oil paint is fully cured, not just dry to touch?
Besides appearance, use the nail test. Press your fingernail gently—if you see an indentation, more time is needed for the paint to dry completely. Drying time for full cure can be several days or more, based on factors like oil medium, pigment, and environmental conditions.
Why do professional painters insist on waiting longer between coats?
Longer waits between coats allow solvents and oils to fully evaporate, reducing the risk of cracking, dull spots, or adhesion issues—especially with multiple paint layers. Proper patience ensures a beautiful, long-lasting finish even in challenging conditions.
Are there interior air quality concerns with oil-based paints in my home?
Ensure strong ventilation during and after painting to clear fumes. Modern oil paints offer lower VOCs, but drying agents, mineral spirits, and slow-drying oils can linger in the air during the drying process. Ask about low-odor or fast-cure products for sensitive spaces.