%201.svg)


The Great Deck Debate: Painting vs. Staining Explained
Why Deck Finishing is Critical for Your Edgewood Home
Deck painting and staining are two essential methods for protecting your outdoor living space from Washington's harsh weather conditions. Both options shield your deck from moisture damage, UV rays, and general wear while enhancing your property's appearance and value.
Quick Answer: Paint vs. Stain at a Glance
- Paint: Lasts 10+ years, offers unlimited colors, hides imperfections, costs $30-$60/gallon
- Stain: Lasts 1-8 years, shows natural wood grain, easier to apply, costs $20-$35/gallon
- Best for new decks: Transparent or semi-transparent stain
- Best for older decks: Paint or solid stain to hide flaws
Your deck constantly battles the elements. Rain soaks into unprotected wood. Sun bleaches and cracks the surface. Temperature changes cause boards to expand and contract.
Without proper protection, you're looking at expensive repairs or complete deck replacement within just a few years.
The choice between paint and stain isn't just about looks - it's about durability, maintenance, and budget. Paint creates a protective barrier that can last over a decade but requires more prep work. Stain penetrates the wood for natural protection but needs reapplication more frequently.
As one deck owner shared: "Keeping your deck looking good is a tough job. However, the enjoyment and relaxation it can provide is worth it!"

The Core Differences: Paint vs. Stain
Choosing between deck painting and staining isn't just about picking a color you like. It's about understanding how each option will look, perform, and age on your deck. Let's break down the key differences that matter most to homeowners.
FeaturePaintStainAppearanceOpaque finish, unlimited colors, hides imperfectionsShows wood grain, natural look, transparent to solid optionsDurability10+ years, protective barrier, can chip/peel1-8 years, penetrates wood, fades gracefullyCostHigher upfront cost, needs primerLower material cost, fewer supplies neededMaintenanceEasy to clean, longer reapplication cycleMore frequent touch-ups, simpler reapplication
Appearance and Texture
Paint creates a completely different look than stain. When you paint your deck, you're getting an opaque finish that completely covers the wood grain. This gives you access to virtually unlimited color options - from classic whites and grays to bold blues or rich greens that complement your home's style.
Paint is particularly great for older decks because it hides imperfections beautifully. Those weathered boards, minor scratches, or color variations? Paint covers them all, creating a uniform look that makes your deck appear brand new.
Stain takes the opposite approach - it celebrates your wood's natural beauty. You can choose from transparent stains that barely change the wood's appearance, semi-transparent options that add subtle color while preserving the grain, or solid stains that provide more coverage but still maintain some wood texture.
The result is a more natural, rustic appearance that lets your deck's wood character shine through. If you love the look of wood but want protection, stain is your friend.
Durability and Lifespan
Here's where the differences really matter for your wallet and weekend plans. Paint durability is impressive - a properly painted deck can last 10+ years before needing reapplication. Paint creates a protective barrier on the wood surface that stands up well to foot traffic and weather.
The downside? When paint fails, it often chips and peels, especially in high-traffic areas. Once that happens, you'll need to scrape off the old paint before applying new coats - not exactly a fun weekend project.
Stain durability varies more widely, lasting anywhere from 1 to 8 years depending on the type and your deck's exposure. But here's the beauty of stain: it fades gracefully. Instead of ugly peeling, stain simply gets lighter over time, making reapplication much easier.
Stain also provides excellent UV protection and helps prevent moisture penetration by soaking into the wood fibers. For more comprehensive information about protecting your deck and other home repairs, we've got you covered.
Cost and Budget
Let's talk numbers - well, ranges anyway. Stain typically costs less per gallon and requires fewer materials overall. You don't need primer, and the application process is generally more straightforward.
Paint costs more upfront and often requires primer, especially on raw wood. However, since paint lasts longer, the cost per year of protection can actually be competitive with stain.
Think about your overall project budget too. If you're planning to DIY, stain is generally more forgiving for beginners. Paint requires more prep work and technique to get professional-looking results.
Maintenance and Upkeep
Daily maintenance is where paint shines. Painted deck cleaning is straightforward - the smooth surface is easy to sweep and naturally stain-resistant. Spilled barbecue sauce? No problem, it wipes right off.
Stained deck cleaning might require more effort since the textured surface can hold onto dirt and debris. However, the reapplication process for stain is much simpler - usually just a thorough cleaning and a fresh coat.
Paint reapplication involves more work when the time comes - scraping, sanding, priming, then painting. But you'll only do this major project every decade or so.
Stain reapplication happens more frequently but with much less prep work. Most of the time, you can simply clean the deck and apply a new coat directly over the old one.
The choice really comes down to whether you prefer occasional big projects (paint) or more frequent but easier touch-ups (stain).
Preparing Your Deck for a Flawless Finish
We always say that proper preparation is the most critical step for a long-lasting finish, whether you choose paint or stain. Think of it as laying the groundwork for success; without a solid foundation, even the best products won't perform as expected. This isn't just a suggestion, it's a golden rule in deck painting and staining. Skipping steps here will inevitably lead to frustration down the line, with premature peeling, fading, or an uneven finish. Our goal is to ensure your deck not only looks fantastic but also stays protected for years to come.
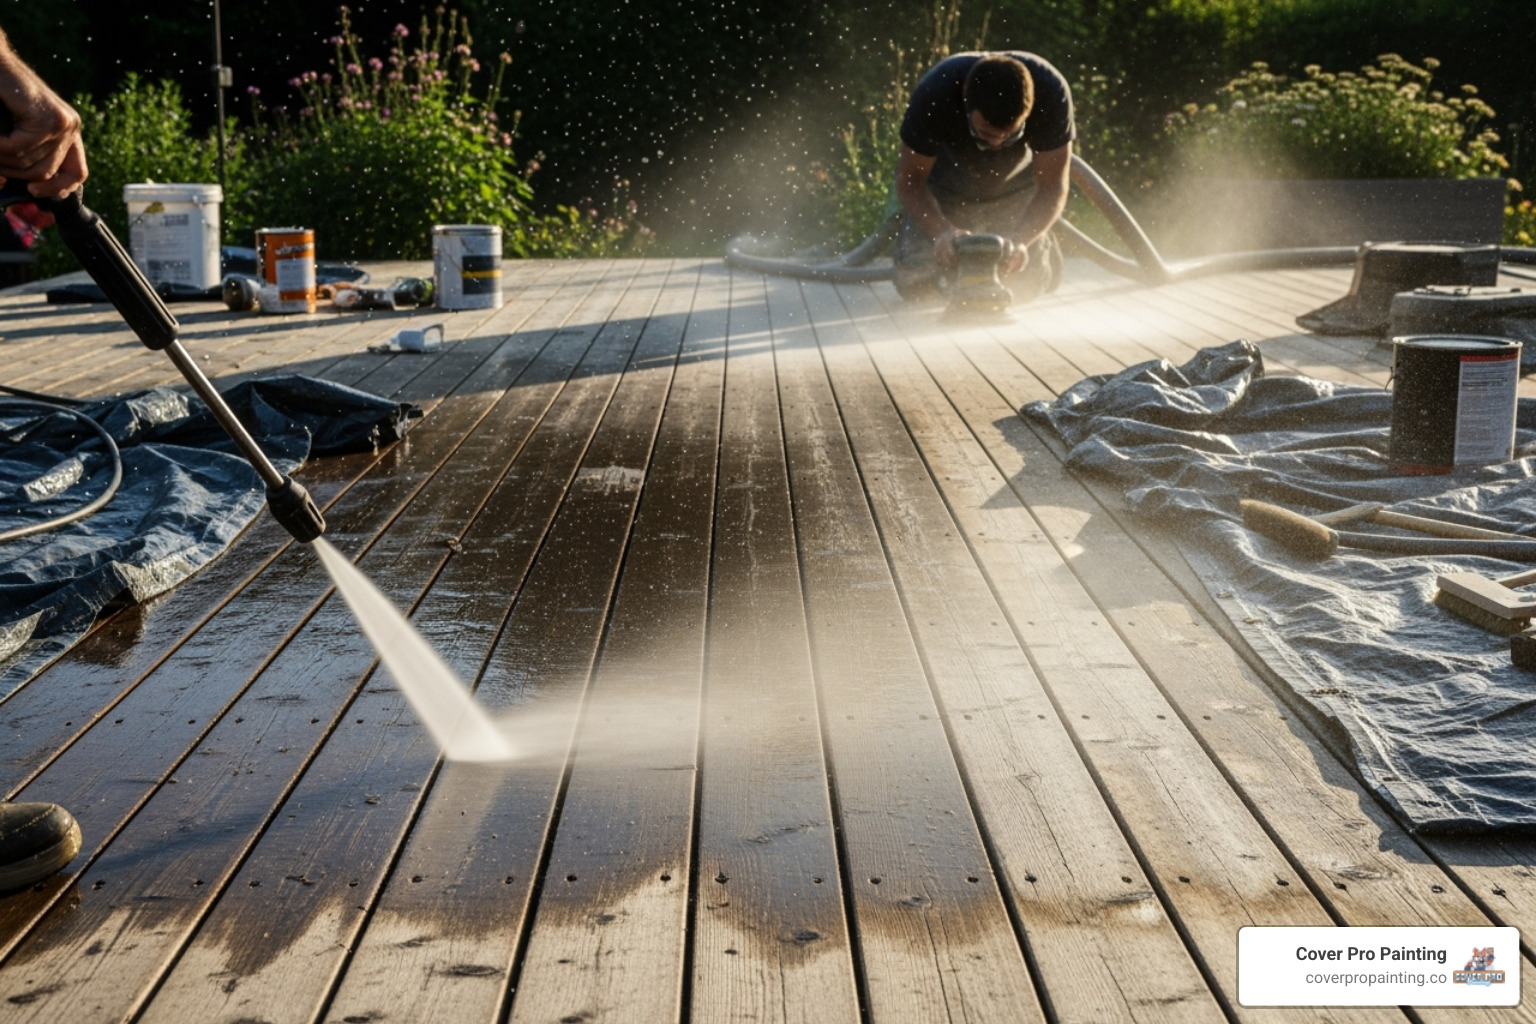
Step 1: Clean and Repair
The first order of business is to clear your deck of all furniture, planters, and other obstacles. Then, give it a good sweep or use a leaf blower to remove any loose debris, leaves, and dirt. This seemingly simple step is crucial for exposing the actual deck surface.
Next, it's time for a deep clean. We recommend using a high-quality deck cleaner designed to remove grime, mold, and mildew. Apply the cleanser according to the manufacturer's directions, let it soak for the recommended time, and then get to scrubbing! A stiff-bristled brush can work wonders, especially for stubborn spots. For a truly thorough clean, we often use a pressure washer. However, a word of caution: use a pressure washer carefully and at the appropriate setting (maximum 600 psi for softwoods like cedar, and up to 1500 psi for hardwoods like oak) to avoid damaging the wood. You want to clean, not strip away the wood fibers! After scrubbing and pressure washing, rinse the deck thoroughly with a garden hose until all foam and residue are gone. Proper rinsing is key to preventing future adhesion issues.
Once the deck is clean, allow it to dry completely. This is a non-negotiable step. Depending on the weather and humidity, this can take 24 to 48 hours, or even a few days. Applying paint or stain to damp wood can lead to blistering, poor adhesion, and premature failure.
While the deck is drying, or after it has dried, it's time for a thorough inspection. Look for any signs of damage: loose nails or screws, splintered boards, or rotted wood. Tighten any loose fasteners, and if you find any rotting or severely damaged boards, replace them. For minor cracks, nail holes, or small areas of rotted wood, you can use an epoxy putty or wood filler. We also recommend checking for gaps in wood joints, especially around posts or where boards meet, and caulking them for extra protection against moisture ingress. Addressing these issues now will ensure a smooth, uniform surface and prevent future problems. For more in-depth solutions for repairing damaged wood on your deck, you might find our article on Solutions for Repairing Rotted Wooden Deck Posts helpful.
Step 2: Sand and Smooth
After cleaning and repairing, the next essential step is sanding. This helps to create a smooth, even surface for the paint or stain to adhere to, and it also opens up the wood's pores, allowing stain to penetrate more effectively.
If you're dealing with an older deck that has peeling paint or stain, sanding is even more critical. You'll need to remove as much of the old finish as possible. For this, you might start with a coarser sandpaper grit, like 34-36 grit for heavy removal of paint and varnish, or 40-50 grit for general finish removal. For sanding rough wood or to smooth out the surface after repairs, a medium grit (60-100 grit) is often ideal. Finally, for a smooth finish and to prepare the wood for the final coating, use a fine sandpaper (120-220 grit). If you’re really particular about removing small blemishes from applied finishes, extra fine grits (240-400) can be used.
Using a power sander can make this process much more efficient, especially for larger decks. Work with the grain of the wood to avoid unsightly swirl marks. Once you've finished sanding, thoroughly remove all dust and debris. You can use a leaf blower, a shop vacuum, or even just sweep the deck diligently. Any remaining dust can interfere with adhesion and leave a gritty finish. Proper sanding is a game-changer for the final look and longevity of your deck painting and staining project. For more tips on choosing the right sandpaper for your project, take a look at Tips for choosing sandpaper.
The How-To Guide for Deck Painting and Staining
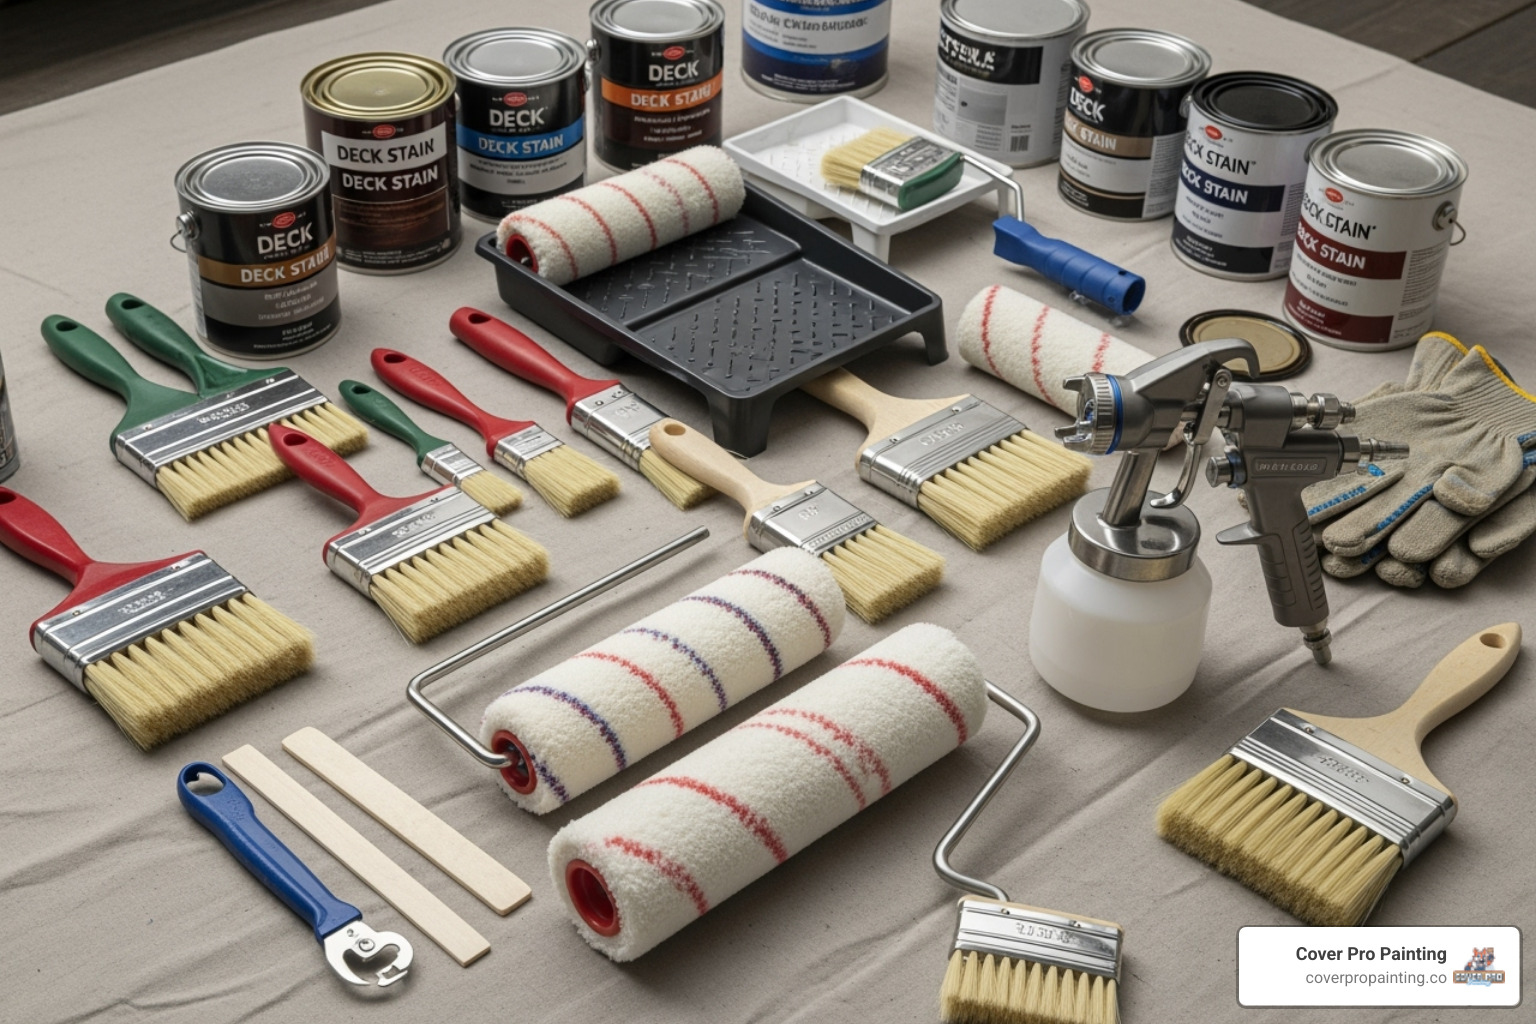
Once your deck is carefully prepared – clean, dry, and smooth – you're ready for the exciting part: application! The tools and techniques you use will depend on whether you've chosen stain or paint, but in both cases, patience and attention to detail are your best friends. We've gathered our favorite tools and tips to help you achieve a professional-looking finish.
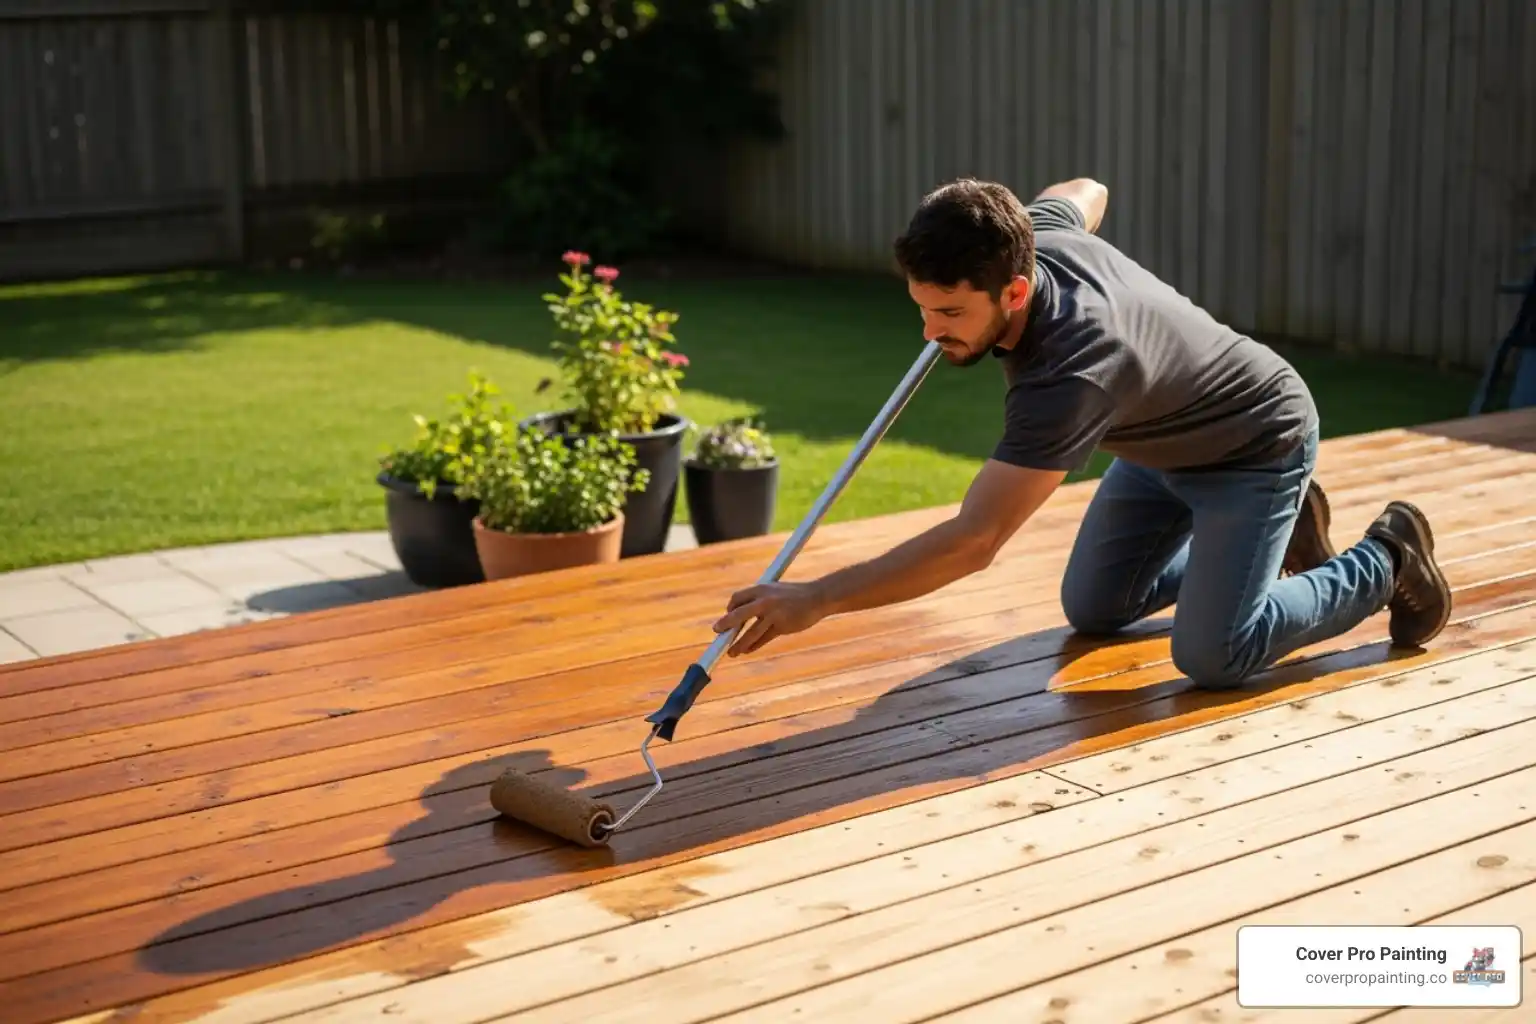
Applying Deck Stain
Staining a deck can be a surprisingly straightforward process, especially compared to painting. The right tools can make all the difference. You'll want a good quality paintbrush for edges, railings, and tight spots. For larger flat surfaces, a paint roller with an appropriate nap for deck stains, or a stain pad, can speed things up. Many homeowners also opt for a paint sprayer, which offers excellent coverage and can be very efficient, especially for decks with many spindles or intricate railings.
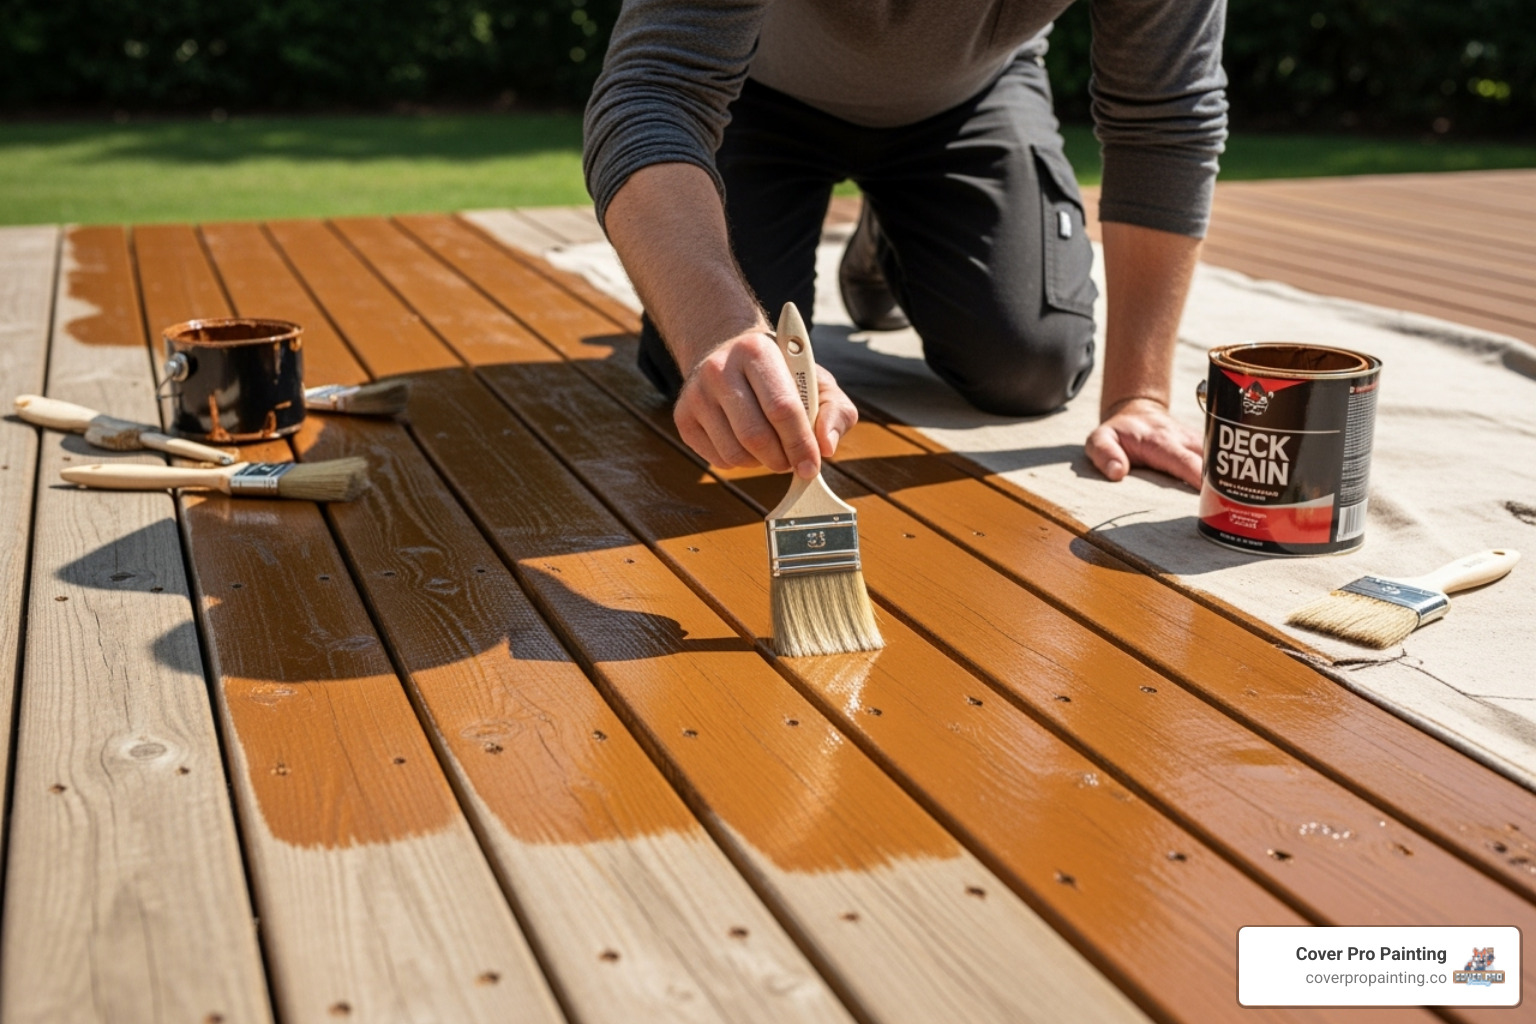
Before you begin, it’s always a good idea to test your chosen stain on a small, inconspicuous area of the deck. This allows you to see how the color will look on your specific wood type and ensures you're happy with the result. Wood absorbs stain differently, so a test patch is crucial.
When you're ready to apply, work in small sections, always following the wood grain. This helps the stain penetrate evenly and prevents lap marks. A critical technique is to "maintain a wet edge." This means always applying new stain next to an area that is still wet, blending the sections seamlessly. Avoid applying too much stain at once, as this can lead to a sticky, uneven finish or even peeling later on. If you see excess stain pooling, back-brush or wipe it off immediately to ensure even absorption.
For railings, start from the top and work your way down. For deck boards, begin closest to your house and work outwards towards the stairs, ensuring you don't paint yourself into a corner! If a second coat is needed, always follow the manufacturer's drying times between coats. Many stains are designed for a single coat, so check your product's instructions carefully. After application, allow the stain to cure for 24-48 hours before placing furniture or allowing heavy foot traffic. A well-stained deck improves its natural beauty and is a joy to behold. To see these tips in action, you can Watch this how to stain a deck video.
Applying Deck Paint
Deck painting offers a different set of considerations, largely due to its thicker consistency and the barrier it forms. Like staining, having the right tools is essential. You'll need quality brushes for edges, corners, and railings, and a paint roller for the main deck surface. For large areas or intricate designs, a paint sprayer can provide a smooth, uniform finish.
The first step in applying paint, after thorough preparation, is often a primer coat. While some deck paints are self-priming, using a dedicated exterior wood primer is highly recommended, especially if you're painting over an old, weathered surface or a different color. Primer helps with adhesion, provides a uniform base for your topcoat, and can improve the durability of your paint job. Apply the primer evenly and allow it to dry completely according to the manufacturer's instructions, which typically takes 1-2 hours.
Once the primer is dry, you're ready for the first coat of deck paint. Work in small, manageable sections, following the wood grain where applicable. Apply the paint evenly, avoiding thick globs or runs. Use your brush for tight areas and your roller for the broader surfaces. Again, maintaining a wet edge is important to prevent unsightly lap marks.
Most deck paint projects will require a minimum of two coats for optimal coverage, color uniformity, and durability. Allow the first coat to dry to the touch before applying the second. Drying times can vary significantly based on temperature, humidity, and the type of paint (oil-based paints can take up to 24 hours between coats, while water-based acrylics dry much faster, often 4-8 hours). Always refer to the product's label for precise drying and reapplication times.
After applying the final coat, allow the paint to cure fully before placing furniture or allowing foot traffic. This typically means waiting a minimum of 48-72 hours before walking on it, and a full week before placing any heavy items. This patience ensures the paint forms a stable, durable surface that will resist peeling and wear. For professional help with your deck painting project, explore More info about our services.
Frequently Asked Questions about Deck Finishes
Got questions about your deck? You're not alone! Many homeowners wonder about the best approach for deck painting and staining. We've compiled some of the most common questions we hear, along with our expert advice, to help you make the best choice for your outdoor space.
Can a stained deck be painted, and vice versa?
Yes, you can paint over a stained deck, and you can stain over a painted deck. However, the amount of work involved changes quite a bit depending on which way you go.
If you want to paint over a stained deck, it's a fairly straightforward process. You'll need to give the stained surface a really good clean to get rid of any dirt, mildew, or loose stain. Then, you should dull the old finish a bit. You can do this with some light sanding or by wiping it down with a special de-glosser. After that, apply a good exterior wood primer, and then you're ready for your chosen deck paint. The main goal here is to make sure the new paint sticks well, and those cleaning, dulling, and priming steps are key to achieving that.
Now, if you're thinking about staining a deck that's currently painted, be prepared for a much bigger job. Stain needs to soak into the wood itself, so that old paint barrier has to go completely. This means you'll need to strip off all layers of paint and primer. It's a challenging and time-consuming process that often involves paint strippers, power washing, and a lot of sanding. Even a little bit of leftover paint will stop the stain from soaking in properly, which can lead to a patchy look or the finish failing too soon. Once you've got the deck stripped down to bare wood, you'll need to clean and sand it thoroughly again before you can apply stain. Think of it like starting fresh with raw wood – it's the only way to get a beautiful, long-lasting stain finish.
What finish is best for old or new wood?
The age and current condition of your deck's wood are super important when picking the right finish. It's like choosing the right outfit for the occasion!
For a brand new deck, especially one made from beautiful, natural wood like cedar or redwood, a transparent or semi-transparent stain is an excellent choice. These stains let the gorgeous natural grain and color of the wood shine right through, while still giving it protection from the sun's UV rays and moisture. If your deck is made of pressure-treated lumber, a common choice, just remember to let it dry and "cure" for at least a month before putting any finish on it. This helps the wood absorb the stain or paint properly, ensuring a better, longer-lasting result.
If your deck is older and has seen better days—maybe it has some visible imperfections, discoloration, or even minor repairs—then paint or a solid stain is usually a better way to go. Paint provides a completely opaque finish that can effectively hide all those flaws, giving your deck a clean, uniform, and refreshed appearance. Solid stains offer a similar opaque look to paint, covering imperfections, but they still penetrate the wood for protection like a stain. They're a fantastic compromise, giving you the full coverage you might want for an aging deck, but with some of the benefits of a stain. If your deck needs a complete facelift, painting or a solid stain can truly work wonders to boost its curb appeal!
Are there specific paints or stains that are better for certain types of wood or weather conditions?
You bet! The kind of wood your deck is made from, and especially the climate in places like Edgewood, WA, should definitely play a role in your finish choice.
For wood types that are naturally rich in oils, like cedar or redwood, some oil-based stains often work beautifully, as they truly complement the wood's natural properties. For widely used pressure-treated pine, both stains and paints perform well, but crucial step: ensuring the wood is fully dry and cured before you apply anything.
When it comes to weather conditions, the choice becomes even more interesting:
Moisture Protection: If you live in a damp or rainy climate, like much of Washington State, oil-based deck paints and stains are superstars for moisture protection. They penetrate deeply into the wood, creating a strong barrier against water. This helps prevent rot and warping, keeping your deck healthier for longer.
UV Protection: Is your deck basking in the sun all day? Then latex (water-based) paints and many quality stains shine! They offer excellent defense against UV-related fading. A finish with strong UV inhibitors will help your deck keep its vibrant color and prevent sun damage, ensuring it looks fantastic for seasons to come. You might also hear about polyurethane deck paints; these are quickly becoming popular for their incredible durability and long-lasting protection against UV rays.
Temperature and Humidity: Don't forget to check the weather report before you start! Water-based paints are usually lower in harsh chemicals, resist fading, and dry faster, making them suitable for application when temperatures are a bit higher. However, for any finish, the ideal temperature range for application is typically between 50-86°F (10-30°C), with humidity below 80%. Applying finishes in direct, hot sunlight can cause them to dry too quickly, leading to lap marks or poor adhesion. We always recommend checking the forecast to make sure no rain is expected for at least 24-48 hours after you finish, giving the product plenty of time to cure properly.
By keeping these factors in mind, you can pick a finish that not only looks amazing but also provides the best possible protection for your unique deck and our local environment.
Conclusion
So, after diving deep into deck painting and staining, where do you land? The "best" choice for your deck really comes down to what you envision for your outdoor space and how much effort you're willing to put into its upkeep.
If you dream of a vibrant, uniform look that can truly transform your deck, and you're ready for the initial prep work, paint might be your perfect match. It offers fantastic protection, an almost endless palette of colors, and does an amazing job at hiding any imperfections, giving you a fresh, durable finish that can last a decade or even more. Just remember, proper application is key to preventing those pesky chips and peels down the road.
On the other hand, if you adore the natural character of your wood and prefer a finish that ages gracefully, stain could be your go-to. It's generally a bit simpler to apply and re-coat, allowing the beautiful grain and texture of your deck boards to shine through. While stain does need reapplication more often—typically every one to eight years—its easier maintenance process can be a big win for many homeowners.
No matter which finish captures your heart, there’s one golden rule: proper preparation is absolutely essential. Taking the time to clean, repair, and sand your deck carefully will truly make all the difference, ensuring your chosen finish adheres beautifully and provides long-lasting protection. It’s the secret sauce to a stunning and durable result.
If the thought of tackling this project yourself feels a bit overwhelming, or if you simply want that flawless, professional finish without the fuss, we're always here to lend a hand. At Cover Pro Painting, we pride ourselves on delivering quality craftsmanship with an unwavering attention to detail, using the latest techniques to ensure your deck looks incredible and stands the test of time.
Ready to give your deck the royal treatment?