%201.svg)


Unlock Curb Appeal: Painting Your Front Door Like a Pro
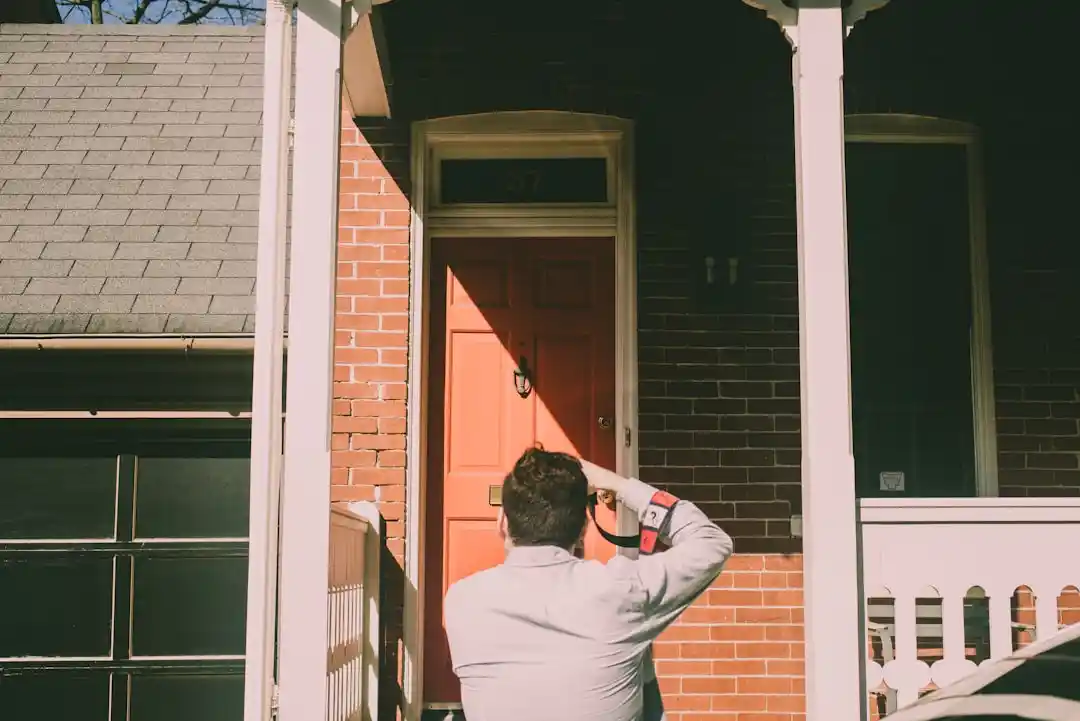
Why Front Door Painting Transforms Your Home's First Impression
Front door painting is one of the fastest, most cost-effective ways to boost your home's curb appeal. A fresh coat of paint creates a welcoming entrance and revitalizes your home's exterior with minimal effort.
Quick Front Door Painting Overview:
- Prep Time: 2-3 hours (cleaning, sanding, taping)
- Paint Application: 4-6 hours over 2 days
- Best Weather: 55-75°F, low humidity, overcast conditions
- Essential Tools: Quality brushes, exterior paint, primer, sandpaper
- Finish Options: Semi-gloss or high-gloss for durability and easy cleaning
- Drying Time: 24-48 hours between coats, several days to fully cure
Your front door sets the first impression for visitors. Whether you choose a bold statement color or a classic neutral, painting your front door is a rewarding DIY project that can dramatically update your home's appearance.
The key to a professional look is proper preparation and using the right materials. Use an exterior-grade paint in a durable finish like semi-gloss or high-gloss to withstand weather and frequent use. These finishes also resist dirt and are easy to clean.
With the right approach, you can achieve a flawless finish that looks professional. The process involves careful surface preparation, applying primer, and using proper painting techniques to avoid drips and brush marks.
Pre-Painting Essentials: Gathering Your Gear and Making Key Decisions
Proper preparation and quality materials are the difference between a professional-looking paint job and a DIY disaster. This starts with choosing the right day. For best results, paint when temperatures are between 55-75°F with low humidity. Overcast skies are ideal, as direct sunlight can cause paint to dry too quickly, leaving brush marks. Avoid painting if rain is in the forecast or on windy days, which can blow debris onto your wet paint.
For tips on handling other high-traffic areas around your home, check out our guide on Tips for Painting High-Traffic Areas in Home.
Choosing the Right Materials for Front Door Painting
Getting professional results starts with the right tools. Investing in quality basics will make the job easier and the results better.
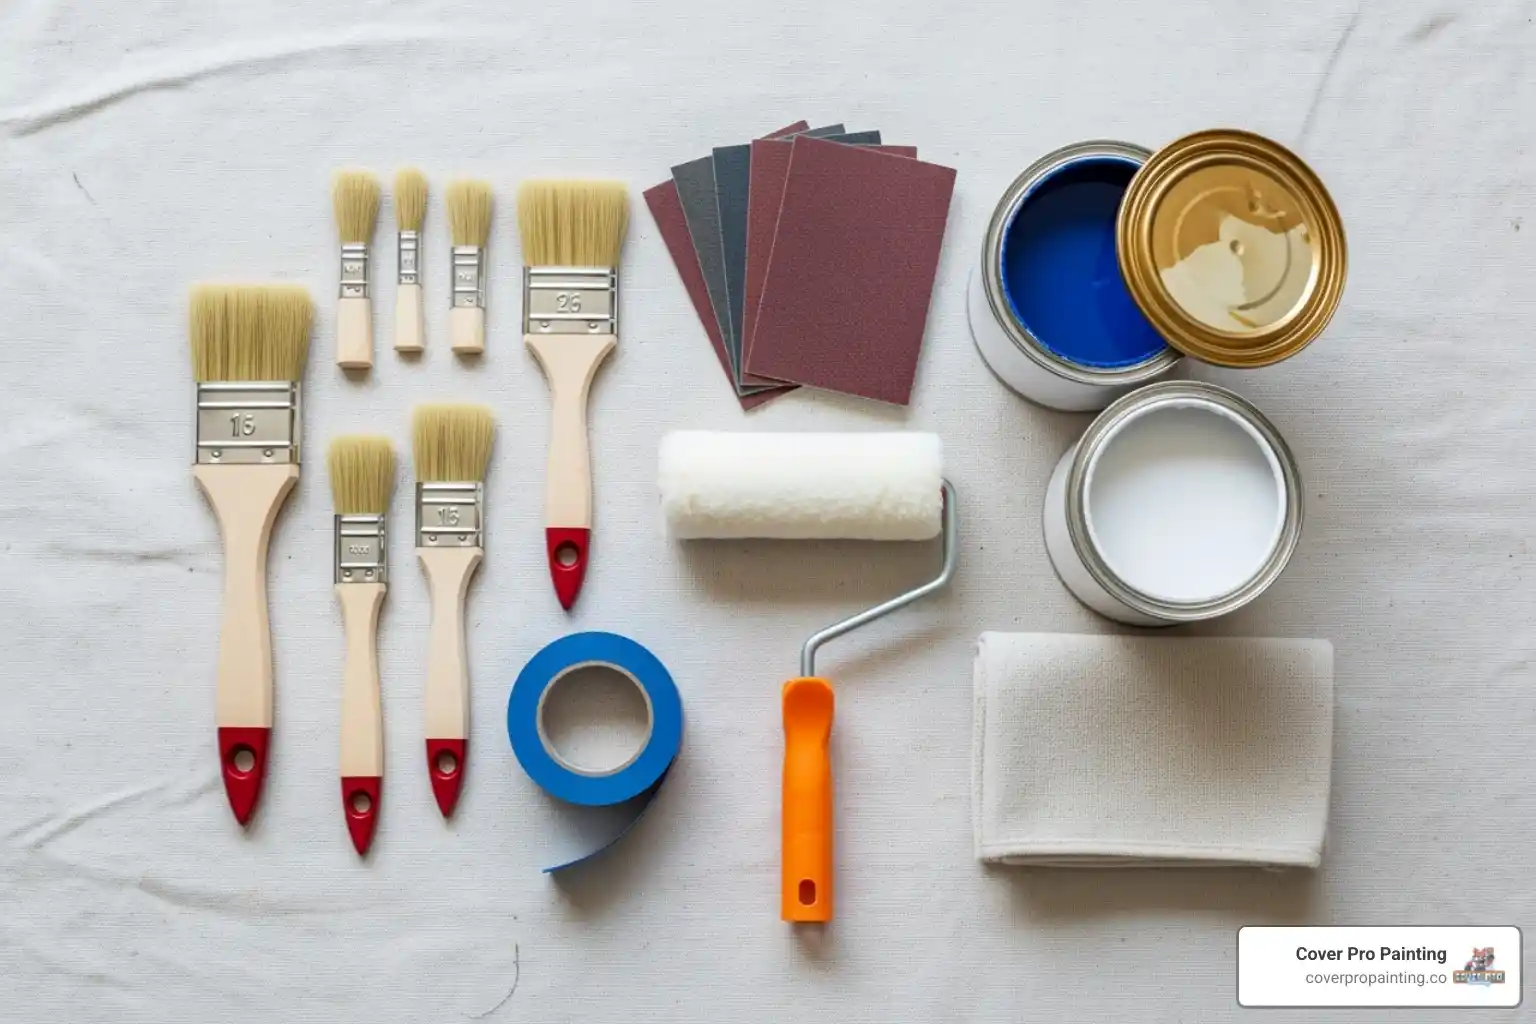
- Prep: You'll need 120- and 220-grit sandpaper, a screwdriver to remove hardware, and a degreaser or mild detergent for cleaning.
- Protection: Use high-quality painter's tape (2-inch width) and drop cloths. For glass, consider masking liquid for cleaner lines.
- Application: A quality 2-3 inch angled brush is essential for detail work and minimizing brush marks. Use a small foam roller (1/4-inch nap) for flat surfaces, along with a paint tray.
- Supplies: You'll also need exterior-grade primer and paint, wood filler for repairs, clean rags, a tack cloth for dust, a stir stick, and a work bucket.
Safety note: If your home was built before 1978, use a NIOSH-approved respirator in case of lead paint.
Selecting the Perfect Paint and Finish
Choosing the right paint is essential. Always use an exterior-grade paint designed to handle UV rays, temperature changes, and moisture without fading or cracking.
- Latex (water-based) paint is the best bet for most doors. It's flexible, durable, and easy to clean up with soap and water.
- Oil-based paint offers a very hard, glossy finish but is less flexible and requires mineral spirits for cleanup. It can also yellow over time.
To check your current paint type, rub a hidden spot with a cotton ball soaked in rubbing alcohol. If paint comes off, it's latex.
Primer is your secret weapon for a professional finish. It improves adhesion, hides old colors, and seals the surface. Use primer when painting bare wood, metal, or fiberglass, or when making a dramatic color change.
For the finish, semi-gloss and high-gloss are the top choices for front doors:
FinishDurabilitySheen LevelEase of CleaningSatinGood, but less durableLow to MediumShows scuffs more easilySemi-GlossExcellent wear resistanceMedium to HighVery easy to clean, resists dirtHigh-GlossSuperior chip resistanceVery HighEasiest to clean, shows imperfections
Semi-gloss offers a perfect balance of durability and sheen. High-gloss is extremely durable but will highlight any surface imperfections.
For more guidance on paint finishes, see our article on Choose Perfect Paint Finish for Each Room.
What Are the Best Paint Colors for a Front Door?
Choosing a color is the most exciting part. Your front door can either blend with your home's existing siding, trim, and roof colors or create a striking contrast.
- Classic colors like deep charcoal, rich black, or sophisticated navy offer a timeless look that works with any architectural style.
- Bold and modern choices like vibrant yellow, fresh teal, or playful coral can transform your home's personality and make it memorable.
Since a door is a small area, it's a low-risk place to experiment with color. To help decide, use a mobile app to visualize colors or paint a large poster board sample and see how it looks in different light throughout the day.
For deeper insights into color, explore our guide on Paint Color Psychology for Different Rooms.
Your Step-by-Step Guide to Flawless Front Door Painting
With your materials and color chosen, it's time to paint. This guide will walk you through the process for a smooth, professional-looking finish.
Prepare Home for Exterior Painting
First, decide whether to remove the door or paint it in place. Removing it allows you to work on a flat surface, which helps prevent drips. Painting it in place is often more practical, as it avoids heavy lifting and leaves your home secure. For most DIYers, we recommend painting the door in place.
Step 1: Prepare the Door Surface
Proper preparation is the most critical step for a long-lasting finish. Don't rush this stage.
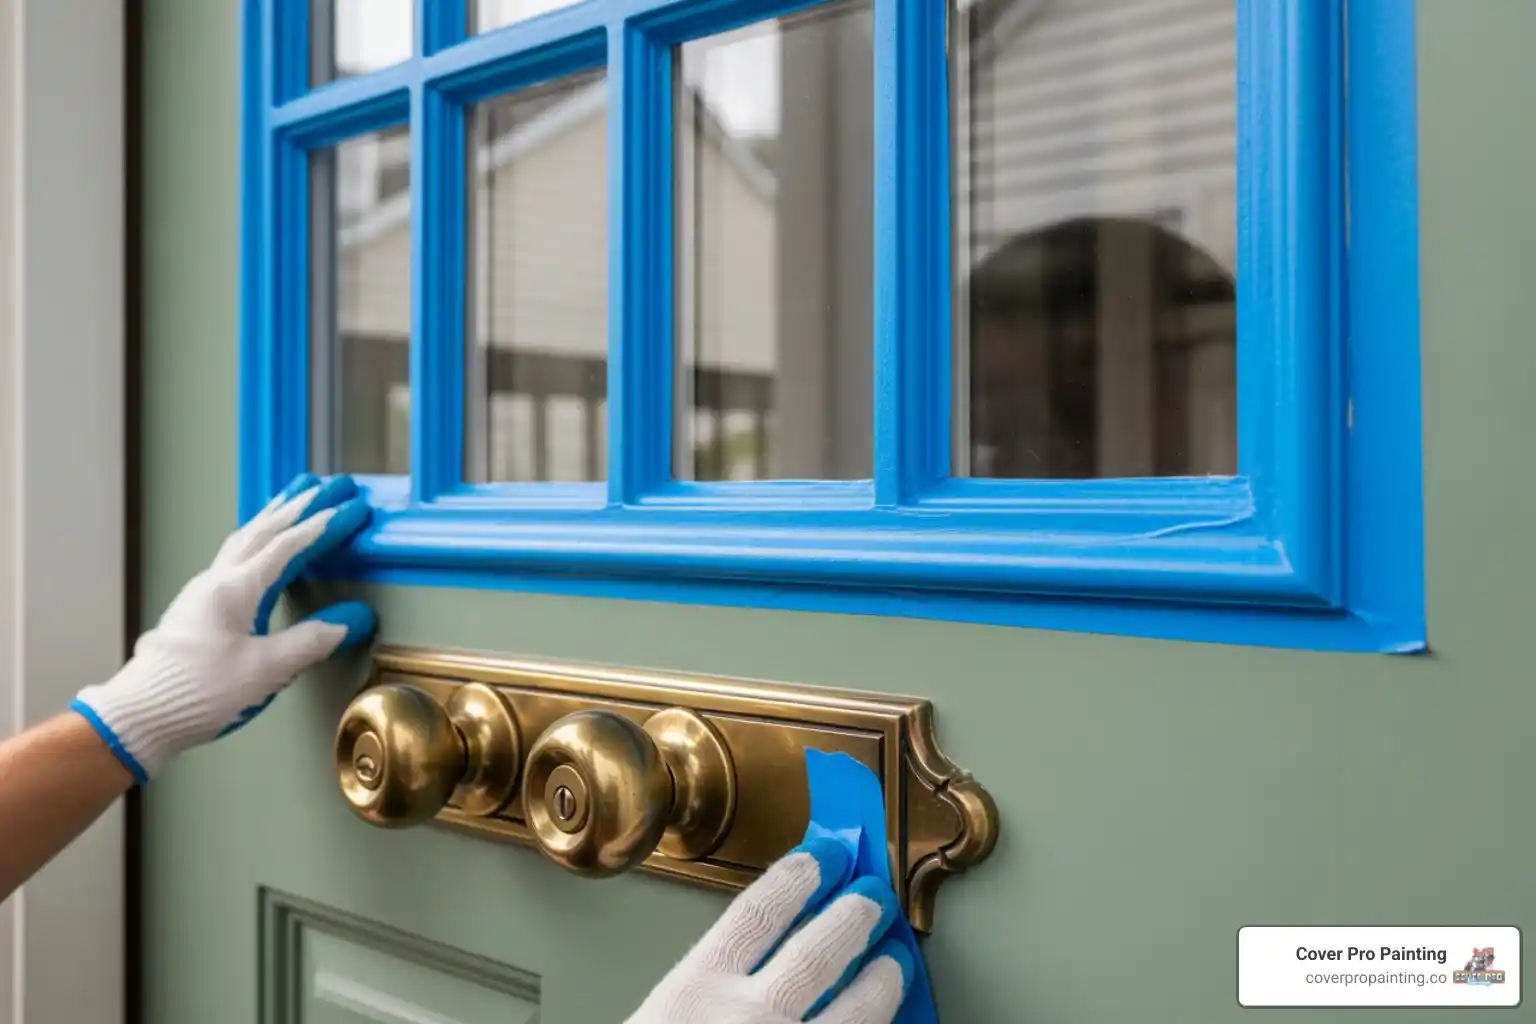
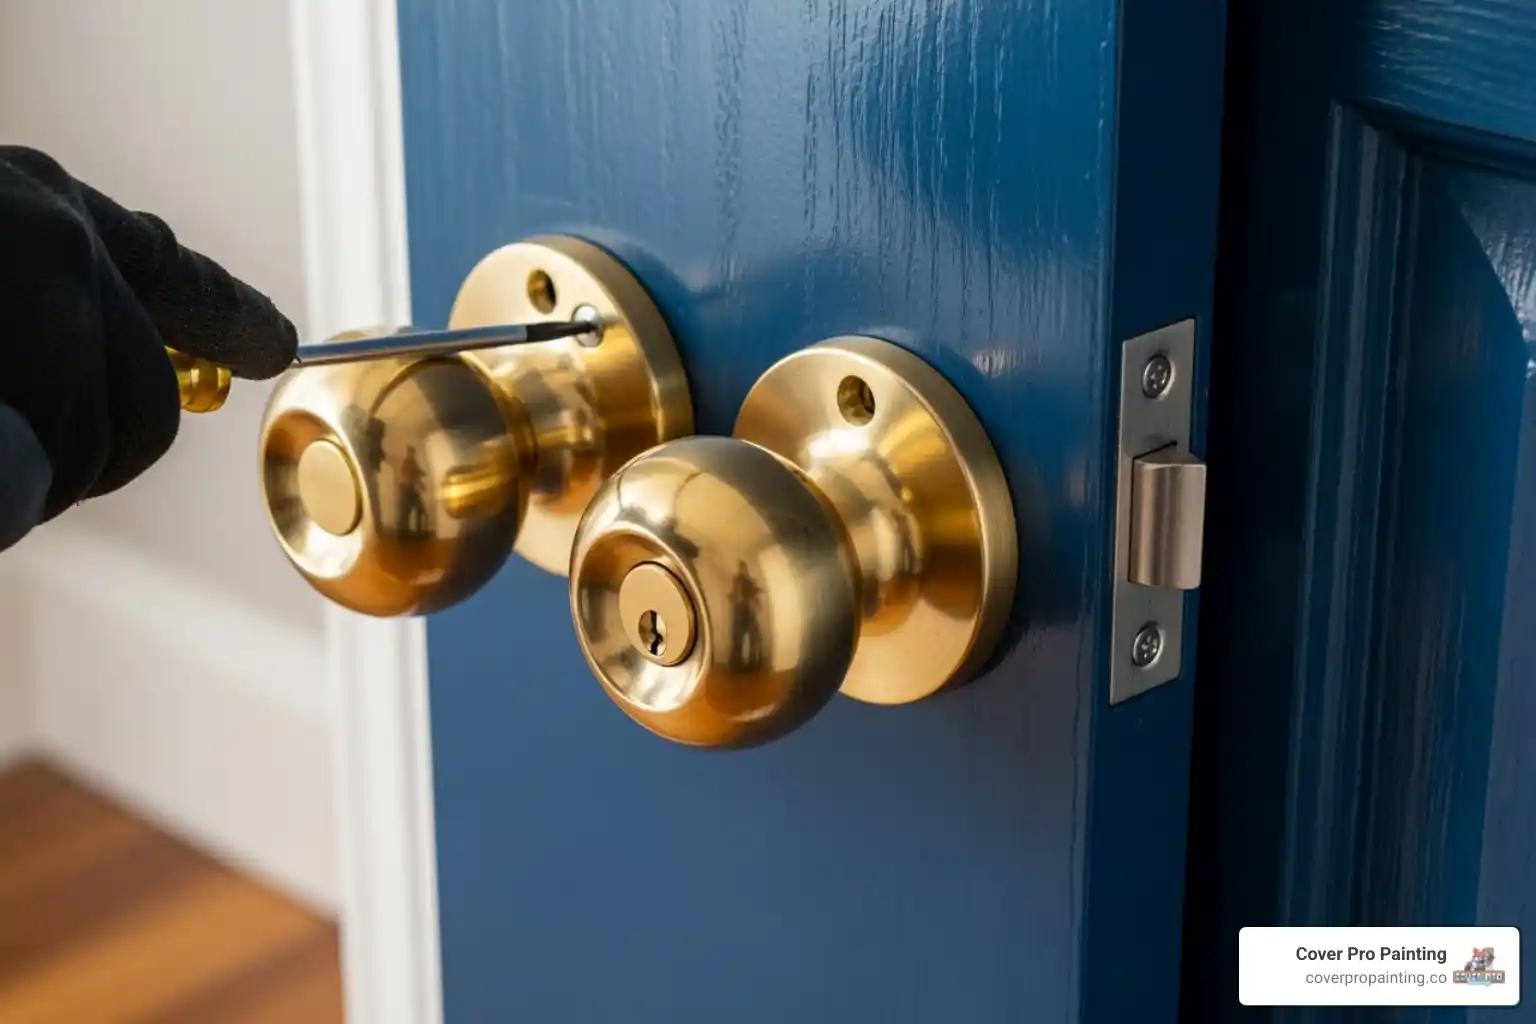
- Remove Hardware: Take off doorknobs, knockers, peepholes, and house numbers. If painting in place, you can leave the hinges but tape them off carefully.
- Clean Thoroughly: Scrub the door with a mild detergent or degreaser to remove dirt and grime. Use a 50/50 bleach and water solution for any mildew. Rinse well and let it dry completely.
- Sand the Surface: Scrape off any peeling paint. Use 120-grit sandpaper to smooth rough spots, then follow with 220-grit for a silky finish. Sanding is crucial for paint adhesion.
- Fill Imperfections: Use wood filler for any cracks or dents. Let it dry, then sand it smooth.
- Remove Dust: Vacuum the door, then wipe it with a tack cloth to remove all fine dust particles.
- Tape Off: Carefully apply painter's tape to glass panels and any remaining hardware for clean, professional lines.
Step 2: Apply Primer
Primer creates the perfect foundation for your paint, ensuring better adhesion and a uniform topcoat.
Choose an exterior-grade primer. If you're making a big color change (e.g., dark to light), ask your paint store to tint the primer toward your final color to improve coverage.
Apply the primer in thin, even coats. Use your angled brush for detailed areas and a small foam roller for flat surfaces. Avoid applying it too thickly, which can cause drips.
Allow the primer to dry for a full 24 hours. This patience ensures proper curing and a better final result. Lightly sand any rough spots after the primer is dry.
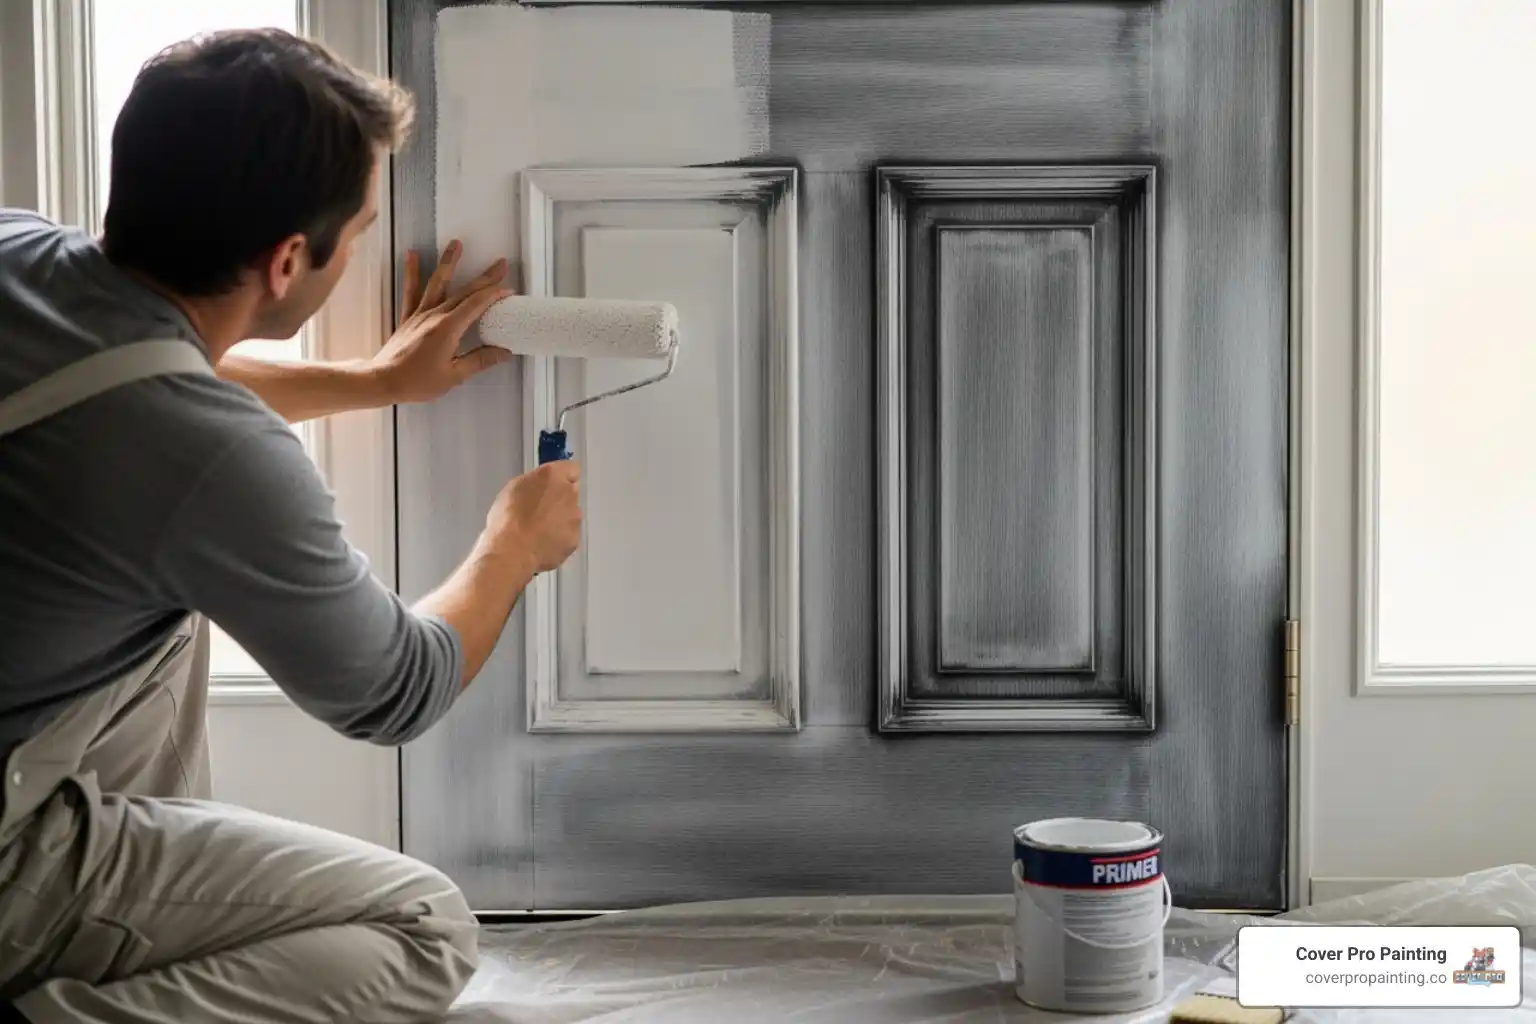
Step 3: Mastering the Technique of Front Door Painting
The secret to a professional finish is applying two thin coats of paint instead of one thick one. Before you begin, stir your paint thoroughly. For latex paints, a conditioner like Floetrol can help reduce brush marks.
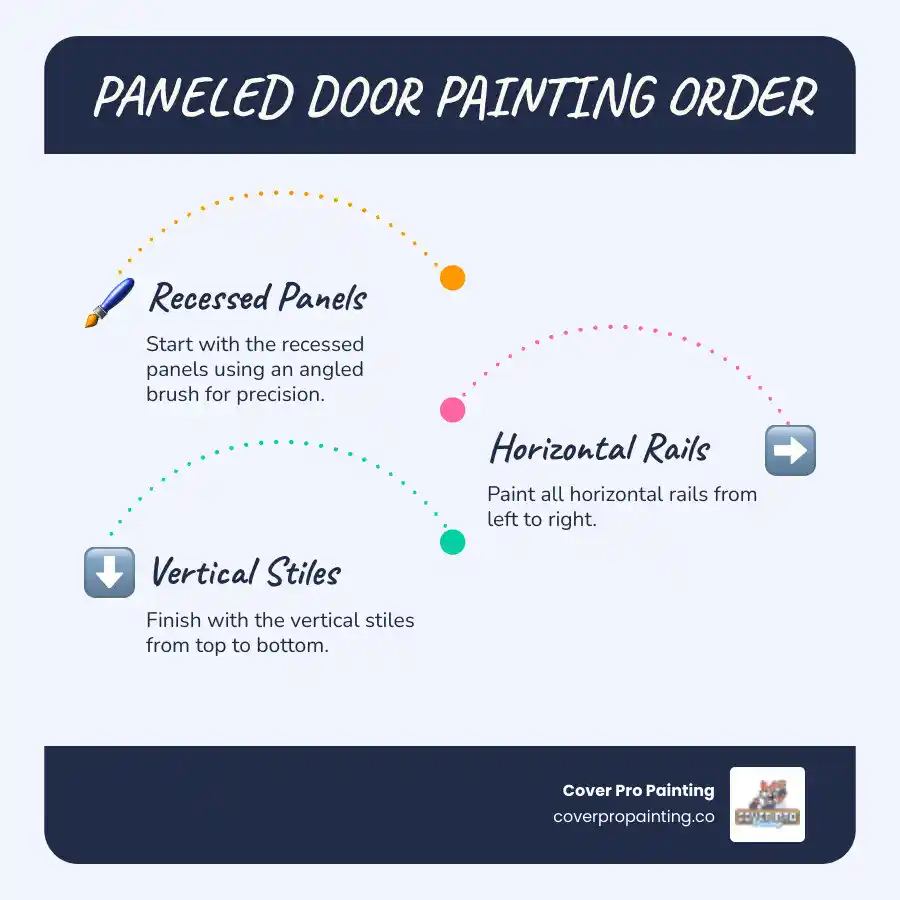
Follow a systematic painting order for a seamless look:
- Start with the door edges.
- For paneled doors, paint the recessed panels first with your angled brush.
- Next, paint the flat panel areas.
- Then, paint the horizontal rails, working from top to bottom.
- Finish with the vertical stiles, using long, smooth, top-to-bottom strokes.
To avoid drips, don't overload your brush. Always maintain a "wet edge" by brushing into still-wet areas to prevent lap marks. Catch any drips immediately with a damp rag.
Allow at least 24 hours of drying time between coats—longer in humid conditions. Rushing this step can lead to a tacky finish. Apply the second coat using the same technique. Deeper colors may require a third coat for a uniform finish.
Door Painting Without Leaving Streaks
Finishing Touches and Long-Term Maintenance
The painting is done, but these final steps are crucial for a spectacular finish. The most important factor now is allowing for proper curing time. While the paint may feel dry to the touch in hours, it needs several days to a week to fully harden and reach maximum durability. Be patient to ensure a professional finish that lasts.
Maximizing Curb Appeal with Professional Painting
Reassembly and Cleanup
- Remove Painter's Tape: For the cleanest line, remove tape while the paint is still slightly tacky. Pull slowly at a 45-degree angle. If the paint has dried, score the edge with a utility knife before pulling.
- Reattach Hardware: Wait 24 to 48 hours, until the paint is fully dry to the touch, before reinstalling your doorknob, deadbolt, and other hardware to avoid smudges or scratches.
- Store Leftover Paint: Clean the can's rim, seal it tightly, and store it in a cool, dry place away from freezing temperatures. Label it with the date and color for future touch-ups.
- Clean Tools: For latex paint, wash brushes and rollers with warm, soapy water until the water runs clear. Use mineral spirits for oil-based paint. Properly cleaned tools can last for years.
How to Maintain Your Painted Front Door
To keep your freshly painted door looking its best, follow a simple maintenance routine.
- Regular Cleaning: Gently wash the door every few months with mild soap and a soft cloth to prevent dirt buildup and keep the color vibrant.
- Inspect for Damage: Check for chips or scratches seasonally, especially around the doorknob and along the bottom edge.
- Touch-Up as Needed: For small chips, clean the area, let it dry, and apply a thin layer of your leftover paint with a small artist's brush. Feather the edges to blend it in.
- Protect the Finish: Use over-the-door hangers for wreaths and be careful when moving large items through the doorway to prevent damage.
With proper care, your front door painting project will improve your home's curb appeal for years to come.
Frequently Asked Questions about Painting Your Front Door
You might still have a few questions about front door painting. Here are answers to some of the most common ones to help you proceed with confidence.
Can I paint my front door without removing it?
Yes, and it's often the more practical option. This method avoids heavy lifting and keeps your entryway secure. The key to success is careful preparation. Prop the door open securely so it won't slam shut. Protect the hinges and floor with painter's tape and drop cloths. Work carefully around the edges with an angled brush for crisp lines. Ensure good ventilation, especially when using oil-based paints.
What are common mistakes to avoid when painting a front door?
The most common mistakes are easily avoidable. Be sure to avoid the following:
- Skipping Prep Work: Failing to clean, sand, and prime the door will lead to poor adhesion and a short-lived finish.
- Using Interior Paint: Interior paint is not formulated to withstand outdoor elements like sun and rain and will fail quickly.
- Ignoring the Weather: Painting in extreme heat, cold, direct sun, or high humidity will negatively affect how the paint dries and cures.
- Applying Thick Coats: One thick coat is prone to drips and takes too long to dry properly. Always apply two thin coats for a smoother, more durable finish.
- Closing the Door Too Soon: Allow the paint to dry completely according to the manufacturer's instructions before closing the door to avoid smudging your new finish.
- Using Cheap Tools: Quality brushes and rollers provide better coverage and are less likely to leave bristles or lint in your paint.
Methods to Fix Uneven Paint Coverage
How long does it take for front door paint to dry?
Paint dries in stages, and understanding them is key to a durable finish.
- Dry to the Touch: This usually happens within a few hours for latex paint, but the paint is still soft and easily damaged.
- Ready for Recoating: Wait 24 to 48 hours before applying a second coat or handling the door lightly (e.g., reattaching hardware). The paint has set but is not at full strength.
- Fully Cured: The final stage, where the paint reaches maximum hardness and durability, can take from several days to a few weeks. Be gentle with the door during this period.
Humidity and temperature greatly impact drying times. High humidity and cold temperatures will slow the process, while extreme heat can cause the paint to dry too quickly on the surface, trapping wet paint underneath. Always check the paint can for the manufacturer's specific instructions, and when in doubt, give it extra time to dry.
Transform Your Entryway with Confidence
Congratulations on learning the art of front door painting! This rewarding project delivers maximum visual impact for minimal cost, boosting your home's curb appeal and creating a welcoming entrance that reflects your personal style.
Your newly painted front door will make a positive first impression on guests and set a fresh tone for your entire home. The skills you've learned here—from proper prep to mastering painting techniques—will serve you well in future home improvement projects.
Of course, not everyone has the time, tools, or desire for a DIY project. If you want the peace of mind that comes with professional expertise, Cover Pro Painting is here to help.
For a guaranteed professional finish on your next project, trust our experienced team. We bring meticulous attention to detail, professional-grade equipment, and years of experience to every job. Whether it's your front door, your home's entire exterior, or an interior project, we pride ourselves on delivering durable, beautiful results that exceed expectations.
Contact us for professional painting services in Tacoma, WA and let us help you open up your home's full potential with our expert craftsmanship.