
%201.svg)


Wall Stencils for Painting: A Professional Painter's Guide to Clean, Crisp Patterns

Key Takeaway
Wall stencils for painting are reusable mylar templates that transfer a repeating or single-motif design onto any wall using standard interior paint, giving you a wallpaper look without professional installation. Crisp results depend on three things: a properly prepped and cured base coat, a level layout plan, and loading far less paint on your applicator than feels natural. Most patterns fall into five types, from all-over repeats to single accent motifs.
Wall stencils are reusable templates, usually cut from durable mylar, that let you paint a repeating or single-motif design straight onto a blank wall. They give you a wallpaper look using interior paint, with the freedom to change your mind later. The stencil is the easy part. What separates a crisp pattern from a smudged one is the condition of the wall underneath, how carefully you plan the layout, and how little paint you are putting on the applicator. This guide comes from a crew that preps walls for a living.
What are stencils for walls?
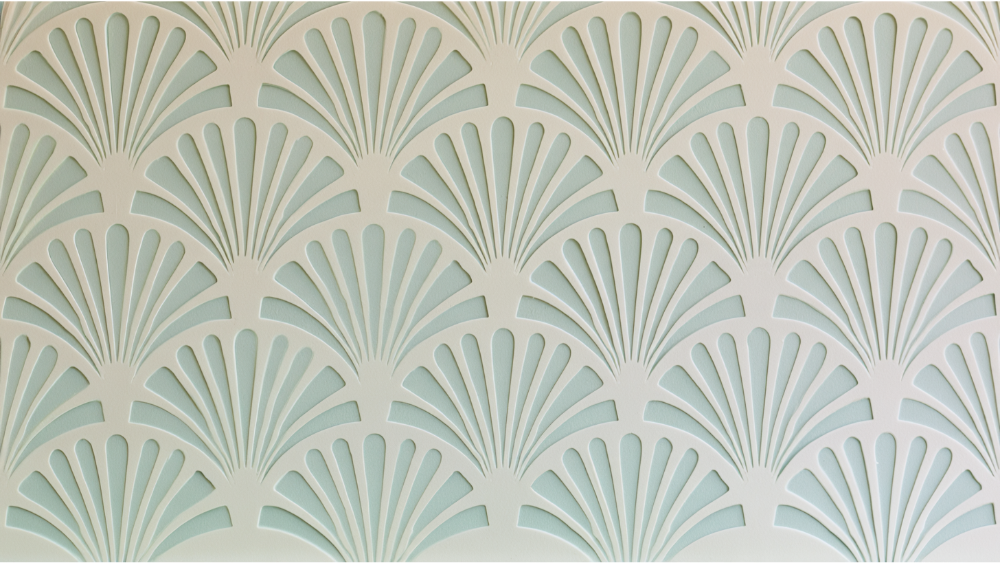
A stencil transfers paint through a cutout template onto the surface behind it. You hold it flat, apply paint through the openings, lift, move, and repeat until the pattern builds across the room.
Mylar stencils are built for this. They flex around slight contours, wipe clean, and hold up through a whole room and then some. The template only defines the shape. The base wall and the amount of paint you load decide whether the edges come out sharp or fuzzy.
Why people choose stencils for painting
A stencil can completely transform a plain room, and compared with wallpaper, stencils for walls ask for no professional installation and no long-term commitment. A pattern brings a blank wall to life for a fraction of the effort a custom mural takes. It adds personality and style to a space that reads flat, and it is a low-risk way to unleash a little creativity when you are tired of staring at the same beige. Painting one is also fun, which is rare in home improvement.
Types of wall stencils and what each one is for

Most wall painting stencils fall into five categories:
- All-over stencils: repeating patterns that mimic designer wallpaper. Perfect for a bedroom or dining room feature wall.
- Accent stencils: one large motif as a single focal point, often behind a bed.
- Border stencils: a simple linear run for framing a doorway or following a chair rail.
- Frieze stencils: a taller horizontal band near the ceiling that adds architectural weight.
- Mural stencils: layered, multi-piece designs that turn an entire wall into artwork.
Florals borrowed from nature feel organic and hand-drawn, and small motifs like stars or hearts add whimsy to a child's room. Geometric patterns read as modern, but they are far less forgiving of a wall that isn't flat.
How to choose the right wall stencil for your space
Start with scale. A large repeat can swallow a small powder room, while a delicate pattern disappears on a tall living room wall.
Match the pattern to the wall you actually have, and to the décor already in the room. Organic shapes forgive minor imperfections. Tight geometry announces every ridge and every eighth-inch of drift.
Two colors can create a stunning repeat; a third complicates the work. Tone-on-tone reads as texture, while high contrast reads as a statement from the doorway. Browse designs before you shop, and you will discover that large organic patterns are the friendliest for beginners.
Check for registration marks and matching corner pieces. Then paint a test board with your base and pattern colors before you touch the wall. If you would rather settle the palette with someone first, we include a free color consultation with every project.
Tools and materials you'll need
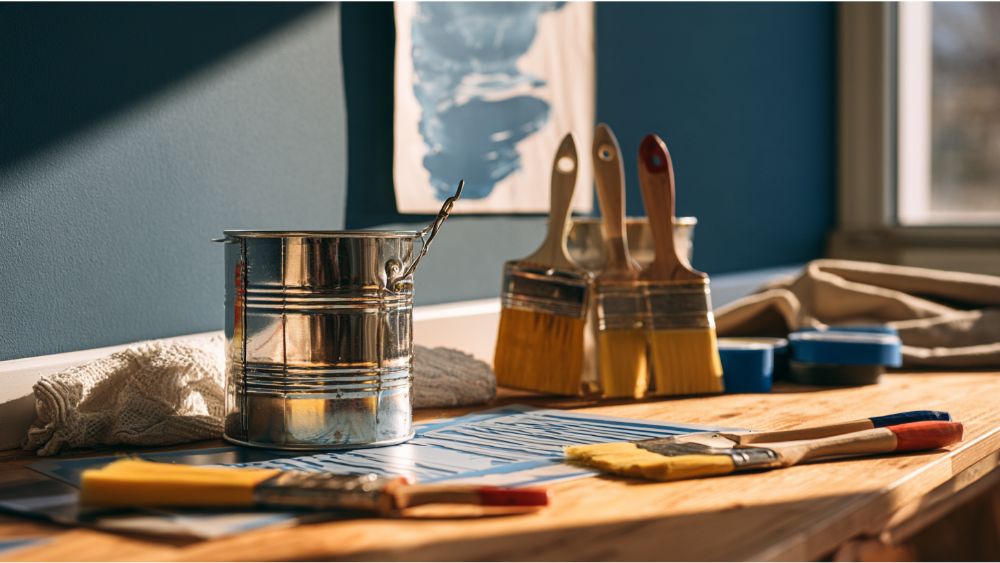
- Your stencil, plus any corner or edge pieces
- Interior wall paint (flat or matte is more forgiving)
- A dense foam roller, commonly suggested in the 2 to 4 inch range as practical guidance rather than a standard
- A stencil brush for detail and corners
- Cardboard or paper towels for offloading paint
- Level, tape measure, pencil
- Low-tack painter's tape or repositionable stencil adhesive
- Drop cloths, and a small artist's brush with base-coat paint for touch-ups
Surface prep: the step that decides how the finish looks
Paint does not fix a wall. It records it. Inspect first for loose or flaking paint, cracks, poorly sanded patches, and grease. Heavy texture is its own problem, covered below.
Clean the wall and let it dry. Repair and prime bare or patched areas, then roll a uniform base coat so the stencil color sits on consistent ground.
Here is the part most tutorials skip: dry is not cured. One major manufacturer's general guidance puts many wall paints dry to the touch in one to two hours, ready for light use at 24 hours, and fully cured at about 30 days. Check your label, because temperature, humidity, and ventilation shift those windows.
Tape timing is product-specific too. One tape manufacturer advises you wait at least 24 hours over latex paint and 48 hours over oil-based before taping. Test the tape in an inconspicuous spot first. If it pulls base paint, stop.
A lead-safe note if your home was built before 1978

Stenciling over intact paint is not the same as sanding or scraping it. EPA uses 1978 as the federal cutoff for residential lead-based paint and estimates that roughly three-quarters of U.S. homes built before that year still contain some. Per EPA, the RRP Rule applies when surface preparation disturbs existing paint, and paid contractors doing that work in pre-1978 homes generally must be lead-safe certified. Cover Pro Painting is EPA Lead-Safe (RRP) Certified, so your family is not living around dust from disturbed paint. Raise any concerns during the estimate. State or local rules may add requirements.
How to stencil a wall step by step
Plan the layout before you open the paint
Measure the wall and the stencil repeat. Work out where partial repeats will land and aim them toward less visible edges. Identify the focal point, often at eye level from the doorway, and build outward. Dry-position the stencil, mark a level starting line, and run a practice pass on cardboard.
- Position the stencil on your starting line and check it with a level.
- Secure it with low-tack tape or repositionable adhesive, pressed flat without stretching it.
- Load the roller or brush lightly, then offload most of the paint onto cardboard. The applicator should look almost dry.
- Apply light pressure in thin passes. One decorative-paint guide suggests roughly 15 minutes between light coats, though that is product-specific.
- Lift the stencil before the paint dries fully, so no film bridges the template and the wall.
- Reposition using the registration marks, and recheck level every few repeats. Drift compounds.
- Save edges, corners, and partial repeats for last.
- Step back before touching anything up. If you are happy with the first few repeats, the rest of the wall goes quickly.
How to keep paint from bleeding under a wall stencil

Excess paint is the single most common cause of bleed. To achieve clean edges, five habits matter:
- Use far less paint than a normal wall pass takes.
- Keep the stencil completely flat, with no lifted sections.
- Apply light pressure. Pushing hard forces paint under the edge.
- Build color gradually over several passes rather than one wet coat.
- Wipe paint off the back of the stencil the moment it starts transferring.
Test the technique on a sample board first. Five minutes there saves an hour of touch-ups.
Stenciling textured walls, corners, outlets, and trim
Smooth walls produce crisper edges, full stop. On light texture, a stencil brush used with an upright stippling motion gives more control than rolling sideways across the peaks. On heavy texture, crisp geometric repeats may not be realistic without skim-coating first, and larger organic patterns are the more forgiving choice.
Work toward corners and trim rather than starting there. Flex a mylar stencil into an inside corner without creasing it, and switch to a brush for partial repeats. Cut power at the breaker before working around outlet covers. Where a full repeat will not fit, keep the spacing rhythm consistent so the eye reads it as intentional.
Common wall stencil mistakes and how to fix them
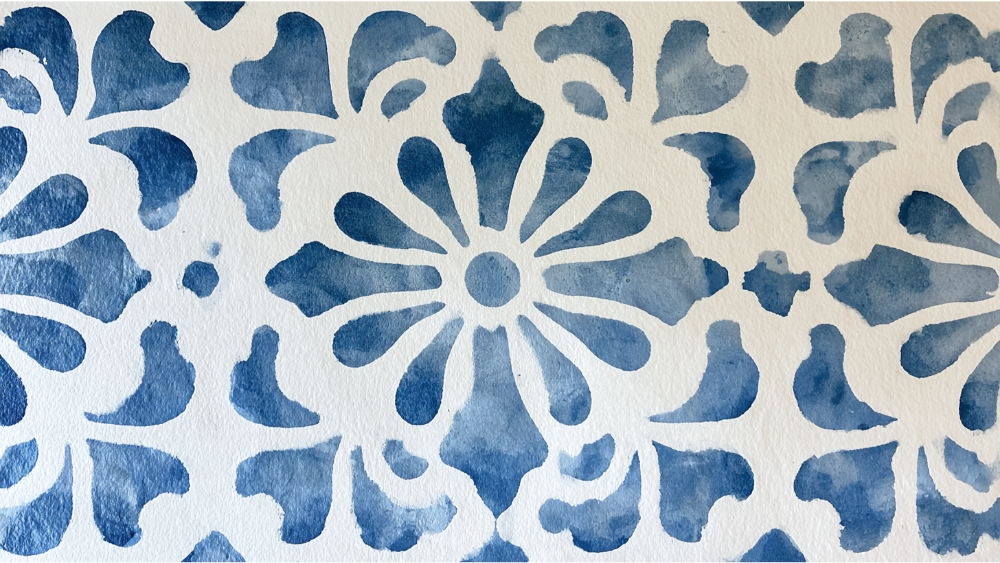
Clean the stencil per the manufacturer's instructions, never let buildup dry around fine bridges, and store it flat and uncreased.
Should you tackle this DIY project or hire a painting contractor?
A single accent wall on a smooth, sound surface is a reasonable weekend DIY project, and the results can look great. Bring in a pro when the base coat needs real repair, when heavy texture is fighting you, when the wall is large or highly visible, when the design uses several colors or layered stencils, or when access means a stairwell or high ceiling. The same goes for commercial, HOA, and school spaces, and for pre-1978 paint that prep will disturb. We handle rot repair, siding, and carpentry alongside painting, so a prep problem found mid-project does not mean a second contractor or a cost outside the budget we agreed on.
Frequently Asked Questions
What is the best stencil for wall painting?
The best stencils for painting walls are durable mylar with registration marks, scaled to the room rather than to the pattern you liked online. All-over designs give a wallpaper look, and a single large motif gives a focal point.
What is the best way to stencil a wall?
Prep and base coat first, mark a level starting line, then offload most of the paint from your roller or brush. Build color in light layered passes and lift the stencil before the paint dries.
How long should a base coat dry before stenciling?
There is no universal answer. Follow the paint label and the tape instructions, and remember that dry to the touch is not the same as cured.
Is wall stenciling outdated?
No. Large-scale organic, floral, and geometric patterns are in demand, and a stencil is still one of the simplest ways to spruce up a room.
Start with a free estimate
Cover Pro Painting is based in Edgewood, WA and serves the greater Seattle-Tacoma region. We are licensed, bonded, and insured in Washington State, and every project starts with a clear, transparent scope so you know what you are investing before work begins. Free estimate, free color consultation. One phone call to 206-222-0435 starts it, or Get a Free Estimate online. Don't see your city listed? Contact us to confirm service availability.
