%201.svg)


Repairing and Painting Trim: Best Practices
Trim painting is a vital aspect of maintaining and enhancing the appearance of a space. Whether it's part of a condo or a residential home, well-cared-for trim adds to the overall aesthetic and increases property value. Proper repair and painting of trim ensure that this decorative feature stands out and complements other elements like walls, doors, and siding.
Assessing Trim Damage and Preparing for Repair
Before beginning any repair work, assess the trim for common issues such as cracks, chips, or rot. These problems can compromise the trim's appearance and structure, making timely repair essential. Cracks may appear due to weather changes, while rot often results from prolonged moisture exposure. Chips can occur due to wear and tear over time. Identifying these issues helps determine the appropriate repair method.
Having the right tools and materials ensures an efficient repair process. Essential items include a putty knife, sandpaper, wood filler, epoxy, and a sealant. Additionally, gather safety equipment such as gloves and safety goggles to protect yourself during the repair work. Adequate preparation helps create a smooth workflow and reduces potential hazards.
Create a safe and organized workspace by clearing the area of obstacles and ensuring proper ventilation. Lay down a protective covering to catch debris and protect floors. Ensure that your tools are easily accessible, allowing for an uninterrupted repair process. Such precautions help maintain focus and enhance safety.
Effective Techniques for Trim Repair
An effective approach to trim repair involves addressing both minor and major problems. Begin with a step-by-step plan for minor repairs like small cracks or chips. Clean the damaged area, apply wood filler with a putty knife, and sand it smooth once dry. Follow similar steps for major repairs, but utilize epoxy for increased durability and strength. This method provides a durable solution that blends with the existing trim.
For seamless restoration, using the correct wood fillers and epoxy is crucial. Select materials that match the trim’s color and texture to achieve an invisible repair. Epoxy is particularly useful for reinforcing larger areas or repairing severely damaged sections. It cures to form a hard, resilient surface capable of enduring wear and tear.
Reinforcing trim for durability is another key consideration before painting. Use reinforcement techniques such as bracing or adding support to weak areas. This preparation ensures the trim remains sturdy, reducing the likelihood of future damage. An adequately reinforced trim can withstand environmental factors, extending its lifespan and maintaining its appeal.
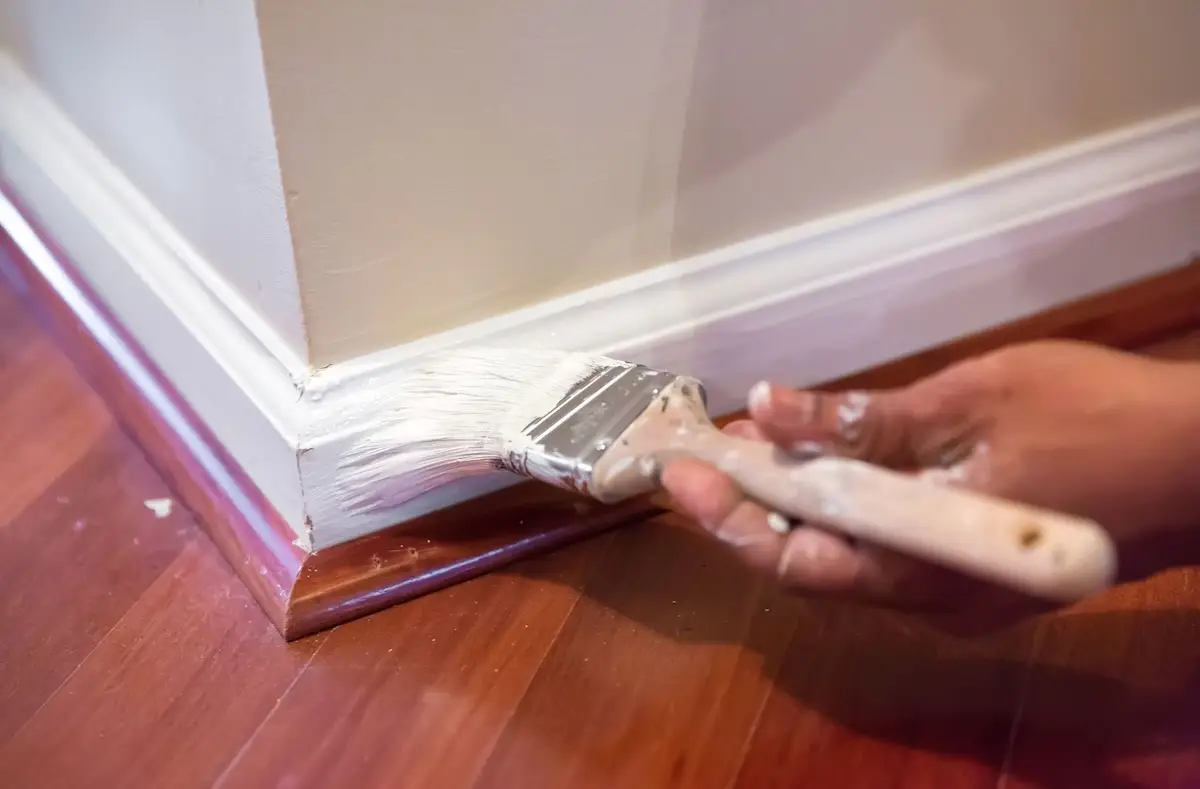
Painting Trim for a Professional Finish
Achieving a polished finish on trim starts with choosing the right paint and primer. Use a high-quality primer to prepare the surface, ensuring it adheres well and provides a smooth base for the paint. Select paint specifically formulated for trim, offering durability and a refined finish. Satin or semi-gloss paints are commonly preferred for their ease of cleaning and aesthetic appeal.
For consistent results, apply professional painting techniques. Begin by cutting in around the edges with a brush before filling larger areas with a roller. Use steady, even strokes to prevent streaks and achieve uniform coverage. Allow ample drying time between coats to ensure proper adhesion and a smooth surface.
Avoid common painting mistakes for a professional finish by preparing adequately. Work in controlled conditions to prevent dust and debris from settling on wet paint. Choose tools that match the paint type and surface for optimal results. Consistency and attention to detail mark the difference in achieving a flawless trim appearance.
Long-term Maintenance for Painted Trim
To sustain the appeal of painted trim, implement a regular inspection schedule. Examine the trim for early signs of wear, such as chipping, peeling, or discoloration. Prompt detection allows for timely touch-ups, preventing minor issues from escalating into significant repairs. Establish a routine every few months to maintain ongoing awareness of the trim’s condition.
Ensure trim appearance remains intact through effective touch-up strategies. Keep a small amount of the original paint on hand for quick fixes. Address minor blemishes as soon as they’re noticed to avoid more extensive damage. Clean the area with a gentle detergent before applying fresh paint to ensure a seamless match with the existing coat.
Engaging professional painting services offers numerous benefits for long-term trim maintenance. Regular professional care extends the lifespan of the trim, keeping it vibrant and resilient. Knowledgeable technicians provide expert solutions, ensuring the trim stands up to wear while maintaining an attractive appearance.
Conclusion
Thorough repair and painting practices ensure that trim remains a standout feature in any setting, whether in residential or HOA properties. By assessing damage diligently, using effective repair techniques, and applying paint proficiently, the trim proves both durable and attractive. Long-term maintenance retains this appeal, safeguarding the investment in the property's aesthetic and structural quality.
For comprehensive trim painting in Edgewood, trust Cover Pro Painting to provide exceptional results. Our commitment to quality and expertise guarantees a beautiful, lasting finish for all trim work. Enhance your property's visual appeal with our expert solutions, ensuring its trim looks impeccable for years to come!