%201.svg)


Mastering the Art of How to Paint Trim: Expert Tips and Techniques

Key Takeaway:
This comprehensive guide on how to paint trim covers everything from choosing the right paint and preparing the trim to advanced painting techniques and troubleshooting. Achieve a professional finish by learning about the importance of primer, handling drips, and selecting weather-resistant paints for Seattle's unique climate.
Mastering the Art of How to Paint Trim: Expert Tips and Techniques
Understanding the Importance of Trim Painting

Enhancing Aesthetic Appeal
Trim painting is more than just a finishing touch; it significantly enhances the overall aesthetic of a room. By drawing attention to the architectural lines and features, well-painted trim can transform any space. Choosing colors that complement the walls and other elements in the room can create a cohesive and polished look. The right trim paint not only highlights the beauty of your wood trim and door frames but also makes a strong style statement that can be a sore thumb if done incorrectly. For instance, using a high-quality semi-gloss paint for wood trim can accentuate the texture and add a layer of sophistication to the room, making it pop against more muted wall colors.
Protecting Surfaces from Damage
Beyond aesthetics, trim painting serves a protective role. High-quality paint acts as a barrier against moisture, dust, and daily wear and tear. This is particularly crucial for wood trim, where unprotected surfaces can lead to wood rot and other damage. A well-executed painting project can significantly extend the lifespan of your trim, saving you from costly repairs down the road. At Cover Pro Painting, we understand that protection is key in Seattle’s damp climate, which is why we emphasize quality workmanship in every painting project. In addition, using a durable, oil-based primer before painting can further shield the wood trim, ensuring longevity and reducing maintenance costs.
Choosing the Right Paint for Trim
Low-VOC and Eco-Friendly Options
With increasing awareness of environmental impact, selecting low-VOC and eco-friendly interior paint options for trim work is crucial. These paints not only reduce harmful emissions but also provide the same durability and finish as traditional options. Brands today offer a variety of eco-friendly paints that cater to both residential and commercial painting needs without compromising quality. For example, selecting a paint with a water-based formula can reduce indoor air pollution, making it a healthier choice for homes, especially in spaces where children or those with allergies spend significant time.
Durability and Finish Considerations
When it comes to trim painting, durability is as important as the aesthetic appeal. Opt for a semi-gloss or gloss finish, which are both easy to clean and resilient to scuffs and marks. Oil-based paints, although not as popular due to their higher VOC content, offer excellent durability and a smooth finish. However, water-based paints have improved significantly and are now a preferred choice for their ease of use and quick drying times. A high-quality brush is essential when applying these paints to avoid brush marks and achieve a professional finish.
Preparing Your Trim for Painting
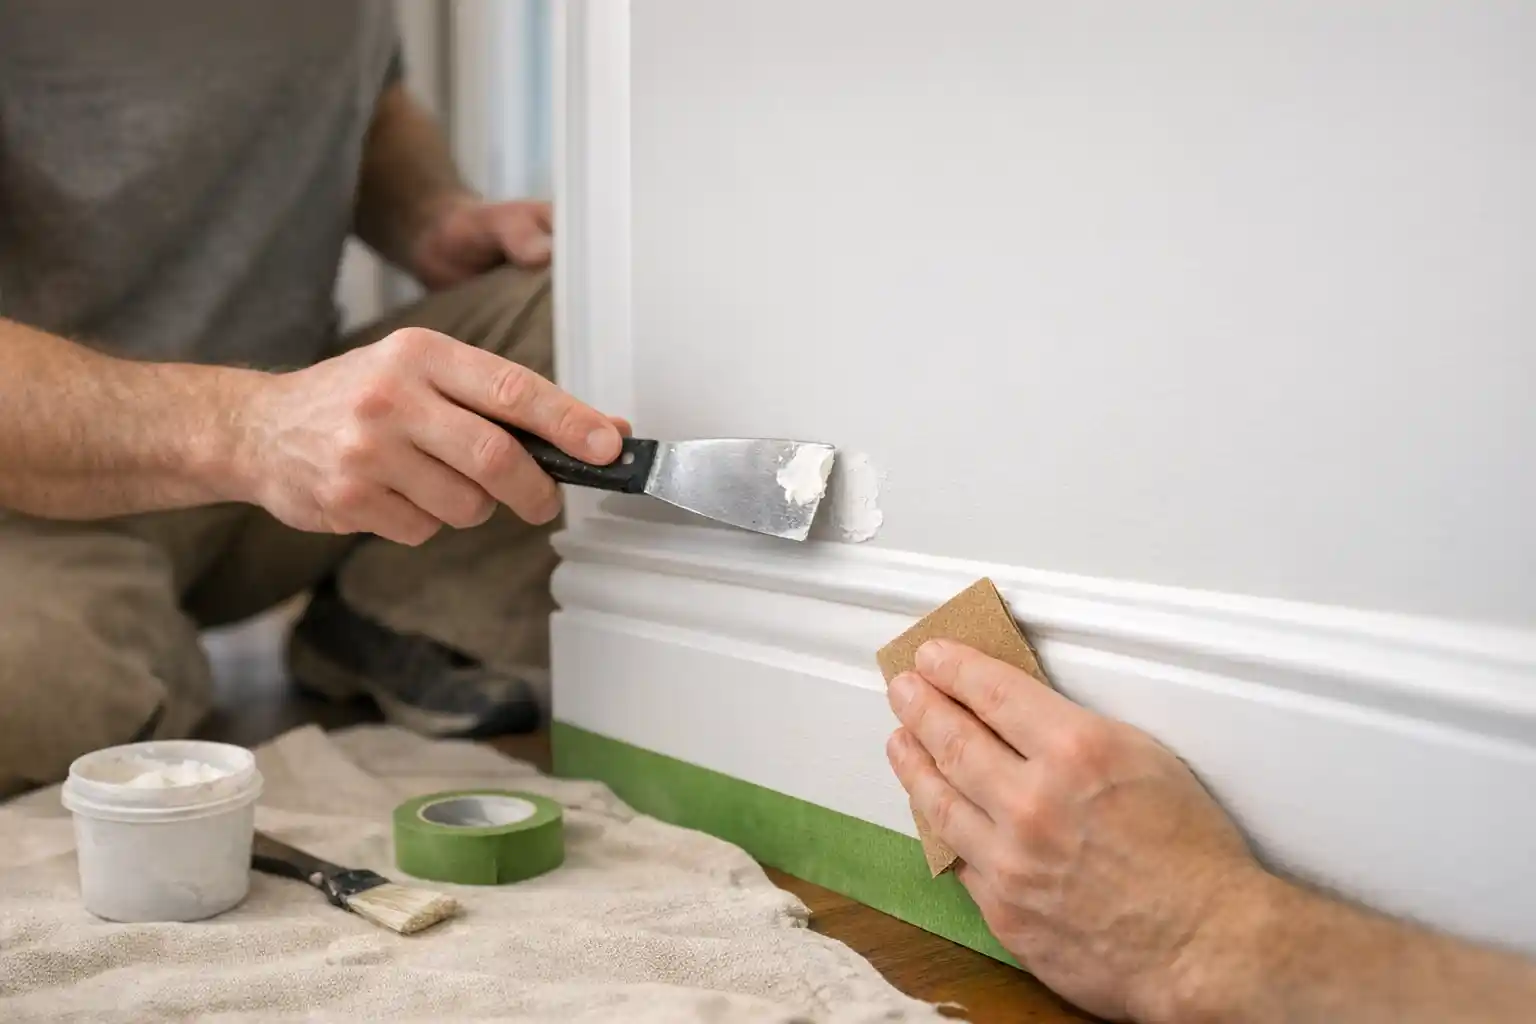
Cleaning and Sanding Techniques
Proper preparation is the foundation of a successful painting project. Start with a thorough cleaning using a damp sponge to remove dust and grease. Sanding the surface with fine-grit sandpaper is essential to ensure the paint adheres well. Use a putty knife to apply wood filler to any dents or holes, and sand again for a smooth finish. This meticulous attention to preparing the surface helps in creating a perfectly smooth canvas for painting, minimizing the risk of imperfections and ensuring that the final step of applying paint yields professional results.
Priming: Why It’s Essential
Priming is a non-negotiable step in trim painting. It seals the wood, preventing stains from bleeding through and ensuring even coverage of the paint. Choose a primer that complements the type of paint you plan to use, whether it’s oil-based or latex. This step is crucial for achieving straight lines and preventing brush marks on the finished product. Applying primer with an angled brush can help in reaching corners and edges effectively, ensuring comprehensive coverage and a smooth base for the top coats.
The Painting Process: Step-by-Step
Applying the First Coat
Using a high-quality brush, such as an angled brush, is key to applying the first coat smoothly. Start painting from the edges, working your way to the center to avoid excess paint buildup. Apply the paint in long, even brush strokes, ensuring that each stroke blends seamlessly with the next. This method not only minimizes brush marks but also ensures an even coat across the trim, a technique often employed by professional painters to guarantee quality results.
Achieving a Flawless Finish
To achieve a flawless finish, allow the first coat to fully dry before applying a second coat. This ensures the paint adheres properly and provides full coverage. Lightly sand between coats to remove any imperfections and create a smooth surface. For best results, apply two coats, maintaining a steady hand and consistent pressure. Using frog tape to mask off areas like walls and floors can help in creating sharp, clean edges, adding to the professional look.
Technical Deep Dive: Advanced Techniques

Brush vs. Spray: Which to Use?
Choosing between a brush and a spray can affect the outcome of your trim work. Brushes offer precision for intricate areas, while sprayers provide an even coat over large surfaces and are quicker for extensive trim work. Consider the project size and required precision when deciding which tool to use. For example, a sprayer can expedite the process for large baseboards or door frames, but a brush is indispensable for intricate woodwork or tight corners.
Handling Different Trim Materials
Different materials require specific approaches. For wood trim, a primer is essential, while for metal or plastic trims, ensure the paint is specifically designed to adhere to such surfaces. Each material presents unique challenges, so understanding these can significantly impact the quality of the finish. A professional painter might use specialized primers or paints to ensure adhesion and durability across different surfaces, maximizing the lifespan of the paint job.
Troubleshooting Common Painting Issues
Dealing with Drips and Streaks
Drips and streaks can mar an otherwise perfect paint job. Prevent these by avoiding excess paint on your brush and using long, smooth strokes. If drips occur, gently sand them down once dry and repaint the area. Consistent practice and patience are key to avoiding these common pitfalls. An experienced painter knows that maintaining a steady hand and consistent pace can mitigate these issues, ensuring a smooth, even finish on all surfaces.
Fixing Uneven Paint Layers
Uneven paint layers can result from improper application or surface imperfections. Address this by applying more paint in thin layers, ensuring each coat fully dries before applying the next. Sanding between coats can also help achieve a uniform appearance, providing a professional-grade finish. Regular checks during the painting process can help identify and correct uneven layers before they become prominent, saving time and materials in the long run.
ROI & Cost Analysis: Why Quality Matters

Long-Term Savings of Professional Painting
Investing in professional painting not only enhances the aesthetic appeal but also offers long-term financial benefits. Quality trim painting reduces the need for frequent touch-ups and repairs, ultimately saving money and increasing the home's value. The skills and materials used by professional painters ensure a durable and visually appealing finish. An ROI analysis shows that homes with well-maintained trim and paintwork tend to sell faster and at higher prices than those requiring immediate cosmetic attention.
Cost vs. Value: The Homeowner’s Perspective
While the initial cost of professional painting might seem high, the value it adds to the home is significant. A well-maintained trim can enhance the overall property value, making it a worthwhile investment. Consider both immediate expenses and long-term benefits when evaluating the ROI of your painting project. From a financial perspective, investing in high-quality painting services can yield substantial returns, as well-painted homes often attract more potential buyers.
Adapting to Seattle’s Unique Climate Challenges
Managing High Humidity Levels
Seattle's weather poses unique challenges for painting projects. High humidity levels can affect paint drying times and adhesion. To counteract this, choose paints designed for high-moisture environments and allow extra time for drying between coats. Using a dehumidifier or fans can also help regulate indoor humidity levels during the painting process, ensuring optimal conditions for paint application and drying.
Choosing Weather-Resistant Paints
Opting for weather-resistant paints is crucial in Seattle's climate. These paints are formulated to withstand rain and moisture, preventing issues like peeling and blistering. Investing in quality weather-resistant paints ensures your trim remains in excellent condition despite the elements. By using paints specifically designed to endure harsh weather conditions, homeowners can protect their investment and maintain the aesthetic integrity of their homes over time.
Innovations in Paint Technology

New Formulations for Better Durability
Recent advancements in paint technology have led to formulations that offer improved durability, such as self-cleaning and fade-resistant options. These innovations enhance the longevity of your paint job, requiring less frequent maintenance and providing consistently high-quality results. Employing these advanced paints can significantly reduce the frequency of necessary repaints, offering a cost-effective solution for long-term home maintenance.
Trends in Eco-Friendly Paints
The industry is moving towards more sustainable options, with eco-friendly paints gaining popularity. These paints are not only better for the environment but also offer excellent performance, making them a smart choice for environmentally conscious homeowners. With the increasing demand for sustainable building materials, choosing eco-friendly paints can also increase a home's marketability and appeal to a broader range of potential buyers.
Conclusion: Ensuring Lasting Success
Maintenance Tips for Trim
Regular maintenance is essential to prolong the life of your trim paint. Clean the surfaces periodically to remove dust and grime, and inspect for any signs of wear or damage. Addressing minor issues promptly can prevent more significant problems down the line. Frequent inspections can also help in identifying areas that may require touch-ups, ensuring that the trim remains in pristine condition and continues to enhance the home's overall aesthetic.
When to Repaint: Signs to Watch For
Knowing when to repaint is crucial for maintaining your home's appearance and protection. Look for signs such as discoloration, peeling, or cracking, which indicate the need for a fresh coat. Regular inspections help ensure that your trim remains in top condition. Establishing a routine inspection schedule and keeping a record of any wear and tear can help homeowners plan for necessary maintenance and avoid unexpected repairs.
Frequently Asked Questions
How does Seattle's climate affect trim painting?
Seattle's climate, known for its high humidity and frequent rain, can prolong drying times and affect paint adhesion. Choosing weather-resistant paints is essential to mitigate these effects.
Are there specific paints recommended for humid climates?
Yes, there are paints formulated for high humidity environments that prevent peeling and blistering, ensuring a durable finish even in damp conditions.
What recent paint technologies improve durability?
Recent innovations include self-cleaning and fade-resistant paints that offer enhanced durability and require less maintenance over time.
What is the ROI of professional trim painting?
Professional trim painting provides a high ROI by enhancing home value, reducing maintenance costs, and ensuring a long-lasting, aesthetically pleasing finish.
How often should trim be repainted in Seattle?
Trim in Seattle typically requires repainting every 5-7 years, depending on the paint quality used and local environmental conditions.
What are the best practices for eco-friendly trim painting?
Utilizing low-VOC paints and ensuring proper disposal of paint waste are key practices for eco-friendly trim painting that minimize environmental impact.