%201.svg)


How to Fix Paint Drips and Runs on Your Edgewood Home's Interior Walls
Paint drips and runs can completely disrupt the clean, smooth look most Edgewood homeowners aim for when updating their interior walls. Whether you're working with a new coat or touching up existing paint, these streaks leave an uneven finish that stands out in all the wrong ways. Once the paint dries, these flaws become much more difficult to fix without redoing larger portions of the wall, which adds to both effort and cost.
Fixing the issue early and understanding how it happens can save time and help avoid frustration during future tasks. These paint issues are more than cosmetic—they create a sloppy appearance that makes the entire room feel less cared for. Learning how to deal with runs and drips effectively is key to keeping your home's interior looking neat and freshly painted.
Identifying Paint Drips And Runs
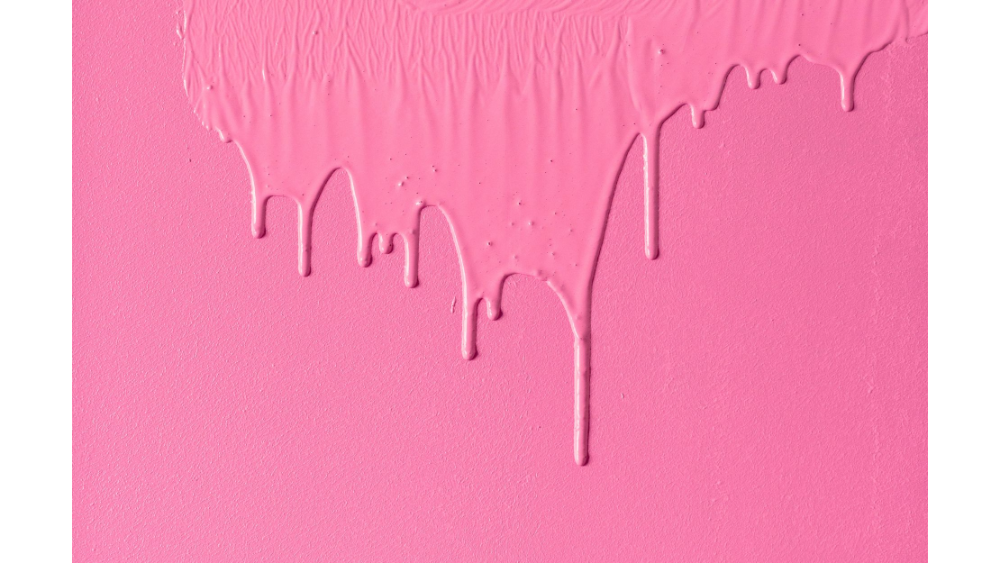
Before you can fix the problem, you need to recognize it early. Drips and runs generally occur when too much paint is applied at once or when the tool used, whether a brush or roller, is not used correctly. On a vertical surface like a wall, gravity pulls excess paint downward, creating signature lines and bulges. These are much easier to correct when they're still wet rather than once they’ve dried and hardened onto the wall.
To spot drips and runs quickly:
- Step back and examine the walls from different angles under natural and artificial light.
- Watch for thick vertical lines, bumps, or areas where the finish appears shinier or more raised than the surrounding surface.
- Check lower wall sections and edges where excess paint tends to settle.
This issue can start forming within minutes. You might notice a smooth area suddenly take on a small streak as it begins drying. That’s a sign that the paint layer is too heavy or uneven. A typical example is painting behind furniture or in a tight space where movement is limited. You may rush the task, only to return later and notice a sagging trail of paint dried in the middle.
These real-world moments show how a quick inspection after each section can help you catch mistakes before they set permanently.
Preventing Paint Drips And Runs
Stopping paint drips and runs starts with proper planning. A well-prepared surface and the right tools make a big difference in delivering a smooth and consistent finish. Small steps taken before and during the job can prevent a lot of frustration and extra work later.
Here are useful tips to help prevent paint drips and runs in your Edgewood home:
1. Prep the surface – Clean the wall to remove dust, dirt, or debris. Patch holes or cracks and let any patching compound dry completely before sanding it to a smooth finish.
2. Use painter’s tape – Protect baseboards and edges to ensure clean lines. This also helps prevent paint from collecting and pooling in tight corners.
3. Don’t overload your brush or roller – Dip your brush lightly into the paint. For rollers, roll off excess paint on the tray’s ridged section. The goal is to coat evenly, not heavily.
4. Work with a light, even touch – Apply paint in thin coats, using steady strokes and moderate pressure. Spread paint evenly and be mindful of how much you’re applying in one go.
5. Use quality paint and tools – Choose brushes and rollers designed to hold and distribute paint evenly. Low-quality tools can apply paint inconsistently and create uneven finishes.
6. Watch as you go – After every section, take a quick look back. Fresh paint can start dripping shortly after application, especially on vertical or uneven surfaces.
Taking the time to follow best practices upfront builds confidence in the result. These habits create smoother walls without blemishes, whether you’re tackling an accent wall or repainting an entire room.
Fixing Fresh Paint Drips And Runs
Catching paint problems while the surface is still wet gives you the best chance at a clean fix without leaving behind texture or discoloration. If you notice a drip while painting, stop immediately and correct it before it dries.
Here’s a step-by-step way to fix wet drips or runs:
1. Lightly drag a clean, dry brush or roller over the run to level it with the rest of the wall. Use the same type you used for applying that coat.
2. If there’s excess paint pooled in one area, gently blot it with a lint-free cloth or rag. Avoid rubbing or pressing too hard, which can disturb the surrounding surface.
3. Once the buildup is removed, use a soft touch to feather the area outward, blending it into the nearby paint.
4. Wait a few minutes for the paint to rest, then check again for any signs of movement or fresh drips.
5. Repeat these steps if needed before the wall dries completely. Avoid overworking one spot to prevent paint from pulling away entirely.
It helps to keep extra brushes, rollers, and cloths nearby while you work. This saves time and ensures you can respond to any fresh flaws quickly. Painting corners or high spots can make it harder to see issues immediately, so pause often and check your progress from different angles.
Correcting Dried Paint Drips And Runs
Once paint has dried, fixing imperfections takes more time and a bit more effort. Dried paint drips leave slightly raised edges that cast shadows and break up the smooth look of a painted wall. Painting over them without correcting the texture first usually makes the problem more noticeable.
Here’s how to repair dried drips and get your surface back to a clean finish:
- Sand the raised area using medium-grit sandpaper (120 to 150 grit) until the bump is smooth and flush with the surrounding wall.
- Wipe off sanding dust with a damp, clean cloth and wait until dry.
- Check from multiple angles to confirm the area is level. If needed, switch to finer sandpaper to smooth out remaining roughness.
- If you exposed bare drywall or old underlayers, apply a small amount of primer to help the new paint adhere properly.
- Once the primer dries, apply a thin layer of paint with a fine brush and blend carefully into the surrounding finish. Allow to dry before applying a second coat, if necessary.
The goal is to flatten the texture before applying new paint, so that the result feels as consistent as the rest of the wall. One common mistake is to skip sanding and try to cover the drip with more paint, which only exaggerates the blemish.
Maintaining A Smooth Finish On Your Interior Walls
Once your walls are in great shape, it’s easier to keep them that way with routine care. Staying ahead of small problems can prevent the need for repeat paint work.
Try the following tips to extend the life of your paint job:
- Use a soft, damp sponge to gently clean off marks, dust, and dirt from painted walls.
- Avoid abrasive pads or strong cleaners that can damage paint sheen or wear down the finish.
- Make small repairs promptly—fill in nail holes or chips using professional-grade spackle and paint that matches the current wall shade and finish.
- Store leftover paint indoors and in sealed containers to keep it fresh for touch-ups.
- Match the type and finish of paint when doing any repair to prevent noticeable differences in light reflection or texture.
These steps don’t require much time but can preserve the professional appearance of your home's interior in Edgewood.
Ensuring A Professional Finish For Your Edgewood Home
Maintaining smooth, flawless walls makes a big difference in how your home looks and feels. Addressing paint drips and runs quickly not only maintains aesthetics but helps protect the long-term durability of your interior paintwork.
Whether you discover dried streaks from a past job or run into fresh imperfections while painting now, knowing how to correct them properly can restore the look of your space. Most visible wall surface problems come down to product choice, preparation, and method of application. That’s why many homeowners turn to expert help when they want a lasting, uniform finish inside their homes.
For the best outcomes with minimal stress, professional residential painting in Edgewood remains a reliable choice that ensures your home stays looking its best year after year.
If you want to restore your walls to a flawless condition and prevent recurring paint issues, trust Cover Pro Painting to deliver lasting results through expert residential painting in Edgewood that keeps your interior looking neat and updated. For a quick estimate or to book a service visit, please contact us today.