



Drywall Paint: What to Use and How to Get a Smooth, Lasting Finish
Key Takeaway
Drywall paint starts with a PVA drywall primer-sealer on bare surfaces, then a quality acrylic-latex interior paint as the topcoat. New drywall is highly porous and absorbs unevenly, making primer non-negotiable. Sheen choice, finish level, and surface prep determine the final result as much as the paint itself. Flat paint hides flaws best, while higher sheens demand a Level 5 finish.
What Paint Do You Use on Drywall?
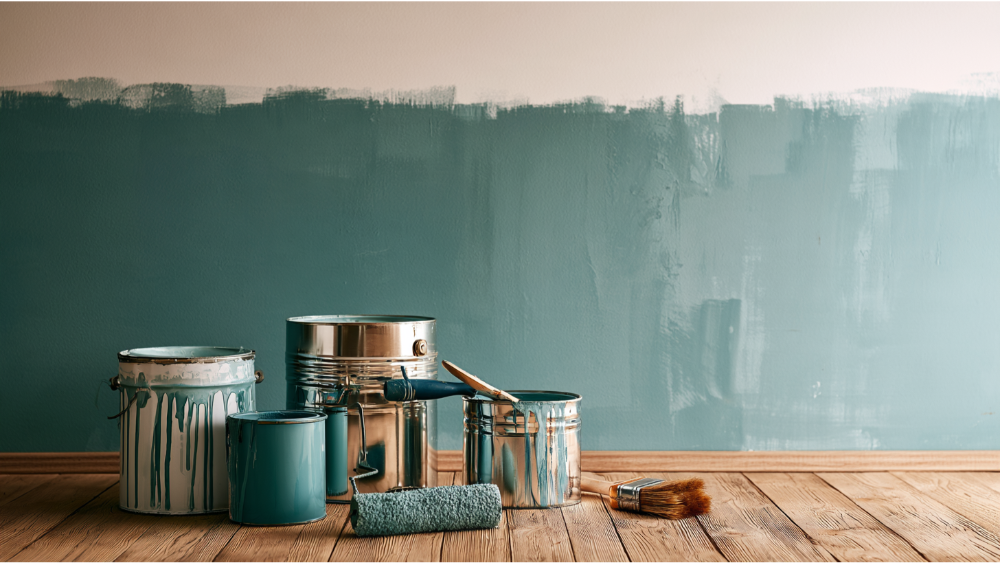
Bare drywall should be coated with a compatible drywall primer first, then finished with a quality latex or acrylic interior paint. New drywall is very porous and soaks up paint unevenly, so primer seals the surface and evens out how the paper and joint compound absorb the top coat. The paint you choose matters, but the finish you end up with depends just as much on surface prep, lighting, color, and sheen. This guide is for homeowners painting new, repaired, or previously painted drywall who want a smooth result that actually lasts.
Is "Drywall Paint" Actually a Special Type of Paint?
There's no single can labeled "drywall paint." The term blurs three different products. Drywall primer seals the porous surface and equalizes absorption between paper and compound, acting as a sealer so the finish sits evenly. Finish paint is the topcoat, usually an acrylic-latex interior paint. And "paint and primer in one" is a self-priming finish paint that works fine on sound, previously painted walls but shouldn't replace a dedicated primer on raw drywall. Retail category pages lump all of these under broad filters, which is where the confusion starts. If you're weighing a combo product, we cover an all in one option in detail in our article on paint and primer in one.
Identify Which Kind of Drywall You're Painting
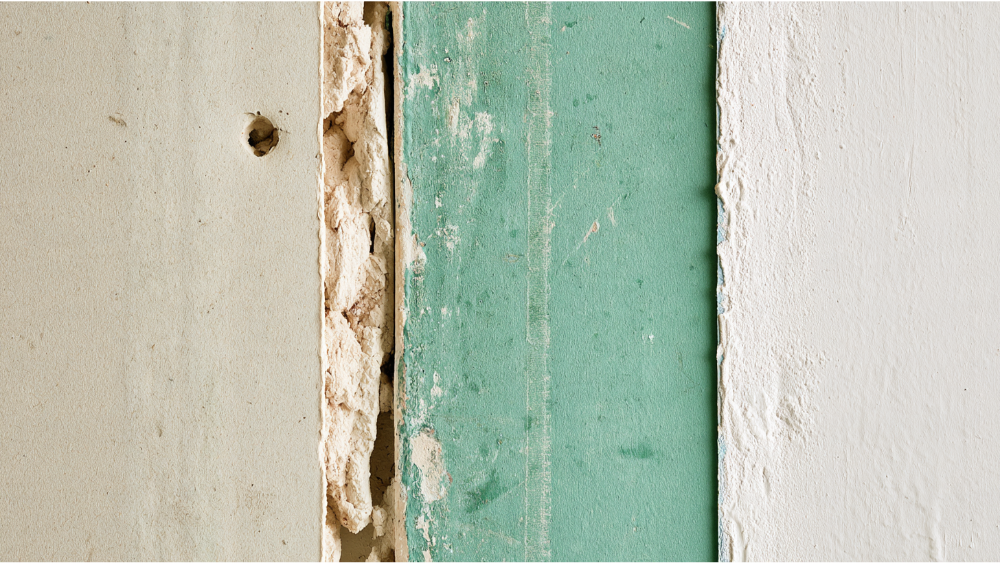
The right products depend on what you're actually looking at. Match the prep to the wall's condition, not the other way around. Whether the surface is plasterboard or standard board, the same logic applies.
Wall conditionWhat it generally needsNew bare drywallFinish joints, sand, clean, full-surface drywall primer, topcoatSmall patchSmooth repair and compatible primer; may need full-wall priming for uniformityHeavily repaired wallBroader skim/feathering, likely full-wall primerSound painted drywallClean, repair, degloss if needed, finish paintStained drywallDiagnose the source, use a stain-blocking primerTorn paperRemove loose material, skim, sand, primeWet, swollen, or moldyCorrect the moisture, then evaluate repair or replacement before paintPre-1978 painted surfaceLead-safe assessment and work practices
A clean surface is non-negotiable in every case, since dust and grease keep paint from adhering.
Why Prepping the Surface Controls the Final Result
Paint does not level ridges, hide bad feathering, or make torn paper disappear. Proper surface preparation is what separates a professional-looking finish from a blotchy one. Joint compound, or mud, has to be fully dry before you prime, and dry is different from set. At 70°F and 70% relative humidity, compound takes roughly 24 hours to dry, and cool or humid conditions stretch that out, so confirm it rather than following a calendar. Sand gently with fine-grit paper so you don't scuff the face paper, then pull every bit of dust off with a shop vac and a damp cloth. Dust control isn't just about a clean coat: NIOSH testing found vacuum-assisted drywall sanding cut dust exposure by 80% to 97%. Before you prime, inspect for nail pops, raised seams, pinholes, and tears, and fix them now.
Level 4 vs. Level 5 Drywall Finish: Why Smooth Walls Still Show Seams
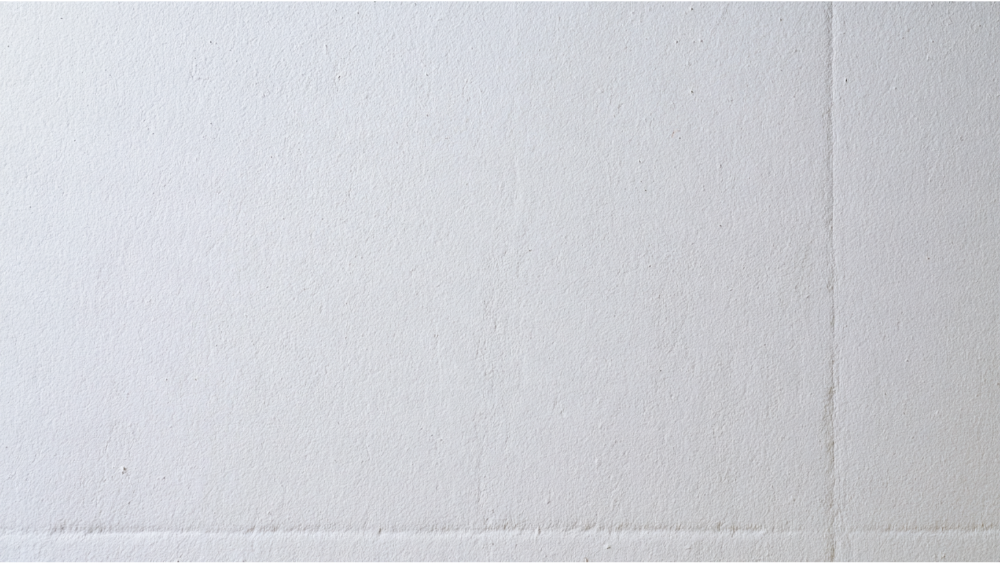
The drywall industry grades finishes on a scale of Levels 0 through 5, defined in the Gypsum Association's GA-214 and ASTM C840-25 standards. Level 4 is the common standard for flat paint in ordinary lighting. Level 5 adds a full skim coat over the entire wall and is called for when you're using non-flat or glossy paint, deep or dark colors, or when strong side lighting rakes across the surface. That's why a wall can look perfect straight-on and then show faint joint lines, called flashing or photographing, in afternoon sun or under wall-washing fixtures. An uneven orange peel texture can also catch raking light if the surface wasn't leveled well. Flat paint hides minor imperfections well, but paint alone can't correct the wrong finish level. If you've picked a demanding color, sheen, or lighting plan, sort out the drywall finish before you buy a single gallon.
Choosing the Right PVA Primer for Drywall
Pick your primer by condition, not by whatever's stacked at eye level. A PVA drywall primer-sealer is the standard choice for new board, and pva formulas are built to seal fresh drywall quickly. A high-build primer is made specifically for new drywall when you want a smoother, more uniform surface, and some systems call for two coats of it. A tinted primer can get you closer to a deep topcoat color in fewer coats. Products like Sherwin Williams ProMar or the Benjamin Moore Ultra Spec line are common in professional systems, though the right pick is whatever your topcoat calls for. Use a bonding primer over glossy surfaces and a stain-blocking primer anywhere stains are present. Most drywall primers cover somewhere around 250 to 400 square feet per gallon, which helps you estimate materials, but always defer to the label. Applying primer equalizes porosity between the paper and the compound, which is what stops flashing. What it won't do is hide poor drywall work. Whatever you choose, make sure it's compatible with your topcoat.
Choosing Finish Paint and Sheen for Drywall
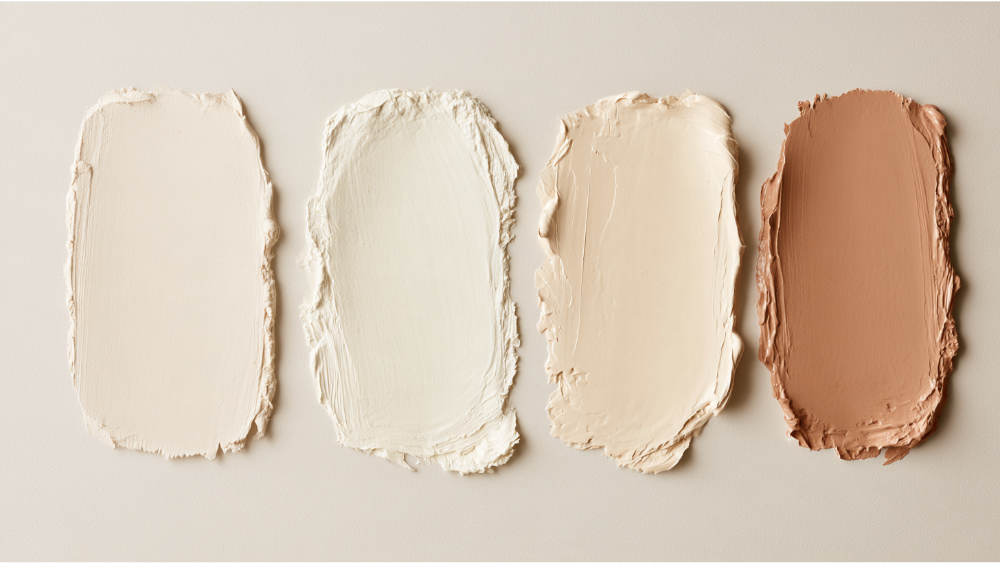
A quality acrylic-latex paint is the right call for standard interior drywall. Sheen is where most of the finish personality lives, and each step up the ladder trades a little forgiveness for a little more durability.
- Flat/matte: no shine, hides imperfections best. Good for ceilings and low-traffic rooms.
- Eggshell: the popular all-purpose default, balancing hide and washability.
- Satin: a soft pearl-like sheen that's durable and easy to clean, good for busier rooms.
- Semi-gloss: reflects light and resists moisture, well suited to kitchens and baths.
- High-gloss: dramatic shine that's easy to wipe down, best reserved for trim, cabinets, and molding.
Keep in mind that higher sheens and darker colors reveal more surface defects, which loops right back to your finish level. Washability varies by formulation too, so sheen alone doesn't decide how durable a wall will be.
Painting Drywall Walls and Drywall Ceiling, Step by Step
Painting drywall is a sequence that runs from prep to top coat. Rushing any step shows up later, and a drywall ceiling needs the same care as the walls because overhead flaws catch the light.
- Confirm the joints and repairs are finished and fully dry.
- Correct ridges, pinholes, torn paper, and nail pops.
- Sand gently with fine-grit paper.
- Control and remove the dust with a shop vac and a damp cloth.
- Tape off trim and baseboards; a bit of patience with the tape pays off at the edges.
- Cut in the edges with a brush, then roll the walls with an oversized roller fitted with the right nap, keeping a wet edge to avoid lap marks.
- Apply a compatible primer across the full prepared surface; a sprayer can speed large areas, though a roller still gives great results.
- Inspect under the room's actual lighting, and re-prime any repaired spots that still read uneven.
- Before you start painting the finish, mix or box multiple cans together in a 5-gallon bucket so the shade stays consistent, then apply at least two finish coats.
- Pull the tape before the paint fully dries to prevent peeling, then ventilate for two to three days per EPA guidance and let the coating cure.
Thin, even coats beat one heavy pass. Drying and recoat times shift with product, temperature, and humidity, so follow the label, and a quick watch of a how-to video can help if a step is new to you.
Common Drywall Paint Problems (and What They Really Mean)
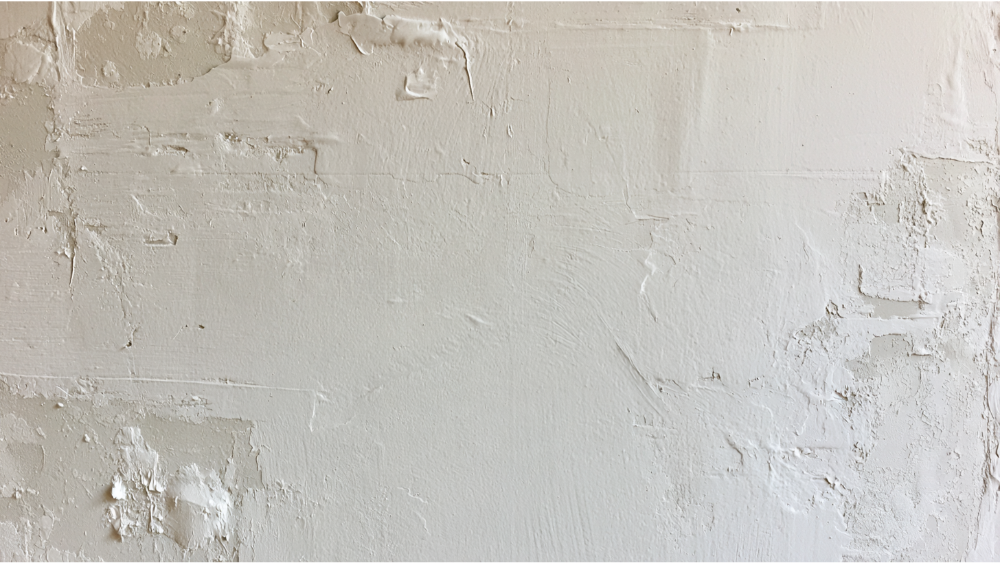
Almost every drywall paint complaint traces back to prep, moisture, primer, finish level, or application conditions rather than the paint itself.
- Visible seams, screw patterns, or flashing around patches point to primer, porosity, or finish level.
- Uneven sheen usually means inconsistent primer or application.
- Fuzzy or torn paper shows a repair step got skipped.
- Roller texture or lap marks come from losing the wet edge.
- Peeling happens when paint didn't stick to a damp, dirty, or glossy surface.
- Stains bleeding through signal the wrong primer.
- Mold coming back means the moisture was never corrected.
Safety: Moisture, Mold, and Pre-1978 Lead Awareness
Two safety checks come before any paint. On moisture, the EPA is clear: don't paint or caulk over moldy or wet surfaces, because paint placed over them is likely to peel. Correct the source first, dry damp materials within 24 to 48 hours, and if drywall is swollen or its seams have failed, plan on replacement. Watch for surfaces like a damp basement brick wall that may soak up moisture and telegraph it into adjacent board. On lead, the EPA's Renovation, Repair and Painting Rule covers paid work that disturbs paint in most pre-1978 homes. Some lead-based paint is present in an estimated 87% of homes built before 1940, 69% of those from 1940 to 1959, and 24% from 1960 to 1977. Covered work calls for a Lead-Safe Certified contractor. Cover Pro Painting is EPA Lead-Safe (RRP) Certified, which matters on older homes.
When to Call a Professional (and Start With a Free Estimate)
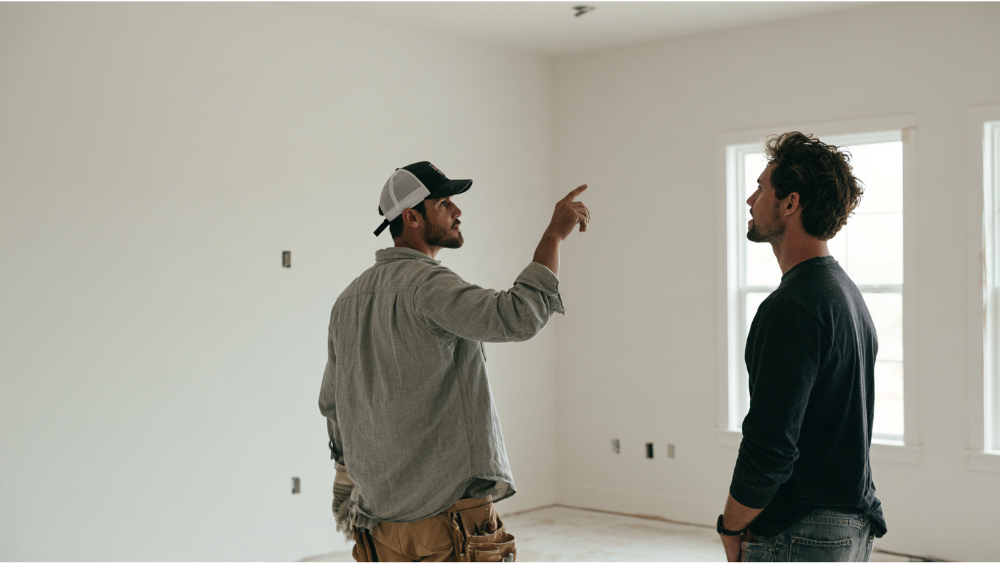
Some drywall projects are worth handing off: extensive skim coating, Level 5 expectations, large or repeat-failing patches, water-damaged drywall, tricky texture matching, pre-1978 surfaces, and any job where the repairs and the painting need to be handled together. That last one is where our full-service approach helps. We handle rot repair, siding, carpentry, and painting under one team, so you're not coordinating multiple contractors. Doing it yourself isn't always cheaper once you add up materials you have to purchase and the time it costs to create a flawless finish. You get a transparent estimate, proper surface prep, premium products backed by warranties, and clear communication start to finish. Based in Edgewood and serving the greater Seattle-Tacoma area, we're ready when you are. Call 206-222-0435 to get a free estimate, or schedule your interior painting estimate online.
Frequently Asked Questions
What kind of paint do you use on drywall?
The short answer is a quality acrylic-latex interior paint applied over a compatible primer. Choose the sheen by how the room is used, leaning flatter for low-traffic spaces and higher for kitchens and baths.
Can I paint directly onto drywall?
Not bare drywall, because it's too porous and will absorb paint unevenly, so prime it first. Sound, previously painted drywall can be repainted after cleaning and any needed repairs.
What happens if I paint drywall without primer?
You get uneven absorption, visible seams and flashing, dull spots, and the need for extra coats. Adhesion is also weaker, so the finish is more likely to fail over time.
How long should drywall mud dry before painting?
Roughly 24 hours at 70°F and 70% relative humidity, and longer when it's cool or humid. A slower dry is normal in those conditions, so confirm it's fully dry, not just set, before you prime.
What sheen hides drywall imperfections best?
Flat or matte hides the most because it reflects almost no light. Eggshell is the common all-purpose balance when you want a little more washability. For an exact match to your space, a review of the room's lighting with us during a free estimate helps dial it in.
