%201.svg)


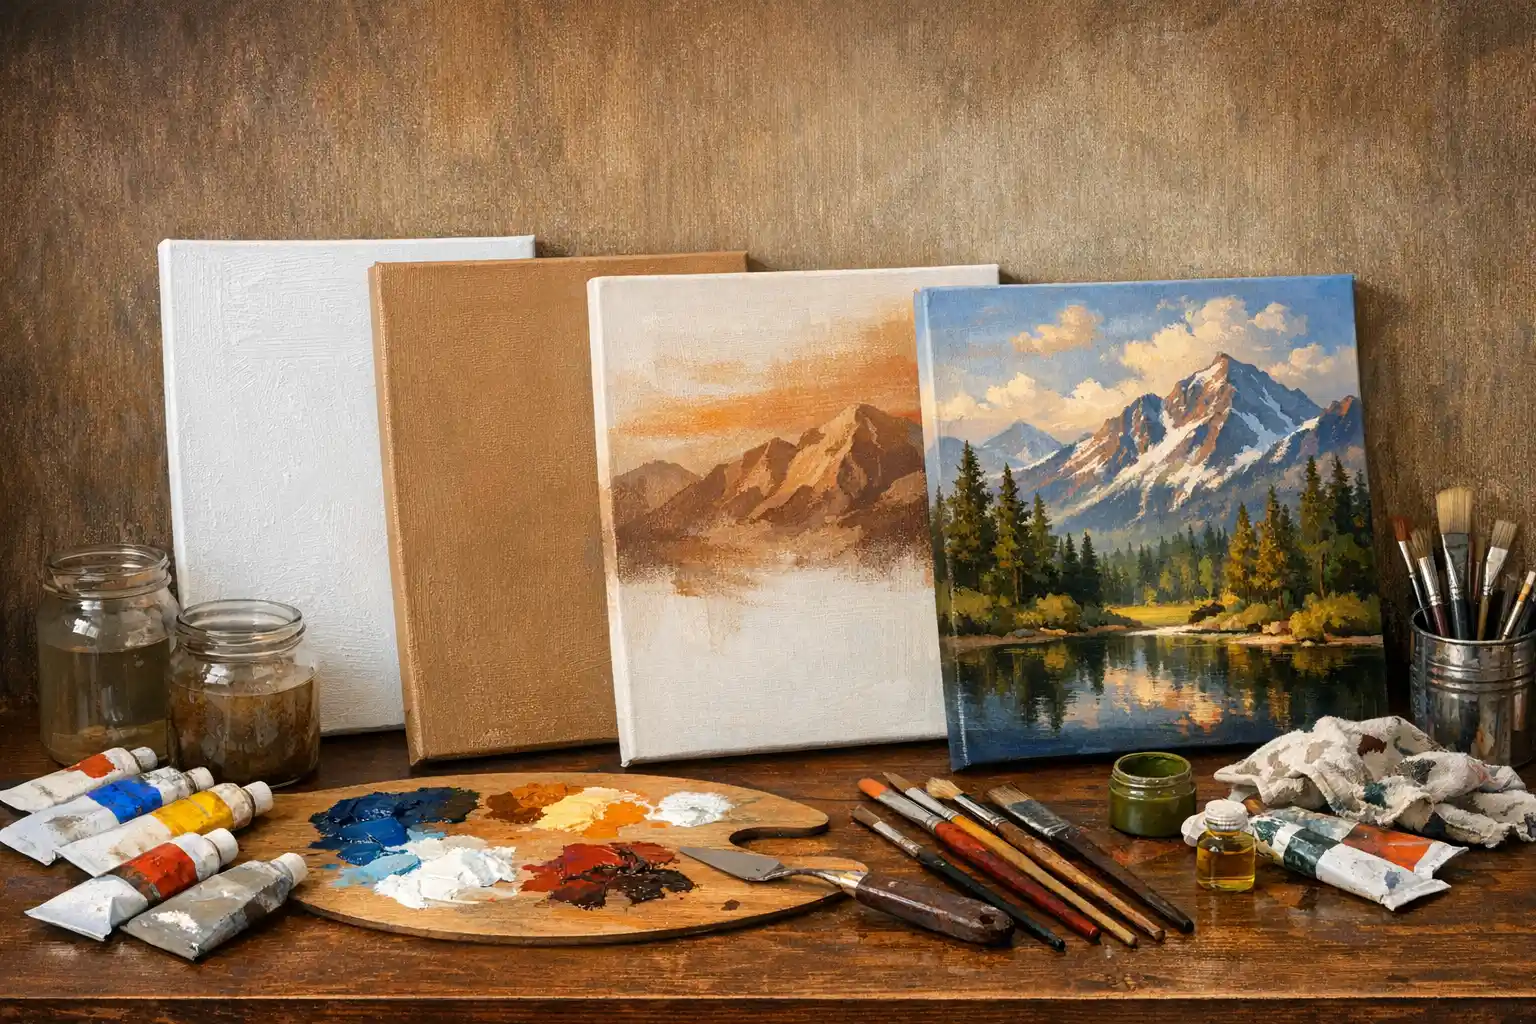
The Ultimate Guide: Do You Paint Trim or Walls First?

Key Takeaway:
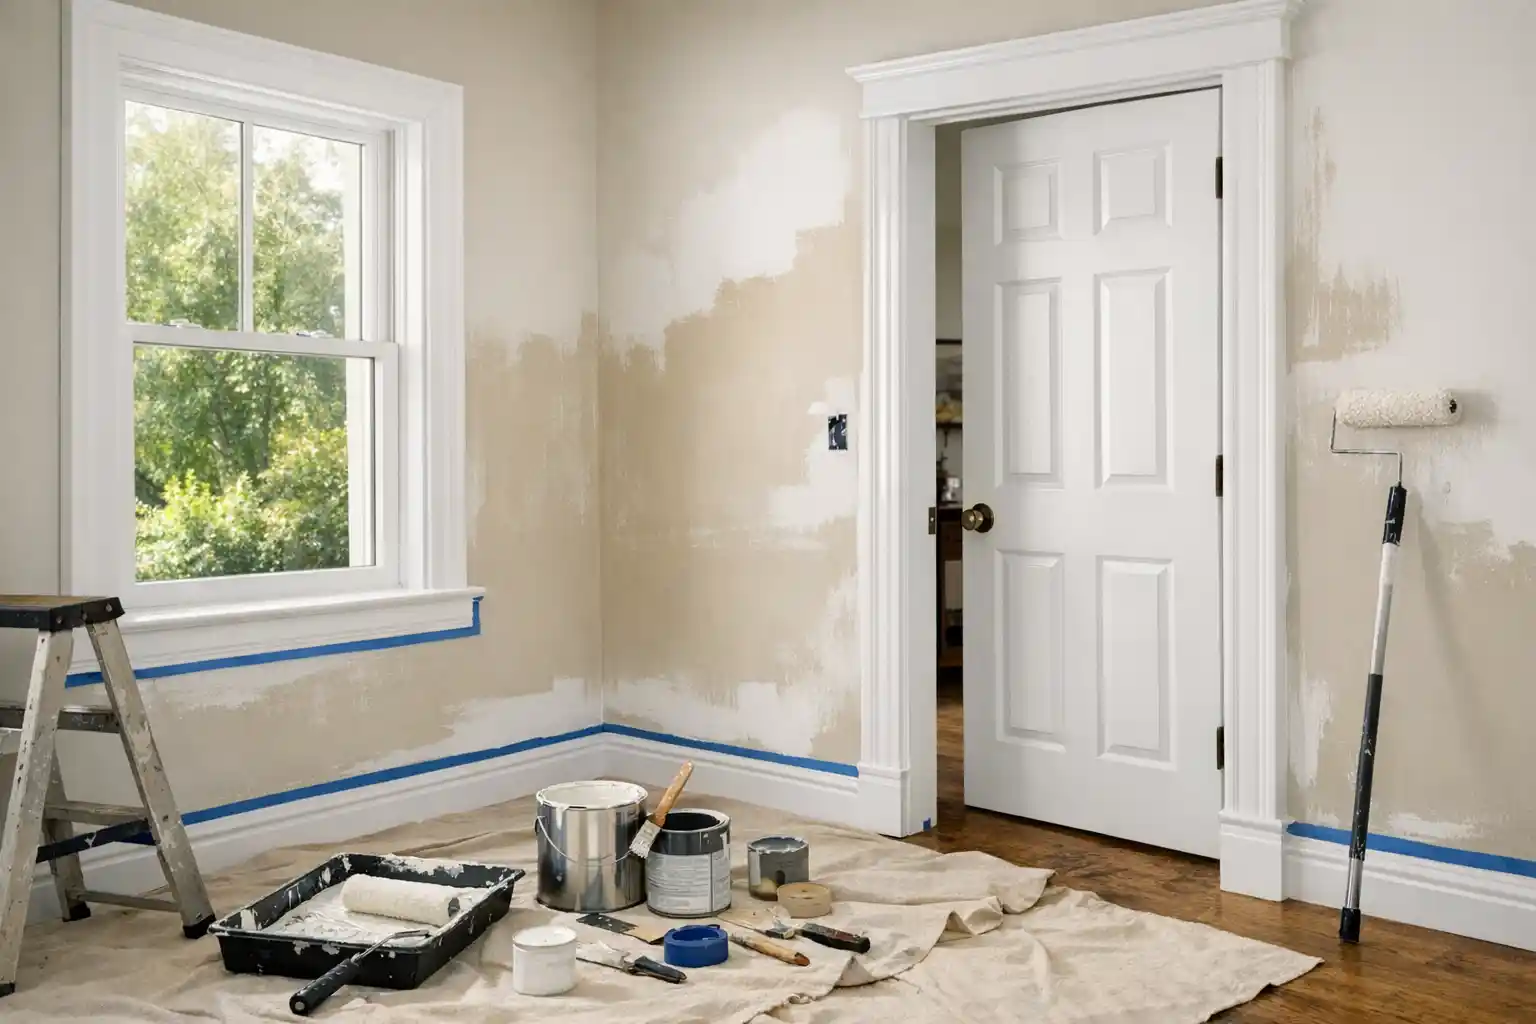
When deciding whether to paint trim or walls first, consider the benefits of each method. Painting walls first can lead to cleaner lines and reduced splatter, while painting trim first allows for precision in detailing. Ultimately, your choice should be guided by the specific needs of your project and the type of finish you desire.
The Ultimate Guide: Do You Paint Trim or Walls First?
Understanding the Basics of Painting Order
Industry Standards
In the world of residential and commercial painting, the order in which you paint can significantly impact the final outcome and efficiency of the project. Industry standards generally suggest painting the walls first followed by the trim. This traditional approach stems from the ease of cutting in the trim after the walls have been rolled. By painting the walls first, painters can achieve a smooth finish without worrying about overlapping onto the trim edges. This method also allows for better coverage as the larger surface areas of walls are addressed before moving to the more detailed trim work. Moreover, rolling walls first helps maintain a wet edge, reducing the risk of lap marks and ensuring a seamless, professional appearance.
Factors Influencing the Decision
While the industry standard is a good starting point, several factors can influence whether you paint trim or walls first. One major consideration is the condition of the surfaces. If the walls are newly constructed or freshly painted walls, it might be easier to begin painting the trim first to handle any nail holes or imperfections that need spot priming. On the other hand, if you're working with dark colors or a semi-gloss finish, you might prioritize painting the walls to avoid lap marks and ensure a consistent application. Ultimately, the choice often comes down to the specific project requirements and personal preference. Understanding these variables can help ensure that the final coat achieves both aesthetic appeal and functional longevity.
Advantages of Painting Walls First
Cleaner Lines
Painting walls first offers the advantage of achieving cleaner lines. When you roll walls before addressing the trim, you create a straight line and smooth finish that makes it easier to paint the trim with precision. This is particularly beneficial when working with contrasting colors, as it helps avoid unsightly overlaps. Additionally, painting all the walls first allows for a more uniform application of wall paint, setting a solid foundation for the final coat on the trim. By ensuring the wall paint is dry before moving on, you also reduce the likelihood of smudging the trim paint, resulting in a more polished and professional look.
Reduced Splatter
Another significant advantage of painting walls first is the reduction in paint splatter on freshly painted trim. When using a roller on large wall surfaces, splatter is almost inevitable, and by painting walls first, you can easily touch up trim edges without having to worry about splatter issues. This approach minimizes the need for extensive touch-up work and helps maintain clean lines throughout the painting process. Using tools like painter's tape or frog tape can further ensure that splatter is kept to a minimum, protecting the trim from unwanted paint marks. Additionally, running tape along baseboards and edges can prevent paint from seeping onto surfaces where it doesn't belong, ensuring a more precise finish.
The Case for Painting Trim First
Precision in Trim Detailing
Opting to paint the trim first can be particularly advantageous in scenarios where precision is key. For projects involving intricate trim detailing or when using colors that require a high level of accuracy, starting with the trim ensures that you can focus on the finer elements without the risk of compromising the wall paint. This method allows you to fill nail holes, achieve a smooth finish, and ensure that all the trim is perfectly aligned before moving on to painting the walls. By allowing each coat to dry completely before proceeding, you ensure that the final appearance is both crisp and enduring.
Special Scenarios
There are special scenarios where painting trim first is not just beneficial but necessary. For example, if you're dealing with trim that requires multiple coats or a special finish, it might be better to address it first to allow each coat to dry completely before any potential interference from wall painting. This approach is also useful when working in tight spaces where maneuverability is restricted, allowing for a more controlled application and avoiding lap marks. Additionally, if the trim is of a lighter or darker shade than the walls, starting with the trim can prevent color contamination and ensure cleaner lines between surfaces.
Technical Deep Dive: Paint Types and Finishes
Impact of Paint Type
The type of paint used can significantly affect the painting process and the order in which you paint. For instance, using ceiling paint on the trim can offer better coverage but requires precision to avoid mistakes. Different paint types, such as latex or oil-based, have varying drying times and surface adherence, influencing whether you should paint trim or walls first. Understanding the characteristics of your chosen paint type can help in making an informed decision that suits the project at hand. For instance, latex paint is often preferred for walls due to its quick drying time, while oil-based paints might be chosen for trim for their durability and sheen.
Choosing the Right Finish
Choosing the right finish is crucial to achieving the desired aesthetic and functional outcome. Semi-gloss finishes are popular for trim due to their durability and ease of cleaning, but they require a careful application to prevent streaks. On the other hand, wall paint often comes in a broader range of finishes, from matte to eggshell, each offering different levels of sheen and washability. The choice of finish can influence the painting order, as certain finishes might require a specific technique to ensure a flawless final coat. For example, using a high-gloss finish on trim might necessitate a more meticulous approach to avoid visible brush strokes and ensure an even appearance.
Step-by-Step Guide: Painting Walls and Trim
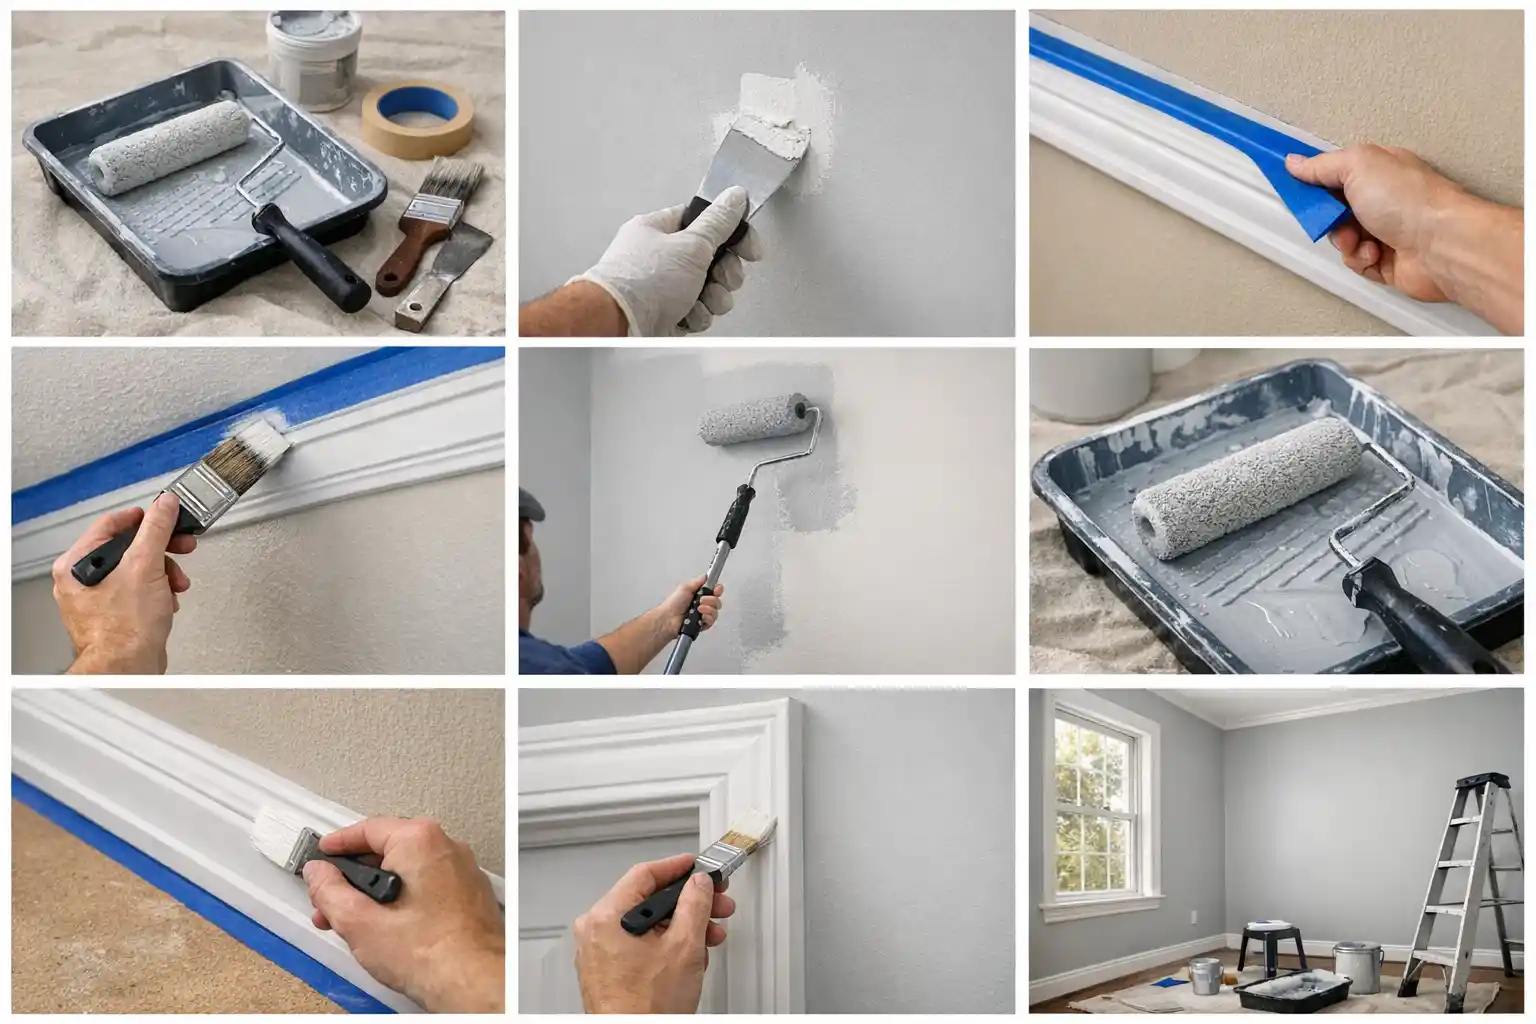
Preparation and Tools
Proper preparation is essential for a successful painting project, whether you're painting the trim or the walls first. Begin by preparing the walls and trim, filling nail holes, sanding rough spots, and ensuring surfaces are clean and dry. Tools like high-quality brushes, rollers, and painter's tape are indispensable in achieving a professional finish. As you set up, consider using a wet edge technique to avoid lap marks and ensure a consistent application across all surfaces. Additionally, using a spot prime method on any imperfections can improve adhesion and create a smoother surface for painting.
Painting Process
Once preparation is complete, begin painting by applying the first coat to your chosen starting point, whether it's the walls or the trim. Allow the coat to dry completely before moving on to the next stage to avoid smudging or uneven application. Apply a second coat as needed, focusing on achieving a uniform finish. When painting the trim, use a steady hand to pull tape and create clean lines along the ceiling edge and door frames. The final coat should be applied with precision, ensuring all edges are neatly aligned for a flawless completion. Using a straight edge along with your brushwork can further enhance your ability to achieve crisp, clean lines.
Common Pitfalls and How to Avoid Them
Mistakes to Watch Out For
Avoiding common mistakes can make a significant difference in the quality of your painting project. One of the most frequent pitfalls is failing to prepare the surfaces adequately, leading to poor adhesion and an uneven finish. Additionally, rushing through the process without allowing each coat to dry completely can result in lap marks and an inconsistent appearance. Always use high-quality materials and take your time to ensure each step is executed correctly. It's important to remember that even minor oversights, such as not taping properly or using the wrong brush, can impact the final result.
Expert Tips for Success
Expert tips can help you achieve a professional result and avoid common issues. For instance, using a spot prime technique on nail holes and imperfections can enhance the final outcome. Additionally, run tape along edges to protect surfaces and achieve crisp lines. Utilizing tools like a straight edge for cutting in and a wet edge technique can further enhance the quality of your work. Remember, it's not a big deal if minor touch-ups are necessary; the goal is to achieve a smooth and aesthetically pleasing finish. Moreover, selecting the right paint for the job, such as Sherwin Williams for better coverage, can contribute to a more professional end result.
ROI & Cost Analysis of Painting Projects

Cost Implications of Painting Order
The order in which you paint can have cost implications, especially when considering labor and materials. Painting walls first often involves fewer materials, as it reduces the need for extensive masking and touch-up work on the trim. However, painting the trim first can be more time-efficient in detailed projects, potentially reducing labor costs. Evaluating the specific needs of your project and balancing them against budget considerations is essential for maximizing investment. By strategically planning the sequence of your painting tasks, you can minimize waste and optimize the use of resources.
Maximizing Investment
Maximizing ROI in painting projects involves strategic planning and execution. Investing in high-quality materials and professional services can ensure long-lasting results and minimize the need for frequent repaints. At Cover Pro Painting, we emphasize preparation, materials, cleanliness, and follow-through to deliver exceptional results in every project. Our five-year workmanship warranty on exterior projects demonstrates our commitment to quality and customer satisfaction, ensuring your investment is well-protected. By prioritizing quality over cost-cutting measures, you ultimately save more by reducing the frequency of maintenance and repainting needs.
Impact of Seattle's Climate on Painting
Weather Considerations
Seattle's climate presents unique challenges for painting projects, with its frequent rainfall and humidity affecting drying times and paint adhesion. Proper planning is crucial, as weather conditions can significantly influence the success of a project. Choosing the right season, such as late spring or early fall, can provide optimal conditions for painting, ensuring that the coat dries completely and adheres properly. Additionally, keeping an eye on weather forecasts and planning around dry spells can prevent complications and ensure a smoother painting process.
Seasonal Painting Tips
Adapting to Seattle's climate requires specific seasonal painting tips to ensure a successful outcome. During the rainy season, focus on interior projects to avoid the challenges associated with exterior painting. Utilize fast-drying paint formulations and consider using temporary coverings to protect freshly painted surfaces from unexpected weather changes. By strategically planning your projects around the weather, you can achieve a smooth finish and better coverage. Also, using dehumidifiers and climate control tools can help maintain optimal conditions for painting indoors during wetter months.
2026 Paint Technology: Future Trends

Technological Advancements
As we look toward 2026, advancements in paint technology promise to revolutionize traditional painting methods and order. New formulations offering improved durability, faster drying times, and enhanced environmental friendliness are on the horizon. These innovations will likely influence whether to paint trim or walls first, as new products may offer better coverage and easier application, reducing the complexity of the decision-making process. Keeping informed about these technological shifts will allow painters to adapt quickly and take advantage of enhanced materials for superior results.
Implications for Painting Order
The implications of technological advancements for painting order are significant, potentially altering traditional practices. With improved paint adhesion and drying properties, painters may have more flexibility in deciding the order of painting. This could streamline processes, reduce labor time, and enhance the overall efficiency of painting projects. Keeping abreast of these changes will be crucial for both professional painters and DIY enthusiasts seeking to optimize their painting strategies. Embracing these new technologies can lead to better project outcomes and increased satisfaction for clients.
Local Regulations and Recommendations
Seattle-Specific Guidelines
Seattle's local regulations and recommendations play a crucial role in painting projects, ensuring compliance and safety. Familiarize yourself with any specific guidelines related to environmental considerations, lead-safe practices, and waste disposal to ensure your project adheres to local standards. By following these regulations, you can avoid potential fines and ensure that your work is environmentally responsible. Moreover, understanding the legal landscape can help you navigate any challenges associated with local ordinances and zoning laws.
Best Practices
Adopting best practices specific to Seattle's region can further enhance the quality and compliance of your painting projects. Utilize materials suited to the area's climate and prioritize environmentally friendly products to align with local standards. At Cover Pro Painting, we emphasize the importance of preparation, materials, and follow-through, ensuring all projects meet the highest standards of craftsmanship and customer satisfaction. For more information about our services and best practices, visit our services page. Incorporating these strategies into your projects will not only meet regulatory requirements but also promote sustainable practices within the community.
Frequently Asked Questions
What are the 2026 advancements in paint technology?
Focus on new technologies that could change traditional painting methods and order.
Are there specific painting regulations in Seattle?
Explain any local regulations or recommendations for painting projects in the Seattle area.
Why is it usually recommended to paint walls first?
Discuss the reasons behind the common recommendation to paint walls before trim.
What mistakes should I avoid when painting trim?
Offer practical advice on common pitfalls to avoid during trim painting.
How does Seattle's climate affect painting projects?
Describe the impact of Seattle's weather on painting, including drying times and paint adhesion.