
%201.svg)


When You Actually Need Primer (and When You Can Skip It)
.webp)
Key Takeaway
You can skip primer when repainting a surface that is clean, dry, dull, sound, and already painted with no stains or bare spots. Knowing when you actually need primer versus when you can skip it comes down to a nine-question checklist. New drywall, bare wood, glossy surfaces, stains, and drastic color changes almost always require a dedicated primer matched to the specific problem.
Here's the short answer: you can usually skip primer when you're repainting a surface that's clean, dry, dull, sound, and already painted, with no stains, bare spots, or major color change. You need primer when the surface is raw, porous, glossy, stained, weathered, or bare. New drywall, exposed wood, and dark-to-light color shifts almost always call for it. If you're a homeowner staring at a wall trying to decide whether to prime before a DIY project (or wondering if a contractor's estimate is padding the scope), the choice comes down to one checklist: clean, dry, dull, sound. When all of those are true, primer may be optional. When any is false, primer is doing real work, and skipping it invites peeling, flashing, and a redo.
What Primer Actually Does: Seal, Bond, Block, and Even Out
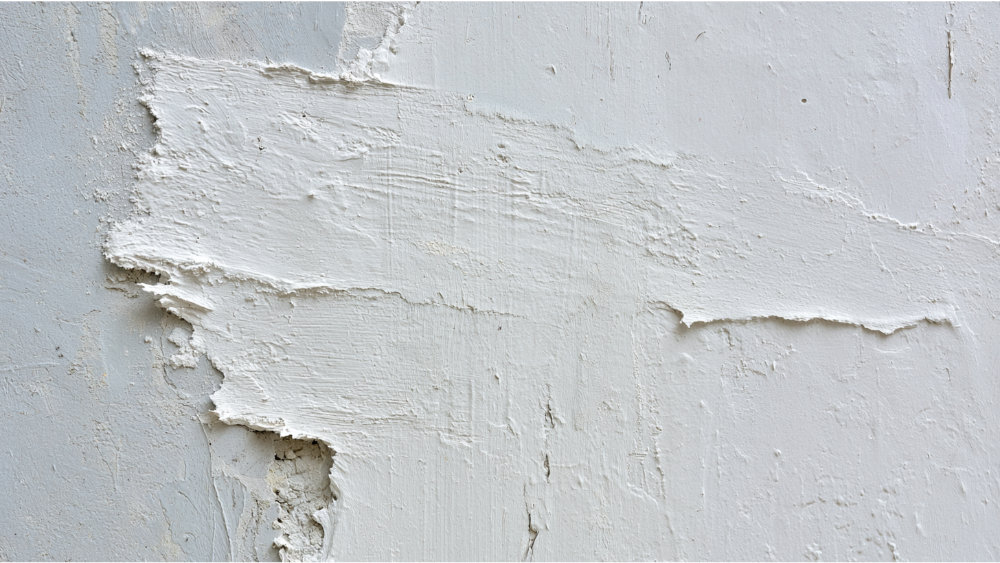
Primer isn't just an extra coat of paint. It's a surface diagnosis, and it does four specific jobs:
- Seals porous surfaces. New drywall, joint compound, and bare wood absorb paint unevenly. Primer equalizes that absorption so the finish looks uniform and smooth.
- Bonds to slick or questionable coatings. Glossy paint, metal, and tile don't give paint much to grip. A bonding primer creates that grip.
- Blocks stains, tannins, and odors. Water marks, smoke, grease, and the natural tannins in cedar or redwood will bleed through ordinary paint. A stain blocking primer stops them.
- Evens out sheen and color. It sets a consistent base so patches and color changes disappear under the topcoat.
The important part: these are four different problems, and no single formula solves all of them. A drywall primer, a bonding primer, and a stain blocking primer are separate product categories. Matching the primer to the problem is where a good result starts.
The Quick Primer Decision Checklist
Run the surface through these questions before you decide:
- Clean (no dirt, grease, or chalk)?
- Dry (no active moisture)?
- Dull (not glossy or slick)?
- Sound (no peeling, cracking, or damage)?
- Previously painted?
- Free of stains?
- Free of bare patches or repairs?
- No drastic color change (like dark to light)?
- No lead-safe concern (built after 1978)?
All yes? Primer may be optional. Any no? Evaluate primer, and in some cases repair the surface first. That's the whole decision in nine questions.
When You Can Skip Primer: Previously Painted Walls
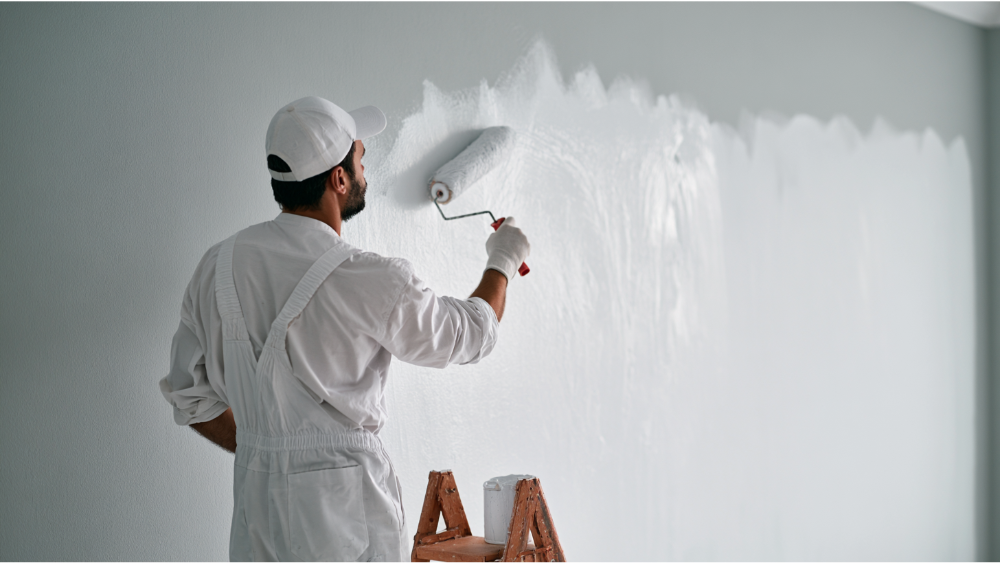
The low-risk situations are the common ones. If you're repainting clean, sound, non-glossy interior walls that already have a solid coat of paint, you can usually go straight to your finish coats. Painting over an existing surface in good shape gives a fresh coat plenty to hold onto, so a quality self priming latex paint works well directly over the existing coating. A minor color change, say a warm white over a soft beige, doesn't require a separate primer either, as long as you're staying within a similar color family. It helps to lightly sand any glossy trim or slick spots first so the new paint adhere evenly across the whole wall, especially where an eggshell sheen has built up some shine over the years.
The honest version of this: sometimes primer genuinely isn't needed, and a good painter will tell you that instead of billing for a step your walls don't require. When you skip primer in these cases, you're not cutting a corner, you're reading the surface correctly. The trade-off comes with paint-and-primer-in-one products, which we'll get to below. For now, the rule holds. Clean, dry, dull, and sound means you're probably fine to paint.
When You Actually Need a Paint Job Primer: The Surfaces That Demand It
These are the tricky surfaces where skipping primer sets up future failure on any paint job.
New Drywall Primer, Joint Compound, and Skim Coat
Fresh drywall is one of the most porous surfaces you'll paint, and the joint compound over the seams absorbs paint differently than the face paper. The board and the mud also carry a slightly different texture, which shows through if you don't seal them evenly. The Gypsum Association calls for at least one coat of a quality drywall primer (a minimum dry film thickness around 1.0 mil) to equalize that absorption so the finished wall looks uniform and smooth.
Bare Wood, and When to Use an Oil Based Primer
Bare wood needs a quality primer for adhesion, and species like cedar and redwood carry water-soluble tannins that require stain blocking or they'll bleed through. An oil based primer is often the right choice on these tannin-heavy woods because its formula locks stains down better than water-based options. Shellac based primers are another strong option when you need to seal the toughest bleed-through and knots. USDA Forest Products Laboratory research notes that even three days of weather exposure on freshly cut wood can hurt paint adhesion, so timing and dry conditions matter as much as the primer itself.
Glossy Surfaces: Use a Bonding Primer
Glossy surfaces and smooth metal don't hold a topcoat well. These need a bonding primer, but priming alone isn't enough: the surface has to be cleaned and dulled first. Lightly sand the shine off to leave a dull finish, wipe it down, then prime. Skip that sanding step and the primer has nothing to grab either. This is also true of hard, glossy trim and doors, where the old sheen has to be broken before a new coat will stick.
Stains, Smoke Damage, Grease, and Crayon
Water stains, smoke, grease, and a stray crayon mark from the kids will ghost through ordinary paint no matter how many coats you apply. To apply primer here is the fix: a stain blocking or oil based primer seals these stains off, and it's the right tool for locking down smoke damage and lingering pet odors as well. When you're covering set-in marks on walls or ceilings, an oil based paint or primer is usually more dependable than a latex option.
Big Color Changes and Masonry
Going from a deep color to a light one? Drastic color changes let the previous paint show through unless you prime first, and the same holds for big color jumps in the other direction. Big color work like a saturated navy over cream almost always needs a primer to keep the topcoat from taking more coats than it should. Masonry, brick, stucco, and concrete often have a high pH (above 7, meaning alkaline) that can attack ordinary coatings, so these porous surfaces need an alkali-resistant masonry primer to prevent adhesion problems and efflorescence. On exteriors, a proper primer also helps the system resist moisture and UV.
What Primer Will NOT Fix
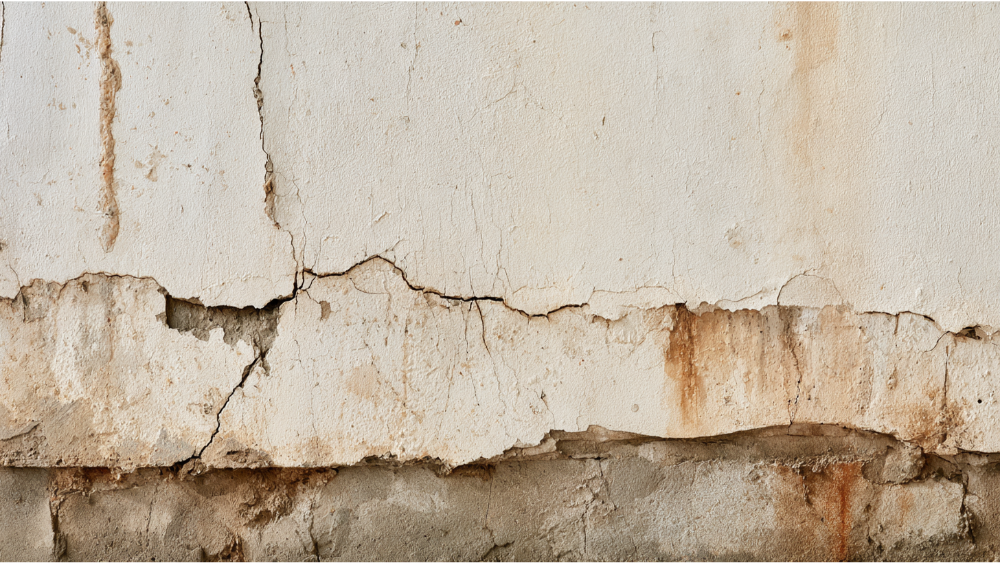
Primer is a coating, not a repair. It can't rescue any of these:
- Active moisture or water intrusion
- Rot or wood decay
- Peeling caused by a failed coating underneath
- Dirty or chalky surfaces
- An untreated mildew or mold source
- Lead-safe prep requirements on older paint
EPA moisture guidance is clear that high humidity or water trapped in a building cavity leads to rot, structural damage, and premature paint failure. Paint over a wet or rotting surface and it will fail, primer or not. This is where full-service capability matters. At Cover Pro Painting, rot repair, siding repair and replacement, and carpentry are handled by the same team before any primer or paint goes on. Repair first, prep second, then the right primer.
Spot Prime or Prime the Whole Surface?
You can spot prime small bare or patched areas and get fine results. The catch is flashing: patched compound or spackle will absorb paint at different rates than the surrounding painted wall, so those spots can dry duller or shinier than the rest, even after topcoats. When you've got several repairs across one wall, or when a perfectly uniform sheen matters, priming the whole surface gives a cleaner, more even finish. Pros make this call surface by surface, weighing how many repairs there are against how visible the wall is. That extra prep work is often what separates a wall that looks flat and even from one that catches light in patches.
What About Paint-and-Primer-in-One?
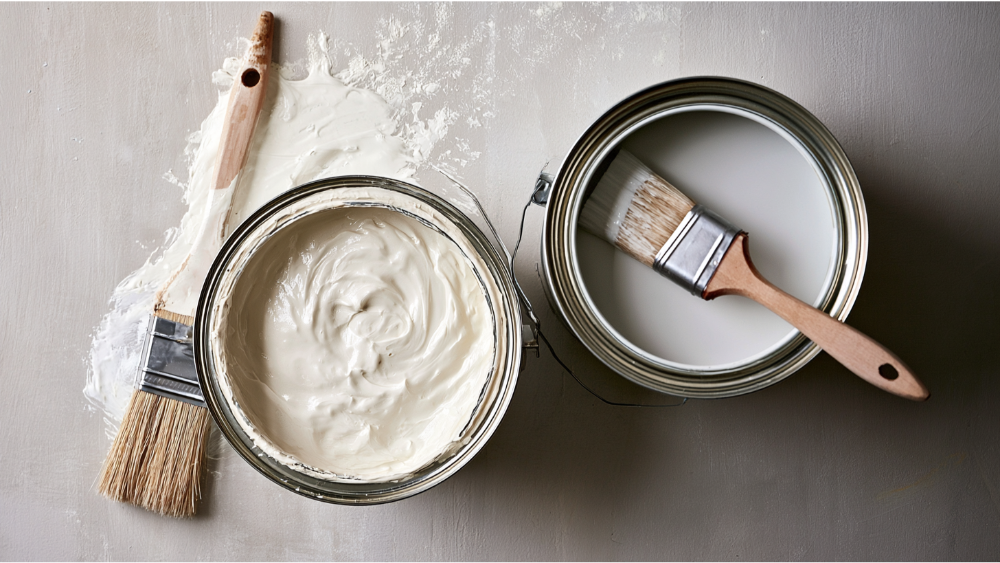
Paint-and-primer-in-one is a high-hiding convenience paint. It's genuinely useful on sound, previously painted walls and for minor color changes, and it saves a step in those cases. What it isn't: a substitute for a dedicated drywall, bonding, stain blocking, rust-inhibitive, or masonry primer when the surface actually needs sealing, bonding, blocking, or repair. Matching primer to substrate, and pairing it with paint of the same type of base where it counts, is what delivers better results. If your checklist turned up a no, reach for the right primer category instead of assuming the self-priming paint will cover for it.
How Professional Painters Decide on Primer
The decision follows a consistent process:
- Inspect the surface and identify the coating and substrate.
- Repair any damage first (rot, siding, cracks).
- Clean, scrape, and sand as needed.
- Prime only where needed, or full-prime when uniformity or protection requires it.
- Apply premium paint products according to manufacturer instructions.
Surface prep is the proof of quality here, and it's why we walk the scope with you before work begins. Sanding glossy trim, dulling old sheen, and cleaning off chalk are all part of that groundwork, and low odor products help keep interior work comfortable while it's underway. Timing is part of the craft too: manufacturers generally recommend applying the first topcoat within about two weeks of priming so the surfaces bond as designed. Cover Pro Painting is EPA Lead-Safe (RRP) Certified, and founder Alex personally oversees each project so these calls get made right the first time.
A Note on Older Homes (Built Before 1978)
.webp)
Homes built before 1978 are more likely to contain lead-based paint, and sanding or scraping that paint can release hazardous lead dust. When the work disturbs old paint in an applicable pre-1978 property, EPA recommends hiring a lead-safe certified contractor. Cover Pro Painting is EPA Lead-Safe (RRP) Certified, so prep on older homes is handled with the right containment and cleanup practices rather than guesswork.
Frequently Asked Questions
What happens if you skip primer when you shouldn't?
You risk poor adhesion, flashing where patches show through, stains bleeding up into the finish, and early peeling. In short, a paint job that fails sooner than it should.
Do I actually need primer on already-painted walls?
Usually no, if the wall is clean, dull, sound, and you're not making a drastic color change or covering stains. If any of those fail, prime the affected areas. Lightly sand any glossy spots so the new paint adhere well.
Do I need to use a primer on new drywall?
Yes. New drywall is very porous, and at least one coat of drywall primer equalizes absorption between the board and the joint compound for a uniform, smooth finish. A good primer will also help prevent peeling down the road.
When should I use an oil based primer instead of latex?
Reach for an oil based primer when you're sealing tough stains, cedar or redwood tannins, or strong odors. Its stain blocking formula holds those problems down better than water-based options.
Can primer stop peeling paint?
No. Peeling signals a failed coating, moisture, or a bad surface underneath. The cause has to be fixed and the surface properly prepped before any primer or paint goes on.
Not Sure If Your Project Needs Primer? Start With a Free Estimate
The right call always depends on the actual surface in front of you, which is exactly the kind of diagnosis our founder-led team does on every job. We handle the full scope: paint plus rot repair, siding, and carpentry, with surface prep as the backbone of a lasting finish. You get a clear, transparent estimate before work begins, a five-year exterior warranty, and premium paint products backed by lifetime manufacturer warranties, from a team with over 100 years of combined experience and 13-plus years in business.
If you're in our greater Seattle-Tacoma service area, based out of Edgewood, WA, start with a free estimate. Get My Free Painting Estimate: call 206-222-0435.
