%201.svg)


What Is the Typical Rot Repair Process? A Homeowner’s Guide for 2025
Here’s a quick answer to the question what is the typical rot repair process. A proper rot repair process starts with identifying moisture issues, confirming wood rot, removing all compromised material, repairing or replacing affected components, sealing wood surfaces, and finishing with paint and protective coatings to prevent future rot. When done correctly, this repair process restores structural integrity, improves overall appearance, and prevents future damage.
In the Pacific Northwest, rot is one of the most common exterior problems homeowners face. Constant moisture, seasonal rain, and damp conditions put wood surfaces at risk, especially when paint fails or water infiltration goes unnoticed. This step by step guide explains how professionals approach wood rot repair, what homeowners should expect, and why cutting corners often leads to more structural damage later.
What Causes Wood Rot on Homes?
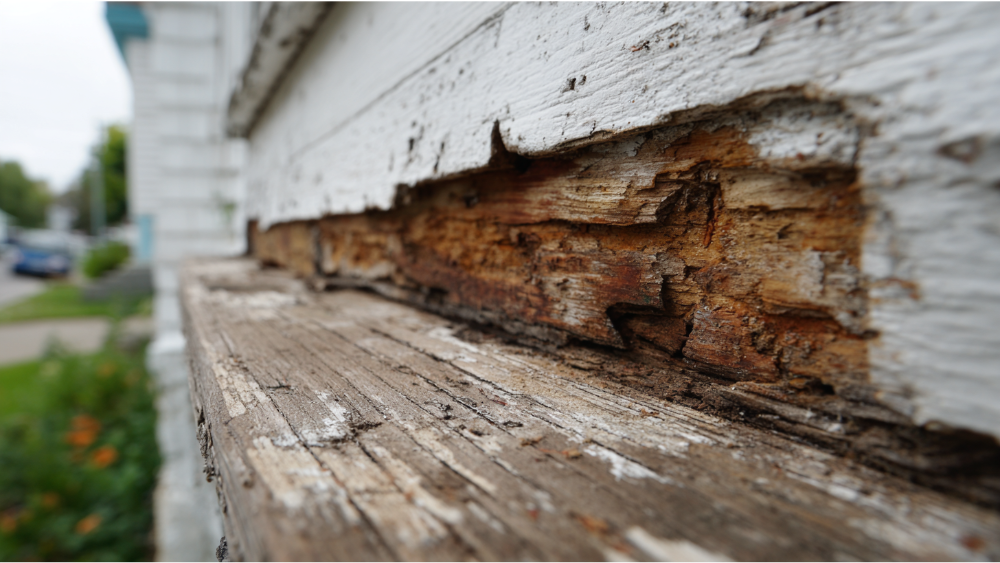
Wood rot develops when moisture penetrates wood and stays there. Whether it is dry rot or wet rot, the cause is always prolonged moisture exposure. Water infiltration allows fungi to break down wood fibers, turning healthy wood into rotten wood over time.
Moisture Is Always the Root Problem
Moisture issues come from many sources. Failed caulk, cracked paint, improper drainage, poor ventilation, and roof or window flashing problems all allow water to reach untreated wood. Trapped moisture behind paint or trim leads to rot, even if the surface looks intact.
Peeling paint, bubbling paint, or a musty smell near walls are often early warning signs. In crawl spaces, a musty odor or earthy smell can signal hidden moisture problems affecting wood structure below the home.
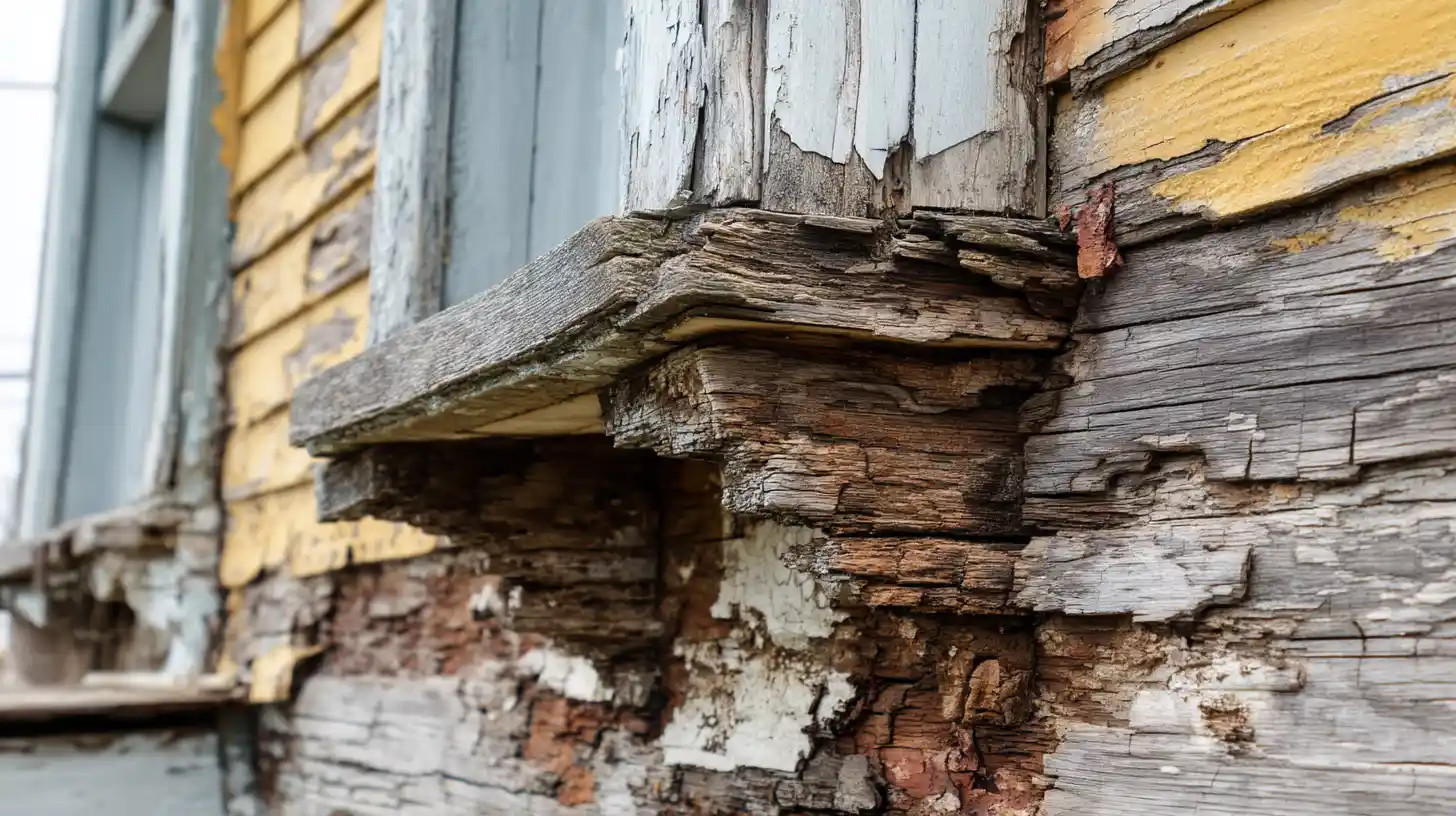
Common Exterior Areas Where Rot Starts
Certain areas are more vulnerable to wood rot than others. Window sills, door sills, door frames, door trim, fascia boards, bottom edges of siding, and areas around window and door openings are common problem zones. These spots collect water and are slow to dry.
Carpenter ants are also attracted to rotted wood and can worsen wood damage. While ants do not cause rot, their presence often indicates compromised wood nearby.
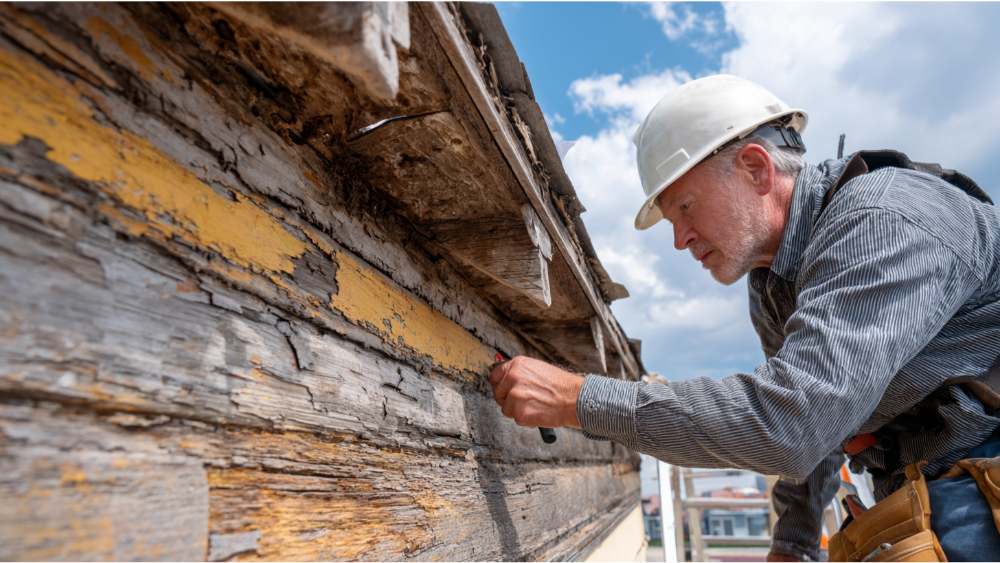
Step 1: Professional Inspection and Rot Assessment
The first step in any rot repair is a thorough inspection. This step determines the extent of damaged wood and whether repairing rotted wood or full replacement is the only option.
How Contractors Identify Rot
Professionals look for visual and physical signs. Wood that feels soft, cracks easily, or flakes apart is likely rotten wood. Probing with a putty knife helps locate rotted sections beneath the surface. Areas with mold growth, moisture staining, or a musty smell are inspected closely.
Determining the Scope of Repair
Surface damage is rarely the full story. Rot often spreads behind trim, siding, or flooring edges. Identifying the affected area and surrounding wood prevents covering up deeper issues that would cause future rot if left untreated.
Step 2: Fixing the Moisture Source First
Before any wood rot repair begins, moisture problems must be corrected. Repairing rotted wood without solving moisture issues leads to repeat repairs.
Common Moisture Entry Points
Water often enters through failed caulk joints, missing flashing around window and door assemblies, roof intersections, and poor gutter discharge. Improper drainage near walls and crawl spaces also contributes to persistent moisture.
Why Skipping This Step Causes Repeat Rot
When moisture continues to reach wood surfaces, even new wood will rot again. This leads to future damage, wasted money, and additional repair work. Fixing moisture problems is a proactive measure that protects the repaired area long-term.
Step 3: Site Preparation and Protection
Protecting Landscaping and Property
Before work begins, crews protect surrounding area elements such as plants, walls, and flooring. Drop cloths and containment keep debris controlled and maintain the home’s aesthetic appeal.
Safety Considerations
During rot repair, workers wear safety glasses and a dust mask when sanding or removing damaged wood. These precautions protect against dust, debris, and potential mold spores released during removal.
Step 4: Removing All Rotted Wood
Why Rot Must Be Fully Removed
Rot cannot be reversed in decayed material. To restore structural integrity, contractors must remove rotted wood completely until only good wood and healthy wood remain. Leaving compromised wood behind allows rot to continue spreading.
How Professionals Define the Cut Line
Using tools like a putty knife and saws, contractors remove rotted sections back to solid remaining wood. The goal is to expose good wood that can support repair or replacement materials.
Step 5: Repair vs Replacement, How the Decision Is Made
Choosing between repair and replacement depends on the severity of wood damage and the role of the affected component.
When Wood Replacement Is the Best Option
Replacement is necessary when rot affects load-bearing elements, causes structural damage, or compromises the structure of walls, roof connections, or flooring supports. In these cases, replacement is often the only option to restore safety.
New wood is installed to replace damaged sections. Pressure treated wood may be used in areas exposed to moisture, while untreated wood is avoided unless fully protected.
When Epoxy or Wood Rebuilds Are Appropriate
Repairing rotted wood with epoxy is suitable for localized damage where surrounding wood remains strong. This method preserves original profiles and reduces labor intensive replacement work.
Step 6: Rebuilding or Replacing the Wood
Epoxy Consolidation and Rebuild Process
For repairs, contractors apply wood hardener to stabilize remaining wood fibers. A high quality wood filler or wood filler system is then used to rebuild the missing section. This wood restorer material is shaped, sanded, and blended into the surface.
Wood filler is applied in layers and allowed to cure before sanding. This creates a smooth surface ready for primer and paint. Using high quality wood filler improves durability and reduces future damage.
Installing New Rot Resistant Materials
When replacement is required, new wood components are cut and fitted precisely. Pressure treated wood may be used in high moisture areas, while other material choices depend on location. End grain is sealed, joints are detailed, and proper fastening prevents trapped moisture.
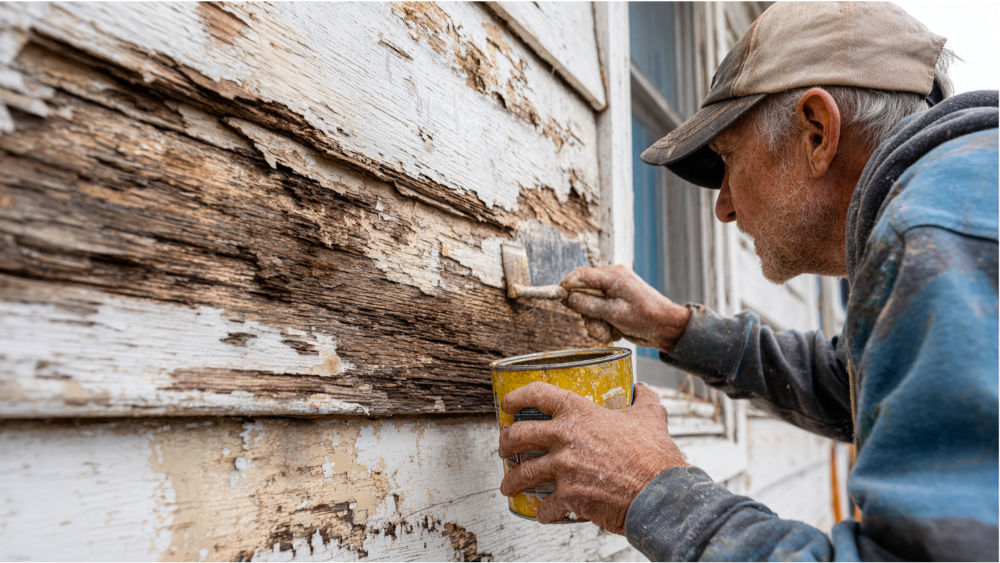
Step 7: Priming, Caulking, and Painting
Why Primer Is Essential After Rot Repair
Primer seals repaired wood surfaces and new wood, creating a uniform base for paint. Without primer, moisture can penetrate the surface and lead to rot again.
Strategic Caulking and Sealing
Caulking is applied where needed to block water infiltration, but not everywhere. Poor caulking can trap moisture. Proper ventilation and drainage are maintained to allow wood to dry.
Finish Coats and Protective Coatings
Paint serves as a protective barrier against moisture and UV exposure. Multiple coats improve longevity and overall appearance. Protective coatings help shield repaired areas from future rot.
Step 8: Final Inspection, Cleanup, and Warranty

What a Professional Close Out Looks Like
After repair, the area is cleaned and inspected. Contractors check the repaired area, surrounding area, and adjacent surfaces to ensure proper sealing and finish.
Long Term Protection and Peace of Mind
A quality rot repair includes confidence that the structure is protected. Preventing future rot protects the home’s structure and value.
How Long Does Rot Repair Typically Take?
Small repairs may take one to two days. Larger projects involving replacement, fascia boards, or door frames can take several days. Weather conditions and drying time affect the schedule.
How Much Does Rot Repair Usually Cost?

Costs depend on the extent of rot, accessibility, materials, and whether paint is included. Repairing rotted wood is often less expensive than replacement, but extensive rot increases cost. An inspection is necessary for accurate pricing.
Can You DIY Rot Repair?
When DIY Might Work
Very small areas of surface rot may be manageable for experienced homeowners using wood filler, sandpaper, and proper protective gear.
Risks of DIY Rot Repair
DIY repairs often fail due to incomplete removal of rotten wood or ignored moisture issues. Missed rot leads to future damage and additional repair work.
How Rot Repair Fits Into a Full Exterior Painting Project

Rot repair should always be completed before painting. Addressing wood rot during a paint project ensures uniform protection and reduces time consuming future repairs.
FAQs About the Rot Repair Process
What is the difference between dry rot and wet rot?
Both types are caused by moisture. Dry rot spreads more aggressively through wood, while wet rot stays localized but still weakens structure.
Can rot come back after repair?
Yes, if moisture problems are not corrected. Proper repair and proactive measures reduce the risk.
Is epoxy wood rot repair permanent?
It can be long lasting when used correctly on non structural areas.
Does rot affect structural integrity?
Yes. Left untreated, rot weakens wood and can cause serious structural damage.
How often should wood be inspected?
Annual inspections help with early detection and reduce costly repairs.
Final Thoughts, What Homeowners Should Expect From Proper Rot Repair
Proper rot repair is not just cosmetic. It protects the structure, improves overall appearance, and prevents future damage. Understanding what is the typical rot repair process helps homeowners make informed decisions and protect their investment. When rot is addressed correctly, repaired wood surfaces remain strong, paint lasts longer, and the home stays protected for years to come.