
%201.svg)


Tannin Bleed on Cedar: Why Brown Stains Come Through New Paint
Key Takeaway
Tannin bleed on cedar siding happens when moisture dissolves the wood's water-soluble extractives and carries them to the surface, leaving amber or reddish-brown stains as the water evaporates. The fix requires correcting the moisture source first, then cleaning and drying the cedar, completing any rot or siding repairs, and applying an exterior stain-blocking primer specifically labeled for cedar before repainting. No topcoat alone can contain cedar tannins, and more paint over stained areas buys time rather than a lasting solution.
Brown stains come through new paint on cedar because moisture dissolves the wood's naturally occurring water soluble extractives and carries those tannins toward the substrate's exterior face. As the water evaporates at the surface, it leaves reddish brown stains behind. The lasting fix is to correct the moisture source, clean and dry the cedar, complete any siding or rot repair, and then apply an exterior stain blocking primer specifically labeled for cedar before repainting.
If you're standing in front of freshly painted cedar siding looking at amber or tea colored stains and wondering whether the paint job failed, here's the honest answer: tannin stains don't automatically mean the cedar is ruined or that the whole house has to be stripped. They do mean the source needs to be diagnosed before another coat goes on. This guide walks through what causes cedar bleeding, how to tell tannin stains apart from rust, mildew, and rot, and what a proper repair actually involves.
What is tannin bleed cedar siding, exactly?
"Tannin bleed" is trade shorthand. The USDA Forest Service and cedar industry finishing guidance use a more precise term: water soluble extractive discoloration, or extractive bleeding. Western red cedar heartwood contains large quantities of these water soluble extractives, and they are the same compounds that give the wood its color, its dimensional stability, and the reason it naturally resists decay.
That's the part homeowners rarely hear. The chemistry that makes western red cedar such a good wood siding material is the same chemistry that stains paint. You aren't dealing with a defect in the boards. You're dealing with a normal property of the material that a coating system has to be designed around. Cedar isn't alone in this either. Redwood and several other wood species carry similar extractives, which is why tannin bleed cedar siding and stained redwood trim show up together in most finishing guides.
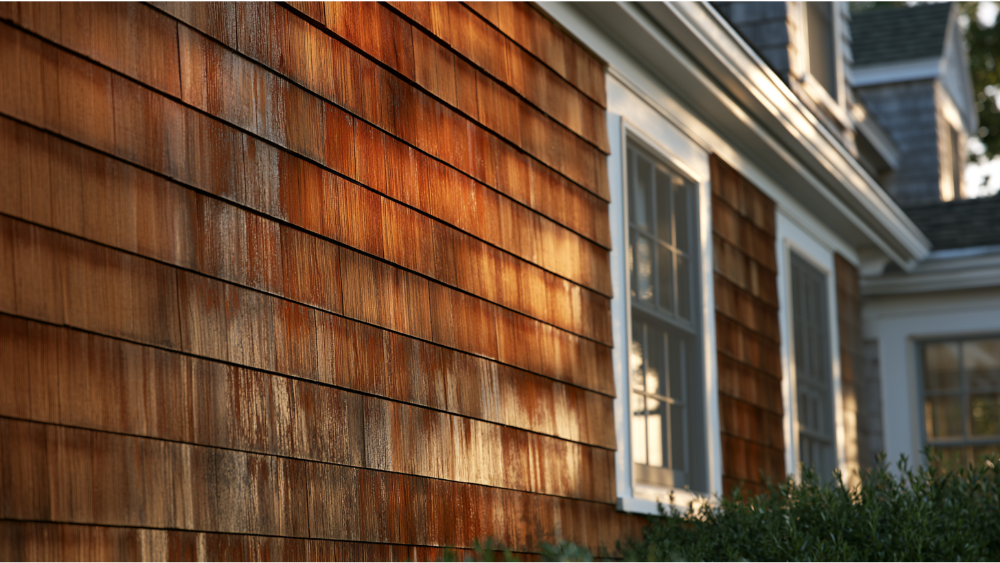
Tannins concentrate in heartwood far more than sapwood, which explains something that confuses a lot of people: one board can bleed heavily while the board right beside it stays clean. The stains are also most visible through white and light colors, so the same amount of extractive bleeding that's barely noticeable on a deep charcoal wall can look dramatic on a soft white or pale gray house.
- Cedar's tannins are natural, not a manufacturing flaw.
- Stains vary board to board depending on heartwood content.
- Light and white colors show tannin stains most.
- The coating system, not the wood, is what has to solve it.
What does a tannin stain look like on painted western red cedar?
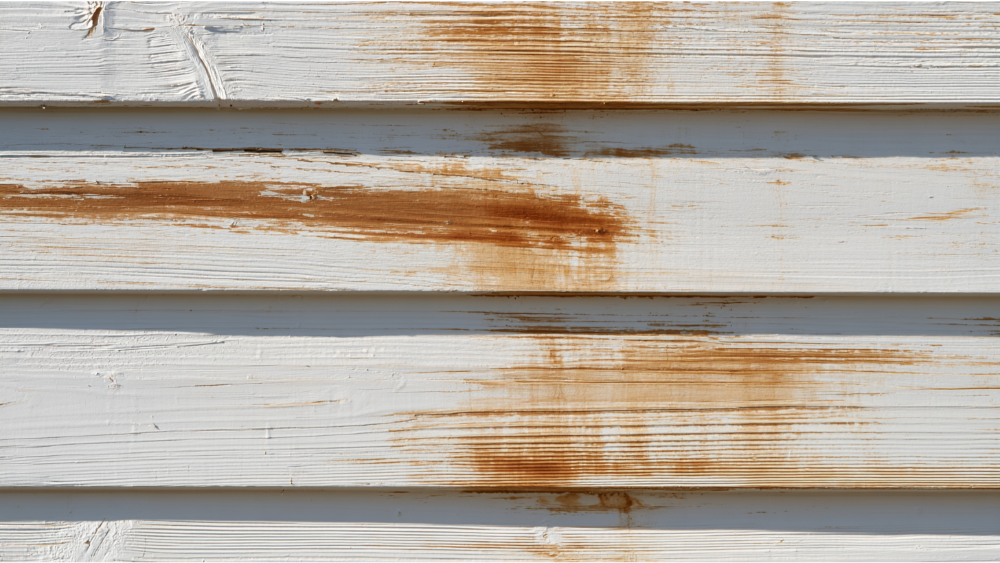
The appearance runs from amber, tan, and yellow through to a reddish brown discoloration. Many homeowners describe the stains as tea colored. Common patterns include:
- Stains that follow the wood grain rather than sitting in random blotches.
- Discoloration concentrated at bare wood, exposed patches, and cut ends.
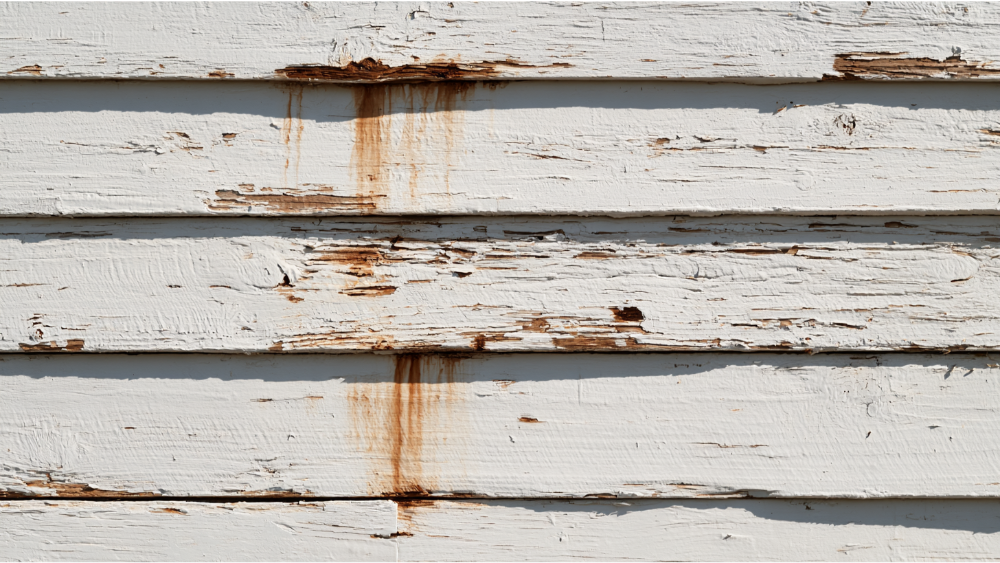
- Streaks running below lap joints, down from board ends, or off the bottom of trim boards.
- Stains that appear or worsen after rain and repeated wetting.
- Bleeding that shows up weeks or even months after the paint went on, not immediately.
The pattern itself is diagnostic information, and it's worth paying attention to. Diffuse stains spread across a wall field usually mean water is reaching the face of the siding or moving through a thin or porous paint film. Streaking directly below lap joints and heavy stains at board ends usually point somewhere else entirely: water getting behind the siding, or end grain that was never sealed.
Tannin stains on cedar trim, posts, paneling, and fences
Siding gets the attention, but the same extractive bleeding shows up anywhere cedar is used. Corner posts, porch posts, window and door trim, fascia, fence boards, deck rails, and fence posts all bleed for the same reason. Cedar paneling under a covered porch ceiling can do it too, usually where a roof leak or condensation reaches the back side. Posts are especially prone to staining because their end grain sits vertically, and the base of a post that meets concrete or soil wicks water upward like a straw. If your siding is clean but the porch posts and trim keep staining, that's a moisture detail problem, not a paint quality problem.
Why did the tannin stains come through brand new paint?
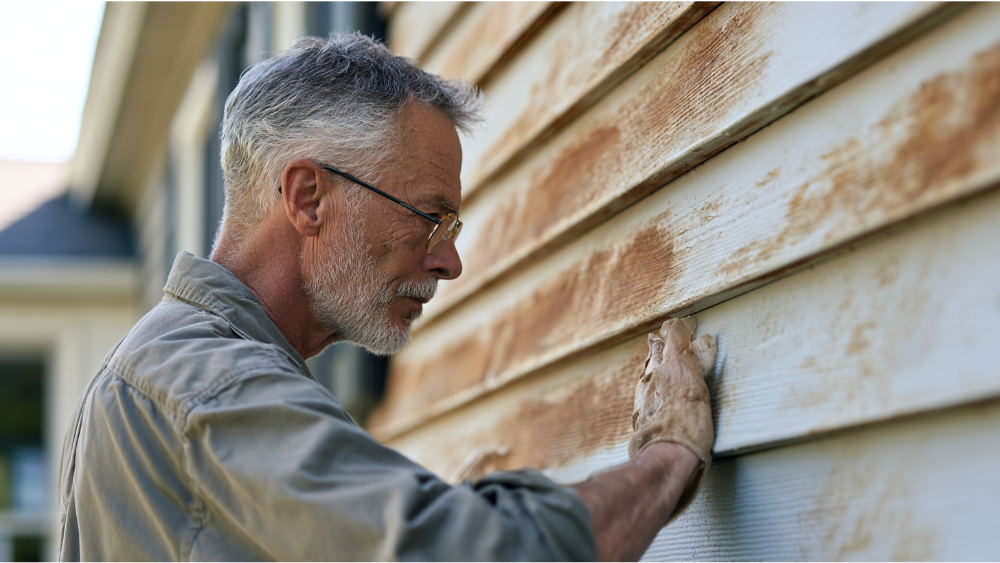
A standard exterior top coat is not formulated to contain cedar tannins. That's the central point. No paint system solves this at the finish coat, and more paint over stained areas buys time rather than a fix. Here are the causes we see most often:
- No dedicated stain blocking primer, or the wrong type. A primer has to be labeled tannin stain resistant or approved for blocking wood and cedar extractive stains. General purpose primers often aren't.
- A paint and primer in one product used as the primer. These products have their place, but they shouldn't replace a dedicated stain blocker on bare or actively bleeding cedar unless the label specifically approves that use.
- Cedar coated before it was dry. Finishes applied to damp boards seal excess moisture into the wood and give the tannins exactly what they need to travel.
- Thin coverage, bare patches that were never adequately primed, or one coat where the label called for two. A stain blocking primer only blocks where it actually covers, and only after it has properly cured.
- Water entering from behind. Leaking gutters, roof drainage dumping on a wall, flashing defects, wind driven rain, wall condensation, and poorly detailed siding joints all wet the back of cedar boards where no coating protects them.
- Unsealed end grain. Cut ends on siding, trim, and posts absorb water far faster than face grain and are a common starting point for streaking.
- Iron fasteners. Plain steel nails react with cedar's tannins and produce dark stains that no topcoat will hide.
- Weathered or damaged cedar under the new coating. Cedar industry guidance notes that even a few weeks of sun and moisture exposure on new cedar reduces its ability to hold paint or solid color stain without additional surface prep.
Almost every one of these traces back to prep and the primer decision. That's not a scolding, it's just where the work has to happen. Surface prep isn't a step before the job. On cedar siding, it is the job.
Is it a tannin stain, rust, mildew, or rot? A quick diagnostic
A simple field test helps. Mildew sits on top of the paint film and will wipe or clean off the surface. Tannin stains live in the wood and migrate outward, so washing the surface may lighten them, but they return while moisture keeps moving. Rust bleeds outward in a halo from a specific fastener rather than following the grain.
Nails, fasteners, and the stains they cause
One prep note catches a lot of people out. Cedar industry guidance recommends stainless steel, aluminum, or hot dipped galvanized nails to reduce iron staining, and it's worth checking what's already in your walls before you repaint. The wrong nail type is a common problem on older walls. Electroplated or plain steel nails corrode, and the iron reacts with cedar's tannins to leave dark stains radiating out from each nail head. Nails that have backed out slightly also break the paint film and open a direct path for water. Where existing nails are the source of the stains, they may need to be set, spot primed with a stain blocking primer, and filled before the finish coat goes on. Cedar guidance also warns against steel wool and wire brushes, because they leave iron particles behind that react with the wood and create stains later.
Are tannin stains only cosmetic, or a sign of a bigger problem?
Brown stains by themselves do not prove the paint has lost adhesion. A badly stained wall isn't automatically a failing wall, and plenty of homes show extractive bleeding while the coating underneath is still tight and sound. But USDA guidance is clear that the excess moisture driving the discoloration can also contribute to blistering, peeling, and wood deterioration over time.
The rule we work by: cedar bleeding is not automatically rot or coating failure, but it is always a reason to inspect the moisture source and the wood beneath. Excessive staining concentrated in one area usually means water is arriving there and staying. If boards feel soft or spongy under thumb pressure, if you see splitting, or if a section of wall stays wet long after the rest of the house has dried, that section needs a closer look before anything else happens.
This is the point where a painting only crew usually stops and hands you a referral. We keep going. Rot repair, carpentry, and getting damaged siding replaced are handled by the same team that does the priming and painting, so nobody's waiting on another contractor to open the wall.
How to fix tannin bleed on cedar siding, step by step
- Identify and correct the moisture source. Check gutters and downspouts, roof drainage, flashing, siding joints, end grain, post bases, and anywhere water could be reaching the back of the boards. Nothing else in this list holds if water keeps arriving.
- Check coating adhesion and inspect the wood. Test whether the existing paint is still bonded, and look for rot, splits, corroded nails, or damaged boards while you're there.
- Follow lead safe requirements on pre 1978 homes. In Washington, work that disturbs coatings on a qualifying pre 1978 house or child occupied facility falls under state RRP certification and lead safe rules. Scraping and sanding are exactly the activities those rules cover. We're EPA Lead-Safe (RRP) Certified, and this is one reason it matters.
- Clean the stained areas with an appropriate labeled wood cleaner. Oxalic acid wood cleaners can lift tannin, water, and iron stains. They do not stop moisture movement, and they require careful handling strictly per the product label.
- Skip aggressive pressure washing. Cedar is soft. Cedar industry guidance warns that power washing can damage surface fibers and reduce finish adhesion, especially when it's used to strip coatings.
- Let the cedar dry completely, and verify it. Finishing cedar above 20% moisture content increases the risk of coating failure. Roughly 12% is a typical stabilized in service level in North America, but that's a reference point, not a pass or fail line. Drying time varies by wall: the south side of a home usually dries first, while a shaded north wall can stay damp for days after everything else looks ready.
- Scrape and sand only as needed. Remove loose or failing coating and feather the edges with light sanding, without gouging the boards or raising the fibers. Over sanded cedar holds paint worse, not better.
- Complete rot repair, siding replacement, and carpentry first. New or repaired boards, trim, and posts should be in place before any primer goes on, and every new cut end needs sealing.
- Apply a full coat of the proper primer, an exterior stain blocker labeled for cedar. Spot priming can be enough for a few isolated bare patches. Repeat stains or whole wall discoloration call for full surface priming.
- Let the primer cure, then apply a compatible premium exterior topcoat. Cure time comes from the product label and the weather, not from a schedule.
Frequently Asked Questions
Where oxalic acid helps, and where it doesn't
Oxalic acid is the active ingredient in most wood brighteners, and it works by converting the discoloration into a compound that rinses away. It's genuinely useful on tannin stains, on the gray water stains under old gutters, and on the black rings left by corroded nails. What it does not do is change why the wood is wet. If the downspout is still discharging against the wall, the same stains come back. Treat oxalic acid as one prep step in a sequence, use it exactly as the label directs, protect plants and hardware below the work area, and rinse thoroughly so nothing is left to interfere with primer adhesion.
Spot priming or full coat stain blocking?
Spot priming makes sense when a few nail heads, a couple of patched areas, or one replaced trim board are the only bare spots on an otherwise sound wall. Once tannin stains show across a whole elevation, or once they have already come back through a previous repaint, spot priming just chases the problem. At that point the entire surface gets a full coat of stain blocking primer, because tannins will find any gap you leave.
One useful thing to know before you spend money: once the moisture source is corrected, mild stains on exposed walls may wash or weather away on their own over weeks to a few months. Stains in sheltered areas that rain never reaches tend to persist and can darken over time. That difference is worth checking before deciding how much surface needs recoating.</
