



Spray Paint for Wood: What to Use and How to Apply It Correctly

Key Takeaway
Spray paint for wood works well when the coating is rated for wood and your indoor or outdoor conditions, and the surface is cleaned, sanded, primed, and dry before you begin. On bare or porous wood, always apply primer first. Use multiple light coats and follow the label's recoat window precisely, since missing it causes wrinkling. Oil-based enamel delivers the hardest, most scratch-resistant finish; water-based dries faster with lower odor.
Yes, you can spray paint wood. The catch is that the coating has to be rated for wood and for your indoor or outdoor use, and the wood needs to be cleaned, repaired, dried, sanded or deglossed, and primed as needed before you apply light coats per the label. Do that, and you get a smooth finish that holds up. Skip it, and you get something that peels or stays tacky.
One firm rule up front: don't spray over rot, active moisture, peeling paint, or a finish that isn't stable. This guide is for anyone repainting furniture, doors, trim, or a small outdoor piece who wants it to last, not fail in a season. It's prep-first and label-first, in that order.
What Does "Spray Paint" Actually Mean?
Before anything else, it helps to be clear about what you're holding. "Spray paint" covers two very different things:
- Aerosol spray cans. The DIY default. Good for small-to-medium items where you want an even coat without brush marks. These cans combine paint and propellant in one sealed container, so you point and spray.
- Paint applied through HVLP or airless spray equipment. Professional-scale gear that uses different products, prep, masking, and safety practices.
The two aren't interchangeable, and that's where a lot of online advice goes wrong. An aerosol can and a sprayer have different instructions, suit different projects, and produce different results. Not all spray products are created equal, and the gap between a cheap can and a quality one shows up fast on wood. Most people searching for spray paint for wood mean the aerosol can, so that's our main focus. We'll call out spray equipment only where it actually changes the answer.
Is Spray Paint the Right Choice for Your Wood Project?
Aerosol spray paint is a great fit for some wood projects and a poor fit for others. Here's a quick way to tell where yours lands.
The pattern is simple. Aerosol spray paint shines on small, detailed, well-prepped pieces where a smooth finish matters and the surface area is manageable. A set of dining chairs, a bookshelf, or a beat up coffee table you want to refresh all fit that mold. Reviving old pieces of wood furniture is one of its best uses, since a few light passes cover a lot of history. Large exterior surfaces and anything structural point toward professional spraying and, often, repair work before a drop of paint goes on.
How to Choose the Best Spray Paint for Wood
Start with one rule: the product must list wood as an approved surface and be rated for your environment. A coating made for interior decorative use doesn't belong on an exterior door, fence, or siding. Read the can before you read the reviews. The best spray paint for a given job is simply the one whose label matches your surface and conditions, not whichever brand has the loudest marketing.
Oil based enamel paint vs. water based
Oil based enamel gives you a harder, more scratch-resistant, smoother surface. It's the choice when durability and a glass-like finish matter, like a tabletop that gets daily use. A protective enamel also stands up well to repeated cleaning, which is why this kind of enamel paint shows up so often on furniture that earns real wear. Water based formulas dry faster and have lower odor, which makes them easier to work with indoors, and they clean up with soap and water instead of solvent. Both can be excellent on wood. The right one depends on how the piece will be handled and how long you can let it dry between steps.
Interior vs. exterior rating
Don't put an interior coating outside. Exterior wood faces sun and moisture, so an outdoor coating needs UV inhibitors and moisture resistance built into the formula. An interior decorative paint simply isn't made to survive weather.
Finish, sheen, and high gloss vs. the best seller
Spray paints come in flat, matte, satin, and high gloss, and some ranges add metallic or glitter effects along with a wide set of color options. A flat or matte finish hides minor surface flaws but is harder to wipe clean. A high gloss shows imperfections more readily but stands up better to cleaning and handling, and that durable, easy-to-clean quality is part of why a gloss or satin enamel is often the best seller on the shelf. Many people land on semi gloss as the go to middle ground, and satin sits close by as a safe default for most furniture. Whatever sheen you pick, buy enough cans to finish the job in one batch, since color and gloss can shift slightly between production lots.
One more thing worth knowing: "paint and primer in one" does not always mean you can skip priming. On bare, porous, or rough wood, a separate primer often still earns its keep.
Why Primer Spray Paint Matters More Than the Paint You Choose
Primer does the quiet work that decides how your finish ages. On wood, it seals the porous, raw grain so paint absorbs evenly instead of blotching. It improves adhesion, so the color coat actually grips and the finish can stick for years. It blocks tannins and knot bleed from pushing up through the paint. And paint applied over proper primer lasts longer and resists scratches better than paint laid straight onto bare wood. A primer spray paint built for wood lets you lay down that sealing base coat with the same even control you get from your color cans.
Raw wood is the obvious case. Unsealed grain drinks paint unevenly, and the result looks patchy no matter how many coats you add. A water based primer handles most interior jobs cleanly and dries quickly, while a shellac or oil based primer does heavier blocking work. Bare metal hardware or fittings on a wood piece are a different story: those need a primer made for metal, often a rust-inhibiting one, so corrosion doesn't creep back through later.
When a BIN shellac primer is worth it
Some woods fight back. Knotty, resinous, and stain-prone species can bleed brown or amber through a light finish, and extra color coats won't stop it. A shellac-based primer, such as a BIN shellac primer, is built for exactly this. It blocks tannin and stain bleed-through and seals the grain, which makes it the right call on knotty pine, cedar, redwood, and anything prone to staining. It also dries fast and sands easily, so you lose little time adding it to the primer section of your process. If you're painting a light color over a wood that's known to bleed, reach for it.
Surface Prep: The Step That Decides Whether It Lasts
We lead with prep because it's the honest difference between a finish that holds and one that fails. Paint is only as good as the surface under it. Here's the order that gets lasting results:
- Inspect for rot and moisture. Soft, spongy, or damp wood gets repaired or dried first. You can't paint a problem away.
- Clean the surface. Remove dirt, grease, wax, and mildew. Paint won't stick to any of them.
- Remove only loose or failing coating. Sound old paint can stay. Flaking and peeling has to go.
- Scuff-sand or degloss sound glossy finishes. A slick surface gives paint nothing to grab. A dull, scuffed surface does. A light sanding between coats also improves smoothness.
- Fill damage and smooth repairs. Patch dings, a deep scratch, and gouges, then sand flush so the repair disappears under the finish.
- Remove all sanding dust. Dust trapped under paint reads as a rough, gritty finish.
- Prime bare, porous, stained, knotty, or bleed-prone wood. This is where that primer earns its place.
Before you reach for sandpaper on an older surface, read the lead-safety section further down. If the home was built before 1978, sanding old paint can release hazardous dust, and that changes how you work.
How to Spray Paint Wood for a Smooth Finish
Technique is where a decent can becomes a professional-looking finish. Work through it in order.
- Protect the area from overspray. Mask and cover anything nearby. Aerosol mist travels, and it will settle on plastic bins, glass, and anything else left exposed.
- Check your conditions. Many aerosols spray best somewhere around 50°F to 85°F with humidity below roughly 60%, out of direct wind. That's a representative range, not a universal one, so confirm your exact label. Wind matters even on a warm day because it scatters the spray and widens overspray.
- Shake the can about two minutes, then test-spray on scrap cardboard to check the pattern. If the spray spits or sputters, keep shaking, since a poorly mixed can lays down an uneven coat.
- Hold the can roughly 8 to 12 inches from the surface. Labels actually range from about 8 to 16 inches, so follow yours.
- Start and stop each pass beyond the edges of the piece. Keep the can moving the whole time. Pausing in one spot pools paint.
- Overlap passes slightly so you don't leave gaps or stripes. On large flat surfaces like a tabletop, this overlap is what keeps the sheen even.
- Angle spray into corners and recesses so detailed areas get the same coverage as the open faces.
- Apply multiple light coats, not one heavy one. Thin coats prevent runs, drips, and sags. This single habit solves most finish problems, and it's the tip most beginners wish they'd heard first.
- Optional: lightly scuff before putting down the second coat for extra smoothness, then wipe the dust.
Then respect the recoat window, which is more precise than most people expect.
Dry Time vs. Recoat Time vs. Cure Time: They're Not the Same
This is where generalized advice does real damage. Four different things get lumped into one number, and they shouldn't be:
- Dry to touch: light contact leaves no mark. Often around 15 to 30 minutes.
- Dry to handle: the item can be moved carefully.
- Recoat window: the period when the next coat can go on without wrinkling or lifting the last one.
- Full cure: the coating has reached its intended hardness and resistance. Oil based enamels in particular keep hardening for days after they feel dry.
Recoat windows vary by product, and the differences are real. One current aerosol sheet says recoat before one hour or after 24 hours. Another says within one hour or after 48 hours. Those aren't the same instruction, and neither is "wait a couple hours."
Here's the trap: letting the primer dry or waiting "a little longer" to be safe can actually land you outside the recoat window, which is what causes wrinkling and lifting. The label's window controls. Don't borrow a number from a different can.
Does Spray-Painted Wood Need a Clear Topcoat?
Sometimes, not automatically. A clear topcoat can add durability and scratch resistance on high-touch or high-wear pieces, like a coffee table or cabinets that get handled daily. On a decorative item that rarely gets touched, it may add nothing. A deep color such as a dark green table reads richer under a clear coat, but that's a look choice, not a requirement.
Pick based on compatibility, environment, sheen, and wear, then follow the coating label. The common mistake is assuming every clear coat improves every paint system. The wrong one can yellow over time or shift your sheen in a way you didn't want. A quick way to check: brush or spray a little on a hidden spot, let it dry fully, and run a fingernail over it. That simple scratch test tells you whether the topcoat bonded or stayed soft. When in doubt, test on scrap first.
Special Considerations for Outdoor and Exterior Wood

Outdoor wood is less forgiving, and the physics are worth respecting. Wood should be dry and weather-stable before you coat it. USDA wood-science guidance puts typical exterior siding and trim around 7% to 14% moisture content depending on region, and notes that blistering and peeling become likely when wood is painted above 20% moisture. Treat that as wood science, not a coating warranty, but it explains why painting damp wood fails.
Use an exterior-rated coating with UV and moisture resistance. Repair any rot and stop moisture entry first, because paint is not a fix for decay or an active leak. Any exposed metal fasteners or brackets deserve attention too, since rust will bleed up through an exterior finish and streak it; a rust-inhibiting primer on that hardware prevents the problem. Cedar, redwood, pine knots, and other resinous or extractive-rich woods can bleed through a light finish, and a stain-blocking shellac-based primer may be required. Extra color coats won't stop the bleed.
For siding, spraying alone may not work the coating into the wood well. The approach the Forest Products Laboratory recommends is to back-brush immediately after spraying, which pushes the coating in and prevents bridging and gaps. And house-scale exterior spraying is a different job from using an aerosol can, with different equipment and far more masking.
Spray Paint Safety: Ventilation, Vapors, and Flammability
Spray outdoors when you can. If you have to spray indoors, ventilate hard. Fine spray particulates can stay airborne up to about two hours, according to CPSC guidance, and the EPA suggests continued fresh-air ventilation for roughly two to three days after indoor painting when conditions allow.
Aerosol cans contain flammable propellants. Keep them away from ignition sources, and never heat or puncture a can. Store leftover cans somewhere cool, since heat raises internal pressure. Protect your eyes, skin, and lungs.
One correction that matters: a basic dust or particulate mask does not protect you from solvent vapors. NIOSH is clear that vapor protection requires an appropriate chemical or combination cartridge, selected using the product label and safety data sheet. And "low-VOC" or "no-VOC" doesn't mean harmless or ventilation-free. The EPA points out that VOC totals don't describe the toxicity of the individual chemicals in a product.
Lead Safety on Pre-1978 Wood
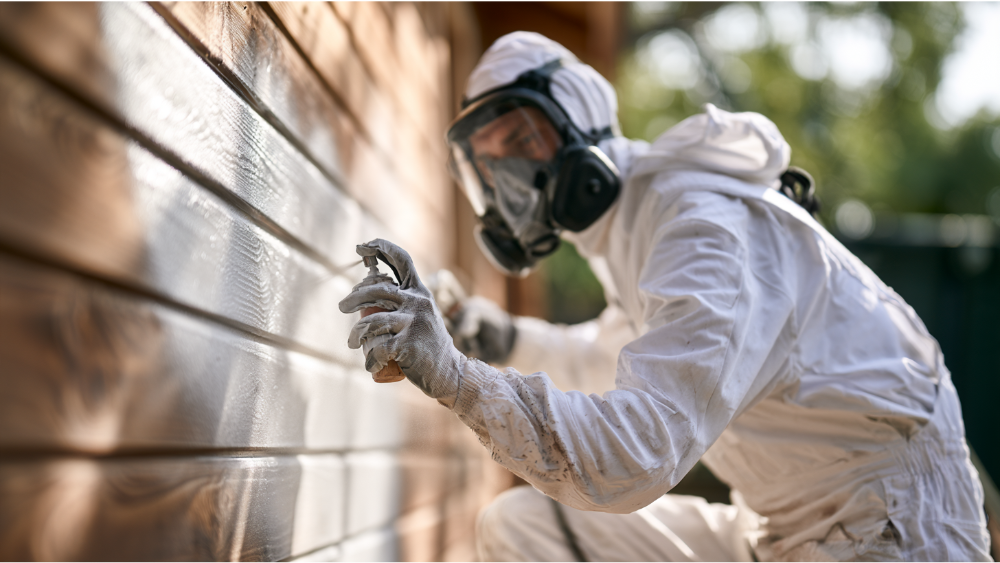
Homes built before 1978 are more likely to contain lead-based paint, and sanding or scraping it creates hazardous dust. That's why we flagged it before the prep steps.
Under the federal RRP framework, the minor-repair thresholds are roughly 6 square feet per room inside and 20 square feet outside. Window replacement and demolition of painted surfaces are covered regardless of area. Homeowners working on their own home generally aren't bound by the contractor RRP rule, but the EPA still recommends containment, dust-minimizing methods, HEPA cleanup, and keeping children, pregnant people, and pets out of the work area. Some states run their own EPA-authorized programs, so local rules can differ.
This is exactly why hiring an EPA Lead-Safe (RRP) Certified team matters on an older home.
Common Spray Paint Problems on Wood (and What Causes Them)
Most finish problems trace back to a handful of causes, often a brush used where a spray would have been cleaner, or a can that left marks because it was moving too slow. Here's how to diagnose and fix them.
When to Call a Professional
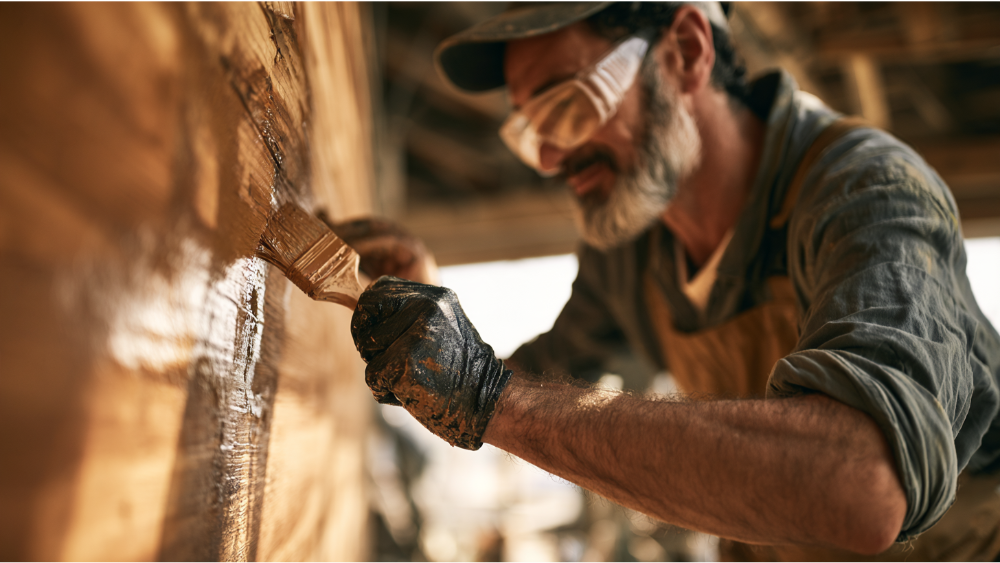
Plenty of wood projects are a reasonable weekend job. Some aren't, and it's fair to say so. If a piece is giving you a hard time, that's often the signal. Call a professional for:
- Large doors, cabinets, built-ins, siding, fences, or commercial spaces.
- Rot, damaged siding, or carpentry that has to be fixed before any paint goes on.
- Pre-1978 surfaces that will be sanded, scraped, or otherwise disturbed.
- Projects that need extensive masking, serious ventilation, or a truly flawless finish.
This is where full-service capability earns its keep. Rot repair, siding replacement, carpentry, and painting handled by one team means you're not chasing a carpenter, then a siding crew, then a painter, and hoping the schedules line up. One relationship, one standard of work, from the repair through the final coat.
Get a Free Estimate from Cover Pro Painting
We're a founder-led team based in Edgewood, WA, serving the greater Seattle-Tacoma region, including Federal Way, Tacoma, Puyallup, Kent, and Bellevue. With over 13 years in business, EPA Lead-Safe (RRP) Certified, and licensed, bonded, and insured in Washington State, we lead with surface prep and clear communication from start to finish. Our exterior work carries a five-year warranty, and we use premium products backed by lifetime manufacturer warranties. First-time customers get 10% off, and 0% APR financing is available through Paint Now, Pay Later.
Start with a free estimate and see exactly what your project involves. Call 206-222-0435 or request My Free Painting Estimate. Don't see your city listed? Contact us to confirm service availability.
Frequently Asked Questions
Can spray paint be used on wood?
Yes. As long as the coating is rated for wood and for your indoor or outdoor use, and the wood is properly cleaned, repaired, and primed where needed, spray paint for wood gives a smooth, durable finish.
Is it better to spray paint or brush paint wood?
Spraying gives a smoother, more even finish on small or detailed pieces. Brushing, or spraying and then back-brushing, gives better penetration on rough exterior siding. The right choice depends on the piece and the scale of the job.
Is Rust-Oleum spray paint good for wood?
Many protective enamel aerosols from major manufacturers are rated for wood and work well. Rather than going by brand alone, confirm the label lists wood and your indoor or outdoor use, and check the recoat window before you start.
Can I spray paint wood without primer?
Sometimes, on sound, previously finished wood that isn't prone to bleeding. But raw, porous, knotty, or stain-prone wood needs primer for even absorption, good adhesion, and a finish that lasts. A quick scratch test on a hidden area tells you whether your paint is bonding well enough to skip the extra step.
