



Should You Paint the Walls Before Staining Stairs?

Key Takeaway
Paint the walls before staining stairs, but only after all heavy sanding, stripping, and repairs are fully complete. The right order for a staircase refresh is: dirty prep first, then wall paint, then stain and topcoat on the treads. This sequence protects your most vulnerable surface: a stained and topcoated tread is far harder to repair than a wall touch-up.
Usually, yes. You paint the walls before the final stain and topcoat go on the stairs. But there's a bigger rule underneath that one: finish all the heavy stripping, repairs, and sanding before you paint the walls at all. Fine wood dust and scraping will ruin fresh paint, so the dirty prep work comes first, then the wall color, then the stain and protective finish on the natural wood treads.
If you're planning a staircase refresh or you're already halfway through one, you've probably run into contradicting advice online. Some pages swear by walls first, others by stairs first. Both are too simple. The order that actually protects your finishes depends on how much prep your stairs need, and that's what this guide walks through: a decision process, not a blanket rule, so you end up with clean transitions and no do-overs.
The whole thing hinges on one idea. Separate the dirty prep (sanding, stripping, repairs, dust) from the final finish coats (paint, stain, topcoat). Once you see your painting project in those two buckets, the sequencing questions mostly answer themselves.
Quick Decision Table: Paint First or Stairs First?
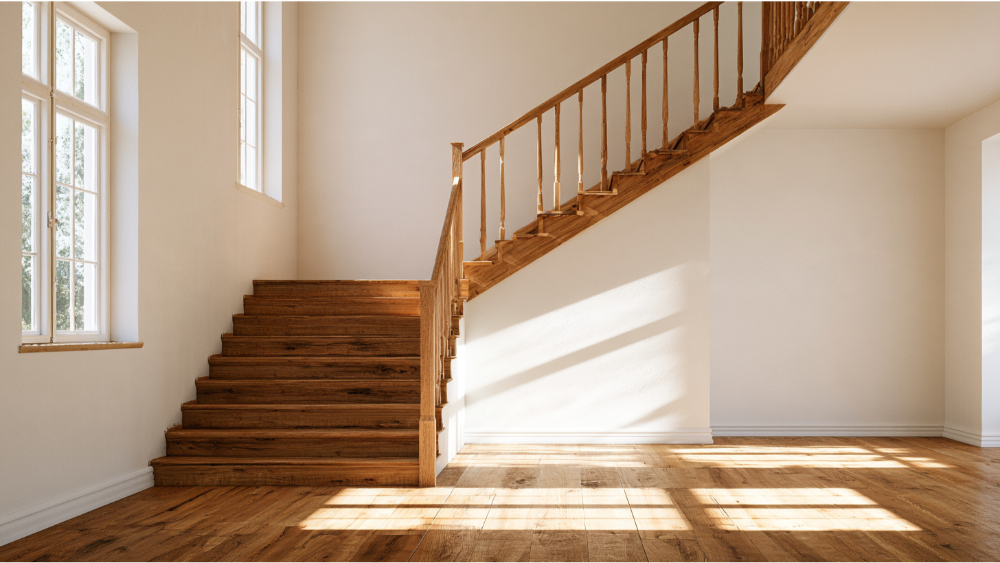
There's no single answer that fits every staircase, because the right order shifts with how much stair work is involved. A light refresh beside solid stairs is a different job than a full strip-and-refinish down to bare wood. The table below shows how the starting sequence changes by scenario. The rest of the article explains the reasoning behind each row.
Why the Order Matters for a Clean, Lasting Result
Sequencing is where good stairwell jobs fall apart. Get it wrong and you spend the back half of the project fixing the first half.
Start with dust. Sanding stair treads, stringers, and railings throws off fine wood dust that drifts everywhere and settles into fresh wall paint. Once it's embedded in a wet or curing coat, you're sanding and repainting the wall. Scraping and prep work also bump and scuff walls that already have their finish coat, leaving marks you have to touch up later.
Then there's splatter going the other direction. Stain and topcoat flick onto walls and onto any painted risers if those surfaces aren't protected or aren't finished yet. Wet stain on fresh paint is a stain you can't easily wipe away.
Tape is another trap. Mask off a wall before the paint is ready and the tape peels your fresh coat right off when you pull it. Foot traffic across a wet or soft finish is the same kind of problem, dragging grit through the coat you just laid down on the treads.
Here's the asymmetry that drives the whole strategy: a wall is easy to touch up. A stained and topcoated tread is not. Blending a repair into a wall takes a few minutes and a small roller. Fixing one damaged tread means color matching the stain, feathering the topcoat, and hoping it disappears, which it rarely does cleanly. Trying to blend into an other step beside it only widens the problem area. So the smart move is to protect the stair finish as the most vulnerable surface and plan your wall touch ups for last. This is exactly where prep work earns its keep. The crews who skip it are the ones repainting walls they already finished.
The Core Distinction: Dirty Prep vs. Final Finish Coats
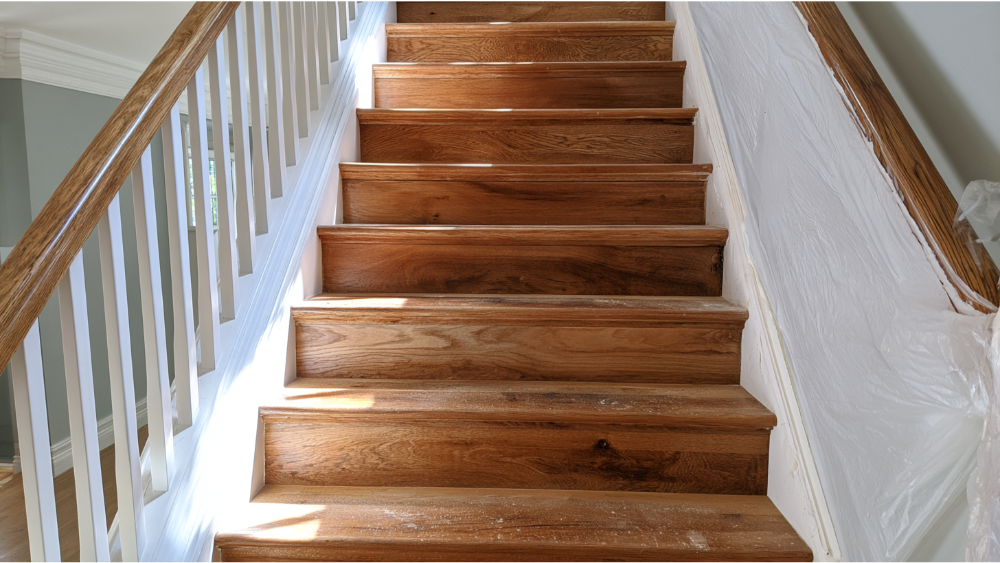
This is the idea that resolves the "paint first versus stairs first" argument you'll see elsewhere. Split the project into two phases and the contradiction disappears.
Dirty prep is all the work that makes a mess or disturbs a surface: carpentry and tread repairs, pulling old fasteners and carpet staples, patching walls, filling gaps and nail holes with wood filler, stripping old finishes, and heavy sanding. This is the dust-generating phase, and it gets contained and cleaned up completely before any finish coat touches the walls. Removing old finishes and sanding down to a sound surface is part of this bucket, not something you squeeze in after painting. If the stairs are old and worn, you'll often need to sand each step back to clean wood before anything new goes on.
Final finish is the color and protection phase: priming and painting the designated surfaces, staining the natural wood, applying a compatible wear-resistant topcoat, and finishing with wall touch ups.
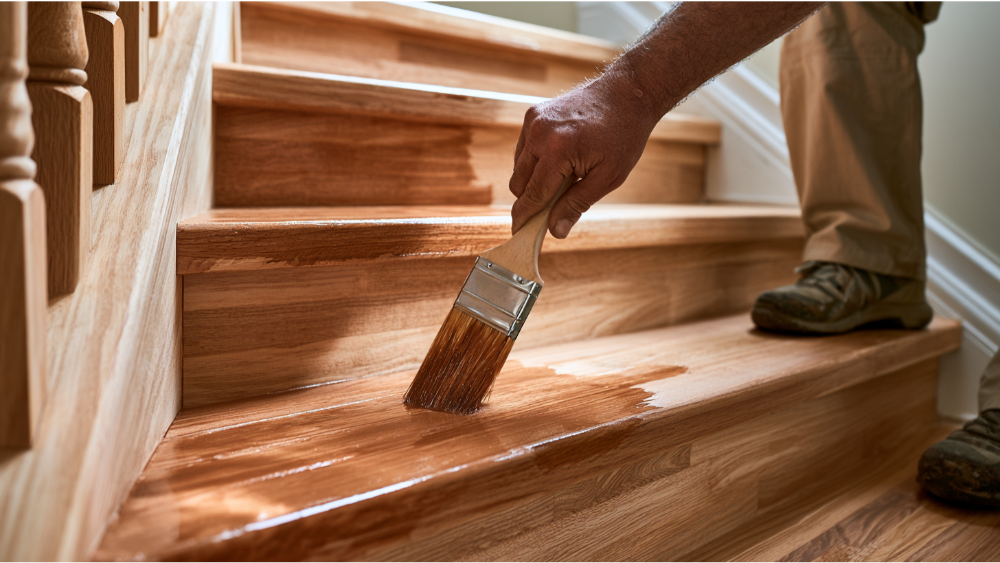
While you're here, sort out two words people use interchangeably and shouldn't. Stain supplies color. It soaks into the wood and brings out the wood grain, but on its own it doesn't stand up to shoes and daily traffic. The protective finish, the topcoat, is a separate product that handles wear. Staining stairs is really a multi-step process: sand, stain for color, then apply a floor-rated finish over it. Treating stain as if it's also the protection is how treads end up worn and gray within a season.
The Recommended Professional Order for Painting Stairs, Step by Step
Here's the full sequence for a typical staircase where the walls get painted and the treads or handrail get stained. Follow it top to bottom and your finishes stay protected the whole way. Proper preparation is what makes the rest of the list hold up.
- Decide what will be painted and what stays natural wood, and lock in your paint color choices. This drives every decision after it.
- Handle carpentry, tread and component repairs, caulk decisions, and wall patching. Pull any carpet runner and remove the staples, then press wood filler into any cracks or holes and let it set before sanding.
- Strip old finishes and do your heavy sanding now, while nothing fresh is exposed. Sand each surface smooth so the stain or paint lays down evenly.
- Vacuum thoroughly and contain the sanding dust. Cleaning dust off walls and trim before painting is not optional.
- Protect any stain-grade bare wood so primer, paint, and skin oils can't contaminate it.
- Prime, then start painting the walls and any designated painted stair parts. Primer gives the topcoat something to grip, so it's worth the extra pass for adhesion. Let the first coat dry fully before adding the next.
- Let the paint reach the condition your tape manufacturer requires before you mask over it.
- Do your final wood prep and test the stain system on a sample or hidden spot.
- Stain the natural-wood components, working one tread at a time and wiping before you move to the other step so the color stays even.
- Apply the compatible floor or stair finish over the stain as the final coat.
- Keep traffic off according to the product instructions.
- Come back for final wall and trim touch ups.
Two steps in that list carry more weight than the rest: dust removal and priming. Skip the cleanup and your wall paint traps grit. Skip the primer and your coating has less to hold onto. Both are the kind of quiet prep that doesn't show up in photos but shows up in how long the finish lasts.
When Should You Stain Stairs First Instead?
Sometimes the stairs lead the project. The common triggers:
- Aggressive sanding or stripping of the treads and stringers.
- Carpet removal, which exposes wood that needs full prep and often reveals surprises underneath. Pulling old carpet off a staircase almost always means a round of filler and sanding before you can stain stair treads.
- Tread replacement or other carpentry on the stair structure, including swapping in replacement treads where the old ones are too far gone.
- Large sanding equipment that needs room to work.
- Extensive rail, newel post, or baluster work.
- An already-painted staircase facing a major stair restoration.
Here's the clarification that fixes the confusion online: "stairs first" almost always means the dirty prep comes first, not that every final stair coat goes on before you paint the walls. You still complete the stripping, sanding, and repairs up front, clean up the dust, then move into the finish phase. In many of these cases the smart order is still prep the stairs, paint the walls once the dust is gone, and stain and topcoat the remaining treads last so the most fragile finish faces the least risk. The point is to get the messy, surface-disturbing work out of the way before anything fresh is on the walls.
Painted Risers with Stained Treads: Getting the Order Right
This is probably the version of the question most people are actually asking. Painted risers with stained stair treads is a classic look, and it has a few specific traps. The crisp line of white risers against warm wood is what draws people to it.
Decide the finish boundary before you touch anything. Know exactly where paint meets stain, usually the point where the riser and tread meets, so you can protect the right surfaces from the start. Once that line is set, protect the bare treads while you paint the risers. Paint and primer soaking into stain-grade wood will block the stain from absorbing evenly, leaving blotches and dark stains you can't sand out easily.
Don't lean on tape alone at the riser-to-tread joint. Those edges are rarely perfectly straight, and tape bridges irregular gaps poorly, letting paint creep onto wood you wanted clean. Back the tape up with masking paper or a fitted cover. And follow the masking and recoat instructions for your specific coating, because pulling tape at the wrong time undoes your clean line.
One correction worth stating plainly: if a tread is being painted rather than stained, use a floor paint or high-traffic durable coating built for walking surfaces. Never wall paint on a tread. Wall paint isn't made to take shoes and will scuff and wear fast. A tread needs a stable, clean, well-prepped surface and a coating designed for the abuse. If you want painted treads, start with paint grade wood, since it doesn't need attractive grain and gives you a smooth base for the coating. On natural hardwood treads, stain is the better call anyway because it brings out the grain that makes nice wood worth showing.
If you're keeping a stained-and-painted scheme consistent, match the spindles white to the risers rather than mixing tones, or paint the spindles white while leaving the handrail stained for contrast. A brown stain on the rail against the same white elsewhere reads as deliberate rather than accidental.
Last, plan for a final paint touch up on the risers rather than expecting zero. Painted treads and risers see wear from normal use over time and need attention down the road. Building that expectation in beats being frustrated by it, and it keeps future touch ups simple.
Dry Time vs. Cure Time: Why There's No One Universal Wait
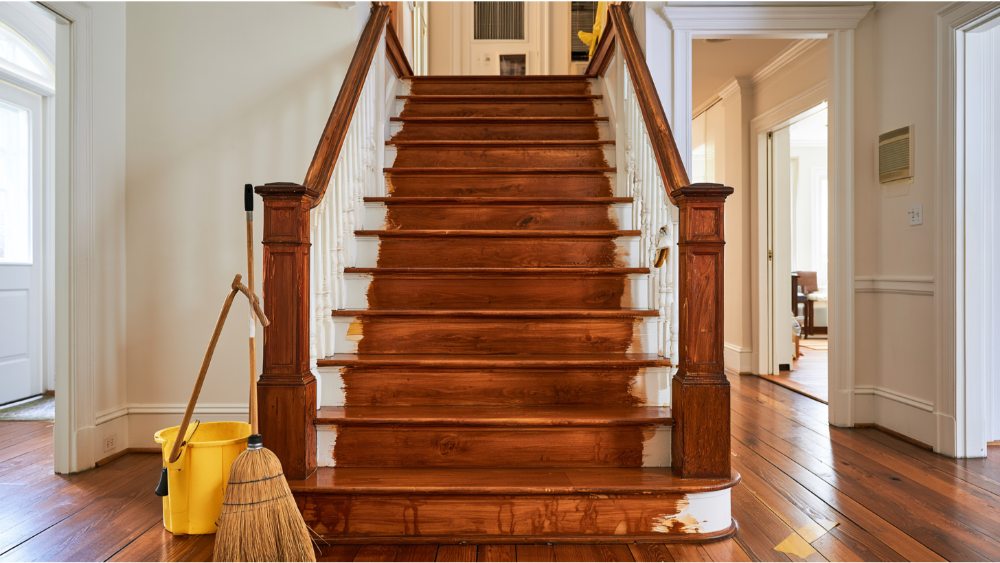
The weakest advice online is the blanket wait time. "Wait 24 hours," "give it 48," "let it cure for a week." None of those mean anything without knowing the product and the conditions. Coatings move through several distinct stages, and they're not the same thing:
- Use delicate-surface or low-adhesion painter's tape when masking near fresh finishes. One common delicate-surface tape allows use on paint at least 24 hours old, but always check both the paint and the tape instructions, and test in a hidden spot first.
- Back tape with masking paper or a securely fitted cover, especially at irregular joints and edges where tape alone leaks.
- Keep loose plastic off walking surfaces and new floors. It's a slip hazard on stairs, where any wet coat is already slippery. Use fitted protection or secured drop cloths instead.
- Vacuum with dust extraction and do a HEPA cleanup where it makes sense, especially after heavy sanding, so surfaces wipe clean before you coat them.
- Shield stain-grade bare wood from primer, paint, and even skin oils, all of which block stain from absorbing evenly.
- Plan an alternate route through the house while treads are out of service, so nobody's tempted to walk on a wet finish.
What Normal Use Really Means for Cure Time
Real product numbers show how much these vary. One water-based floor finish lists about one hour to touch, two hours to recoat, four hours to light use, and three days to normal use, all at the data sheet's specified temperature and humidity. An oil paint floor finish runs longer: four to five hours to touch, eight to ten to recoat, and up to 30 days to full cure. Many latex wall paints dry to the touch in a few hours but can take two to three weeks to fully cure. Full cure time isn't required before you move on to the stairs, but the paint does need to be dry enough for the tape you're using.
Rough project estimates float around too, something like 8 to 16 hours of working time for a tread project or roughly 31 hours total for painting stairs end to end. Treat those as ballpark only. Temperature, humidity, airflow, number of coats, and wood species all shift the timing. The one takeaway that never changes: follow the product label, not a blog's number.
How to Protect Your Walls and Stairs During Prep Work and Finishing
Good protection is cheap insurance against redoing finished work. A few practical moves give you a cleaner finish and fewer surprises:
- Use delicate-surface or low-adhesion painter's tape when masking near fresh finishes. One common delicate-surface tape allows use on paint at least 24 hours old, but always check both the paint and the tape instructions, and test in a hidden spot first.
- Back tape with masking paper or a securely fitted cover, especially at irregular joints and edges where tape alone leaks.
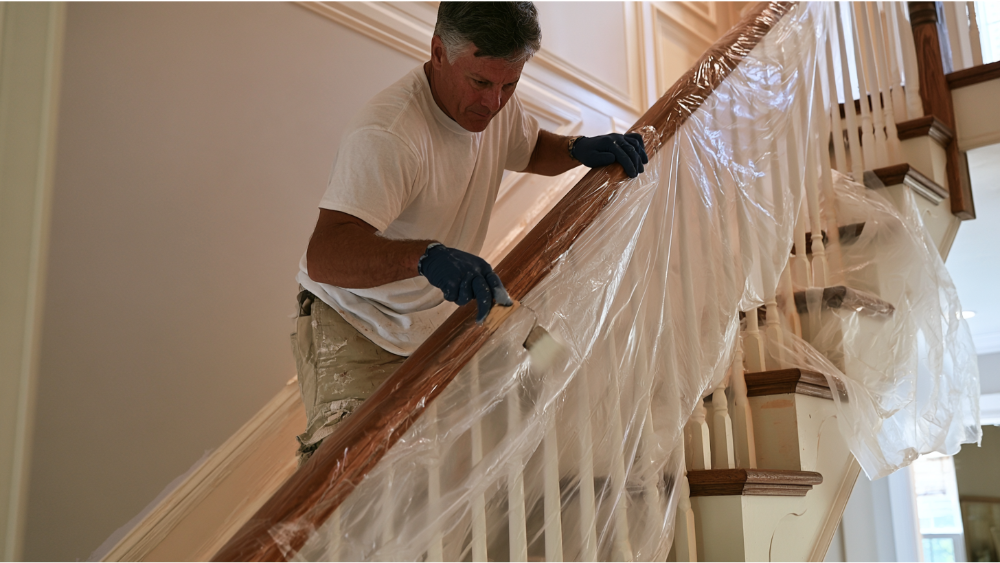
- Keep loose plastic off walking surfaces and new floors. It's a slip hazard on stairs, where any wet coat is already slippery. Use fitted protection or secured drop cloths instead.
- Vacuum with dust extraction and do a HEPA cleanup where it makes sense, especially after heavy sanding, so surfaces wipe clean before you coat them.
- Shield stain-grade bare wood from primer, paint, and even skin oils, all of which block stain from absorbing evenly.
- Plan an alternate route through the house while treads are out of service, so nobody's tempted to walk on a wet finish.
Safety Notes Homeowners Shouldn't Skip
A staircase refresh touches a few real hazards. Worth handling right.
Older homes and lead. The EPA's Renovation, Repair and Painting Rule covers most paid renovation work that disturbs painted surfaces in housing built before 1978. The minor repair and maintenance exception generally covers up to six square feet of disturbed interior painted surface per room, and stripping or sanding a staircase blows past that fast while kicking up dust. Covered work has to be done by a certified firm using lead-safe practices. Cover Pro Painting is EPA Lead-Safe (RRP) Certified, which matters a great deal on a pre-1978 staircase.
Stairwell access. Tall and open stairwells are where DIY ladder setups go wrong. Washington L&I guidance says to keep ladder feet on stable footing, maintain three points of contact, stay centered instead of reaching past the rails, and set straight or extension ladders at a 4:1 angle (one foot out for every four feet up). For some stairwell tasks, scaffolding or another stable work platform is the safer choice than balancing a ladder on steps.
Ventilation. Follow product labels and keep as much continuous ventilation going as you can, from the start of finishing through two or three days after. Low-odor and low-VOC products still need air moving.
Oil-soaked rags. Rags with oil-based stain or finish can heat up and ignite on their own if left in a pile. Spread or hang them outdoors away from the building to dry, then store them in a sealed metal container per NFPA guidance and your local disposal rules. Nails and sharp hardware pulled during demolition should go the same careful route, out of the work zone, not left on a step.
And keep kids and pets out of the work zone entirely, away from dust, fumes, and wet finishes.
When It Makes Sense to Hire a Professional
Plenty of staircase refreshes are fine to tackle yourself, but not everyone has the tools, the time, or the access to do it safely. A few situations tip the other way:
- A tall or open stairwell where safe access is genuinely hard.
- Older painted stairs with lead-safe concerns.
- Damaged, loose, or deteriorated treads and components.
- Several finishes meeting at detailed trim, where clean lines take real skill. Of course, clean lines take practice, and matching a brown rail to a painted riser is a fussy bit of work.
- No alternate route through the house while the stairs are out of service.
- Any job that needs painting and carpentry handled together, from a cracked post to a loose handrail or wobbling railings.
That last one is where a full-service team earns its place. When a tread needs replacing or a stringer needs repair before anything gets finished, coordinating a painter and a separate carpenter turns into its own headache. We handle interior painting, stairwell wall and trim work, thorough surface prep, and the carpentry or damaged-component repair in one engagement, so you're not managing multiple contractors or chasing anyone down. That's the whole point of full-service: one relationship, one standard, start to finish.
Before you hire anyone in Washington, check their registration, bond, and insurance through the L&I Verify tool. It takes a minute and tells you whether a contractor is actually legitimate.
Plan Your Staircase Project With a Free Estimate

Start with a free estimate and see exactly what your stairs, surface prep, and repair scope will involve. We'll walk the project with you, talk through the sequence in plain terms, and give you a clear, transparent estimate before any work begins, so there are no surprises later. Prep is where lasting quality comes from, and we treat it that way on every job.
Based in Edgewood, WA, we serve homeowners and businesses across the greater Seattle-Tacoma area. First-time customers get 10% off, and 0% APR financing is available if that helps your timing. Call Cover Pro Painting at 206-222-0435 to talk through your project and get a free estimate.
Frequently Asked Questions
Do you paint before you stain?
Generally yes, you paint the walls before the final stain and topcoat on the stairs. But all heavy sanding, stripping, and repairs come first, before any painting, so dust and scraping can't damage fresh wall paint. Dirty prep first, then walls, then stain and finish on the treads.
What color should you paint risers or paneling on stairs?
Go with durable finishes suited to high-traffic areas, and decide your full palette before prep work starts. A crisp white or off-white keeps things clean, while a warmer brown or neutral dark color pairs nicely with stained hardwood treads. A color consultation is part of how we plan a project, so you're not guessing.
Do you stain stair treads before or after installation?
Staining before installation gives you complete coverage of every surface and lets you fix imperfections easily off the stairs. Staining after installation lowers the risk of damage during construction. Most finished-in-place jobs stain stair treads after they're set in position.
What is the best stain for wood stair steps?
There's no single best stain. It depends on the wood species and the finish system, so always test the full stain-and-topcoat combination on a sample or hidden area first. One advance paint tip: harder woods like oak (Janka hardness around 1,290 lbf) take daily stair traffic well. Remember the stain only gives color, and a compatible floor-rated topcoat handles the wear.
How long after staining and sealing stairs can you walk on them?
It depends on the product and conditions. Light traffic might be possible in a few hours, normal use often takes days, and full cure can run weeks on some finish systems. Follow the label on your specific product rather than any general rule.
