



Repainting Painted Cabinets: A Condition-First Guide That Lasts
Key Takeaway
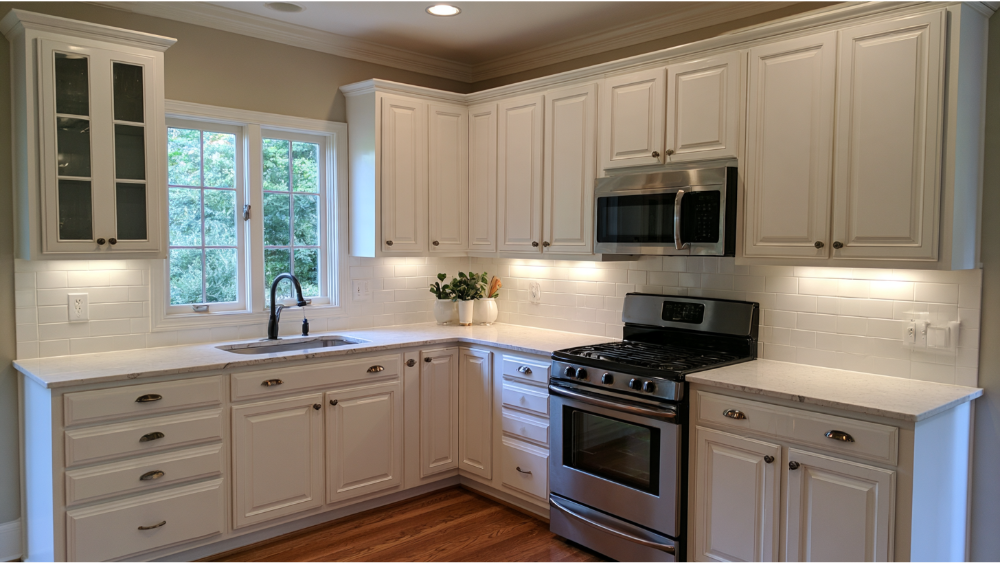
Repainting painted cabinets is possible when the existing finish is clean, sound, and firmly adhered. Degrease, remove any loose paint, dull the gloss, and use a cabinet-rated primer and coating system. If your home predates 1978, test for lead before sanding. Widespread peeling, swollen MDF, or lifting laminate must be repaired or replaced before any new coat goes on.
Yes, you can repaint cabinets that are already painted, as long as the existing finish is clean, sound, and firmly adhered. Remove any loose paint, degrease the surface, dull the gloss, repair the damage, and use a cabinet-rated coating system. Repainting is a cost-effective way to transform a kitchen or bathroom, but it only works when the prep is done right. If you're a homeowner looking at cabinets a previous owner painted and you want a result that holds up, not one you redo in two years, start here: widespread peeling, swelling, or delamination has to be fixed first. And if your home predates 1978, check for lead before you sand. Repainting cabinets is really an adhesion decision, not just a color change.
First Decide: Repaint, Repair, Strip, or Replace
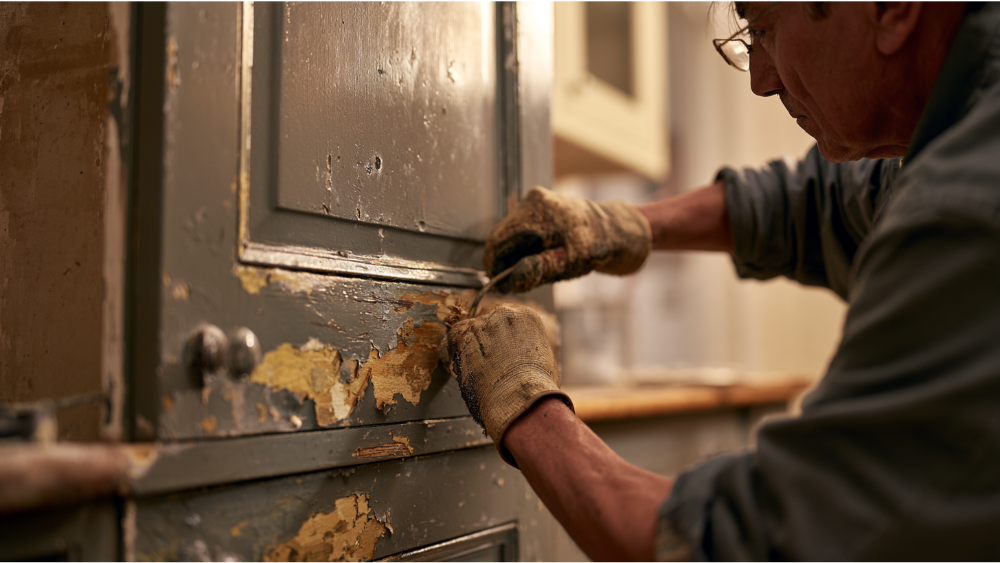
Before you buy a single can of paint, look closely at what you're working with. The old finish has to be in good condition, or the new coat has nothing to hold onto. A skilled crew looks at the material first and decides whether to coat it, repair it, or replace it. Covering a failing surface just hides the problem until it comes back. Over the years we have seen plenty of cabinets that looked fine on the surface and told a different story once we started the prep.
ConditionWhat You're SeeingRecommended ActionSound, firmly adhered finishSmooth, intact, no liftingRepaintIsolated chips or small bare spotsA few worn edgesSpot-repair, spot-prime, repaintWidespread peeling or crackingPaint lifting across panelsRemove more coating before repaintingSoft or gummy paintFinish never fully hardenedStrip it, don't bury itSwollen or crumbling MDFPuffed edges, soft cornersRepair or replace the componentLifting laminate or thermofoil filmFilm peeling from the coreRepair or replace; paint won't restore the bond
Know Your Surface and Check for Lead Before You Sand
What are your cabinets made of?
Cabinets come in a few different materials, and they don't all behave the same way. Painted wood and painted MDF are usually good repaint candidates when they're sound. Laminate and melamine can be painted with a compatible preparation and coating system. Thermofoil is a thin PVC film heat-bonded to an MDF core, and if that film is lifting, paint won't fix the bond. Knowing your surface guides your primer choice, because a slick laminate needs different adhesion help than bare wood. Kitchen cabinets also collect an invisible layer of cooking oils and grime that quietly works against adhesion, so cleaning matters regardless of the material.
Lead safety in pre-1978 homes
Lead-based paint was common in older housing, and 1978 is the federal screening cutoff. The EPA estimates some lead-based paint is present in roughly 87% of homes built before 1940 and about 24% of homes built between 1960 and 1978. Age is a screening factor, not proof your specific cabinet contains lead, so test or treat an unknown older coating as if it might. Paid renovation that disturbs painted surfaces in pre-1978 homes falls under the EPA's Renovation, Repair and Painting rule, with the minor-repair exception limited to 6 square feet or less of interior painted surface per room under specific conditions. That part of the task is non-negotiable, so don't sand or scrape until the question is settled. Cover Pro Painting is EPA Lead-Safe (RRP) Certified, which matters most on these older homes.
Prep Work: Clean, Repair, and Scuff-Sand the Right Way
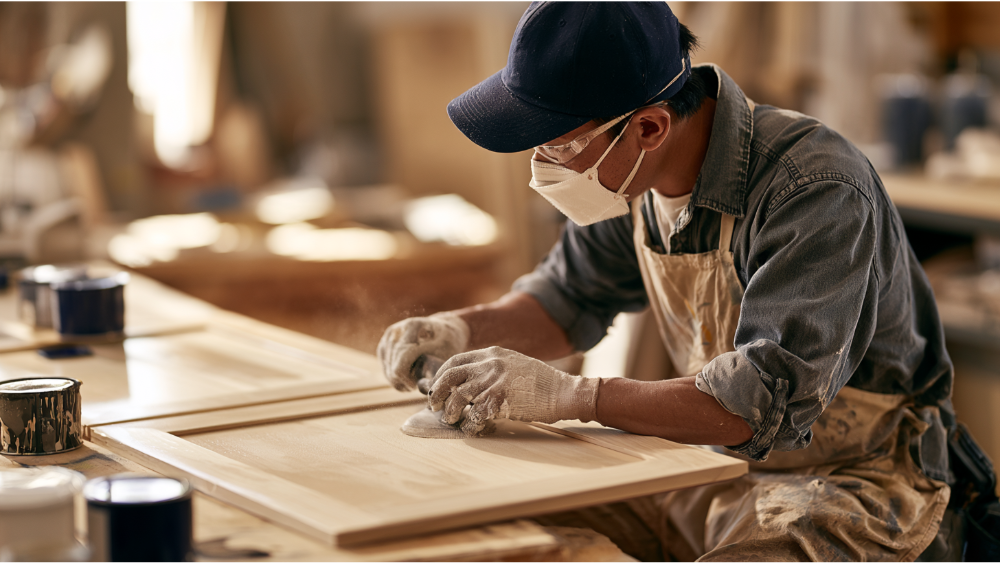
This is where the whole job is won or lost. Surface prep is everything, and skipping steps here is why repainted cabinets fail.
- Step 1: Remove and label. Take off doors, drawer fronts, and hardware, labeling each so reassembly is clean. Protect counters, flooring, appliances, and interiors. Decide whether cabinet interiors are in scope, since they can take roughly twice as long and raise blocking concerns. Treat interiors as a separate decision.
- Step 2: Clean before you sand. Kitchen grease is not just cosmetic dirt. It interferes with adhesion, and sanding first drives it deeper into the surface. Use a heavy-duty degreaser, rinse where the cleaner requires it, and let everything dry fully.
- Step 3: Remove loose paint and repair. Scrape unstable edges, feather the transitions smooth, and fill dents and unused hardware holes. Address any moisture damage before you paint over it.
- Step 4: Scuff-sand or degloss the sound finish. The goal is clean, dry, dull, and stable, not stripping to bare wood. There's no single magic grit; the right abrasive depends on the finish condition and the coating's own instructions. Remove all dust before priming
Before committing, prepare and coat a hidden test patch, let it cure per the product instructions, then check for lifting, softening, or easy scratching. That's a useful preliminary screen, not a formal ASTM adhesion test.
Do Already Painted Cabinets Need Primer?
The honest answer is: sometimes. Online advice swings between "always" and "never," but the right call depends on your finish and your coating system. Primer earns adhesion, seals the surface, blocks stains, and evens things out.
SituationPrimer GuidanceSound, known, compatible finishMay not need a full prime coat; follow the system, spot-prime bare areasUnknown, slick, or glossy finishUse a bonding/adhesion primerBare spots and fillerSpot-prime those areasDark-to-light color changePrime for coverageStaining or bleed-through riskUse a stain-blocking primerLaminate or difficult substratesUse an adhesion-promoting primer
Choose the Right Paint and Apply It for a Lasting Finish

Picking a cabinet-rated coating
Cabinets take daily abuse, so the coating has to be built for it. Look for strong adhesion, block resistance (so doors don't stick), washability, good flow and leveling for a smooth look, and scratch and stain resistance. Water-based coatings clean up easily, and satin or semi-gloss sheens hold up well on high-touch cabinetry. If you want a fresh green or a soft north-facing neutral, the sheen still matters as much as the color. A clear topcoat isn't an automatic step. Only use one if it's part of the manufacturer's approved system, not a routine coat of polyurethane.
Application and cure stages
Apply thin, controlled coats. A foam roller and a brush suited to the paint can work well, while spraying gives the smoothest finish. Work doors flat when you can, scuff lightly between coats, and follow the product's specified coat count and recoat window. Then respect that dry-to-touch, recoat-ready, reassembly, light use, and full cure are all different stages. One cabinet enamel lists roughly 1 hour tack-free, 6 hours to recoat, and 14 days to full cure at 77°F and 50% humidity. Another system suggests at least 24 hours before reassembly and 3 to 5 days before returning interiors to service. Cool temperatures and humidity stretch all of it, and in half a day the difference between a warm room and a cold one is easy to see. Watch for blocking, where doors and shelves stick to a finish that feels dry but hasn't cured, so reinstall carefully and treat the finish gently. The CPSC rule of thumb is to keep ventilating 2 to 3 days after painting, and if you paint at night the cooler air can slow things down. The product label always overrides internet rules, so read it and don't forget the recoat window.
Why Repainted Cabinets Peel, Chip, or Stay Sticky, and When to Call a Pro
Common causes of failure
- Grease or wax contamination left on the surface
- Gloss that was never dulled
- A weak underlying layer buried instead of removed
- An incompatible coating system
- Coats applied too thick or recoated too soon
- Moisture in the substrate
- Using the cabinets before the finish cure
DIY or hire a pro?
DIY works when the finish is sound, you have patience for prep and cure time, and your finish expectations are realistic. Call a pro when you see widespread adhesion failure, an unknown coating, a damaged substrate that needs carpentry or component replacement, when you want a sprayed finish, or when pre-1978 lead is a concern. At Cover Pro Painting, our founder-led, full-service team handles rot, damaged substrate, and refinishing under one relationship, backed by over 100 years of combined experience and more than 13 years in business. If you ever struggle to find a reliable crew for this kind of work, that single-relationship approach is a relief.
A founder-led beginning that still shapes the life of the work
Alex started painting as a teenager in the family business and launched Cover Pro Painting at age 20. From the beginning, the goal has been simple: show up, do the prep right, and leave homeowners proud of how their space looks. That pride is the heart of why most of our work now comes from repeat clients and referrals across the communities we serve. Word travels fast when a kitchen turns out right, and we have learned over the years that a careful cabinet refinish can create a whole room that feels brand new and bring it back to life. We have heard that same relief in person countless times, often from a distance over the phone before we ever arrive. Whether it is a single family home where a growing family lived for decades, a community building, a school office, or a larger campus, we meet every project with the same standards. From our home base in Edgewood to the places north and south of us, we hope every finish earns the kind of trust that keeps people calling back. In a world of cut-corner paint jobs, that steady reputation is a big part of who we are, and we plan to continue earning it one home at a time.
Frequently Asked Questions
Can you paint over already painted cabinets? Yes, if the existing finish is clean, sound, and firmly adhered. Fix any peeling, swelling, or damage first.
Can I paint over painted cabinets without sanding them? It's possible with a deglosser and a strong bonding primer, but you still have to clean thoroughly and the finish must be sound. Scuff-sanding gives the most reliable adhesion.
What do you put over painted cabinets? A cabinet-rated coating system, usually a bonding primer followed by durable cabinet paint. Add a clear topcoat only if the manufacturer's system calls for one.
Do I need to sand painted cabinets before repainting? In most cases, scuff-sand to dull the gloss and improve adhesion. The goal is a clean, dull, stable surface, not stripping to bare wood.
Start With a Free Estimate
We start every project with a clear, transparent estimate, so you know exactly what you'll invest before any work begins. Whether you reach out in June or the middle of winter, because we're full-service, we handle the repairs and the refinishing together, with the prep-first craftsmanship that makes the finish last. Get a free estimate today or call us at 206-222-0435.
