
%201.svg)


Repainting Kitchen Cabinets That Were Already Painted: What to Know Before You Start
Key Takeaway
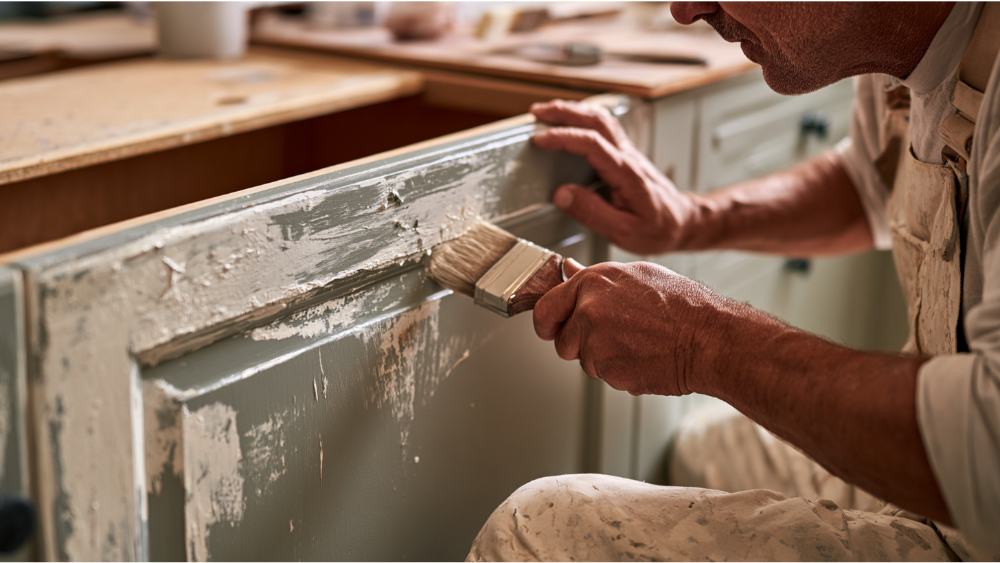
Repainting cabinets that were already painted is completely doable when the existing finish is sound, clean, and well-adhered. The process requires degreasing, scuff-sanding or deglossing, priming where needed, and allowing 5 to 30 days for the new coat to fully cure. Skipping prep is the leading cause of peeling and failed adhesion on repainted cabinets.
Yes, you can repaint kitchen cabinets that were already painted, as long as the existing paint is still sound and well-adhered. The trick isn't slapping another coat over the old one. It's cleaning off grease and residue, repairing any loose paint, scuff-sanding or deglossing so the new coat has something to grip, priming where the surface calls for it, and giving the top coat time to cure before daily use. Get that prep right and your painted cabinets will look sharp and hold up. Skip it and you're buying yourself a redo in a year or two.
If you're standing in your kitchen looking at chipped, glossy, or dated cabinets, maybe a previous owners paint job left behind in a hurry, you're probably weighing three options: do it yourself, hire it out, or replace the whole thing. Before any of those decisions, one idea should anchor your thinking. Repainting kitchen cabinets is an adhesion project, not just a paint color change. Everything in the painting process that follows comes back to that.
Can You Repaint Existing Cabinets That Were Already Painted?
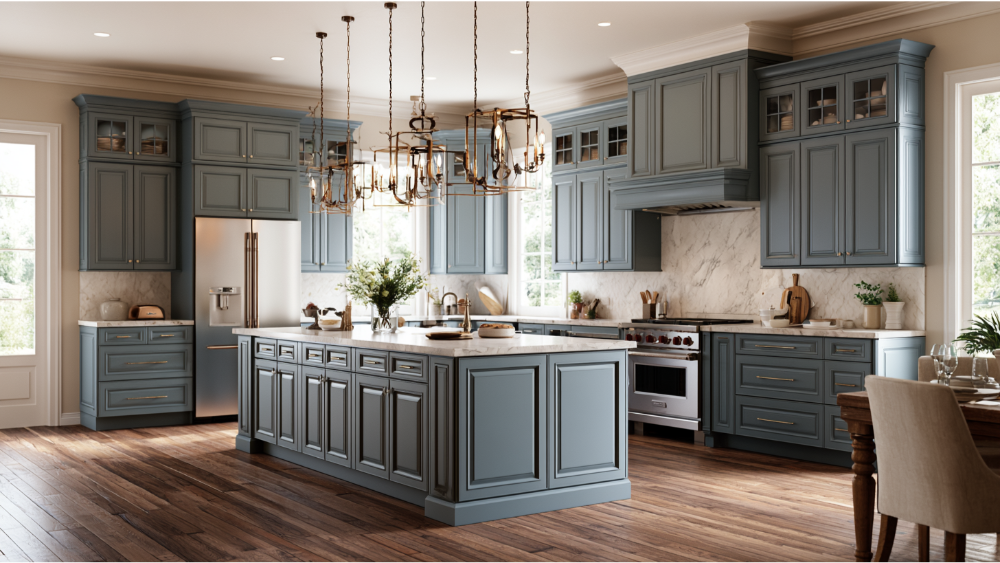
Yes, you can repaint already painted cabinets when the current finish is in good condition and the cabinets themselves are still solid. That's the short version. The longer version depends on what you find when you look closely at your existing cabinets.
Repainting is a good bet when:
- The current paint is well-adhered and not lifting or flaking.
- The cabinet frames and cabinet doors are structurally sound.
- There's no widespread peeling.
- There's no swelling, delamination, or moisture damage.
Here's what makes this trickier than a wall repaint: "already painted" can mean a lot of things. You might be dealing with latex over an old oil based coat, existing paint over the original varnish, factory-painted MDF, laminate cabinets someone coated, or a failed DIY job. Each of those behaves a little differently under new paint, which is exactly why diagnosis comes before any brush touches the surface.
There's a simple way to check adhesion before you commit. Find a hidden spot, an inside edge or the back of one door, and press a strip of painter's tape down firmly. Then pull it off in one quick motion. If the tape comes away clean, the old paint is bonded well and you're in good shape. If flecks of paint stick to the tape and lift off, the existing coating is already failing, and painting over it will only make that failure worse. That five-second test tells you more than any assumption ever will.
When You Should NOT Just Paint Over Old Cabinet Paint
Painting over a failing surface doesn't fix the problem underneath. It hides it for a few months, then the new coat lifts right along with the old one. So before you buy paint, match your cabinets to the right starting point in the process.
A few of these are worth being honest about. Sticky or gummy paint usually means the old coating never cured properly or wasn't compatible with what went under it, which happens when latex goes over an oil based paint without the right primer between them. Piling fresh paint on top won't cure it. Delaminating thermofoil, where the plastic-like film is peeling off the door face, is often a sign the door itself is at the end of its life. The same goes for laminate cabinets whose surface film is lifting, and for MDF that has swollen from water exposure. Paint doesn't restore structure, and no amount of prep saves a door that's already coming apart.
If you're seeing broken doors, widespread peeling, or cabinet surfaces that are failing across the board, repainting stops being a smart investment. That's the point where repair or replacement usually costs you less over time than painting something that won't hold. Knowing when to stop is part of doing this right.
Safety First: Lead Paint and Indoor Air in Older Homes
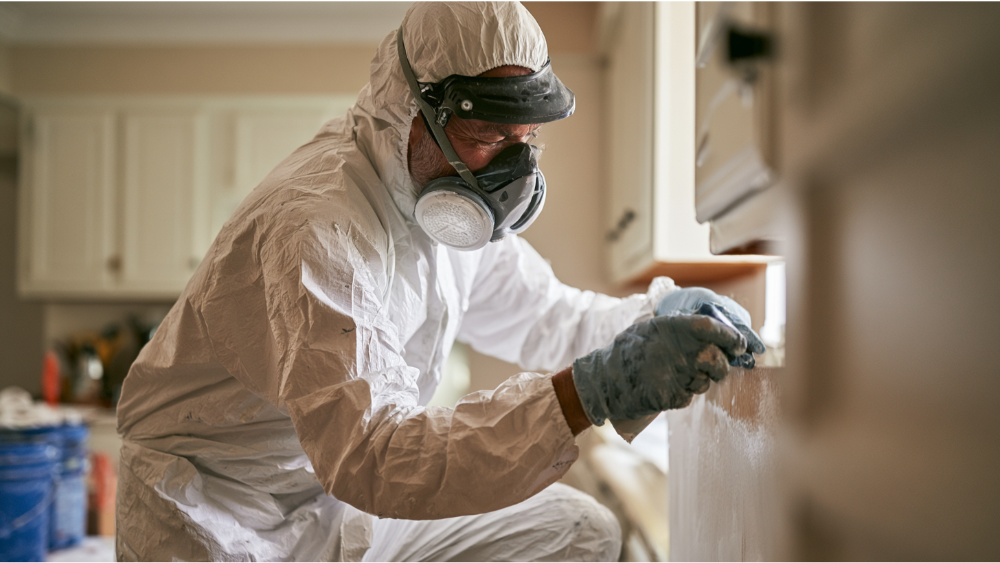
If your home was built before 1978, slow down before you start sanding. Paint from that era can contain lead, and disturbing it, especially by sanding, creates fine dust that's hazardous to breathe and dangerous around kids and pets. This matters across plenty of older neighborhoods in the Seattle-Tacoma region, so it's not a rare edge case.
The EPA's Renovation, Repair and Painting (RRP) Rule applies to paid work that disturbs paint in pre-1978 homes, apartments, and child-occupied facilities. Under that rule, a contractor disturbing more than 6 square feet of interior painted surface (or more than 20 square feet outside) must be EPA Lead-Safe certified and trained in lead-safe work practices. That threshold is easy to cross on a house full of cabinet doors and drawers.
For DIYers, the EPA cautions that any sanding or scraping of old paint in a pre-1978 home can release dangerous lead dust. If you can't confirm the home's age, treat the paint as if it may contain lead. That means containing the work area, using proper protection, and cleaning up carefully rather than sweeping dust around.
Ventilation matters too. The EPA lists paints, strippers, and degreasers as sources of VOCs, and indoor levels can run higher than outdoors during a project. Keep the air moving: open windows, run fans, and maintain good ventilation for at least 72 hours after you finish applying anything that off-gasses. Keep children and pets out of the work zone the whole time.
This is one reason older homes are worth handing to someone trained for it. Cover Pro Painting is EPA Lead-Safe (RRP) Certified, which is exactly the qualification that matters when there's a chance of lead under those old cabinet coats.
What You'll Need: Tools and Cabinet-Grade Paint
Gather your materials before you touch a door. Here's the working list:
- Degreaser (TSP or a TSP substitute) and clean rags or paper towels
- Sandpaper in 100 to 150 grit and 220 grit, or a liquid deglosser
- Wood filler, plus a two-part filler for deeper gouges
- Painter's tape and labels for hardware
- A quality brush and foam or microfiber roller, or a sprayer if you have one
- Primer (bonding and/or stain-blocking, depending on your surface)
- Cabinet-grade enamel for your top coat
- Drop cloths and plastic sheeting
The one choice that makes or breaks durability is the paint itself. Standard wall paint isn't built for cabinets. Cabinet doors get touched, bumped, cleaned, and splashed with grease every single day, and wall paint stays soft and marks up fast under that kind of wear. You want a cabinet, door paint, and trim paint enamel: a water-based alkyd or acrylic enamel that dries to a hard, washable top coat. Satin or semi gloss are the usual smart picks for kitchens because they wipe clean and hold up to repeated cleaning. Quality cabinet-specific coatings exist across several product lines, from Behr paint to other dedicated enamels, and it's worth reading the technical data sheet on whatever you choose so you know its prep, recoat, and cure requirements up front.
Step 1: Remove, Label, and Protect
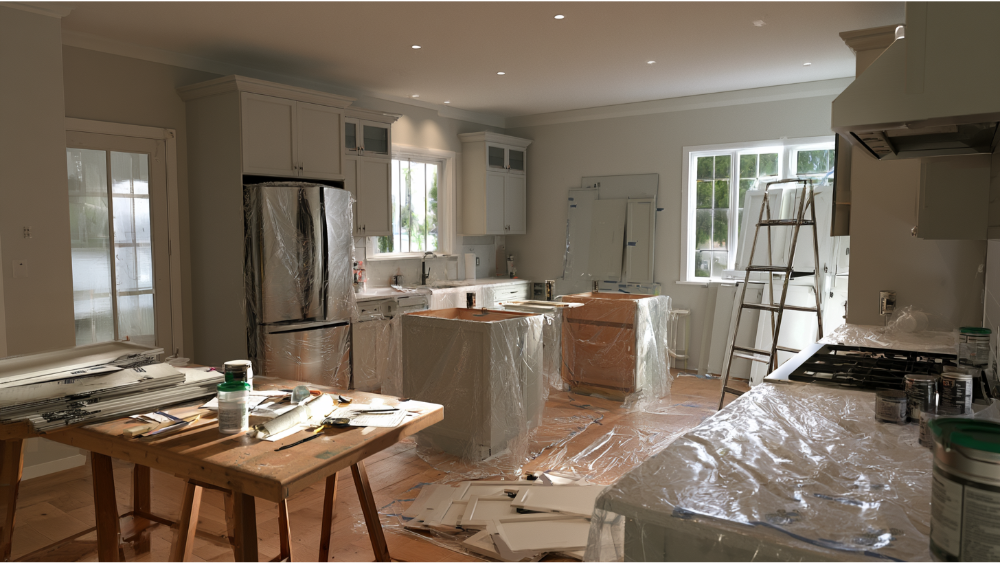
Take the cabinets apart before you paint them. Remove every door, drawer front, hinge, and pull. Painting around hardware always looks like painting around hardware, so don't cut that corner.
As you pull each cabinet door, label it. A small piece of numbered tape tucked inside a hinge pocket, matched to a number on the frame, means reassembly takes minutes instead of an afternoon of guessing. Do the same with the drawers and drawer fronts. Bag the screws and hardware for each door together and label those too.
Set up a work area with airflow, good light, and enough room to lay doors and drawers flat while they dry. A garage with the door open, a covered patio, or a spare room with plastic down all work. You'll need space for both faces of every door, so plan for it.
Then protect everything that isn't getting painted. Cover countertops, floors, appliances, and the kitchen sink with plastic and tape, and mask the cabinet interiors along the edges. This is the least exciting stage of the whole thing, and it's also where a clean, professional-looking result actually starts. The care you put in here shows up in the finish later.
Step 2: Clean Before You Sand
Here's the step most guides get out of order: clean first, then sand. Not the other way around.
Kitchen cabinets collect a thin film of grease and cooking residue that you often can't even see. If you sand a dirty cabinet, you don't remove that contamination, you grind it down into the surface. Now it's sitting under your primer and paint, quietly wrecking adhesion. That's a big reason cabinet paint peels: something got trapped between the old surface and the new coat.
So degrease everything before any sandpaper comes out. Wash the doors, drawers, and boxes with TSP or a TSP substitute, or with warm soapy water for lighter jobs, working the corners and around the handles where grease builds up most. For tight profiles and carved detail, a cotton swab gets into spots a rag can't. Wipe down with a clean damp cloth or paper towel to remove the residue, then let every surface dry completely.
Your target here, and the phrase to keep in mind through the next few steps, is clean, dry, and dull. Cleaning your cabinet surfaces properly handles the first two. Sanding handles the third. Do them in that order and the new finish has a real shot at staying put.
Step 3: Repair Chips, Dents, and Peeling Paint
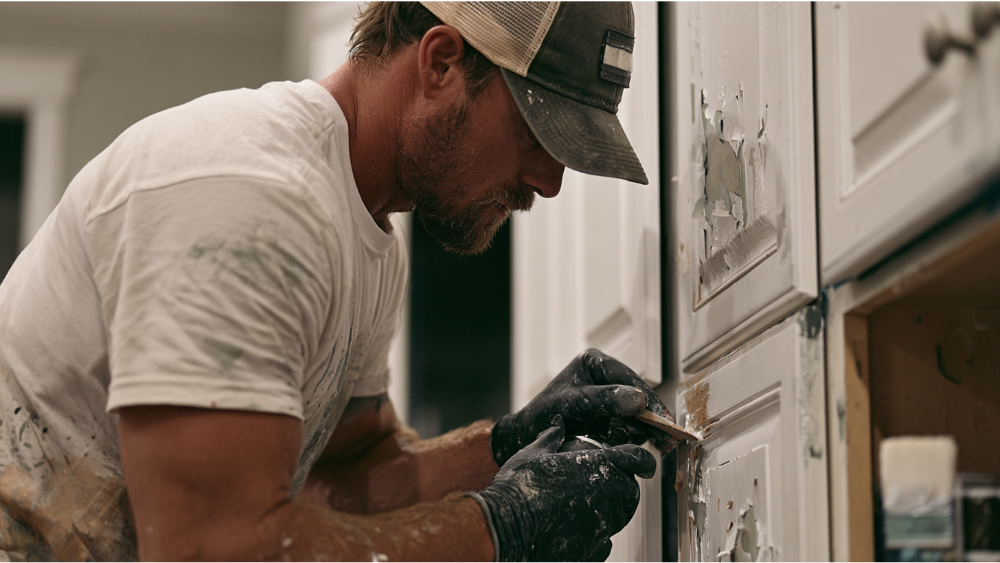
Now fix what's damaged. Scrape and remove all loose or peeling paint back to a firm, sound edge. If a chip lifts when you push a scraper under it, keep going until you reach paint that won't budge. Leaving a loose edge in place guarantees it'll telegraph through your new coat.
Once the loose stuff is gone, feather-sand the transition so the edge of the old paint blends smoothly into the bare spot. A hard ridge between coats shows up under a fresh finish, especially in raking light. Feathering makes it disappear.
Fill dents, gouges, old hardware holes, and any stains-prone gaps with wood filler. For deeper damage or chunks out of a door edge, a two-part filler holds better and sands harder. Let it cure fully, then sand it flush with the surrounding surface.
Finally, spot-prime any bare wood and every filled area. Fresh filler and raw wood absorb paint differently than the old coating around them, and if you skip this, those patches can flash or look dull in the finished product. This kind of patient surface repair is what makes all the difference between painted kitchen cabinets that last and a coat that just looks good for a while.
Step 4: Scuff Sand or Degloss Cabinets Without Sanding to Bare Wood
The goal of sanding here isn't to strip cabinets down to bare wood. Unless you're removing failed paint, you're only knocking the shine off the existing coat so the new paint has something to bite into. Painters call that "tooth." A glossy surface has none, which is why fresh paint slides right off it later.
Back to that target: clean, dry, and dull. To scuff sand before primer, 100 to 150 grit does the job. After you prime, or between finish coats, switch to 220 grit for a smoother finish. Sanding lightly between coats is one of the quiet tricks behind a truly flat, professional look with no visible brush strokes.
People always ask whether they can repaint cabinets without sanding. Sometimes, yes. A liquid deglosser (often sold as liquid sandpaper) can chemically dull the surface in place of physical sanding, and a handful of specialty no-sand enamels claim to bond without it. But read that carefully: those products still need a surface that's clean, sound, dull, and compatible with the new coating, and a test spot in a hidden area is always smart before you trust one across a whole kitchen. Glossy, greasy, peeling, or unknown coatings should never be painted blindly, with or without a deglosser.
When you finish sanding, get rid of every bit of dust. Vacuum the doors, drawers, and boxes, then go over them with a tack cloth. Dust left on the surface turns into gritty bumps under your first coat.
Step 5: Do You Need Primer Over Already Painted Cabinets?
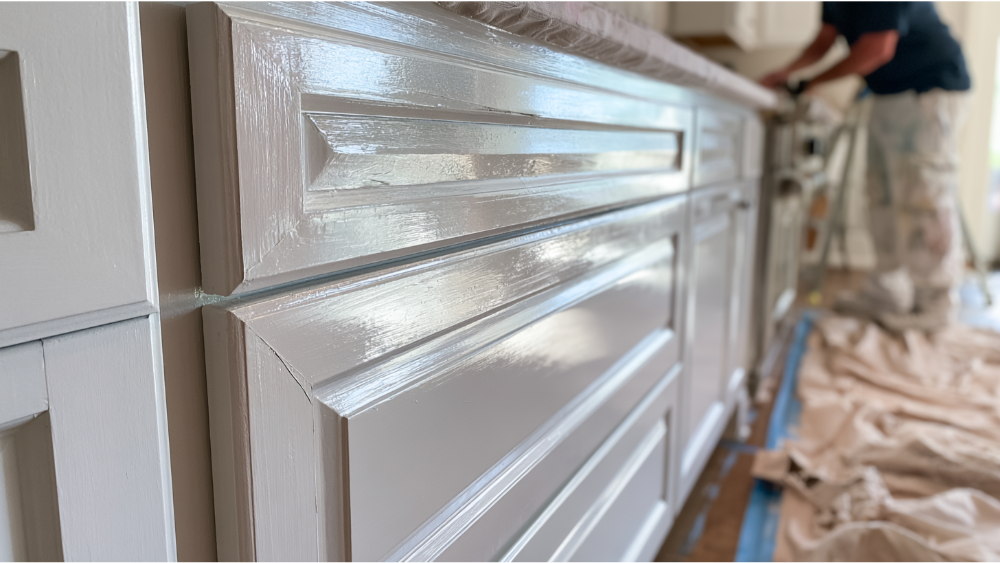
Primer isn't always required over already painted cabinets, but it's cheap insurance and often the difference between a coat that holds and one that fails. Whether you need it depends on what you're painting over.
The oil-versus-latex question comes up here a lot. If you can't tell whether the old coating is oil paint or latex, and often you can't, a quality bonding primer bridges the two safely so the new coat can adhere properly instead of gambling on compatibility. This matters most when you're putting a modern water-based enamel over an older oil based paint, which is a common situation on cabinets that previous owners finished years ago. And if that earlier paint job was clearly rushed or poorly applied, prime it. Skipping primer over a bad base coat is one of the most reliable ways to end up with poor adhesion and a repaint down the road.
Step 6: Apply a Few Coats of Cabinet Paint
Thin, even coats beat thick ones every time. This is the single most important part of the actual painting. A thin coat levels out on its own, dries evenly, and resists the sags, drips, and brush strokes that thick coats invite. When people say their cabinet paint job "looks brushy," heavy coats are usually why.
Plan on two coats at minimum, and often a few coats, for full coverage and a durable finish. One coat almost never covers well over old paint, and a single heavy pass to compensate just makes things worse. Between coats, sand lightly with 220 grit and wipe or vacuum away the dust before the second coat goes on. That between-coat sanding is what gives a hand-painted finish that smooth, almost sprayed look, and it's how you keep brush strokes from showing in the final top coat.
For application, a quality brush paired with a foam or microfiber roller gives a good result on most kitchens. Cut in the detailed areas with the brush, then roll the flats and lightly tip them off with the brush to smooth the roller texture. Work your cabinet doors and drawer fronts flat so the paint self-levels instead of running down a vertical face. Test one door first to dial in your technique before you commit to the whole set. A sprayer produces the smoothest finish of all, but it demands real containment and setup, which is part of why this is where a lot of DIY jobs start to feel like more than they signed up for.
Some people add a clear coat of polyurethane over the color for extra protection on high-wear cabinets and doors. If you go that route, choose a non-yellowing product, since standard poly can turn white and cream paint colors amber over time.
Step 7: Let the Finish Dry, Then Cure
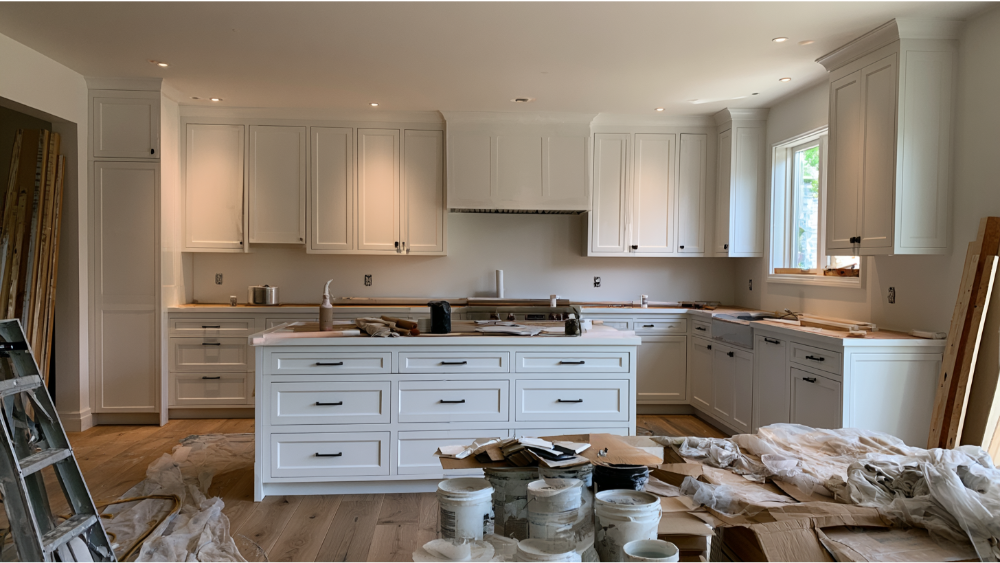
Dry and cured are not the same thing, and confusing them ruins more cabinet jobs than any other single mistake.
Paint feels dry to the touch fairly quickly, since the surface layer dries quickly on most cabinet enamels. Depending on the product and your conditions, that can be within two to four hours. But dry-to-touch just means the surface won't smudge, not that it's hardened. Underneath, the finish is still soft and vulnerable to scratching, denting, and blocking (that's when two painted surfaces stick together and pull paint off when separated).
Cure time is the real waiting game, and it varies a lot by product. Some cabinet enamels list full cure at five to seven days under ideal conditions, while other manufacturer guidance puts full cure closer to 30 days and recommends waiting that long before cleaning freshly painted kitchen cabinets. A common middle-ground recommendation is to avoid heavy use for at least two to three days, then treat the finish gently for weeks after that.
Conditions matter too. Cabinet coatings typically want application temperatures in the 50 to 90 degree range and at least 5 degrees above the dew point, and cool, humid air stretches every one of those timelines. When you rehang doors and reinstall drawers, do it carefully, and add soft bumpers to the corners so freshly cured surfaces don't stick to each other. Whatever your paint's technical data sheet says, follow it over any general rule of thumb, including this one.
Common Mistakes and Problems After Repainting Cabinets
Even careful jobs hit snags. Here are the most common mistakes and how to read them:
- Peeling or chipping: Almost always an adhesion problem from the start. The surface wasn't clean, wasn't deglossed, or needed a primer it didn't get.
- Brush marks or roller texture: Coats went on too thick or too dry. Thinner coats and light sanding between them fix the brush strokes going forward.
- Sticky or tacky paint that won't harden: Usually a cure issue, made worse by cool or humid conditions, or a sign the coating wasn't compatible with the oil based paint underneath.
- Bubbles: Often from rolling too fast, shaking the can, or painting over a warm or contaminated surface.
- Door edges sticking together: Cabinets got put back into service before curing. Bumpers and more time are the answer.
- Dust nibs or a gritty finish: Sanding dust or airborne debris landed in a wet top coat. Sand smooth with 220 grit and recoat in a cleaner space.
Notice how many of these trace straight back to prep or cure. That's not a coincidence. It's the whole point of doing the early steps in the process well.
DIY or Professional?
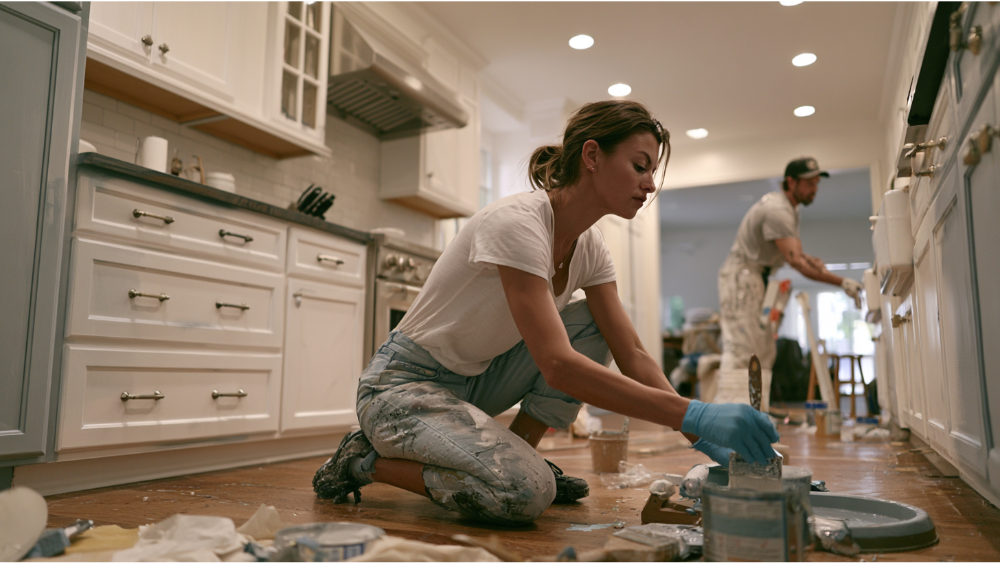
Repainting kitchen cabinets is a job a patient homeowner can absolutely do well. If you've got the time, a clean space to work, and the discipline to prep properly and wait out the cure, you can get a result you're proud of. It costs a fraction of new cabinets and, done right, looks it.
Where a professional process earns its keep is in the parts that trip up DIY jobs: reading the existing coating correctly, telling oil based paint from latex, matching a compatible primer and top coat system, controlling spray or brush finish across a whole kitchen (including the kitchen island and any run of original cabinets you're keeping), containing dust, and keeping the project on a schedule so your kitchen isn't out of commission for weeks. On older homes, containment isn't just about mess. It's about handling potential lead paint safely.
If you hire out, verify who you're hiring. You don't want to pick a random crew off a flyer at the hardware store without checking their credentials. Washington construction contractors must register with the state Department of Labor & Industries (L&I) and carry a bond and insurance, and painting is one of the specialties that requires it. You can check any contractor's registration, bond, insurance, and history through the L&I contractor verification tool before you sign anything. For any home built before 1978, ask directly whether they're EPA Lead-Safe (RRP) Certified. Cover Pro Painting handles interior and exterior cabinet and millwork projects across the greater Seattle-Tacoma area from our home base in Edgewood, WA, and every job starts with a free estimate and clear communication about scope before any work begins.
Frequently Asked Questions
Do I need to sand cabinets before repainting them?
You need the surface dull, but not stripped to bare wood. Unless you're removing failed paint, sanding is only about knocking the shine off so the new coat has something to bite into. Use 100 to 150 grit before primer, then 220 grit after priming or between finish coats. A liquid deglosser can chemically dull the surface in place of physical sanding, and some specialty no-sand enamels claim to bond without it, but those products still require a surface that's clean, sound, dull, and compatible with the new coating. Test a hidden spot before trusting one across a whole kitchen, and never paint blindly over glossy, greasy, peeling, or unknown coatings.
How long do repainted cabinets need to cure before normal use?
Dry to the touch and fully cured are two different things. Most cabinet enamels feel dry within two to four hours, but the finish underneath is still soft and vulnerable to scratching, denting, and blocking. Cure times vary widely by product: some enamels list full cure at five to seven days under ideal conditions, while other manufacturers put it closer to 30 days before you should clean the cabinets. A reasonable middle ground is avoiding heavy use for at least two to three days, then treating the finish gently for weeks after. Cool, humid air stretches all of those timelines. Follow the technical data sheet for your specific paint over any general rule.
Why does cabinet paint peel after repainting?
Peeling is almost always an adhesion failure that started before the paint went on. The most common cause is grease. Kitchen cabinets carry a thin film of cooking residue that's easy to miss, and sanding a dirty cabinet grinds that contamination into the surface instead of removing it, where it sits trapped under the primer. Clean first, then sand, in that order. The other frequent causes are a glossy surface that was never deglossed, and skipping a bonding primer when going over an unknown or oil based coating. Before you commit, press painter's tape firmly onto a hidden spot and pull it off fast. If flecks of old paint come away with the tape, the existing coating is already failing and painting over it will only make it worse.
