%201.svg)


Expert Techniques for Refreshing Your Edgewood Fence After Winter Damage
When winter fades, homeowners in Edgewood often step outside to find their fences looking worn down, discolored, or even slightly damaged. Moisture from heavy rain, frost, and repeated temperature swings can take a toll on wood, especially if it wasn’t well protected before the cold set in. A damaged fence doesn’t just look bad—it can also affect the safety and structure of your property boundary.
Refreshing your fence after winter isn’t just a cosmetic job. It’s an important part of protecting your home’s exterior. If left unchecked, minor winter damage can lead to more serious issues like rot, mold, or complete board failure as temperatures warm up. The good news is that by using reliable repair and painting practices, you can keep your Edgewood fence looking clean, strong, and ready for the rest of the year.
Assessing Winter Damage
Before making improvements or applying fresh paint, it's critical to evaluate the actual condition of your fence. Even if it looks generally OK at first glance, hidden problems might be setting in.
Common signs of winter-related fence damage include:
- Cracking or splitting boards due to freezing and thawing cycles
- Discoloration from excess moisture or algae growth
- Loose nails or screws expanding and contracting in cold weather
- Mold or mildew starting at the base of posts
- Wood beginning to soften, which is often a sign of rot
Walk along your fence and press gently on the boards, especially around the bottom where water tends to pool. If the wood feels soft or spongy, that’s a sign that moisture has penetrated the surface and caused internal damage. Pay attention to any warped sections that appear bowed or twisted. These can cause strain on the rest of the structure and eventually lead to failure.
If your fence panels are leaning or no longer aligned, inspect the posts beneath. Fences are only as strong as their support. Winter ground shift can loosen posts and leave your fence unstable by spring.
Making a complete fence assessment right after winter helps you figure out what needs a full replacement, what only needs repair, and what can simply be cleaned and repainted. Skipping this step often leads to covering up problems that emerge more clearly weeks or months later.
Preparing the Fence for Painting
Once damage is identified and any needed repairs are done, the fence needs a clean, smooth surface to accept fresh paint properly. Painting over dirt, moss, or failing wood reduces how long the new coat actually lasts.
Here’s how to get your Edgewood fence ready for painting:
1. Clean the surface. Use a pressure washer or hose with a scrub brush to remove dirt, mildew, and flaking old paint. Avoid strong chemicals. Let it dry completely, usually for 24 to 48 hours.
2. Patch and repair. Replace any damaged boards, drive in new nails or screws where needed, and repair loose or sagging sections. All gaps, holes, or cracks should be filled with exterior-grade wood filler. Let repairs cure before moving forward.
3. Sand damaged areas. Smooth over rough edges, old paint lines, or surfaces repaired with filler. A medium-grit sandpaper can help even out low spots without removing too much wood.
4. Inspect again. After prepping, give the fence another quick look. Moisture, grime, or loose pieces can resurface during the cleaning process, so a final look ensures nothing gets missed.
For example, one homeowner in Edgewood saw green stains along the lower fence line in early June. After cleaning, they discovered the boards were soft from water damage. A few quick swaps with treated boards meant they could paint the fence confidently, knowing the surface was secure.
Taking time for proper prep work is what separates short-term fixes from lasting results. It makes sure the new coat bonds well and stands up against Edgewood’s wet upcoming seasons.
Choosing the Right Paint and Materials
Getting long-lasting paint results starts with using quality materials made for fence use. The wrong type of paint will lead to peeling, warping, or early fading, especially under Edgewood’s seasonal rain and summer sun. Fences need paint that can hold up to outdoor wear and moisture without breaking down.
Look for exterior paints labeled as weather-resistant or made specifically for fences and decks. These paints are designed to flex with temperature changes and prevent water from seeping in. Acrylic latex paint is a solid option for wood surfaces. It gives strong coverage and won’t crack as wood naturally expands and contracts.
The right tools also make a big difference. For most residential fences in Edgewood, the following tools help get clean and even results:
- Angled paintbrushes for corners, grooves, and edges
- Paint rollers for wide flat sections
- Paint sprayers for large fences or smooth wood styles
- Drop cloths or plastic sheets to protect lawn and plants
- Extension poles for hard-to-reach areas
If you're covering previously stained or painted surfaces, using a high-quality primer makes a difference. It helps the new paint bond better and reduces the number of coats needed. Choose a stain-blocking primer if there’s discoloration you don't want bleeding through.
Wood type also matters. Some older fences in Edgewood were built using pressure-treated wood, which needs a bit more care when painting. If that’s the case, make sure the wood is fully dry after winter thaw before applying any primer or paint.
Skipping good materials might save some money at first, but it usually costs more time and repairs down the road. Using paint and tools that hold up against moisture and shifting temperatures will keep your fence coating looking even and intact longer.
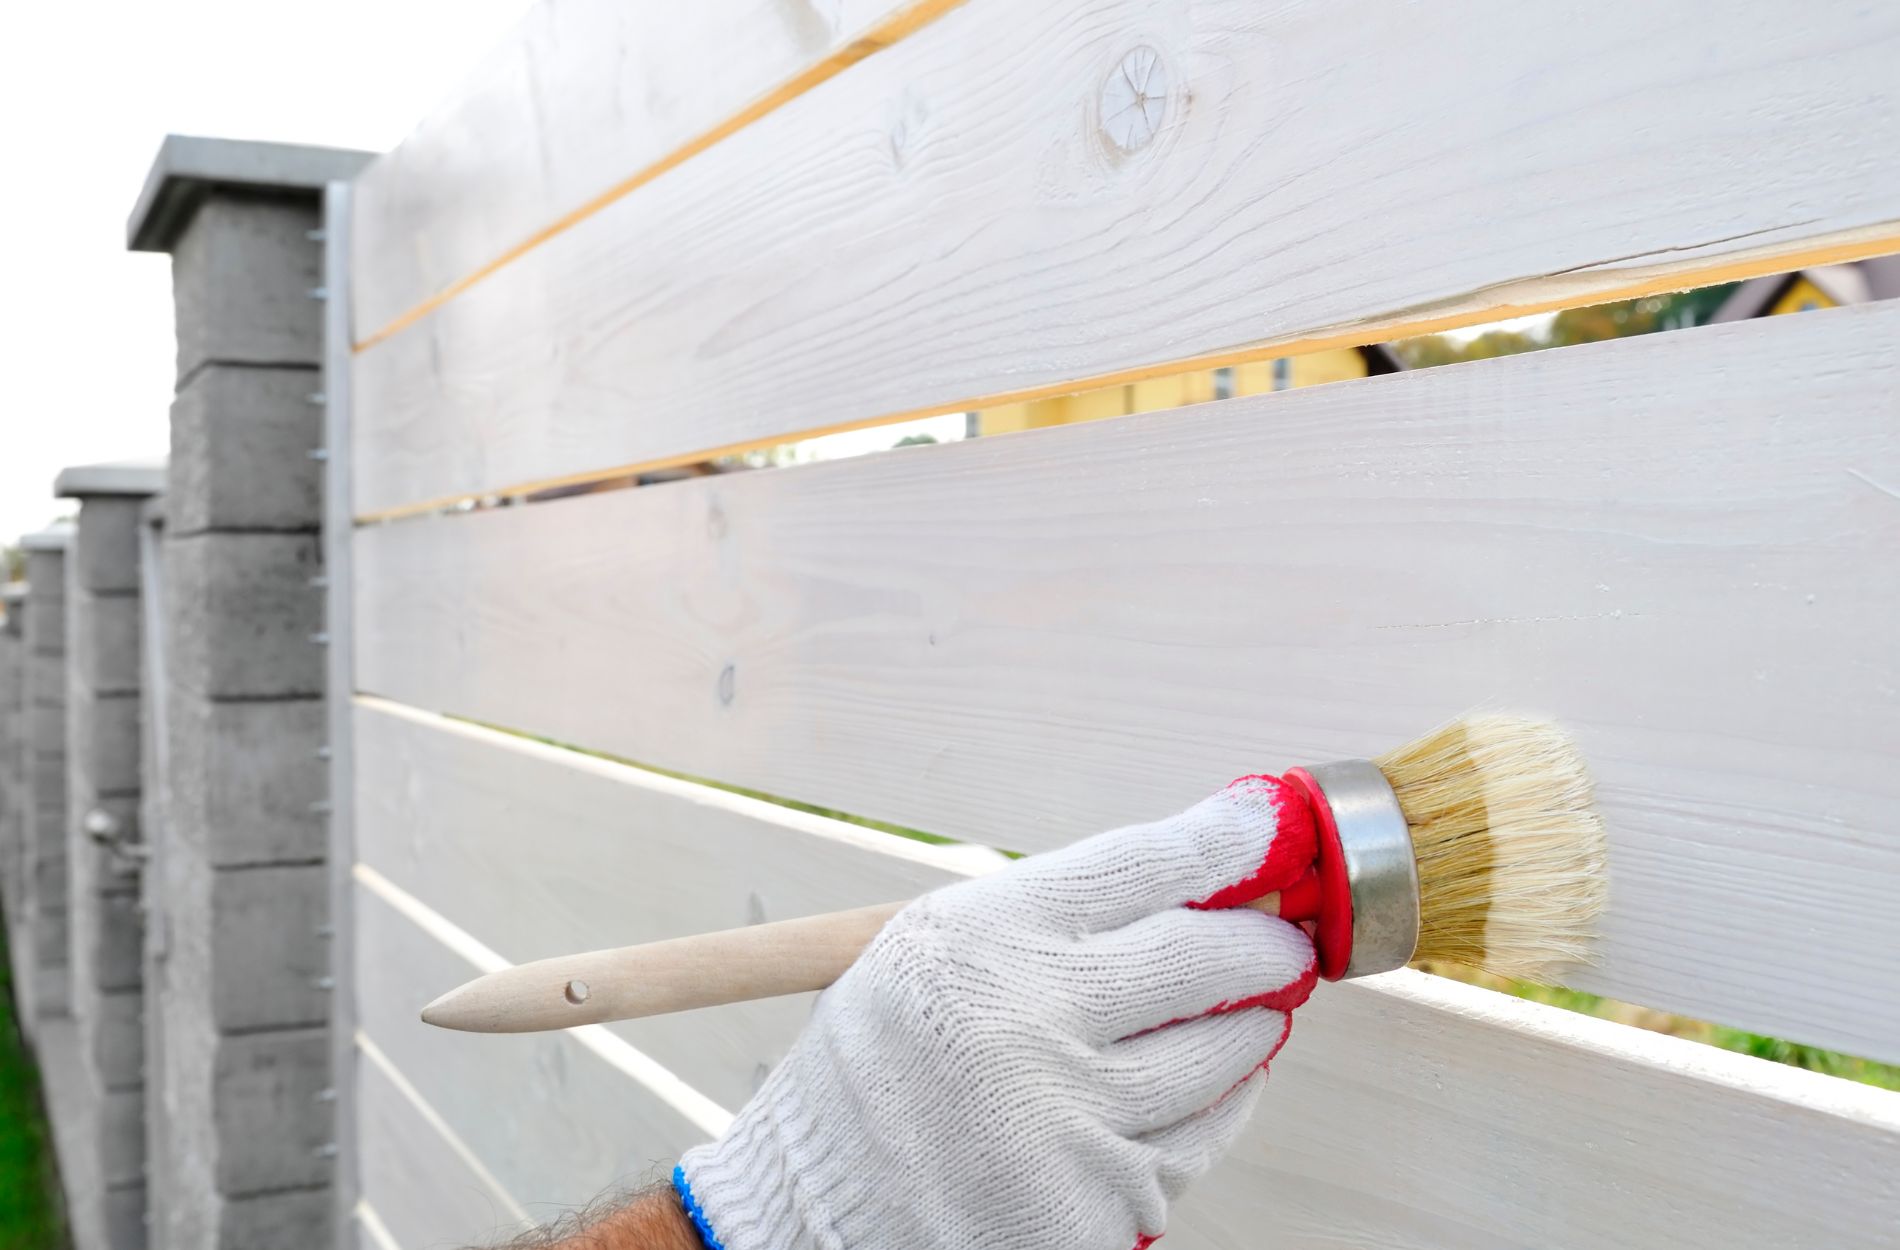
Fence Painting Techniques for Even Coverage
Once the materials are ready and the fence has been cleaned and prepped, how the paint is applied will decide how it looks and how long it lasts. Start from one side and work in sections. Whether using a brush, roller, or sprayer, staying consistent in pressure and direction makes a big impact.
Here are some techniques to consider when painting a wood fence in Edgewood:
- Start from the top and work your way down to avoid drips forming on freshly coated sections
- Avoid painting under direct sun. Overcast conditions or cooler mornings are ideal
- Watch the thickness of your coat. If it’s too heavy, paint may bubble or run
- Let the first coat dry completely before applying a second layer
- Use small brushes for fine detailing or custom fence cuts
Corners and tight gaps are common problem areas many homeowners overlook. These small spots can absorb moisture and become weak points if not fully covered. Use a thin, stiff-bristle brush to reach between boards or around nails and joints. Taking more time there helps prevent peeling later.
If the fence has horizontal slats, avoid letting paint pool along lower edges. That’s where water tends to settle, and thick paint buildup may trap moisture instead of keeping it out.
Painting a fence sounds simple, but proper technique makes a clear difference between a job that looks fresh one year and one that stays that way for five or more. Doing it right the first time requires attention to detail and the willingness to let each layer dry before rushing through the project.
Protecting and Maintaining Your Painted Fence
Even the best paint job will wear down eventually without care. Protecting your newly painted fence means staying ahead of moisture, dirt buildup, and sun damage.
Start with a sealant. Once the final coat is dry, applying a clear exterior wood sealant helps block UV rays and moisture from breaking through over time. This layer gives the paint extra support and helps keep the color tone from fading during Edgewood’s dry summer days.
Regular upkeep also goes a long way. Here’s a basic maintenance schedule to keep your fence in top shape:
- Inspect the fence each season, especially after storms
- Wash the fence with a hose or gentle cleaner twice a year to reduce buildup
- Trim nearby plants so branches don’t scratch and damage the paint
- Reapply sealant every couple of years based on wear
- Touch up any chipped spots before they spread
One Edgewood homeowner found that vines from their backyard garden were creeping onto their fence. Over time, moisture from the plants caused the paint in that section to bubble and peel. By clearing the vegetation and repainting soon after, they avoided major damage to the boards beneath.
A clean and sealed fence is far easier to maintain than one with early damage. Small habits, like checking boards after heavy rain or cooling off hot painted surfaces with a light water spray, help slow wear and tear.
Keeping Your Edgewood Fence Beautiful Year-Round
Refreshing your fence after the winter season keeps your property looking cared for and prevents long-term wood problems that are more expensive to fix later. Spring and summer give the perfect window of dry temperatures for this type of work, so addressing repairs and painting early lets you enjoy your yard without ongoing fence issues.
By checking for damage, prepping your surfaces the right way, and committing to regular upkeep, you’ll extend the life of your fence and avoid repeated painting every year. Keeping your Edgewood fence in good shape isn’t complicated, but it does need the right tools, timing, and some attention to detail.
Every fence faces wear, but with strong materials and solid techniques, yours can stay sharp and secure long after winter’s faded. If you’ve noticed peeling paint, warping boards, or discoloration this season, it’s probably time to take action before the problem grows bigger. Year-round curb appeal starts with smart repairs and a finish that lasts.
For quality solutions that restore your fence's durability and charm, trust Cover Pro Painting to deliver lasting results through expert fence painting in Edgewood. For a quick estimate or to book a service visit, please contact us today.