%201.svg)


How to Properly Prepare Your Edgewood Fence for a Fresh Coat of Paint
Summertime yard projects in Edgewood often include refreshing outdoor structures, and fences are no exception. But diving straight into painting without proper preparation can lead to uneven results, peeling, or a finish that won’t last the season. Before applying that first brushstroke, your fence needs to be properly assessed, cleaned, and prepped. Skipping these crucial steps not only impacts how the paint looks but also how long it holds up under sun and moisture.
Preparing a wood fence creates the foundation for long-term success. A freshly painted fence can instantly boost curb appeal, but if dirt, damage, or mildew remains underneath, that upgrade may only be temporary. Fence prep takes time and attention to detail, but with the right steps followed closely, homeowners in Edgewood can save themselves the hassle of early touch-ups or full re-dos.
Our professionals are equipped to help with every phase of fence preparation, ensuring that your paint adheres properly and performs well throughout the seasons.
Inspect the Fence for Damage
Before anything else touches the surface, it’s important to walk along the entire fence line and take a close look. Fences exposed to Edgewood’s weather see more wear than it may appear at a glance. Start at one end and work your way through these basic checks:
1. Look for warped or loose boards. Push gently on each section to see how firm it feels.
2. Check for exposed nails or screws that stick out. Hammer them back in or replace where needed.
3. Search for signs of wood rot, such as soft spots, dark stains, or flaking.
4. Examine corners and joints where moisture tends to settle.
5. Remove traces of moss, mold, or algae on shaded areas of the fence.
Rot and decay can’t simply be painted over. Those areas will continue to deteriorate underneath, leading to peeling paint and even structural soft spots in the panels. Once all problem areas are marked, damaged sections can be replaced or repaired by our professionals before moving forward.
Clean the Fence Thoroughly
Once repairs are addressed, cleaning comes next. This phase is about removing everything that could block paint from sticking correctly—dirt, cobwebs, pollen, and old surface grime all count. Cleaning by hand with a hose and stiff brush works, but it takes much longer. A pressure washer speeds up the process significantly if used carefully and at the correct setting to avoid splintering the wood.
Use mild soap mixed with water if stains are visible, especially in areas that face nearby trees or garden beds. Scrub top to bottom and rinse well. Be sure to watch for any leftover detergent residue and avoid cleaning during direct peak sunlight. Letting the wood dry out fully is just as important. Paint won’t adhere to damp wood, so giving your fence 24 to 48 hours of dry time, depending on weather, is ideal.
This step may seem basic, but it’s the one homeowners skip most often. Painting over debris traps it beneath the surface, which leads to bubbling and shortcuts the paint’s lifespan. A clean surface gives the paint full access to bond and creates a smoother look once the job is complete.
Sand and Smooth the Surface
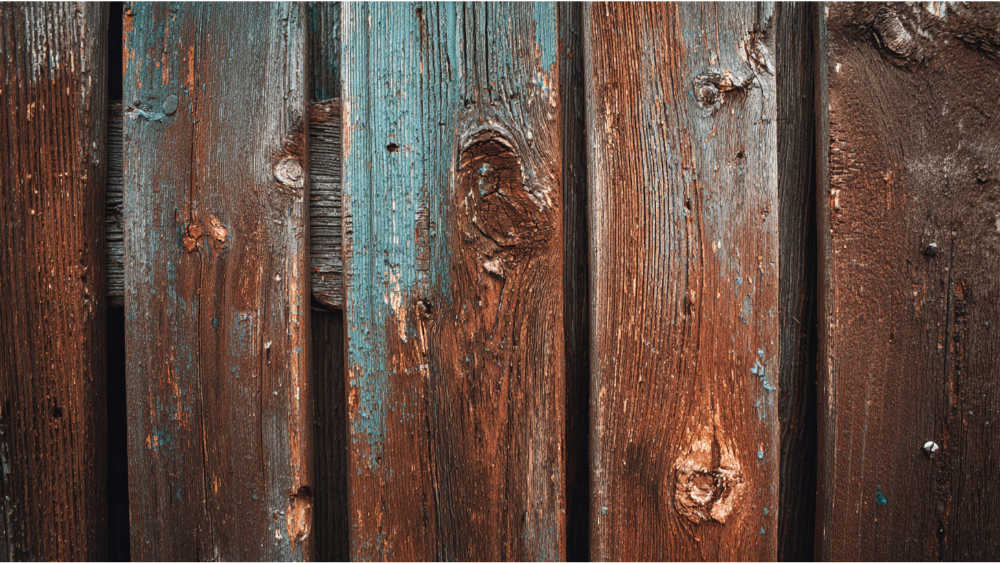
Once the fence is clean and dry, sanding is the next step. Over time, weather exposure can leave wood rough or splintered, and older paint may start peeling or flaking. Sanding removes these imperfections and gives the paint a smooth, solid surface to stick to. This step improves how the paint looks and how long it lasts.
Hand sanding with medium-grit sandpaper works well on smaller areas or tight spots, especially around corners and nails. For larger sections, an electric sander makes the job faster and more consistent. Keep the pressure even to remove old paint without damaging the wood underneath. If the fence has already been painted before, focus more time on areas where paint is lifting or discolored.
After sanding, remember to remove all dust and residue. This might seem small, but leftover dust can prevent primer or paint from bonding properly, causing sections to peel much sooner. A leaf blower or a soft brush works for loose particles, while wiping with a damp cloth can help clean up finer debris.
Apply a Primer for Long-Lasting Results
Priming is one of the most effective ways to extend paint durability, especially in climates like Edgewood’s, where exposure to sun and moisture happens year-round. Primer acts as a sealant and bridge between the wood and the final coat of paint. It creates a uniform surface, blocks stains, and increases paint adhesion.
Make sure the primer matches the type of wood and is suited to either oil-based or water-based topcoats. If the fence had past moisture problems like mildew or algae, choose a primer that contains a mildew-resistant or stain-blocking formula.
Use a brush or roller to apply the primer evenly across the fence panels. Work in sections and avoid overloading the brush, which can cause dripping. Allow the primer to dry fully before applying paint. Most primers recommend several hours to overnight drying time, depending on the product label. Rushing into painting too soon can lead to smudging and poor coverage.
Time the Paint Job Around Edgewood’s Summer Weather
Launching into painting without checking the weather forecast can lead to disappointing results. Paint performs best when applied in mild, dry conditions. In Edgewood, mid-summer usually offers the best window for this type of work, but timing still matters.
Ideal conditions for painting include:
1. Temperatures between 50°F and 85°F
2. Low to moderate humidity
3. No rain predicted within 24 hours
4. Light wind that helps with drying but does not blow debris onto the surface
Painting during a heatwave or just before rainfall is a common mistake. High heat dries the paint too fast, which leads to cracking. Excessive moisture causes it to dry too slowly and may produce streaks or uneven coverage. Either way, the finish becomes less reliable. Planning around Edgewood’s forecast is helpful and protects the time and effort invested.
If there has been a stretch of rainy weather followed by hot sun, give your fence extra drying time. Fences absorb moisture and often need at least a day or two to fully dry out before priming or painting.
Protect Your Edgewood Fence with a Fresh Coat of Paint
When each of these prep steps is completed properly, your fence will be ready to accept paint and hold it securely. Loose or rotted boards are addressed, mold and dirt are gone, and a sanded surface paired with primer gives paint the ideal base to perform well.
Fence painting is not just about appearance. In Edgewood, untreated wood deteriorates faster due to constant exposure to summer sun and wet winters. A properly prepped and painted fence helps seal out that moisture, preserves structural strength, and keeps your outdoor spaces looking clean and maintained.
Whether you’re trying to revive an older fence or protect a new one, preparation makes all the difference. If you are unsure about sanding techniques, product compatibility, or how to time the project around weather, our professionals can take care of the job with precision and reliability. Proper fence painting in Edgewood starts with the right prep, and our team ensures that every detail is addressed.
If you are ready to secure your fence's longevity and enjoy a lasting, attractive finish, trust Cover Pro Painting for expert fence painting in Edgewood, where every detail from inspection to final coat is handled with care. For a quick estimate or to book a service visit, please contact us today.