
%201.svg)


Porch Paint: How to Choose the Right Paint for a Porch That Lasts
Key Takeaway
Porch paint is a high-durability floor enamel engineered for foot traffic, moisture, and abrasion - regular exterior wall paint is not a substitute and will peel quickly. Choose a product rated for your specific surface: floor enamel for wood, masonry-rated paint for concrete. Preparation accounts for at least 60% of a successful job, and full cure takes 7 days to 4 weeks.
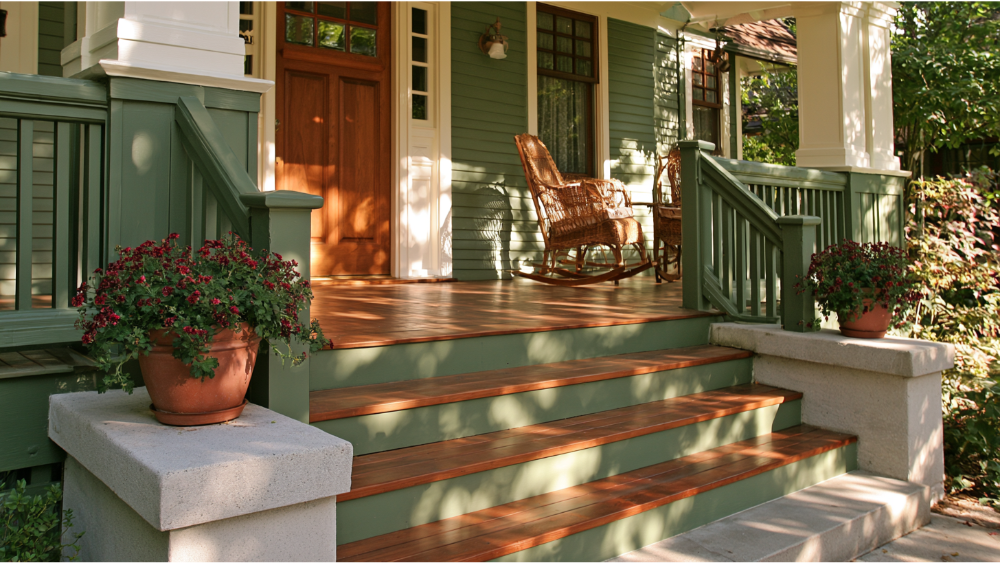
Porch paint is a durable floor coating built for exterior walking surfaces like porches, steps, and patios. It's not the same as regular exterior wall paint. A porch takes foot traffic, moisture, abrasion, and weather all at once, so it needs a high-durability floor enamel made to hold up under that load. If you use ordinary wall paint on a porch floor, it wears through and peels fast.
If you're planning a porch refresh and dreading the idea of doing it all again in two years, here's the honest version we tell every homeowner: a porch paint job lasts because of the right product, the right prep, and a sound surface underneath. The paint can is the last piece of the story, not the first. No product is a perfect paint if the surface underneath it fails.
Choose Porch Paint by Surface, Not Just Color
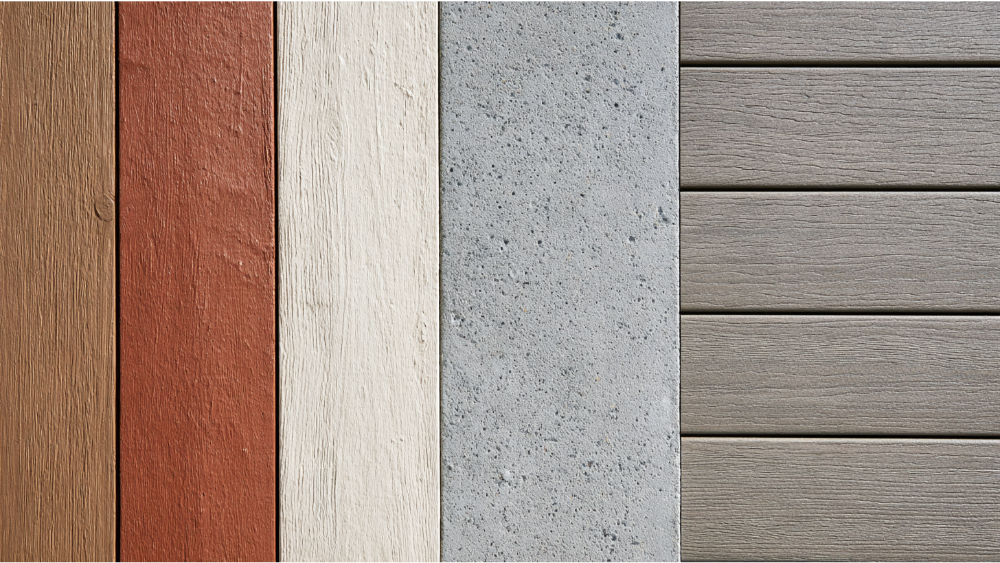
The surface decides the product. Color is the fun part, but it comes later. Before you pick a shade, you need a coating rated for the actual material you're painting and the traffic it sees. Don't assume one product works everywhere.
- New or weathered wood porch floors: A porch and floor enamel formulated for wood. Weathered wood needs more cleaning and prep than fresh boards, and old paint on it usually has to come off before the new coat goes down.
- Concrete porch floors: A masonry-rated floor paint, usually paired with a masonry-safe primer or bonding product so the finish grips concrete surfaces. This same approach works on basement floors and garage slabs.
- Porch steps: The highest-traffic zone. Steps take the most wear, so they need a durable coating and often added slip resistance.
- Railings and trim: These aren't walked on, so a quality exterior enamel works here rather than a floor product.
- Porch ceilings: An exterior ceiling or trim paint. No floor-grade abrasion resistance needed.
- Previously painted surfaces: Check for glossy surfaces and the condition of the old paint. Gloss needs scuffing so the new coat can bond.
Verify the coating is rated for your surface and traffic level before you buy. That single check prevents most early failures.
Porch Floor Paint vs. Exterior Paint vs. Deck Stain
These three do different jobs. Porch floor paint, sometimes called floor enamel, forms a film over the surface and hides the grain or surface texture underneath. It gives you a solid, uniform color and strong abrasion resistance. New surfaces especially benefit from a film-forming coating that levels the look across fresh boards.
Stain works differently. It penetrates or semi-penetrates wood and lets the grain show through, which many homeowners like on a classic wood porch. On uncoated concrete, a penetrating stain can actually outlast floor paint because it soaks into the surface instead of sitting on top of it where foot traffic wears it down.
Acrylic latex floor paints are a common choice because they resist fading, scuffing, and UV damage while staying flexible enough to move with the surface. Their durable finish also holds up well in exterior applications where sun and rain never let up. Your existing old paint also drives the decision. Repainting over a sound coating is straightforward. Switching from paint to stain is not, because stain won't penetrate a painted surface. If your porch is already painted, you're usually repainting, not staining. (We cover the tradeoffs in more depth in our guide on paint vs. stain for decks and porches, linked as a same page link in our resource menu.)
When You Should NOT Paint Over Old Paint Yet
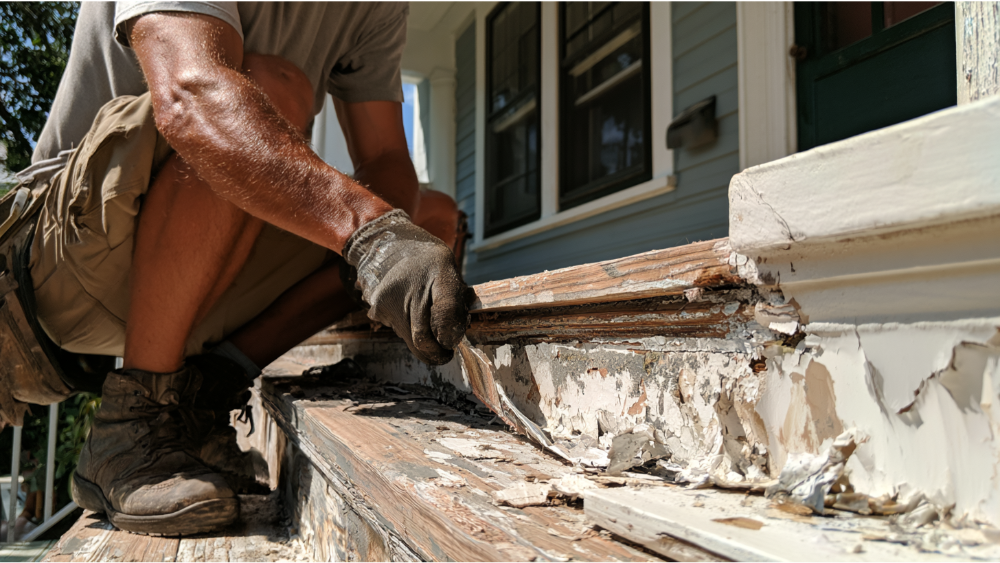
Paint doesn't fix a bad surface. It hides it for a season, then fails right along with it. Preparation is at least 60% of a successful painting job, and part of prep is knowing when to stop and repair first. Hold off on painting if you see any of these:
- Soft or rotted wood. Press on the boards near the edges and stairs. If the wood gives, it needs repair or replacement, not paint.
- Peeling paint from trapped moisture. Peeling is often a water problem, not a paint problem. Painting over it just repeats the failure.
- Loose boards or failing stair treads. These are safety issues and need to be fixed structurally first.
- Concrete that's still curing. New concrete surfaces need time before they can take a coating, sometimes 60 days or more depending on the product. Follow the coating's technical data sheet.
- Damp concrete or efflorescence. That white powdery bloom means moisture is moving through the slab. Coat over it and the finish lifts.
- Heavy chalking or a failed old coating. If the old finish is powdery or flaking, a new coat has nothing sound to bond to.
- Pre-1978 paint. Older layers may contain lead, which changes how prep gets done (more on that below).
Moisture and rot are structural, not cosmetic. This is exactly why we handle rot repair as part of the same job. Fix the surface, then paint it once and do it right.
The Porch and Floor Prep Checklist (Wood and Concrete)
Prep is where a porch paint job is won or lost. A properly prepared surface has to be clean, dry, and free of loose paint before any coating goes on. Wearing protective clothing during scraping and etching keeps you safe from dust and chemicals. Here's how that breaks down by material.
Prepping a Wood Porch
- Inspect for rot, especially at edges, joints, and the base of railings where water collects.
- Replace or repair any damaged boards before you paint.
- Clean thoroughly with soapy water or a non abrasive liquid detergent so the surface is free of dirt and grime.
- Remove loose and flaking paint completely.
- Sand glossy surfaces smooth so the new coat can grip, and lightly sand any ridges left where old paint has lifted so the surface is even. This is also your chance to repair imperfections in the boards before you coat.
- Countersink nail heads and set any raised fasteners below the surface before you fill and coat.
- Use galvanized nails for any board replacement to help prevent nail staining, since ordinary fasteners rust and bleed rust through the finish.
- Prime bare wood if the product calls for it.
- Pay extra attention to end grain, seams, edges, and stair treads. These are moisture-entry points, and sealing them well prevents early failure.
- Remove mildew stains promptly, since mildew left in place will bleed through and grow under a fresh coat.
Prepping a Concrete Porch
- Let new concrete cure fully per the label instructions before coating.
- Clean and degrease the slab so nothing interferes with adhesion.
- Remove any old, loose coating.
- Repair cracks and spalling before painting.
- Check for moisture. Damp concrete and masonry surfaces won't hold a coating.
- Etch or scuff the surface if the coating requires it. A common etching mix is 1 quart of muriatic acid to 1 gallon of water, followed by a thorough rinse. Use the masonry-safe primer or bond the product specifies.
- Confirm the exposed concrete is dry before you apply anything.
Prepping a Wood Porch
Prepping a Concrete Porch
Lead-Safe Prep on Older Porches (Pre-1978 Homes)
.webp)
Homes built before 1978 are more likely to have lead-based paint. When you scrape or sand old paint on a porch, you can disturb it and create hazardous lead dust and chips. That's a real concern on a surface where kids sit and pets walk.
The EPA recommends hiring a lead-safe certified contractor for renovation, repair, and painting on pre-1978 homes. There's a limited exemption for minor exterior work of 20 square feet or less, but it has important exceptions and doesn't cover window replacement or prohibited practices. Lead-safe work also means proper exterior containment, with ground covering extending out from the surface being worked on.
Cover Pro Painting is EPA Lead-Safe (RRP) Certified. On an older porch, that's one of the ways we protect your family during prep, using contained, careful methods instead of sanding lead paint loose into your yard.
Best Weather Conditions for Porch Painting
Weather windows are product-specific, not universal, so read the label. That said, most porch and floor coatings share a similar comfort zone. Many are formulated for application between 50 and 90°F, with relative humidity below 85%. Higher humidity and cooler temperatures both slow drying and can leave a coat soft longer than expected. Most also need a no-rain window after application, commonly somewhere between 8 and 24 hours depending on the product.
Overnight dew can ruin a fresh coat, so timing the finish so it sets before evening moisture rolls in matters. Direct sun is another trap. A surface baking in the afternoon can flash-dry the paint and hurt adhesion, which is where a UV-resistant formula earns its keep. This is why we schedule exterior porch work around real conditions rather than just an open date on the calendar. We won't promise a universal timeline, because weather and prep decide it. Always follow the manufacturer's drying and recoating instructions for the product you're using.
Application Method: Brush, Roll, or Spray
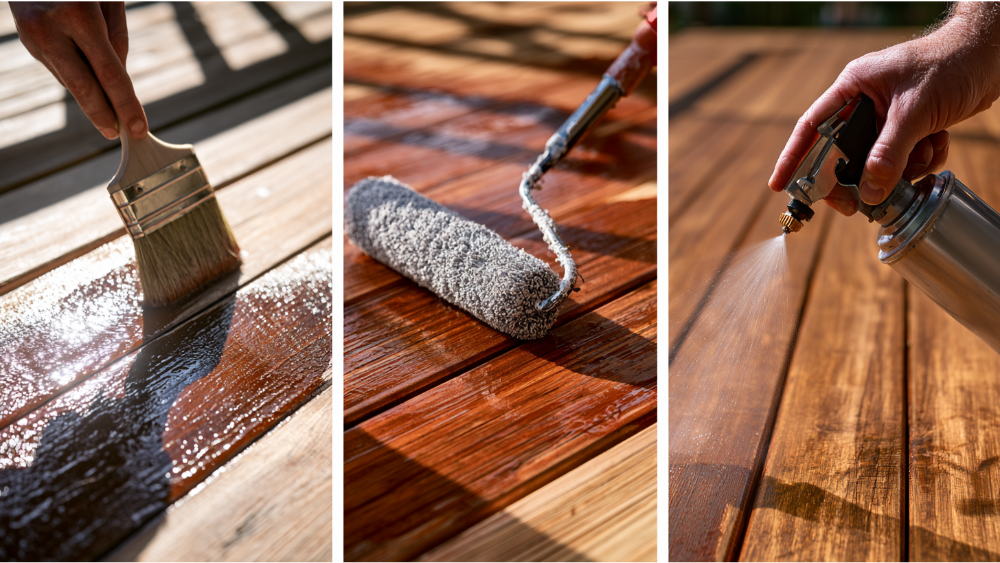
Your application method shapes both the look and the workload. Rolling with a good nap roller cover sized to the surface texture lays the coating down evenly for most homeowners. If you use an airless sprayer, match the spray tip to the product's recommended size and keep a wet edge so you hold color uniformity across the whole floor. Whatever method you choose, back-brush or back-roll into the wood so the coating works into the grain rather than bridging over it.
Dry Time vs. Cure Time: When Can You Walk on It?
Dry and cured are not the same thing, and this trips up a lot of DIY porch jobs. A coating can feel dry to the touch long before it's hard enough to handle furniture or foot traffic. Rushing it leaves dents, sticky spots, and prints in the finish. Here's a typical timeline (product-dependent, so confirm on the label):
- Dry to touch: about 1 to 2 hours
- Recoat / second coat: about 4 to 6 hours
- Light foot traffic: about 24 hours
- Furniture and heavy traffic: about 72 hours
- Washing / full cure: anywhere from 7 days to 4 weeks
Two coats give you the best durability, and it helps to stir paint occasionally as you work so the finish stays consistent from the first board to the last. High traffic areas like steps need the most patience before they see regular use, while low traffic areas can usually take light use sooner. Move that patio set back too early and you'll press marks into a dry paint film that hasn't become a cured paint film yet.
Slip Resistance and Porch Safety
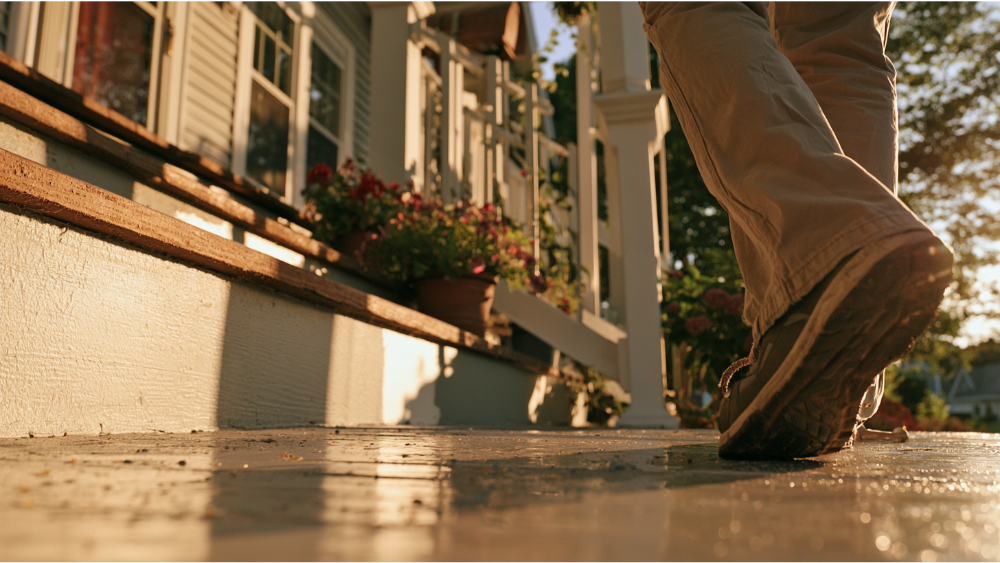
A painted porch floor or set of steps can get slick when wet. On uncovered porches, exposed steps, and anywhere it rains often, choose a patio floor paint with texture or add an anti-slip additive. Areas subject to standing water, or spots near driveways and carports where automotive tires roll over the finish, need extra thought about both grip and durability.
The ADA calls for floor surfaces to be stable, firm, and slip resistant, but it doesn't specify a universal coefficient of friction for general surfaces. So we won't call any coating "ADA compliant" without documentation for that exact use. The goal is simply a porch that's safe to walk on in the rain.
Patio Floor Paint Color and Finish for New or Weathered Wood
Finish affects durability as much as looks. A satin or low-lustre floor enamel balances toughness with easy cleaning, which is why it's a common pick for porch floors. Gloss looks sharp and can be more mildew resistant, but it also shows every imperfection in the surface. A mildew-resistant patio floor paint is worth it in damp, shaded conditions.
On color, mid-tone grays like a soft silver gray, along with browns, greens, and muted blues, hide dirt and pollen well between cleanings. Dark colors show dust and absorb heat, which can make a sunny porch uncomfortable underfoot. Light colors brighten a covered porch beautifully but need more frequent cleaning. Coordinate the floor, steps, railings, door, siding, and trim so the whole entry reads as one intentional look, and your curb appeal jumps.
To keep it looking good, touch up chips quickly before water gets under the coating, and wipe mildew stains promptly with a damp cloth and mild cleaner. Not sure on color? A free color consultation comes with every project, and we're happy to help you land on something you'll still like in five years. (For inspiration, see our porch paint color ideas.)
Should You DIY or Hire a Pro for Your Porch?
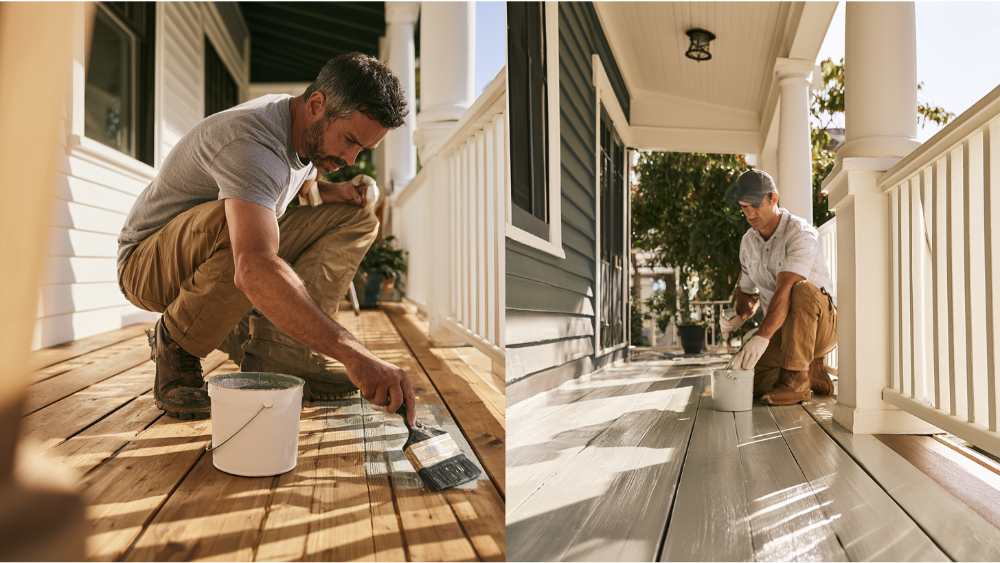
DIY can make sense for a small porch in sound condition with a low-risk surface and no history of problems. If the boards are solid, the old paint is intact, and it's a modest area, a careful homeowner can get a good result. Remember that preparation is at least 60% of the job, so budget most of your time there.
Bring in a pro when there's peeling, rot, concrete failure, multiple old coatings, pre-1978 lead concerns, stair safety issues, or a large porch. That's where our full-service approach fits: surface prep, rot repair, siding repair, and carpentry handled together with the painting, so you're never juggling multiple contractors. Alex oversees every project personally. We're licensed, bonded, and insured in Washington State, EPA Lead-Safe Certified, and we back exterior work with a 5-year warranty using premium products carrying lifetime manufacturer warranties.
Reading the Fine Print on Floor Enamel and Old Paint Warranties
Before you buy any product, read its label so you understand the coverage of the express or implied warranty. Many floor paints carry only a limited express warranty, and any implied warranty lasts only as long as the label states under applicable law. Coverage usually applies to the same product under normal use on surfaces that were properly prepared, and it often depends on you keeping proof of purchase. To the extent permitted by law, a warranty excludes labor and typically limits any claim to the original purchase price or replacement of the unused product. Most labels state that the maker is not liable for incidental or consequential damages under any legal theory, including strict liability or other legal theory beyond the above limitation. If you test the product prior to a full application on new or weathered wood, you confirm it suits your particular purpose before you commit. Should a defect appear, contact the manufacturer for warranty service or collection service on the batch in question. All of this is one more reason prep is never optional.
Start with a free estimate and a transparent scope, so you know exactly what your porch needs before any work begins. Call 206-222-0435 or request your Get My Free Painting Estimate. We're based in Edgewood, WA. Don't see your city listed? Contact us to confirm service availability.
Porch Paint FAQ
What is the best paint for a porch?
A porch and floor coating (floor enamel) rated for your specific surface and traffic level. A satin or low-lustre finish balances durability with easy cleaning. Match the product to wood or concrete rather than picking by color alone.
Can I use regular exterior paint on a porch floor?
No. Standard exterior wall paint isn't built for foot traffic and abrasion, so it wears through and peels quickly. Use a porch-designed floor paint instead.
Do I need primer before porch paint?
Often yes. Bare wood and concrete surfaces usually need a primer, and concrete typically calls for a masonry-safe primer or bonding product. Previously painted surfaces in good shape may not, but glossy areas still need scuffing. Follow the product's instructions.
How long before I can put furniture back on a painted porch?
Commonly about 72 hours for furniture and heavier traffic, though full cure can take from 7 days to 4 weeks depending on the product. Moving furniture too soon dents and marks the finish before it hardens, so check the label and wait.
