
%201.svg)


Painting Window Frames and Trim Without Sticking the Sash
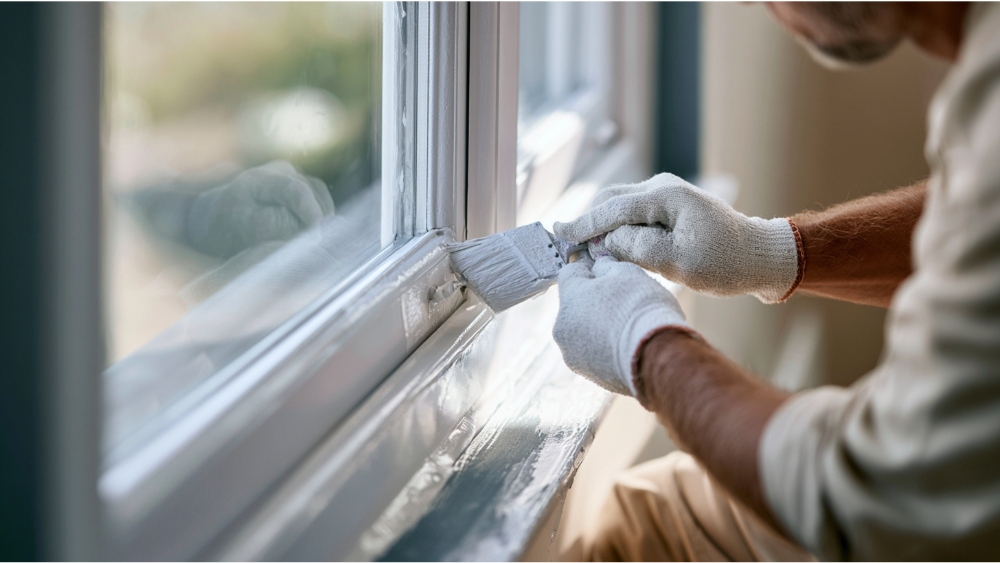
Key Takeaway
To paint window frames and trim without sticking the sash, apply two thin coats of a block-resistant trim enamel, keep paint off the tracks, stops, and weatherstripping, and cycle the sash open and closed every 20 to 30 minutes while coats set. Leave the window slightly open until the paint has fully cured, not just dry to the touch, which can take up to two weeks for latex paint.
To paint window frames and trim without sticking the sash, use thin coats of a block-resistant trim paint, keep paint off the sash tracks, stops, weatherstripping, and any seam where two moving parts meet. Move the sash while the paint dries, and leave the window slightly open until the coating has fully cured, not just until it feels dry to the touch. If your home was built before 1978, don't scrape or sand old paint without lead-safe precautions. This guide is for the homeowner refreshing older double-hung windows or tired trim who's worried about one thing: painting the window shut. Below, you'll get the exact parts to paint, the order to paint them in, and the honest signs it's time to call a pro.
The Quick Answer: How to Keep the Sash From Sticking
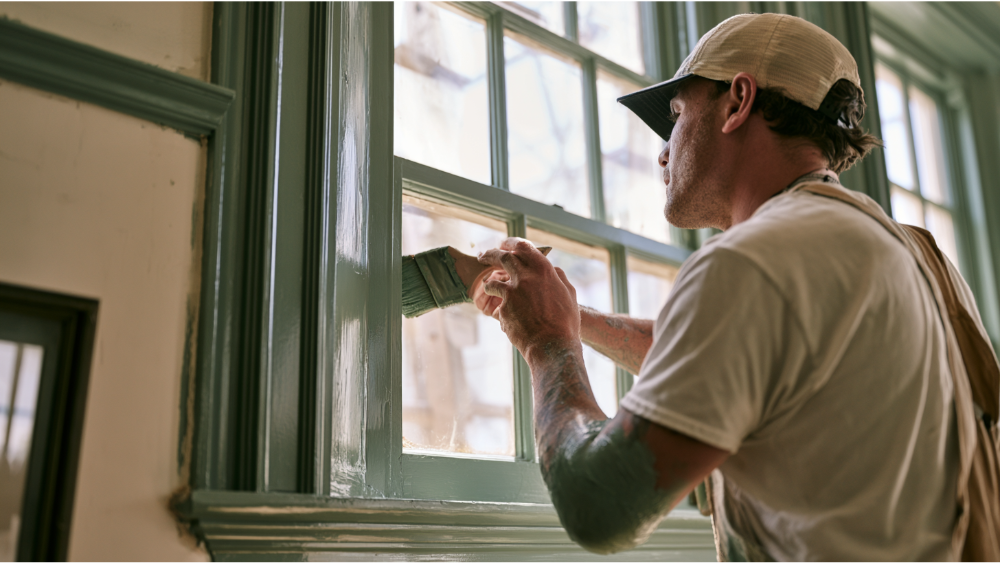
Here's the whole method in one scannable list. Everything after this section is the detail behind each move.
- Use thin coats. Two coats beat one heavy coat every time. Buildup is what glues a window shut.
- Choose a block-resistant trim paint. Block resistance is the coating's ability to resist sticking to itself under pressure.
- Keep paint out of the moving parts. No paint in the tracks, on the stops, on weatherstripping, or in any seam between parts that move.
- Move the sash while it dries. Cycle it open and closed every 20 to 30 minutes as the coats set to break any bond forming.
- Leave the window slightly open. Keep it cracked while the paint dries so painted surfaces aren't pressed together.
- Wait for cure, not just dry-to-touch. Follow the product label before you close the window fully.
- Check for lead first on pre-1978 homes. Don't dry-sand suspected lead paint.
The rest of this article explains each step, and where prep quietly decides whether the finish lasts or peels in a season.
Know the Parts Before You Paint a Sash Window
Before you open a can, learn the parts. The whole "paint this, not that" logic depends on knowing which pieces move and which stay put. Get this wrong and you paint the wrong surface, which is exactly how a window ends up sealed shut.
The single most important distinction is this: the sash is the movable assembly that holds the glass. Everything that guides or restrains it is fixed. The National Park Service's technical guidance on wooden windows breaks the anatomy down clearly, and it's worth borrowing their vocabulary. Older sash windows in particular reward a careful eye, because a single coat in the wrong channel can undo an otherwise clean painting project.
- Sash: the movable unit that holds the glass, made up of rails (horizontal), stiles (vertical), and muntins (the thin bars dividing panes). The meeting rail is where the two sashes overlap.
- Frame and jamb: the fixed surround the whole window sits in. The frame is what everything else registers against, so keeping its inner faces clean is what lets the sash travel.
- Stop and parting bead: the thin strips that guide the sash and hold it in its channel.
- Track / jamb liner: the channel the window sashes slide up and down in.
- Sill and apron: the sloped ledge at the bottom and the trim beneath it. The window sills take the most water and wear of any horizontal surface here.
- Weatherstripping and weep holes: the seals and drainage openings that keep water and drafts out.
- Window glass and glass panes: the panes themselves, which get masked or trimmed clean rather than coated.
Knowing the parts is what separates a lasting job from a painted-shut window. When you can name the meeting rail and tell it apart from the parting bead, you already understand why some surfaces get paint and some never should.
Why Freshly Painted Windows Stick (Paint Blocking Explained)
.webp)
The technical name for two painted surfaces bonding together is blocking. The American Coatings Association describes block resistance as a coating's ability to resist sticking to itself when two painted surfaces are pressed together, which is exactly what happens when a painted sash closes against a painted stop. The frustrating part: blocking can happen even after the paint feels dry to the touch.
That's the trap most people fall into. Dry-to-touch is not the same as cured. A film can feel firm on the surface while it's still soft underneath, and closing a window on soft paint is what creates the bond.
A handful of things drive blocking on windows:
- Paint film applied too thick, so it dries slowly and stays tacky underneath.
- Closing the window before the coating has cured.
- Recoating too soon.
- Paint with poor block resistance and weak paint adhesion to the surface underneath.
- Hot, humid, or damp conditions that slow the cure.
- Old paint buildup already choking the tracks.
- A sash that's swollen from moisture and pressing hard against the frame.
If you're painting in the Seattle-Tacoma area, the damp Pacific Northwest air works against you here. Higher humidity slows the cure and raises the blocking risk, which is one more reason not to rush the closing step. It's also why a window that felt fine at noon can grab tight by evening once the air cools and dampens.
Before You Sand: Lead-Paint Safety for Pre-1978 Windows
Before any scraping or sanding on an older window, stop and ask one question: was the house built before 1978? That's the year the federal government banned consumer use of lead-based paint, and homes built before it are more likely to have lead-based paint somewhere in the layers of paint.
Windows are a specific concern. The EPA points to painted surfaces that rub together and take heavy wear, like windows and doors and stairways, as high-risk spots for lead-paint deterioration. Sanding or scraping those surfaces can throw hazardous lead dust into the air, and window trim and sash edges see more friction than almost anything else in the house.
The EPA's Renovation, Repair, and Painting (RRP) Rule requires paid firms disturbing paint in pre-1978 homes and child-occupied facilities to be certified and trained in lead-safe work practices. There's a minor-repair threshold (6 square feet or less inside a room, 20 square feet or less on the exterior), but window replacement and demolition of painted surfaces are always covered no matter the size.
If you're a homeowner doing the work yourself, don't dry-sand paint you suspect contains lead. The EPA's DIY guidance recommends misting the surface before you sand or scrape, using wet methods or a sanding sponge, HEPA vacuuming, and containing the area. If you use a heat gun, keep it under 1,100°F.
If the house is older and you're not sure what's in the paint, this is a good moment to bring in help. Cover Pro Painting is EPA Lead-Safe (RRP) Certified, so this kind of work gets handled the way the rule requires.
Inspect the Window First: Loose Paint, Rot, and Moisture
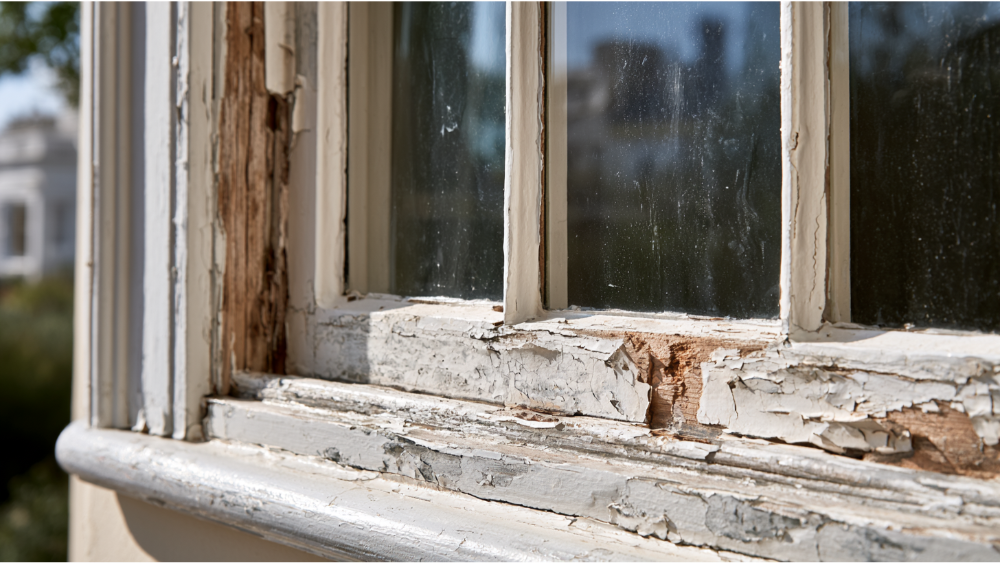
Paint is the last step, not the first. Before anything, walk each window and check its condition, because prep is what makes the finish last. The National Park Service names moisture as the primary driver of wood-window decay, with trouble concentrating at the sill, the joint between sill and jamb, the corners of the bottom rail, and the muntin joints where water collects.
Go window by window and look for:
- Peeling or flaking paint. Loose paint has to come off with a scraper before you sand, or the new coat fails with it. To remove paint cleanly, lift it back to a sound edge, and any bare wood you expose gets primed before it sees color.
- Soft or spongy wood. Press a screwdriver tip into the sill and lower rail. If it sinks, that's rot, not paint failure.
- Failed caulk. Open gaps at the trim let water behind the wood. Fresh caulk seals the joint between the window trim and the surrounding wall.
- Cracked glazing putty. The bead around the glass keeps water out. When it cracks, moisture gets in.
- Moisture staining. Dark streaks or discoloration signal water that's already been sitting.
- Sash cords, hardware, and operation. Does the window open and close smoothly right now?
Painting over soft, wet, or rotted wood traps the problem underneath. The finish looks fine for a few weeks, then peels or bubbles because the wood beneath it is still failing. If you find rot, the wood needs to be repaired before any paint touches it. In the damp Pacific Northwest, this inspection is worth doing slowly, because moisture problems here rarely stay small.
Tools and Materials: The Right Paint Brush and Supplies
You don't need much, but the right few tools make the difference between clean edges and a mess on the glass.
- 1.5" or 2" angled sash brush: the angle gives you control cutting around glass and into the corners of muntins. A good paint brush here does most of the work, so a quality angled brush is worth the small extra cost.
- Thin scraper or putty knife: for lifting loose paint and, later, freeing a stuck seam.
- 150-grit sandpaper and a sanding block: to knock down gloss and smooth the surface for adhesion. A sanding block keeps flat faces even, and a sanding sponge gets into the muntin corners.
- Painters tape and/or liquid masking tape for the glass: tape blocks off the panes, and liquid masking tape is a tape-free film option that peels away once dry. Standard masking tape works in a pinch, but a proper blue painters tape releases cleaner off trim and glass.
- Drop cloth: to protect the sill and floor.
- Primer suitable for wood: especially over bare wood or patched areas.
- Premium block-resistant trim enamel: a durable, self-leveling paint made for windows and doors that resists sticking to itself. A semi gloss enamel is a common choice for trim because it wipes clean and holds up to wear.
- Utility knife or razor blade: for scoring seams and cleaning stray dried paint off the glass.
- Caulk: to seal gaps in the trim before painting.
- Damp rag: to wipe stray paint and dust before it sets.
- PPE: gloves, eye protection, and a respirator if any dust or lead risk is involved.
Choosing the right paint carefully matters here. Block resistance is a product-selection requirement, not a nice-to-have, and the label or Technical Data Sheet is your source for dry and cure times. Sherwin Williams and other manufacturers make a product called a block-resistant trim and door enamel built for exactly this use. Premium paint products also come backed by lifetime manufacturer warranties, which matters on a surface that takes daily wear. If any part of the window is metal, like a storm frame or metal trim you plan to coat, use a primer and enamel rated for metal so the finish bonds instead of flaking. The same goes for a metal clad sash, which needs a coating made for that surface.
What to Paint, and What Not to Paint
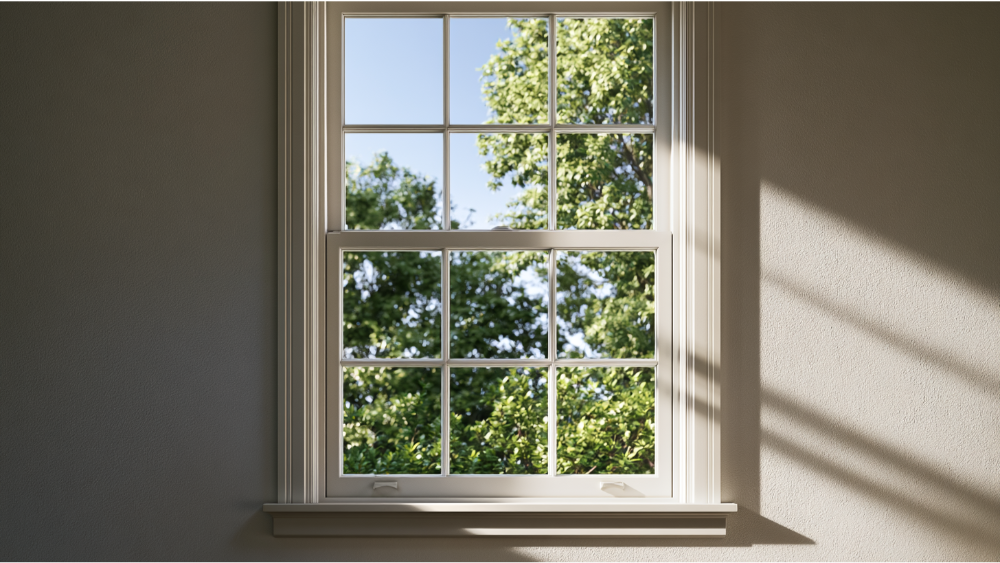
This is the section to save. Paint the wrong surface and you seal the window; keep paint off the moving parts and the sash keeps working. The simple rule underneath all of it: paint on a moving contact surface is what glues a window shut.
Here's the quick reference on which surfaces take paint and which stay clean, and why:
Usually paint:
- Exposed trim and casing around the window.
- The sill and apron.
- The visible faces of the sash.
- Rails, stiles, and the visible faces of the muntins.
- The meeting rail.
- The window frames and their outward faces, along with the door trim on any nearby door you're refreshing to match.
- The interior window trim, when you're bringing the finish inside to match the wall color and the surrounding room.
- The glazing edge, with a slight overlap onto the glass on traditional wood windows. About 1/16 inch of paint lapping onto the glass seals the wood-to-glazing joint against moisture, which both the National Park Service and This Old House recommend.
Avoid painting:
- Sash tracks and jamb liners.
- The contact surfaces of the stops and parting bead.
- Weatherstripping.
- Weep holes.
- Vinyl or clad parts.
- The vertical sliding edges of the sash on a double-hung window. A window manufacturer specifically warns against finishing these edges because they slide against the frame.
- Locks, pulleys, ropes, and hardware.
- Any seam where two moving parts touch.
Step-by-Step: How to Paint Windows Without Sticking the Sash Shut
Here's the order that keeps the sash moving from start to finish. This is the full painting process, in the sequence that works.
- Clean the frames. Wash with mild soap and water and let everything dry. Paint needs a clean, dry surface to grip.
- Mask the glass. Run painters tape along the edges of each pane, pressing the tape down firmly so paint can't creep underneath. This is faster than cleaning smears off the window glass later.
- Scrape loose paint. Lift anything flaking. On a pre-1978 home, use lead-safe methods: mist first, work wet, contain the area.
- Sand and dust. Go over the surfaces with 150-grit to lightly sand and dull the sheen, then remove all sanding dust so nothing gets trapped under the coat. Good paint adhesion starts here.
- Repair, caulk, and prime. Fix any defects, caulk gaps in the trim, and prime bare wood or patched areas. If you found rot in your inspection, this is where it has to be repaired, not painted over.
- Position the sashes. Lower the top sash and raise the bottom sash so you can reach the parts that are normally hidden. Paint those first.
- Paint the upper sash. With it dropped down, apply paint to its now-exposed visible parts using the angled brush.
- Reset and paint the lower sash. Return the sashes toward their normal positions and paint the lower sash's visible faces.
- Paint the casing, trim, sill, and apron. Work the fixed surround last, cutting a clean line where the window meets the walls. This is where all the trim comes together into one even finish.
- Use two thin coats. Never one heavy coat. Let the first coat cure, then lay the second coat once the label says it's ready. Thin coats level better and cure without staying tacky underneath.
- Pull the tape at the right time. Peel the painters tape while the final coat is still slightly wet, drawing it back on itself at an angle for a crisp edge. Waiting until the film is hard can lift the paint with the tape.
- Cycle the sash. Every 20 to 30 minutes as the coats set, open and close the window to break any bond that's starting to form.
- Leave it slightly open. Keep the window cracked while the paint dries and cures so painted surfaces aren't pressed together.
- Do a final operation check. Once cured, open and close the window fully to confirm it moves freely.
Keep that 1/16 inch of paint on the glass edge as you cut around the panes on traditional wood windows. It's a small detail that seals the glazing and keeps water out of the joint. If a razor is easier than tape for you, let the paint cure and then score the edges and lift the excess paint on the glass off the glass panes cleanly. Wiping the blade on a damp rag as you go keeps the smooth finish clean. That kind of patient trim work is what separates a repaint that lasts from one that peels.
Drying, Curing, and Weather: The Step Most People Rush
Almost every stuck window comes back to the same mistake: closing it too soon. Dry-to-touch means the surface has firmed up. Cured means the film has hardened all the way through and can resist pressure. Those are different milestones, and only the label or Technical Data Sheet for your specific paint tells you the real numbers.
As general guidance only, many latex paints want roughly 2 to 4 hours between coats and can take up to about two weeks for full cure. Most paints apply best in a range around 50°F to 90°F, and high humidity fights you the whole way by slowing the cure and raising the blocking risk. Treat those figures as a starting point, not a rule, and let the product label control.
Thin coats dry and cure better than thick ones, which is the practical reason to resist loading the brush. Spending a little more time painting each coat thin pays off in a finish that doesn't grab. A common recommendation is to keep windows open for about 24 hours to reduce sticking, though your paint label and the day's conditions should decide the actual timing. For interior work, the EPA recommends keeping windows wide open, weather permitting, for about 2 to 3 days after painting to clear vapors and return indoor air to normal. That interior guidance matters most in bedrooms and other rooms where people sleep. On exterior work, wait for a dry surface with no rain or heavy dew coming, and mild conditions in the drying window.
When to Hire a Professional
Plenty of window jobs are within reach for a careful homeowner. Some aren't, and knowing the line saves you money and frustration. Call a professional when:
- The home was built before 1978 and you'd be disturbing paint.
- The window is already painted shut and won't budge.
- The windows are exterior and on an upper story.
- You've found rot or soft, spongy wood.
- The siding or trim around the window is damaged.
- You've got many windows, or you manage an HOA or commercial property.
- You want a lasting exterior finish, not a quick cosmetic repaint.
This is where a full-service team earns its keep. Cover Pro Painting is founder-led, and Alex personally oversees each project. We handle the whole picture: surface prep, rot repair, siding replacement, and carpentry, so if the sill is soft or the glazing has failed, you're not left hiring a separate carpenter. We match new paint to your existing wall color or keep every window on the same color across the house, whether that means fresh trim to complement your white cabinets or a matching finish on windows and doors throughout. We're licensed, bonded, and insured in Washington State, and EPA Lead-Safe (RRP) Certified, which matters most on those older windows. Every exterior project carries a five-year warranty, and we use premium paint products backed by lifetime manufacturer warranties.
If you're hiring locally around Edgewood or the greater Seattle-Tacoma region, the Washington State Department of Labor & Industries recommends verifying that any contractor has active registration, a surety bond, and liability insurance before you sign. It's a quick check, and a legitimate contractor will pass it every time. Ready to start? Get a free estimate and we'll walk the windows with you. Call 206-222-0435.
Frequently Asked Questions
How long should I leave windows open after painting?
Keep the window cracked while the paint dries and cures so the painted surfaces aren't pressed together. A common recommendation is about 24 hours to reduce sticking, though your paint label and the day's conditions should decide the actual timing. For interior work, the EPA recommends keeping windows wide open, weather permitting, for about 2 to 3 days after painting to clear vapors, which matters most in bedrooms and other rooms where people sleep.
Why did my window stick shut after painting even though the paint felt dry?
Dry to the touch is not the same as cured. A film can feel firm on the surface while it's still soft underneath, and closing the window on soft paint creates the bond. The technical name for two painted surfaces sticking together is blocking, and it's driven by thick coats, recoating too soon, damp or humid conditions, and paint with poor block resistance. Use thin coats, cycle the sash every 20 to 30 minutes as the coats set, and wait for full cure before closing the window fully.
What parts of a window should you never paint?
Keep paint off the sash tracks and jamb liners, the contact surfaces of the stops and parting bead, weatherstripping, weep holes, vinyl or clad parts, locks, pulleys, ropes, hardware, and the vertical sliding edges of the sash on a double-hung window. The rule underneath all of it is simple: paint on a moving contact surface is what glues a window shut.
