



Painting Tile Floors: When It Works, When It Doesn't, and How to Get It Right

Key Takeaway
Yes, intact interior ceramic or porcelain tile floors can be painted using a complete floor-rated paint system, but never shower pans, standing-water areas, or loose tile. Expect roughly six months to two years of wear in real-world traffic, with surface prep deciding the outcome. Most systems allow light foot traffic in about 24 hours and reach full cure in 7 days.
That tile floor may be dated, but if it's still firmly in place, replacing it may not be your only option. Many intact interior ceramic or porcelain tile floors can be painted with a complete floor-rated paint system. Painting can refresh sound tile in a dry, low-traffic room, but it won't fix loose tiles, moisture problems, or a floor that needs reliable traction when wet. And be clear about what you're getting: a layer of tile paint over existing tile, not a new tile floor.
The catch is that a painted floor depends on the whole coating system and the prep underneath it. Painting tile floors holds up when the floor is a good candidate and the surface prep is done properly, and it fails fast when either one is missing. So if you're a homeowner or property manager weighing paint against replacing a bathroom, laundry room, or back entry floor, here's how to tell whether your floor is a reasonable candidate, what kind of paint system to use, how to prep the surfaces, and when we'd recommend skipping paint altogether.
Can You Paint Tile Floors? The Short Answer
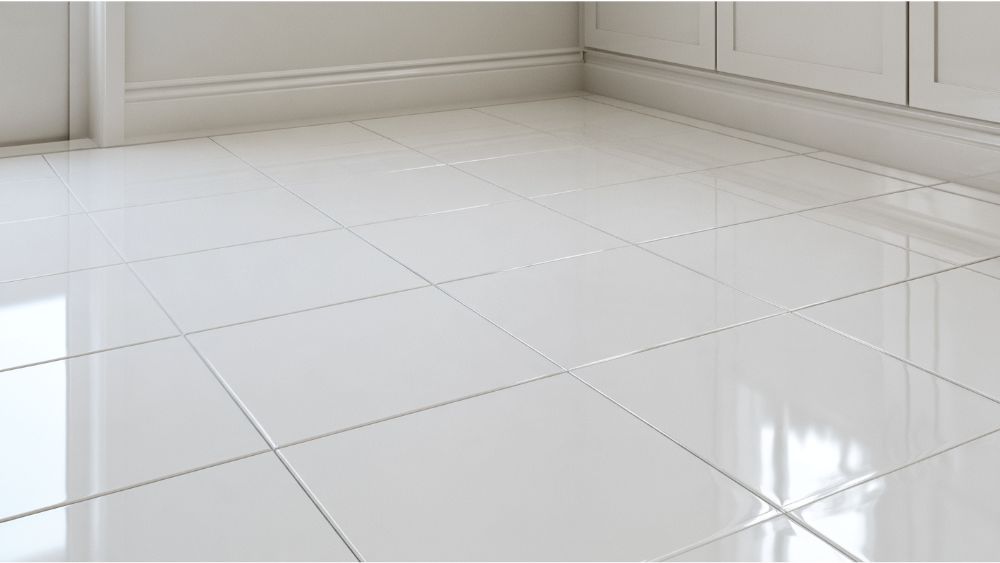
Yes, with a complete floor-rated paint system approved for your exact substrate and room. No, if you're dealing with a shower floor, a standing-water area, loose or moving tile, or older resilient flooring you haven't identified.
Here's the part most guides skip: some paint manufacturers caution against painting floor tile at all, because friction, foot traffic, slick glaze, and moisture all work against any coating. That warning is fair. Tile paint products engineered for floors do exist and perform well in the right rooms, but ordinary wall paint will not survive a week of shoes. Compared with tearing out tile, paint is a quick and easy way to change how a room reads, though it is never a repair. Treat a painted tile floor as a refresh with a finite life, available in whatever color you want, at a fraction of the labor of retiling.
Is Your Tile Floor a Good Candidate for Tile Paint?
Paint can make old tiles look current, but it can't make them sound. High moisture areas and high traffic areas are where painted floors give out first, so be honest about how the room actually gets used. Paint won't stabilize a floor that's moving, and it won't stop water from getting in. It covers the symptom for a while, then cracks and peels right along the line where the real problem lives. Fix the cause first, or don't paint tile at all.
What Kind of Tile Do You Have? (Identify It Before You Sand Anything)
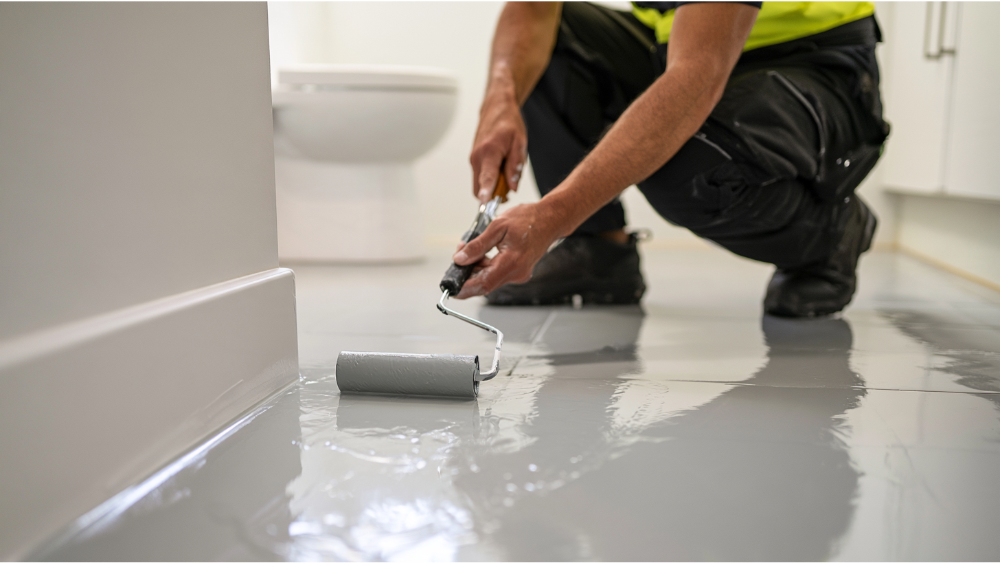
- Ceramic: usually glazed and slick, and the most common of the surfaces people want to paint.
- Porcelain: denser and less porous than ceramic, which makes adhesion even more dependent on the right paint system.
- Natural stone or quarry tile: porous surfaces, often sealed, and frequently a poor match for products formulated for glazed tile.
- Vinyl or resilient tile: a different material entirely, with a different prep process and real safety considerations.
- Previously painted tile: the old paint's condition and chemistry now control what can go over it.
- Unknown older flooring: stop and identify it before touching it with an abrasive.
Older resilient flooring and the mastic under it may contain asbestos. The EPA is direct about this: you cannot confirm asbestos by looking at it. Only testing by a qualified laboratory, with samples collected by a properly trained and accredited professional, gives you an answer. The EPA also advises against sanding, scraping, drilling, grinding, or otherwise abrading flooring you suspect contains asbestos.
Ceramic products can contain crystalline silica, and OSHA identifies grinding, sanding, and cutting as sources of respirable silica dust. That's why we favor the least dust-producing preparation the selected paint system allows, rather than reaching for a grinder by default.
Why Paint Has Trouble Sticking to a Ceramic Tile Floor
Five things work against adhesion when you paint tile floors. The glaze is slick and nonporous, so there's almost nothing for paint to grab. Foot traffic adds constant friction and pressure. Moisture and cleaning chemicals attack the film from above. Grout is porous and absorbs paint differently than the tile face, so the individual tiles and the joints between them don't always behave alike. And any movement at cracks, joints, or transitions telegraphs straight through.
Then there's the one people miss: invisible contamination. Wax, soap film, grease, cooking oils, silicone, ground-in dirt, and residue from years of floor cleaners all sit on that surface. You can't see most of it. The paint can.
What Is the Best Paint for Tile Floors? Base Coat, Top Coat, and Epoxy Paint

The rule is simple. Pick one complete floor-rated system approved for your exact tile and room use, then follow it from start to finish. Don't assemble a primer from one place, a paint from another, and a clear sealer from a third unless the manufacturers confirm those products are compatible. Mismatched layers are one of the most common reasons painted floors peel.
At a high level, you'll run into three kinds of systems. Single-component floor enamels are the simplest to apply. Base coat plus matching top coat systems are formulated as a pair and perform as a pair. Two-part epoxy paint is mixed right before use and builds a harder, more durable film, typically applied in two coats on its own drying schedule. Epoxy paint is also what we use on garage floors, where abrasion never stops.
Some systems require a bonding primer. At least one current floor paint is formulated to go directly over ceramic and porcelain without stripping, sanding, or priming. The product's current technical data sheet decides which path applies to you, not a generic recipe from a blog. One tip worth following: buy the primer, the tile paint, and the top coat at the same time, from the same line, so you aren't improvising halfway through. What's never acceptable is ordinary interior wall paint. It isn't engineered for foot traffic, abrasion, or adhesion to a nonporous floor.
Surface Prep and the Deep Clean That Decides Whether It Lasts
A painted tile floor succeeds or fails before the first coat goes down. The prep work is the whole job:
- Sound every tile. Tap across the floor and listen for hollow spots. Mark anything loose, drummy, or cracked.
- Find and fix the moisture source. The EPA's position is that moisture control is mold control, and paint applied over a moldy or damp surface is likely to peel. Clean mold from the hard surface, dry it, and correct the leak before anything else.
- Repair cracks and failed grout. Regrout what's crumbling. Replace tile that won't stay put.
- Give the floor a deep clean. Sweep out the debris first, then take off wax, grease, dirt, and soap scum with a heavy-duty tile cleaner or degreaser such as TSP. Scrub the grout lines, not just the tile faces, and remove incompatible caulk while you're at it.
- Rinse thoroughly. Go over the entire floor with clean water, warm water if you can, and change it as it turns gray. Cleaner residue left behind is its own adhesion problem.
- Let the floor dry. The surface has to be completely clean and fully dry before anything goes on it. Not mostly dry. Completely.
- Run an adhesion test if the system calls for one. A small test patch tells you more than any assumption.
- Sand, degloss, or prime only if your system requires it, using the grit that product specifies rather than a number you read somewhere.
- Control asbestos, silica, and lead hazards before any abrasion begins.
How to Paint a Tile Floor, Step by Step
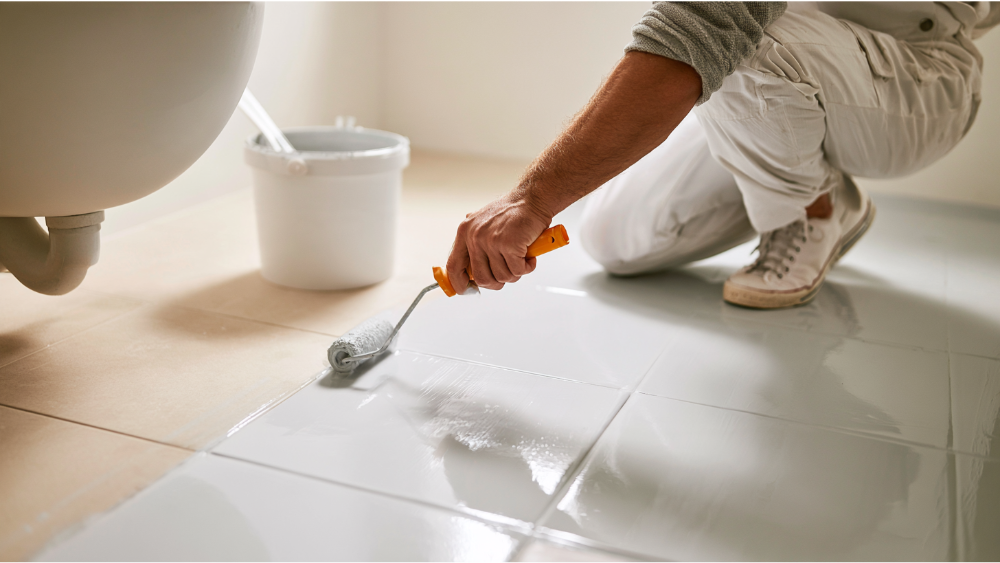
- Plan your exit route first. Decide where you'll start and where you'll finish so you aren't stranded in a corner.
- Clear and mask the room. Run painter's tape along baseboards, thresholds, and fixture bases, and press the tape down firmly so paint can't creep behind it. Pull what furniture you can.
- Cut in the edges. Use a brush around toilets, cabinet kicks, and door casings before you roll. In a bathroom, that brush work around the toilet base and the bottom of the walls is most of the job.
- Roll the open field. Load a paint tray and use a roller cover rated for your paint. A roller on a short pole keeps pressure even and saves your knees. Work in manageable sections and keep a wet edge.
- Go thin. Two thin coats adhere and level better than one heavy pass, and the second coat is what evens out the color. Resist the urge to build it fast.
- Watch the grout lines. Paint that puddles in the joints stays soft longer and shows every footprint.
- Respect the recoat window. The label gives a range for a reason. Early is as bad as late.
- Apply the matching top coat your system specifies. On a floor, that layer is doing the hardest work.
A few conditions worth watching: ventilate the room, keep pets and kids out, and check the manufacturer's application limits. One current floor system lists roughly 50 to 90°F and below 85% relative humidity as its approved window. Yours may differ. A last tip on masking: pull the painter's tape at a low angle while the final coat is still slightly soft, so the film breaks cleanly at the edges instead of tearing.
How Do You Stencil a Second Color Over the Base Coat?
Let the base coat dry fully first. Stenciling into a soft base drags paint and lifts the film.
Dry-lay the stencil across the floor before you commit, so the pattern lands the way you want at doorways and under cabinets. Position the stencil, line it up with the grout joints, and tape it down at all four edges so it can't shift mid-stroke.
Load your stencil brush or a dense mini roller lightly, then offload most of the paint onto a paper towel. Too much paint is the single most common stencil mistake, and it bleeds under the edges every time. A stippling motion with the brush pushes less paint sideways than a dragging stroke. Use a small brush for corners, borders, and the partial tiles along the walls, where a full stencil won't lie flat.
Let the second color set up enough to lift cleanly before you pull the stencil, and wipe the back of the stencil with a damp rag between placements so you don't stamp wet paint onto the next tile. On a large floor, keep a second stencil of the same size in rotation so one can dry while the other is in use. Whatever pattern you create, it still needs the system's approved top coat over it. That top coat is what keeps the pattern from walking off the floor.
Dry Time vs. Full Cure: When Can You Use the Room Again?

Dry means the surface no longer feels wet. Cured means the paint has chemically hardened to its intended durability. Those are very different moments, and the gap between them is where most new floors get damaged.
Those numbers are product-specific examples, not universal rules. Your current label and technical data sheet control every one of them. A bath mat or rug laid down too early can trap solvent against the film and mar the finish permanently.
Will a Painted Tile Floor Be Slippery?
Once you paint tile, the floor's slip performance belongs to the paint, not the original tile. Whatever traction that glaze had is no longer the relevant number.
ANSI A326.3 is the current American standard for dynamic coefficient of friction on hard-surface flooring. It sorts flooring into five use classifications: Interior Dry, Interior Wet, Interior Wet Plus, Exterior Wet, and Oils/Greases. Interior Dry and Interior Wet both use a minimum measured value of 0.42 DCOF. Per guidance from TCNA on that standard, flooring coated after firing, fabrication, or installation should be used only in areas kept dry unless the manufacturer declares the product suitable for wet use.
So don't assume a matte sheen or a sprinkle of grit makes painted bathroom tiles safe underfoot. A bathroom sees bare feet, splashed water, and cleaning products, which is exactly the combination that exposes a coating's weak spot. Check what the manufacturer actually declares, and think hard about who walks on that floor.
How Do You Clean and Maintain Painted Tile Floors?
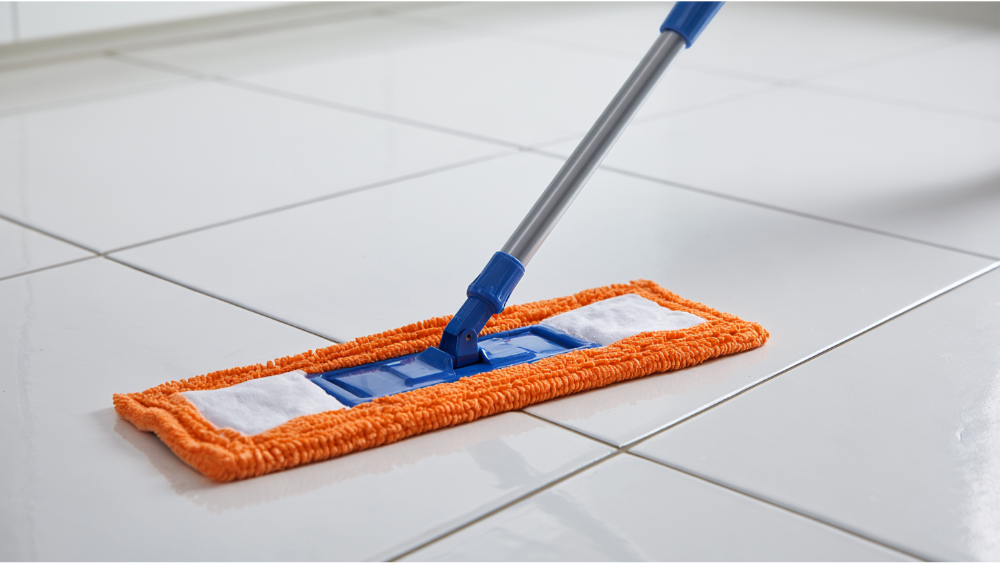
- Sweep or vacuum weekly. Grit and dirt underfoot act like sandpaper on painted surfaces.
- Mop with a nonabrasive pad and a mild cleaner the paint manufacturer approves. Skip harsh chemicals and scouring pads unless the system allows them.
- Wipe spills promptly instead of letting them sit.
- Put felt pads under furniture legs, and lift heavy items rather than dragging them.
- Check the high traffic areas: doorways, bathroom thresholds, in front of the sink, and around the dishwasher. Touch up chips early with the same tile paint while the damage is still small.
How Long Do Painted Tile Floors Last?
There's no honest universal number. A commonly reported range is roughly six months to two years in real-world traffic, and well-prepped floors in low-traffic rooms often do better than that. We'd rather give you that range with context than promise a figure we can't stand behind.
What actually drives the outcome: the quality of the surface prep, the paint system you chose, moisture exposure, how many people and pets cross the floor daily, furniture, any movement in the tile or grout, conditions during cure, and how you clean it.
When Painting Is Not the Right Solution
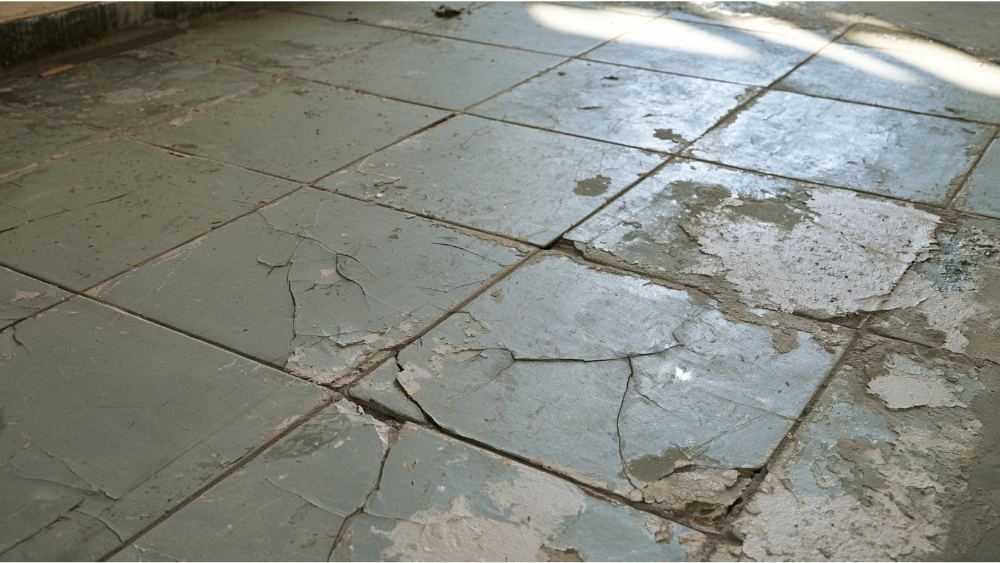
- Structural movement or noticeable deflection in the subfloor
- Widespread cracking or multiple hollow tiles
- Active water intrusion or a leak you haven't traced
- Shower pans and any floor built around drainage
- Suspected asbestos-containing resilient flooring
- Heavy commercial traffic
- Any space where documented wet-area slip performance matters
In those situations, replacing the floor or installing a purpose-built flooring system is the better investment. Part of being a contractor worth hiring is telling you when not to paint.
Should You DIY This, or Bring in a Professional?
A small, dry, low-traffic room with sound tile is a reasonable weekend project, and choosing to paint a tile floor takes far less labor than replacing one. The hard parts are the ones that don't look hard: getting every trace of wax and soap film off, screening for asbestos and lead before any abrasion, tracing a moisture source, matching a complete compatible paint system to your exact substrate, controlling dust, and judging slip risk honestly. Getting all the details right is what separates a floor that lasts from one that peels at the threshold.
Cure scheduling is its own challenge in a busy house or an occupied commercial building, where a bathroom or corridor out of service for a week has real consequences.
We're EPA Lead-Safe (RRP) Certified, which matters on pre-1978 properties. Paid work that disturbs painted baseboards, thresholds, trim, or an older painted floor finish can fall under EPA's RRP Rule, and EPA recommends using a lead-safe certified contractor for that work. And because we're full-service, if the floor turns up rot, failed trim, or carpentry problems at a transition, the same team handles it. You're not hiring a second contractor midway through.
Frequently Asked Questions
Can you paint over ceramic tile?
Yes, intact interior ceramic tile can often be painted with a floor-rated system approved for that substrate. The tile must be firmly bonded, dry, free of contamination, and in a room the manufacturer approves. Shower floors and standing-water areas are excluded.
How can I cover my tile floor without removing it?
A floor-rated paint system is the lowest-demolition option and gives you a wide range of color choices at less labor than replacement. If the tile is sound and the room stays dry, that's your best bet. Vinyl plank, engineered hardwood, or new tile over a sound substrate are alternatives when paint isn't a good fit.
Can you stencil a pattern onto a painted tile floor?
You can. Let the base color cure enough to handle, tape the stencil down, keep the brush or mini roller nearly dry, and seal the finished pattern with the top coat the system specifies.
What type of paint should you use on tile floors?
Use a complete floor-rated system, not ordinary interior wall paint. Options include single-component floor enamels, base coat and matching top coat systems, and two-part epoxy paint. Some require a bonding primer, some don't. The product's current technical data sheet decides.
Get a Professional Assessment Before You Commit
Have the floor looked at before you buy a single gallon of paint. Substrate, moisture, movement, and how the room gets used decide everything that follows.
Cover Pro Painting is a licensed, bonded, and insured painting contractor based in Edgewood, WA, with over 13 years of work across the Seattle-Tacoma region. We handle interior and exterior painting, epoxy floor coatings, rot repair, siding, and carpentry. Call 206-222-0435 to get a free estimate. Don't see your city listed? Contact us to confirm service availability.
