



Painting Formica Kitchen Countertops: A Prep-First Guide That Actually Lasts
Key Takeaway
Painting Formica kitchen countertops is possible when the laminate is firmly bonded and the substrate is sound, typically lasting two to five years with proper prep and care. Success depends on thorough degreasing, the right adhesion step, a fully compatible coating system, and respecting the cure schedule before normal use. Painting is a cosmetic refresh only and will not fix swelling, lifting, or moisture damage.
Yes, you can paint Formica countertops, as long as the laminate is firmly bonded and the substrate underneath is sound. Lasting results come down to four things: thoroughly degreasing the surface so it's clean, doing the right adhesion step for your product, using a complete compatible coating system, and letting the finish fully cure before normal use. Done well, a painted countertop typically holds up for two to five years. If you're a homeowner staring at a solid but outdated counter, trying to decide whether to paint or replace, this guide walks you through it honestly. One thing to be clear about up front: painting is a cosmetic refresh, not a repair. It changes how your counters look, not how sound they are.
Formica vs. Laminate: What Are You Actually Painting?
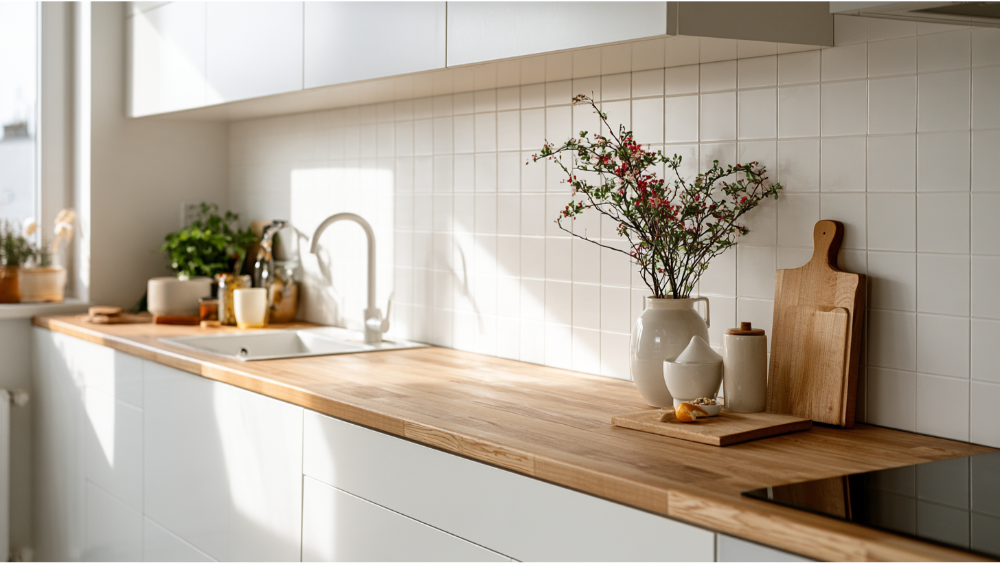
Formica is a brand of high-pressure laminate. The actual material is mostly resin-impregnated paper pressed under heat into a hard, sealed sheet. All Formica is laminate, but not every laminate is Formica. The practical point is the surface itself: it's one of those slick, smooth surfaces that is hard and non-porous, so it doesn't soak up coatings the way bare wood or drywall does. That's the core challenge. Ordinary latex paint has nothing to grab, so it peels. From here on we'll use "Formica" and "laminate" interchangeably, since that's how most people search when they want to paint laminate countertops.
Should You Paint These Counter Tops?
Start with a condition check, which most how-to guides skip. The honest answer to "should I paint this?" depends entirely on what shape the counter is in. Edges and sink areas fail first, so look closely there.
- Good candidates: outdated color, light surface wear, laminate that's firmly bonded, dry and intact seams.
- Poor candidates: swollen particleboard underneath, lifting or loose laminate, failing sink cutouts or seams, active moisture, deep burns or gouges. Badly damaged Formica belongs in the replace column, not the paint column.
Paint will not fix structural or moisture damage. If the substrate is swollen or the laminate is lifting, correct that first or the finish will fail no matter how carefully you apply it. This same logic applies to other hard surfaces in the house, whether you're looking at tile, laminate, or a worn stone-look counter. Buying new countertops is sometimes the smarter spend than coating over a failing base.
What Kind of Paint and Primer Sticks Best to Formica?
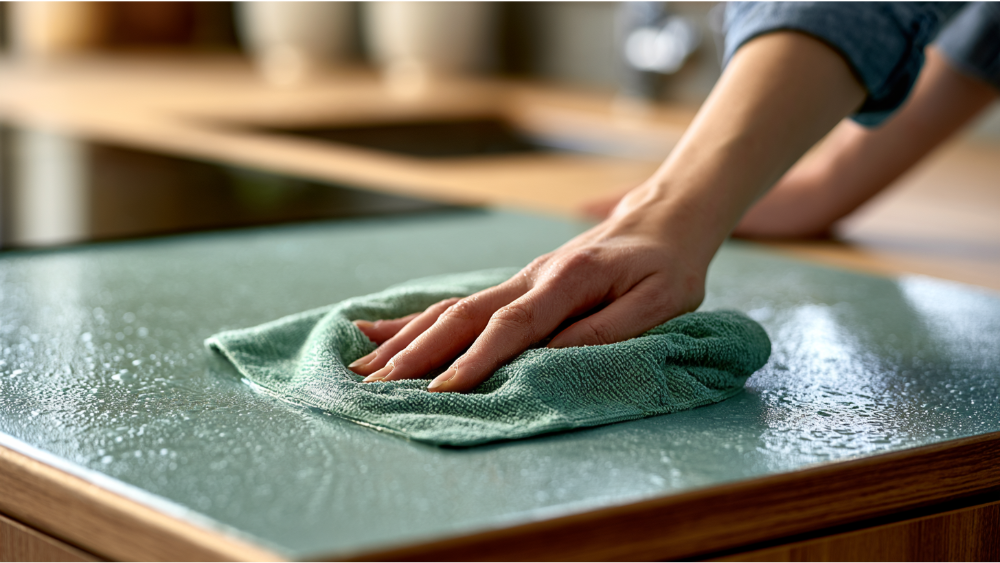
The rule that keeps you out of trouble is label-first. There are two valid paths, and both work when you follow them exactly:
- A complete integrated countertop system. A matched base coat and topcoat designed to be used together. The documentation handles compatibility, recoat windows, and adhesion for you.
- A high-adhesion bonding setup. A bonding primer or shellac-based primer formulated for slick, glossy non porous surfaces, followed by a hard-curing finish such as a waterborne alkyd or an acrylic that dries to a tough, water-resistant film.
Among coating categories, the paint manufacturer ranks epoxy highest for adhesion and durability and lacquer lowest. Two-part epoxy systems are the most durable option if you want the longest-wearing surface. A semi gloss sheen is a common choice because it cleans easily and hides minor flaws.
Can You Paint Laminate Countertops With Chalk Paint?
You'll see people reach for chalk paint on laminate countertops, and while it can go on with the right primer and a strong sealer, it is softer than an epoxy and wears faster on a working kitchen counter. Skip standard latex paint entirely; it won't grip laminate.
The biggest mistake is mixing unrelated materials. Don't pair a bonding primer from one brand with decorative paint from another and a generic clear coat from a third. Compatibility, recoat windows, and adhesion all come from one system's documentation. Pick a system and follow it start to finish.
Do You Have to Sand Laminate Countertops Before Painting?
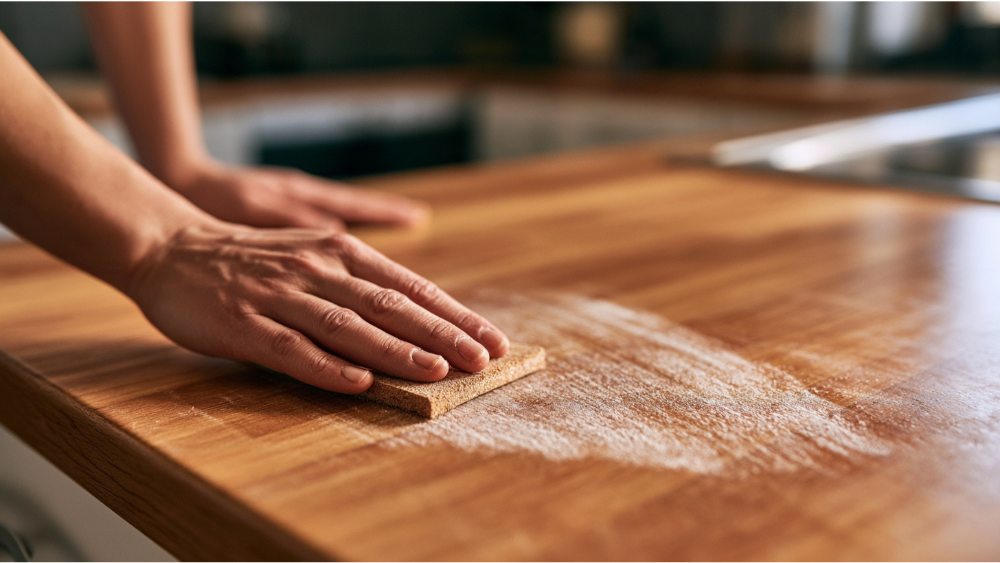
This is where guides contradict each other, so let's settle it. Both of these are correct, depending on your product:
- Traditional method: scuff-sand the full surface with 220 to 240 grit until it's sanded smooth, then remove every bit of dust before you prime or paint.
- Integrated no-sand systems: no routine sanding. Instead, you run the manufacturer's adhesion test and sand only if that test fails, and then with a coarser grit the system specifies.
The rule when you're painting Formica: follow your selected system's complete instructions, and never borrow a prep step from an unrelated product. A no-sand system isn't a no-prep system, which is where the next section comes in.
How to Run an Adhesion Test First
This is the professional step most articles leave out, and it saves you from coating an entire counter only to watch it peel. The idea is simple: prove the coating will stick before you commit to the whole surface. Testing on a small sample board first is even safer if you want to preview the color and sheen too.
Using one current system's example, you coat a small inconspicuous area (roughly 3 by 3 inches), wait the label time (about 12 hours), then score the dried coating, press tape firmly over it, and pull. If more than about 10% of the coating lifts off with the tape, the test failed and the system directs you to sand, often with a 60 to 80 grit paper, before proceeding. Treat those figures as one product's example. Your label controls the real numbers.
How to Prepare Formica for Painting
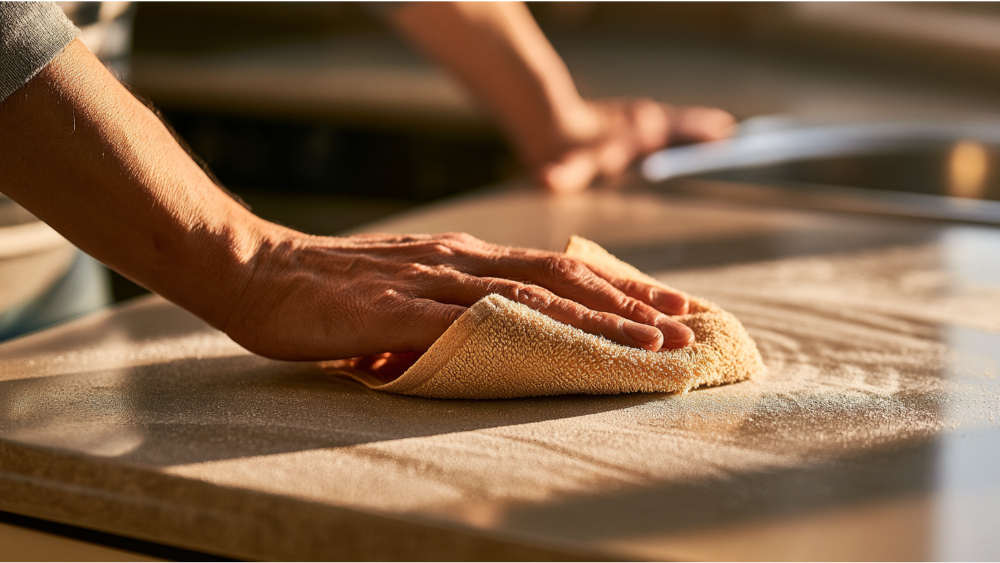
Prep work is where a lasting finish is won or lost. Work through these steps in order:
- Remove small appliances and clear the counter completely.
- Remove old caulk where the system directs you to.
- Deep-clean and degrease the entire surface with a heavy-duty degreasing cleaner until it's fully clean. Laminate can carry a leftover manufacturing release agent, and kitchen grease builds up over years. Both block adhesion.
- Rinse thoroughly and let the surface dry completely.
- Fill minor cosmetic defects with a filler compatible with your coating system.
- Scuff-sand or run the adhesion test, depending on your chosen system. Wear a dust mask during any sanding.
- Remove all sanding dust with a tack cloth. A clean tack cloth pass is what keeps grit from showing through your first coat.
- Mask surroundings with painter's tape and plastic sheeting, including the backsplash and the fronts of nearby cabinets.
Pay special attention to seams, sink edges, and caulk lines. These are the highest-risk moisture zones on any counter, and they need to be sound and dry before anything goes over them. Water getting into a seam can swell the substrate underneath and undo the whole project.
How to Apply the Coating
With prep done and adjacent surfaces masked, application is straightforward if you stay disciplined. A foam roller lays down the flattest field with the fewest brush marks, so reach for one on the broad areas and cut in the edges with a brush. Work in manageable sections and keep a wet edge so each pass blends into the last without lap marks. Apply thin coats rather than one heavy pass; thick coats trap solvent, sag, and cure unevenly. Let the primer dry completely before you move on, and let your first coat set up for the full label time before the second coat goes on.
Plan on two to three coats for real durability, and respect the exact recoat windows on the label. Some systems allow a light recoat in a couple of hours; others need longer. Once your color coats are down, apply the matched compatible topcoat, such as a water based polyurethane, in two to three thin layers. The topcoat is what resists moisture, scratches, and daily wear, so don't treat it as optional.
If you want a faux marble, granite, or stone look, that decorative work goes on before the topcoat. A damp sponge is the usual tool here: you dab and lift color with the sponge to create mottling and texture, then add fine veining with a feather or liner brush. The full technique deserves its own article, but know that it's a layer under the clear coat, not a replacement for it.
How Long Before You Can Use the Countertop?
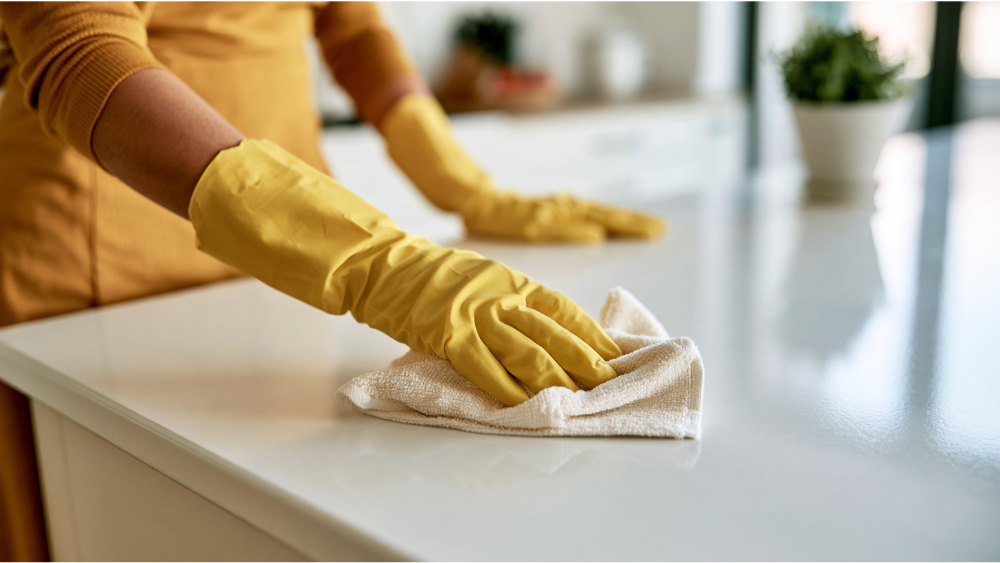
Dry to the touch is not the same as fully cured. A finish can feel dry while still being vulnerable to water, cleaners, heavy appliances, and scratches for several more days. Rushing it is the most common way people ruin an otherwise good job.
These are one system's example figures. Always check your product label. Another specialty countertop coating requires at least three days before use. No countertop is guaranteed to be ready in a weekend, so plan your kitchen downtime around the cure schedule, not the dry time.
Is a Painted Countertop Safe Around Food?
Be careful with the word "food-safe." Food-contact suitability is product-specific, and some countertop coatings state plainly in their documentation that they are not intended as a food-preparation surface. Only a product's own current documentation can tell you whether direct food contact is approved, and that approval doesn't transfer to generic paint or clear coat.
The practical rule is simple: even after full cure, use cutting boards and don't cut or place unpackaged food directly on the coating. A food-contact surface should be smooth, nonabsorbent, easy to clean, and free of chips. A cutting board gives you all of that regardless of what's underneath.
How to Protect and Maintain Painted Formica
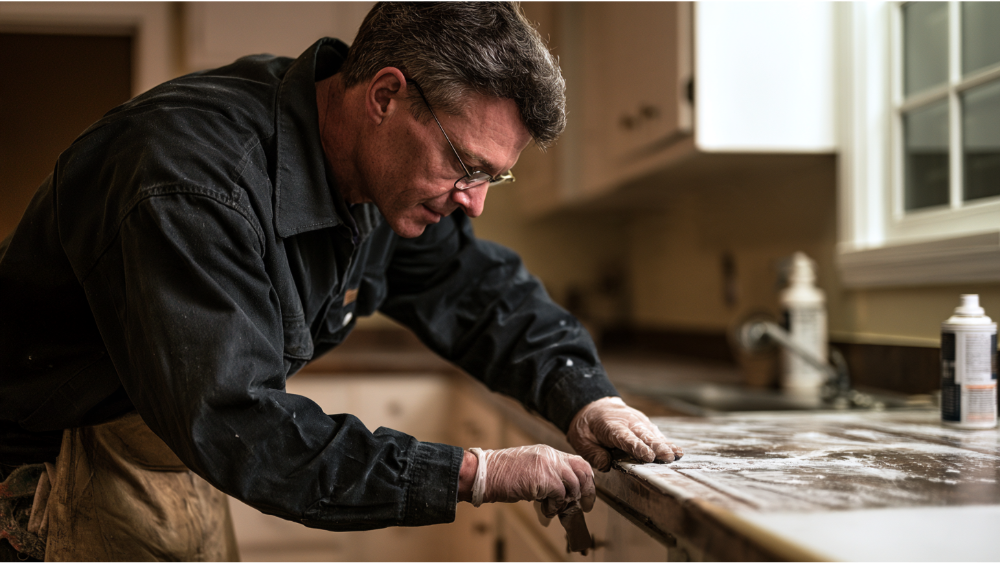
Painted kitchen countertops need more care than natural stone, marble, or granite, and good habits are what push the finish toward the upper end of its lifespan:
- Use trivets or hot pads under cookware and keep hot items off the coating. The coating, not the original laminate, is now the exposed heat surface, so its heat tolerance is what matters.
- Always use cutting boards instead of cutting on the surface.
- Clean with mild, nonabrasive cleaners, and wipe up spills while they're fresh to keep the paint clean. Skip harsh chemicals and scouring pads.
- Don't let water pool, especially near seams and the sink.
- Lift appliances rather than dragging them.
- Address chips promptly with small touch ups before they spread or let moisture in.
Edges and sink areas wear first, so check them regularly. A well-sealed finish that's treated this way can reach the five-year mark; a neglected one won't come close.
A Quick Note on Lead Safety in Older Homes
Bare laminate isn't a lead concern. But if your counter was previously painted, or if you disturb adjacent painted trim or components in a pre-1978 home by sanding or scraping, lead-safe precautions come into play. The EPA specifically identifies scuff-sanding as an activity that can disturb paint. Homeowners working on their own home generally fall outside the contractor certification rule, though the EPA still recommends lead-safe DIY practices. Rentals, home child-care operations, and homes being renovated for resale follow stricter rules. Worth knowing before you start sanding anything old. Cover Pro Painting is EPA Lead-Safe (RRP) Certified, which matters most on older homes where painted surfaces get disturbed.
Painting vs. Re-Laminating vs. Replacing
Each path solves a different problem. Here's an honest side-by-side with general ballpark ranges, not quotes:
Painting your laminate counters buys you looks and time at a lower material cost. Re-laminating gives you a genuinely new surface over a suitable base. Replacement is the right call when the damage is structural or moisture-driven, because no coating fixes a swollen substrate. Match the fix to the problem.
Get Help From a Prep-First Team
Clean, long-lasting results start with an honest condition assessment and real surface prep, which is exactly how we approach every project. Cover Pro Painting is a founder-led, licensed, bonded, and insured Washington contractor based in Edgewood, serving the greater Seattle-Tacoma area, and we're EPA Lead-Safe Certified. Our core work is interior and exterior painting. If you're refreshing a kitchen or planning an interior project, we're glad to walk the space with you and give you a transparent estimate before any work begins. For a countertop-specific job, contact us first to confirm scope. Call 206-222-0435 to Get a Free Estimate.
Frequently Asked Questions
Is painting Formica a good idea?
Yes, for a sound, firmly bonded counter you want to refresh without replacing. It's a cosmetic update, not a fix for swelling, lifting, or moisture damage.
What kind of paint will adhere to Formica?
Not standard latex. Use a complete countertop coating system, or a high-adhesion bonding or shellac-based primer paired with a hard-curing finish. Epoxy systems rank highest for adhesion.
What is the best paint to use on Formica countertops?
A matched system used start to finish. Two-part epoxy is the most durable category. Follow one system's label and don't mix components across brands.
How long will painted countertops last?
Generally two to five years with proper care. Gentle cleaning, cutting boards, trivets, and no standing water help a well-sealed finish reach the upper end. Edges and sink areas wear first.
Do you have to sand Formica before painting?
It depends on the system. Scuff-sand with 220 to 240 grit for traditional methods, or run the adhesion test for no-sand systems and do your sanding only if it fails.
