



Can You Paint Kitchen Cabinets Without Sanding?
Key Takeaway
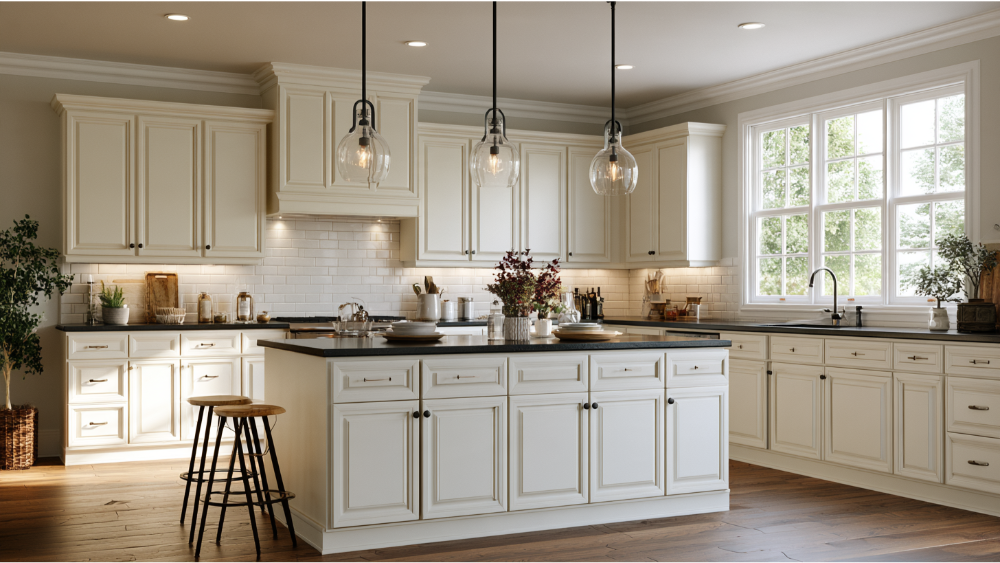
Painting cabinets without sanding is possible when the existing finish is clean, firmly bonded, and fully degreased, and you use a compatible bonding primer or an approved no-sand cabinet coating. The key distinction most guides miss: skipping sanding is realistic on the right surface, but skipping surface preparation is not. A liquid deglosser can replace mechanical abrasion on sound glossy finishes. Always confirm adhesion with a test patch before painting all cabinet doors, drawers, and frames.
Yes, sometimes. You can paint kitchen cabinets without traditional sanding if the existing finish is clean, dry, firmly bonded, and compatible with a bonding primer or a cabinet coating specifically approved for that surface. Here's the part most guides gloss over: "no sanding" does not mean "no prep." Glossy, peeling, waxed, laminate, and thermofoil surfaces may still need deglossing, spot repairs, or a different approach entirely. If you're a homeowner weighing a weekend cabinet refresh against hiring the work out, this is the honest version of the answer. Skipping heavy, full-surface sanding is often realistic. Skipping surface preparation is not. Whether a no-sand process will actually hold depends on what your cabinets are made of and the condition of the paint already on them.
What "Painting Cabinets Without Sanding" Really Means
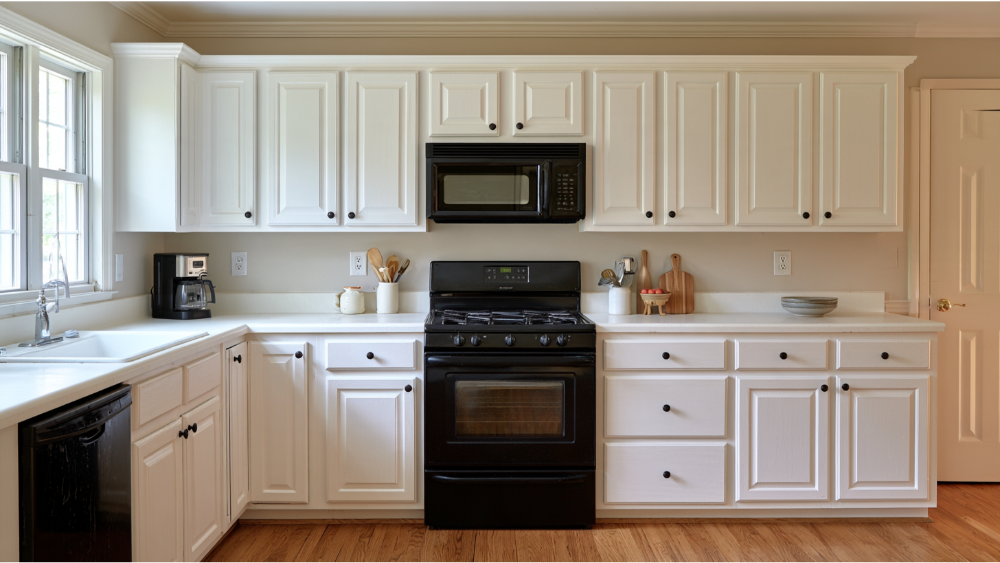
Two things get tangled together when people search for how to paint kitchen cabinets without sanding. Let's separate them.
No sanding means no stripping down to bare wood and no extensive abrasion across every surface. You're not clouding your kitchen with dust for a day. That part can genuinely be avoided on the right cabinets, including the cabinet doors, the drawers, and the cabinet frames.
What it does not mean is skipping cleaning, repairs, deglossing, priming, or testing. Those are separate jobs, and a shortcut on one doesn't excuse the others.
The replacement for sanding on a glossy finish is usually a chemical deglosser (sometimes sold as liquid sandpaper). Sanding is mechanical abrasion: paper scuffs the surface so the next coat can grip. A deglosser works chemically, dulling a sound glossy film so primer and paint bond to it instead of sliding off. Both solve the same adhesion problem in different ways, and for many homeowners skipping sanding this way is a real game changer.
But a deglosser has limits, and this is where projects fail. It can dull a stable finish. It cannot remove loose coating, level chipped paint edges, smooth dents, or re-bond peeling thermofoil. If the surface underneath is failing, no amount of deglossing fixes it. That distinction drives everything that follows.
Are Your Kitchen Cabinets Suitable? A Quick Readiness Check
Before you buy any paint, run your cabinets through this list. If you can't check every box, you have prep work to do first.
- The existing finish is firmly attached, with no flaking when you press a fingernail into it.
- No peeling, bubbling, powdering, or lifting anywhere on the doors, drawers, or cabinet frames.
- The surface can be completely degreased (no stubborn oily film that keeps coming back).
- The substrate is sound, not swollen or delaminated.
- The paint you plan to use explicitly allows the prep you're planning.
- A small test patch shows adequate adhesion after it dries.
The last point matters more than any product label. Preparing and priming a hidden area, letting it cure, then checking whether it scratches or lifts easily is one of the lowest-risk ways to catch a problem before it spreads across your whole kitchen.
Here's how common cabinet conditions sort out:
What Are Your Kitchen Cabinets Made Of?
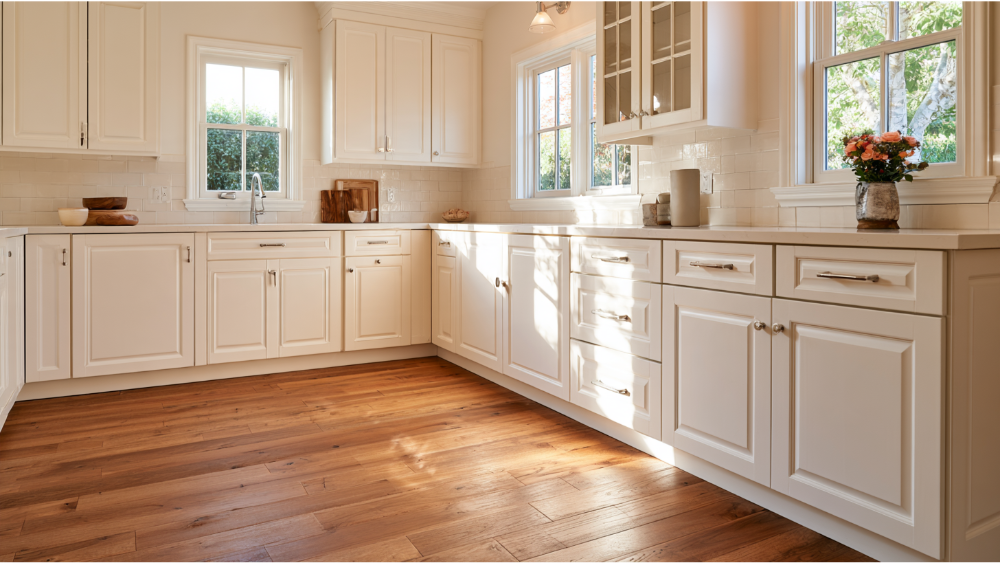
You can't choose the right process until you know the material. Paint that grips raw wood beautifully can slide right off a slick laminate door. Spend five minutes identifying what you're working with before you plan how to paint cabinets.
- Painted wood: An existing paint film over solid wood or plywood. If it's sound and clean, this is usually the friendliest candidate for a no-sand repaint on the cabinet doors and cabinet frames alike.
- Stained or varnished wood: You'll see wood grain under a clear topcoat. That gloss needs deglossing or a bonding primer, and the grain may telegraph through the paint unless you fill or prime for it.
- Wood veneer: A thin layer of real wood over a core. Treat it like wood, but watch the edges of the doors and drawers for lifting or chips.
- MDF: A smooth, dense engineered board. It paints well when sound, but swollen MDF (usually from water near a sink or dishwasher) won't recover with paint.
- Laminate or melamine: A nonporous decorative surface, not bare wood. These glossy surfaces need a paint system specifically approved for hard, slick substrates.
- Thermofoil: A thin PVC film heat-bonded to an MDF core. Paint won't fix lifting film, failed seams, or a swollen substrate.
Laminate and thermofoil each deserve their own full treatment, which we cover separately. For here, the point is simpler: identify the material first, because it decides whether painting cabinets without sanding is even on the table.
When You Should Not Skip Sanding or Repairs
Most guides race past this part. It's the one that saves you from repainting in a year. Some conditions call for abrasion, repair, or replacement no matter how convenient the shortcut sounds:
- Loose or peeling coating, which has to be removed, not painted over.
- Deep scratches, dents, or filled hardware holes that need leveling before any coat of paint goes on.
- A failing clear coat that's cracking or flaking.
- An unknown finish that fails the test patch (scratches or lifts too easily).
- Swollen MDF, which paint cannot shrink back.
- Lifting laminate or thermofoil at the edges or seams.
- Wax, polish, or silicone contamination that won't fully wash away.
- Visible grain or texture you expect the paint to hide, which often means you should lightly sand and fill to smooth out.
The thread running through all of these: a deglosser dulls a stable surface, but it can't stabilize a failing one. If the finish underneath is coming apart, the paint on top will go with it. Doing a little honest prep now is far cheaper than redoing the whole kitchen later.
Lead Safety in Pre-1978 Cabinets (Read This First)
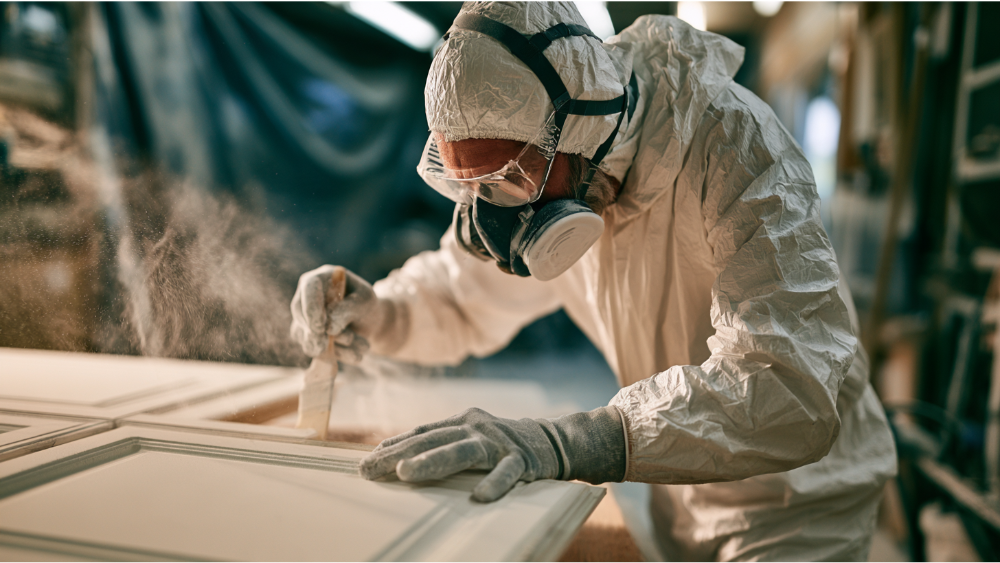
If your home was built before 1978, pause before you scrape or sand anything. Homes from that era may contain lead-based paint, and disturbing it can release hazardous lead dust. The EPA recommends either testing for lead or assuming it's present, then following lead-safe practices: contain the work area, control dust, and clean up with HEPA methods rather than a standard vacuum or broom.
There's a difference between a homeowner working on their own home and a paid contractor. If you're doing the work yourself, you're generally outside the federal Renovation, Repair and Painting (RRP) rule, but the EPA still recommends lead-safe practices to protect your household. Paid contractors who disturb qualifying painted surfaces in pre-1978 housing are required to be lead-safe certified. The RRP rule has a minor-repair threshold of about 6 square feet per interior room, and a full set of cabinet doors and frames easily exceeds that, so most cabinet jobs in older homes are covered work when a pro is hired.
This is exactly the kind of situation where hiring an EPA Lead-Safe (RRP) Certified painter is the safer call. We'll come back to that at the end, but keep it in mind before any dust gets made.
Supplies to Paint Kitchen Cabinets Without Heavy Sanding
You don't need a truckload of gear, but the right categories matter. We won't name brands here (we deliberately keep that neutral), so shop by function:
- A cleaner or degreaser compatible with the existing finish, strong enough to cut kitchen grease.
- Clean water, lint-free cloths, and a tack cloth for the final wipe-down before any paint goes on.
- A liquid deglosser, if your coating system calls for one instead of sanding.
- An appropriate bonding or stain-blocking primer. Some fast-drying bonding primers are made for slick surfaces, and high adhesion is the whole point on glossy cabinets.
- A durable cabinet or trim paint built for daily wear. Strong-adhesion options like fusion mineral paint and chalk paint are popular for no-sand work, though each has its own prep and sealing requirements.
- Painter's tape to protect walls, counters, and anything near the cabinet boxes.
- Filler and a fine abrasive for the spot repairs you can't skip.
- A quality brush, a paint stick for mixing, a fine-finish or mohair roller, or spray equipment. Better applicators leave fewer brush strokes and less texture.
- Gloves, eye protection, strong ventilation, and any PPE the product label specifies.
- Labels or numbered bags for doors, drawers, and hardware so everything goes back where it came from.
How to Paint Kitchen Cabinets Without Sanding, Step by Step
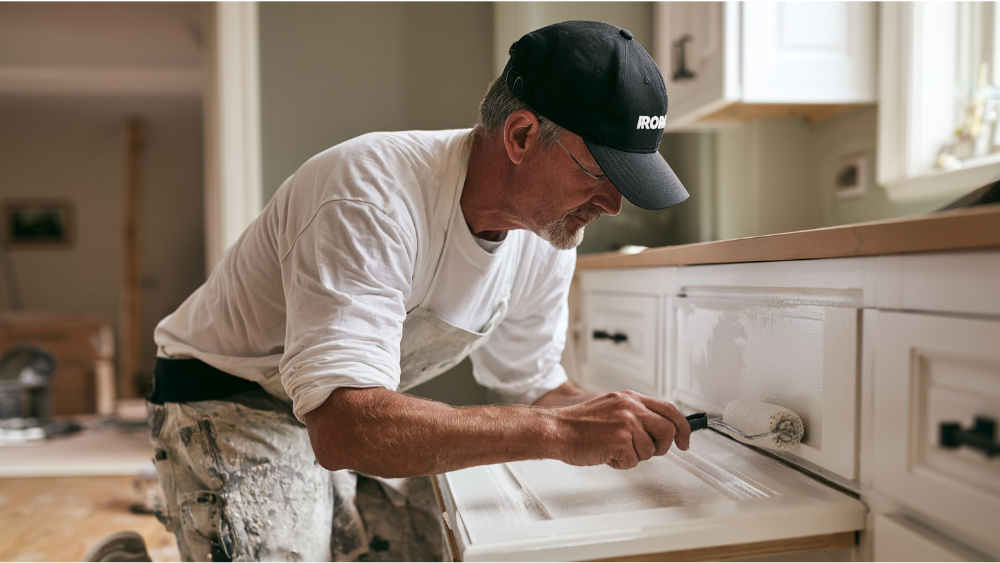
This is the workhorse of the painting process. Move through it in order and don't rush the prep steps.
- Photograph, label, and remove cabinet doors, drawers, and hardware. Number each door and bag its hinges and screws together. When you remove cabinet doors and lay them flat, you avoid the drips you'd fight painting them upright. Some people paint while the doors hang and leave the cabinet boxes in place to save time, but you'll get a cleaner finish working on flat surfaces.
- Inspect the substrate and existing finish. Look for the red-light conditions above: lifting, swelling, failing clear coat.
- Test for loose coating and make repairs. Remove anything that flakes. Fill dents and old hardware holes, then level those spots.
- Clean and degrease thoroughly. This is non-negotiable. Kitchen cabinets carry years of cooking grease, and paint will not bond through it. Clean before you degloss so you don't drive contamination into the old finish.
- Rinse or neutralize if the cleaner's instructions require it, and let the surface dry fully.
- Degloss or apply an approved no-sand bonding system. Use a liquid deglosser to dull a sound glossy film, or go straight to a primer rated for hard, slick surfaces. Wipe with a tack cloth afterward so no residue sits under the paint.
- Prepare a small adhesion test area. Run your full process on a hidden spot, let it cure, then check that it doesn't scratch or lift easily. If it fails, stop and fix the prep.
- Prime as required. Priming is what gives the paint something to hold onto. Don't skip it on glossy or unknown finishes.
- Apply thin, controlled coats across every cabinet surface. Most cabinets need two to three coats for full coverage. The first coat lays down color and reveals thin spots. The second coat (and sometimes a third coat) evens everything out. Keep both coats thin rather than loading up one heavy pass.
- Observe the exact recoat times on your product's data sheet. Rush the second coat and you'll drag the first coat below.
- Let the paint harden before reassembly. Dry to the touch is not the same as ready to handle. Reattach doors and reinstall the drawers only when the finish can take it.
- Allow full cure before heavy cleaning or normal abuse. This takes longer than most people expect, which is the next section.
How to Avoid Brush Strokes and Get a Durable Finish
A smooth finish on cabinets is almost entirely about technique and patience. Keep your coats thin and maintain a wet edge as you go, so fresh paint blends into what's still tacky instead of into a set film. Don't overwork the paint once it starts to set, because that's when drag marks and brush strokes appear. Rushing the recoat window between the first coat and the second coat is the fastest way to ruin an otherwise clean job, and the same technique applies whether you're working on doors or cabinet frames.
A fine-finish or mohair roller and a quality brush will leave noticeably less texture than cheap tools, and an electric sander is only for the spot smoothing you genuinely need, not full-surface abrasion. For the smoothest result, spraying is hard to beat, which is one reason a sprayed cabinet finish usually comes from the coat pros. Choose a paint built for cabinets. A durable finish from a washable cabinet enamel (the waterborne alkyd type, for instance) resists moisture and daily wear far better than ordinary wall paint, and a non yellowing specialty product like fusion mineral paint is formulated to grip with minimal prep. Only add a separate top coat if your chosen system, such as chalk paint, calls for one. A little elbow grease on prep now gives old cabinets a fresh look that holds.
Why No-Sand Cabinet Paint Peels (and How to Prevent It)
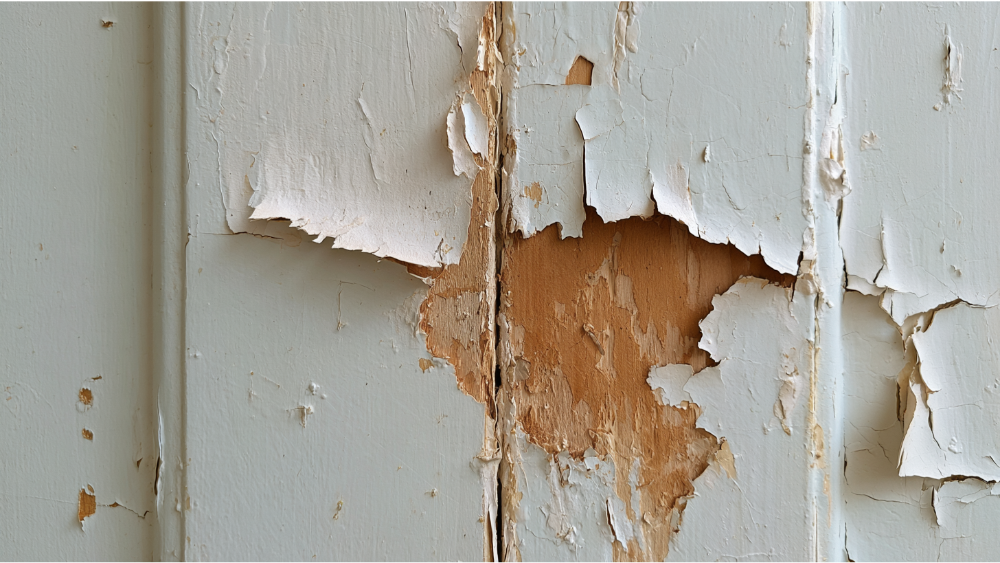
When a no-sand job fails, it's almost never because sanding was skipped. It's because prep was. Here are the usual culprits, each one preventable:
- Painting over grease. The most common failure. Degrease properly and it disappears.
- Assuming "paint and primer in one" means no priming required. It doesn't. The surface still has to be clean and sound before the paint goes on.
- Painting a glossy surface without verified adhesion. Degloss or prime, then prove it with a test patch.
- Coating over loose paint or a failing clear finish. Remove it first.
- Mixing incompatible products. Using a different paint or deglosser outside one system invites trouble; keep cleaner, deglosser, primer, and paint matched.
- Applying coats too heavily. Thin coats cure correctly. A thick first coat or second coat stays soft and sags.
- Reinstalling doors and drawers too soon, which leaves marks and sticking.
- Cleaning before full cure, which can mar paint that isn't fully hard yet.
- Ignoring edge damage on laminate or thermofoil, where failure starts and spreads.
How Many Coats and How Long Before You Can Use the Cabinets?
People ask how many coats a job needs and how long before they can load the shelves again. Dry to the touch and fully cured are different things, and confusing them is where good paint jobs go bad. Think in stages, not a single number:
As an illustration of how far apart these can sit: one cabinet enamel's technical data sheet lists roughly 1 hour to tack-free, 6 hours to recoat, and 14 days to full cure at 77°F and 50% relative humidity. Broader manufacturer guidance suggests the paint may feel dry in 2 to 4 hours, but recommends waiting 2 to 3 days before normal use and about 30 days before cleaning a fully cured surface. Those are examples, not a universal schedule. Curing can feel time consuming, but temperature, humidity, film thickness, and airflow all move the drying time. Follow the exact recoat, handling, and cure times on your paint's technical data sheet.
Should You DIY or Hire a Pro to Paint Kitchen Cabinets?

Plenty of cabinet projects are reasonable to do yourself, and with the right system a lot of the work is super easy with minimal hassle. DIY makes sense when the finish is stable and easy to identify, the scope is small, your paint system is clearly compatible with the surface, and you have a clean work area plus enough space to let the doors and drawers cure undisturbed.
Lean toward a professional when the finish is peeling or unknown, when lead paint is possible in a pre-1978 home, when the doors are laminate, melamine, or thermofoil, or when you want a sprayed, flawless finish. Dark cabinets going lighter may also need extra coats and careful detail work. The same goes if the job needs real repairs, carpentry, hardware and component replacement, or new cabinets entirely, or if your kitchen simply can't be out of service for the days a proper cure requires.
Done right on well-prepped cabinets with quality paint, a painted finish can hold up for roughly 5 to 10 years with proper care, and small touch ups along the way keep it looking sharp. Getting there depends on prep, product choice, and curing, which is a lot to juggle alongside daily life. A full-service team that handles prep, repairs, and carpentry under one roof removes most of the guesswork and gets all the details right.
Frequently Asked Questions
Can I just paint over my kitchen cabinets without sanding?
Sometimes. Only if the finish is clean, sound, and fully degreased, and you use a compatible bonding primer or an approved no-sand paint. Confirm it with a test patch on a hidden spot before you commit to the whole kitchen.
What happens if you don't sand cabinets before painting?
If you also skip cleaning, deglossing, and a bonding primer, the paint can peel, chip, or stay soft. Skipping sanding is survivable with the right prep. Skipping prep is not.
Is there a paint you can use to paint kitchen cabinets without sanding?
Yes, and when no heavy sanding required suits your surface, the options are plenty. Some products are designed for it, including no-sanding satin enamels, strong-adhesion options like fusion mineral paint and chalk paint, and high-adhesion bonding primers. Always follow the label and test first, and avoid ordinary wall paint on cabinets.
Can I just paint over already painted cabinets?
Usually, if the existing paint is firmly bonded and clean. Remove any loose or peeling areas, degrease thoroughly, degloss or prime, wipe with a tack cloth, and make sure the old and new paint are compatible. Expect two coats for even coverage on the doors, drawers, and cabinet frames before you reattach the hardware.
Get a Lasting Cabinet Finish, Start With a Free Estimate
Skipping heavy sanding can be possible. Skipping careful surface preparation is not. That belief is at the center of how we work. Cover Pro Painting is a founder-led, licensed, bonded, and insured contractor based in Edgewood, WA, and we're EPA Lead-Safe (RRP) Certified, which matters a lot on older homes and tricky cabinetry like glossy, laminate, or damaged surfaces. Because we also handle rot repair, siding, and carpentry, one team can address the prep and any repairs your project needs. You'll get a clear, transparent estimate before any work begins, plus a free color consultation, a new-customer discount, and 0% APR financing if that helps.
Call 206-222-0435 or Get My Free Painting Estimate. We serve the greater Seattle-Tacoma area, so reach out and we'll confirm your cabinet project is within scope. Don't see your city listed? Contact us to confirm service availability.
