
%201.svg)


Painting Bathroom Furniture and Vanities: What Holds Up to Moisture
Key Takeaway
For painting bathroom furniture and vanities, the finish that holds up to moisture is a properly prepped cabinet enamel system using a bonding or stain-blocking primer topped with a waterborne alkyd, urethane-acrylic, or cabinet enamel in satin or semi gloss. These coatings resist humidity, splashes, and daily wiping far better than standard wall paint. Full cure can take up to 30 days, so rushing the process is one of the most common reasons bathroom vanity finishes fail early.
Painting Bathroom Furniture and Vanities: What Holds Up to Moisture on a Vanity? The Short Answer

The finish that holds up in a bathroom is a properly prepped cabinet enamel system: clean and degrease the piece, sand or scuff it, apply a bonding or stain-blocking primer, then top it with a durable waterborne alkyd, urethane-acrylic, or cabinet enamel in satin or semi gloss. Those coatings dry to a tough surface that resists humidity, splashes, and frequent wiping far better than ordinary flat wall paint. A semi gloss finish is easier to wipe clean, which is part of why it holds up so well on bathroom cabinets and a bathroom vanity that see daily use.
Here's the part most guides gloss over: moisture-resistant is not the same as waterproof. The right paint will shrug off bathroom humidity and a splash of water, but it can't survive standing water or a wet towel draped over a door for hours. If you're planning a vanity refresh and you don't want it peeling in two years, the coating matters, but the prep and cure time matter just as much.
Why Bathroom Furniture and Vanities Are Harder to Paint Than Regular Furniture
A dresser in a bedroom lives an easy life. A vanity gets soaked in a different world. Every hot shower pushes humidity well above the 30 to 50 percent range the EPA considers ideal for a house, and that moisture settles on every surface, including the walls, the cabinet doors, and the drawers. Add sink splash, toothpaste, hairspray and lotion residue, daily hand contact, damp towels, and the cleaning products used to wipe it all down, and you have a piece of furniture under constant stress. Hot showers are the biggest source of that steam.
Running the exhaust fan for 15 to 20 minutes after a shower helps pull that moisture out, but the vanity still takes the brunt of it. That's why a bathroom vanity needs a complete finishing system, not just a fresh color. The paint has to survive conditions the surface was never meant to handle, and the bathroom cabinets around it face the same thing.
The Paint System That Actually Holds Up: A Step by Step Guide
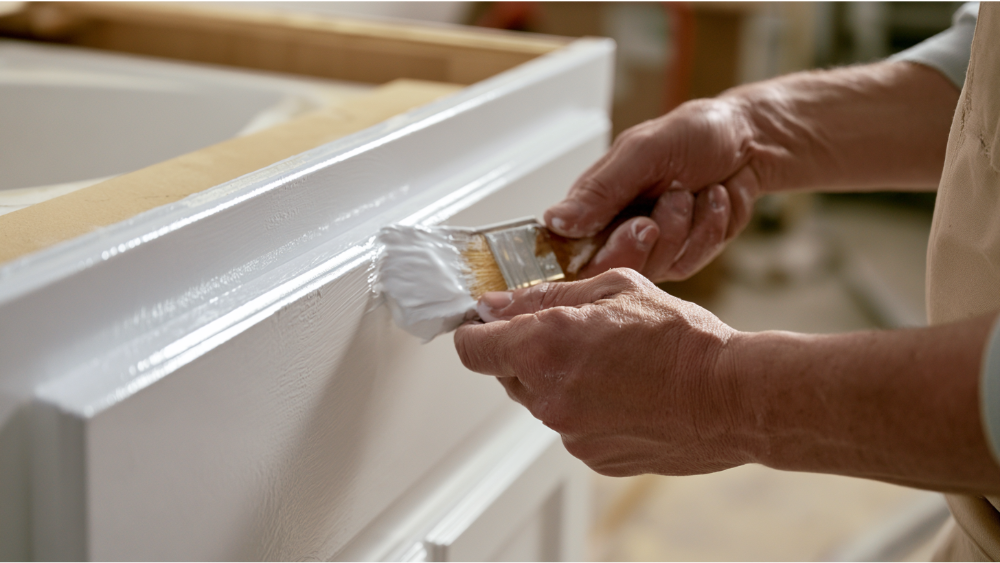
Skipping steps here is exactly what bad painters do, and it's why so many cabinets peel. Prep is the difference between a finish that lasts and one you'll be redoing. Work through this step by step guide in order:
- Remove hardware, doors, and drawers. Paint everything off the cabinet so you can reach edges and get an even coat on the drawers and cabinet doors.
- Clean and degrease. Wipe away soap film, hairspray, lotion, and cooking-style grease residue. Paint will not grip a dirty surface.
- Sand with 150 grit, then smooth with 220. The goal is to dull the gloss so the primer can bite.
- Repair chips, open seams, and damaged edges. Fill and sand smooth before you prime.
- Mask with painter's tape. Protect the wall, the countertop, and any adjacent surfaces so your lines stay crisp.
- Apply a bonding or stain-blocking primer. A quality bonding primer gives the topcoat something to hold onto, especially on slick surfaces.
- Top with a cabinet or trim enamel. A waterborne alkyd paint cleans up with soap and water, while urethane-modified acrylic enamels dry to a tough, moisture-resistant film. Either beats standard wall paint on a high-touch surface.
- Choose satin or semi gloss and apply two coats. Two thin coats give complete coverage and a more even finish than one heavy pass. Lay the first coat on with a fine-nap roller for the flat panels and a quality brush for the profiles, let it dry completely, then follow with the second coat.
We treat prep as the real work of the job. The paint is just what shows.
Best Paint for Bathroom Cabinets: Oil Based Paint, Latex Paints, and Chalk Paint Compared
Choosing the best paint for a bathroom vanity comes down to how it cures and how well it stands up to water. Here's how the main options compare.
Oil based paint. Traditional oil based paint self-levels into a hard, smooth finish that many people still love on cabinetry and trim. The trade-off is a strong odor, slow dry time, and a tendency to yellow over time, especially on light colors. In a small bathroom with limited ventilation, oil based options are harder to work with, and cleanup means mineral spirits rather than soap and water.
Waterborne alkyds and latex paints. Modern waterborne alkyd enamels give you much of the furniture like finish oil based paint is known for, but with easy cleanup and far less odor. Waterborne alkyd paint offers a hard, level coat that resists knocks and wiping. Benjamin Moore Advance is a well-known waterborne alkyd that levels nicely on bathroom cabinets and a bathroom vanity. Behr Premium cabinet and trim enamels and quality 100 percent acrylic latex paints also hold up well when applied over proper prep. These are our usual go-to for a durable finish with low odor. As always, we use premium paint products backed by lifetime manufacturer warranties, and we match the product to the surface.
Chalk paint. Chalk paint gives a matte, vintage look and grips many surfaces with minimal sanding, which makes it popular for repurposed furniture. On its own, though, chalk paint is porous and not built for a splash zone. If you use it on a bathroom vanity, it needs a durable topcoat or wax to survive the moisture, and even then it's better suited to lower-splash pieces than the area right around the sink.
Whatever product you land on, your color choice matters less than the sheen. A semi gloss finish in the paint color you prefer is the safer pick for the high-touch, high-splash parts of the room.
Moisture Resistance Does Not Mean Waterproof
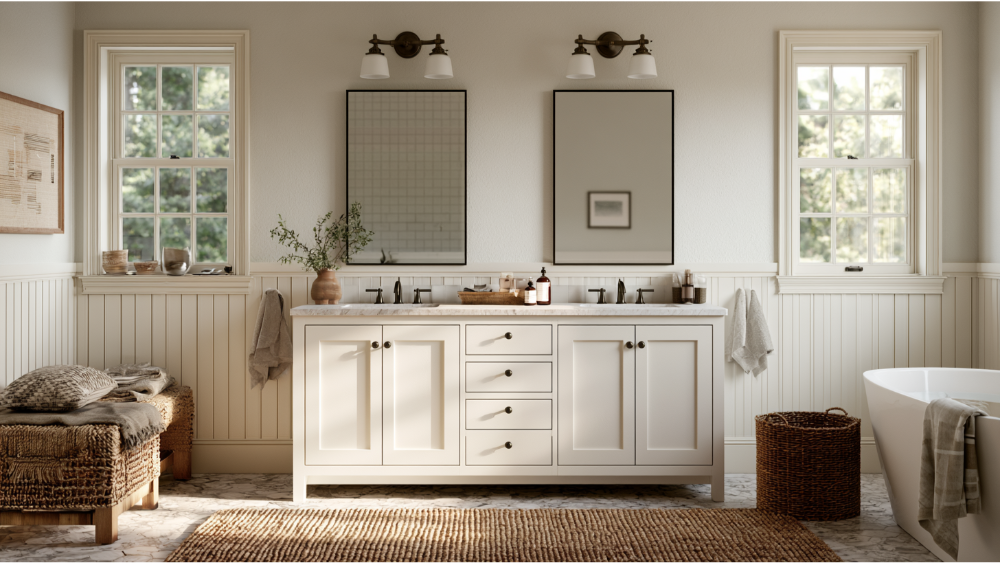
This is the distinction that separates a vanity that lasts from one that fails early. A cabinet enamel is built for moisture resistance and cleaning, but manufacturer data sheets are clear that these products are not meant for surfaces immersed in liquids like sinks or tubs. Your painted finish can handle steam and the occasional splash. It cannot handle a slow sink leak, standing water pooling at the base, or a soaked towel left on a door.
A wall-mounted vanity helps by keeping the base off the wet floor. Sealed edges help too. But the habits matter most: wipe down wet surfaces right away, run the fan, and give the finish time to cure. The paint protects the wood only if you protect the paint. In high humidity environments, that habit is what buys you long lasting durability.
Best Paint and Primer by Vanity Material
What's under the paint changes everything. A finished oak vanity and a laminate one need different prep, different primer, and have different ways they can fail. Use this as your starting point for both the bathroom vanity body and the bathroom cabinets that go with it.
Naturally durable hardwoods handle humidity better than softwoods, which is worth knowing if you're staining rather than painting. For natural-wood pieces, marine or spar varnish lets the wood expand and contract while repelling water, and a hardwax oil gives a breathable, water-repellent finish that's easy to touch up.
Prep Steps That Prevent Peeling
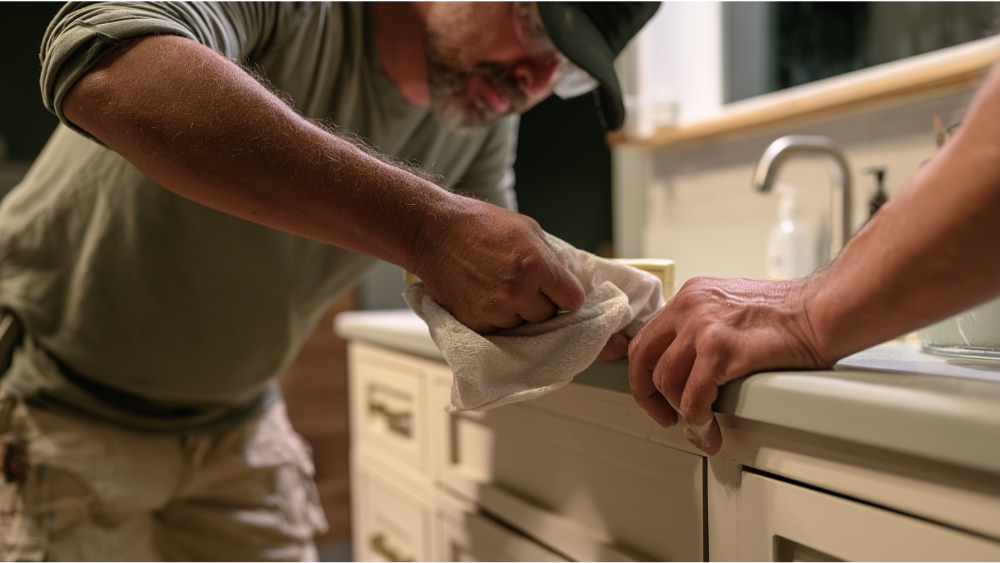
Nearly every peeling vanity traces back to one of a few skipped steps. Get these right and the finish holds:
- Remove all residue. Grease and soap film sit invisibly on the surface and block adhesion. Clean until the surface squeaks.
- Dull the gloss. Sanding with 150 grit gives the primer a mechanical grip. A glossy factory finish is too slick to hold paint on its own.
- Clear the sanding dust. Vacuum, then wipe with a tack cloth. Painting over sanding dust is painting over a release layer.
- Test adhesion on slick surfaces. On laminate or thermofoil, prime a small hidden spot, let it cure, and try to scratch it off. If it lifts, the surface needs more prep or isn't a good candidate for paint.
- Don't rush the coats. Thin, even layers cure harder and cleaner than one thick coat that stays soft underneath. On broad flat surfaces, this is where two to three coats give the most even result.
Dry Time vs. Cure Time: Why Rushing Ruins the Finish
Dry to touch does not mean ready for use, and recoat time does not mean fully hardened. This is where a lot of good paint jobs get wrecked, because the vanity looks done long before the finish actually is.
The numbers vary by product, so treat these as examples, not universal rules. One cabinet enamel data sheet lists roughly 1 hour to tack-free, 6 hours to recoat, and 14 days to full cure at 77°F and 50 percent relative humidity. A waterborne alkyd cabinet paint dries quickly to the touch in about 4 to 6 hours, lists 16 hours to recoat, a caution against returning shelves, drawers, and doors to service for 5 to 7 days, and optimum hardness that can take up to 30 days. Oil based paint generally takes longer still to cure hard. Most of these products want an application temperature between about 50°F and 90°F.
High humidity and cool temperatures stretch every one of those times, which matters here in the Pacific Northwest, where a damp, cool bathroom can slow curing noticeably. Reinstalling hardware, hanging doors, or wiping with a damp cloth too soon can leave marks in a finish that isn't fully dry. Let each coat dry completely before the next, always follow the current product label and technical data sheet, and give the finish more time in cool, humid conditions.
When Painting Is Not Enough, Fix the Problem First
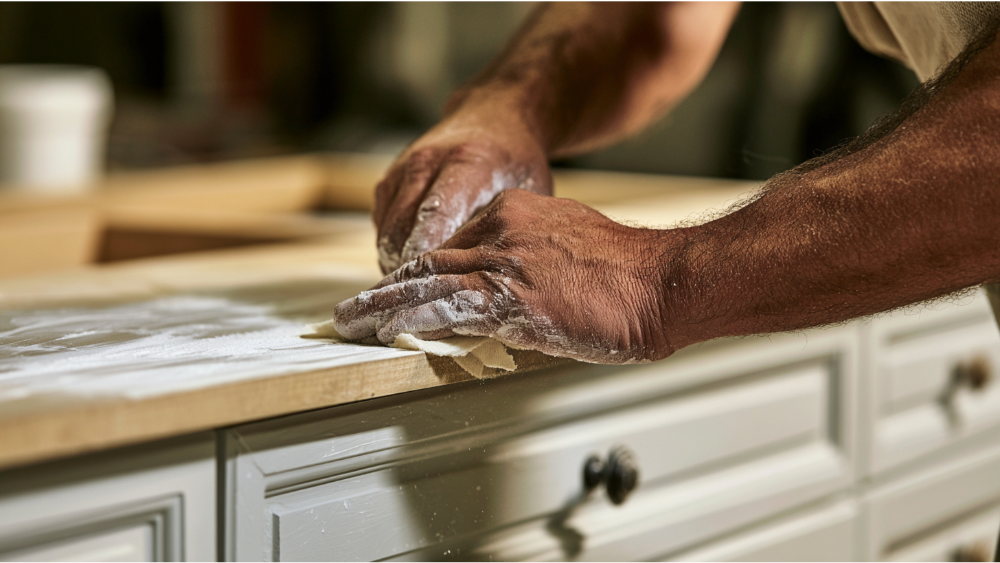
Paint can't solve a moisture problem. It hides it for a few weeks, then peels off with the damage still underneath. Don't paint yet if you see any of these:
- Swollen or crumbling MDF or particleboard
- Peeling thermofoil or lifting veneer
- An active plumbing leak under the sink
- Soft, spongy, or rotted wood
- Mold or mildew on any surface
- Water damage or stains bleeding through an old coating that's already flaking
- A bathroom with no working ventilation
Both the EPA and CDC are clear that painting or caulking over mold won't stop it. You have to fix the water source and clean the surface first, or the paint will peel and the mold will keep growing. This is where a full-service crew helps. When rot repair, siding, or carpentry are part of the job, we handle them with the same team, so you're not chasing down a separate contractor before the painting can even start.
A Safety Note for Older Homes (Pre-1978)
Sanding or scraping old painted vanities, bathroom cabinets, and built-ins in a home built before 1978 can release lead dust. The EPA's Renovation, Repair and Painting Rule applies to that work, and paid contractors disturbing more than 6 square feet of interior painted surface (or 20 square feet exterior) in a pre-1978 home must be EPA Lead-Safe certified. Cover Pro Painting is EPA Lead-Safe (RRP) Certified, so this kind of work is handled with the right containment and cleanup.
Should You DIY or Hire a Professional?
DIY is reasonable for a sound, simple vanity in decent shape when you have time to let the finish fully cure and the patience to do the prep properly. A well-prepped, sealed vanity resists warping and peeling for years, and the same goes for the surrounding cabinets.
Bring in a pro when the substrate is damaged, the bathroom sees heavy daily use, you're going from a dark color to a light one, the old coating is failing, you're converting a piece of furniture into a vanity, or you simply want a smooth finish that's hard to get with a brush and roller in a tight space.
Washington homeowners can verify any contractor's registration, bond, and insurance through L&I's online contractor lookup before hiring. Cover Pro Painting is an Edgewood-based contractor, licensed, bonded, and insured in Washington State, and EPA Lead-Safe Certified. You get a transparent estimate before work starts, premium products, real surface prep, and full-service repair from the same team, backed by over 100 years of combined painting experience.
How to Maintain a Painted Bathroom Vanity
A good finish lasts longer when you keep moisture off it. A few habits go a long way:
- Run the exhaust fan for 15 to 20 minutes after showers.
- Wipe up standing water and splashes as soon as you see them.
- Keep damp towels off the doors and drawers.
- Clean with gentle cleaners and a soft damp cloth, never abrasives.
- Touch up chips early, before water reaches the substrate.
- Re-caulk gaps around the sink with 100 percent silicone.
- Save a little leftover paint in a sealed container for quick touch-ups down the road.
- Check under the sink for leaks every few weeks.
If the vanity has a natural marble top, seal the marble about once a year to keep water from soaking in, since natural marble is porous and stains easily.
Frequently Asked Questions
Is satin or semi gloss better for a bathroom vanity?
A semi gloss finish is more washable and more forgiving of moisture, which makes it the safer pick for a splash-prone bathroom vanity. A satin finish works fine on lower-splash areas and hides surface imperfections a bit better.
Can I use regular bathroom wall paint on a vanity?
No. Wall paint isn't built for constant touch and cleaning. A vanity needs a cabinet or trim enamel that stands up to hands, water, and scrubbing.
What is the best paint that's moisture resistant for a bathroom?
Waterborne alkyd enamels, urethane-acrylic finishes, quality latex paints in a 100 percent acrylic formula, and specialized kitchen and bath products all resist moisture and mildew better than flat paint. Benjamin Moore Advance and Behr Premium enamels are common choices for bathroom cabinets.
Can I use oil based paint on bathroom cabinets?
You can, and it cures to a hard, smooth film, but oil based paint has a stronger odor, dries slowly, and can yellow over time. In a small bathroom, a waterborne alkyd usually gives a similar look with easier cleanup.
Does chalk paint work on a bathroom vanity?
Chalk paint grips well and gives a matte look, but it's porous on its own. Seal it with a durable topcoat or wax if you use it near the sink, or keep it to lower-splash pieces.
How do I protect a vanity from bathroom humidity?
Ventilate the room, wipe up water quickly, keep edges sealed, and start with a moisture-resistant finish over proper prep. The paint does its part only when the moisture is controlled.
Can I paint over mildew or water stains?
No. Clean and dry the surface first and fix the moisture source, then use a stain-blocking primer. Paint over mildew and it will bleed through and peel.
Final Thoughts: Get Clean, Long-Lasting Results, Start With a Free Estimate
A bathroom vanity that holds up comes down to prep, the right paint, and enough cure time, all handled by someone who treats your home like their own. If your bathroom vanity, your bathroom cabinets, or a larger interior project needs a finish that protects and transforms without peeling in two years, we'd be glad to take a look. You'll get a clear, transparent estimate and honest answers about what the job actually involves, including any repairs the surface or the surrounding space needs first.
Call Cover Pro Painting at 206-222-0435 to schedule your free estimate.
