
%201.svg)


Painting Bathroom Cabinets: How to Get a Finish That Actually Lasts
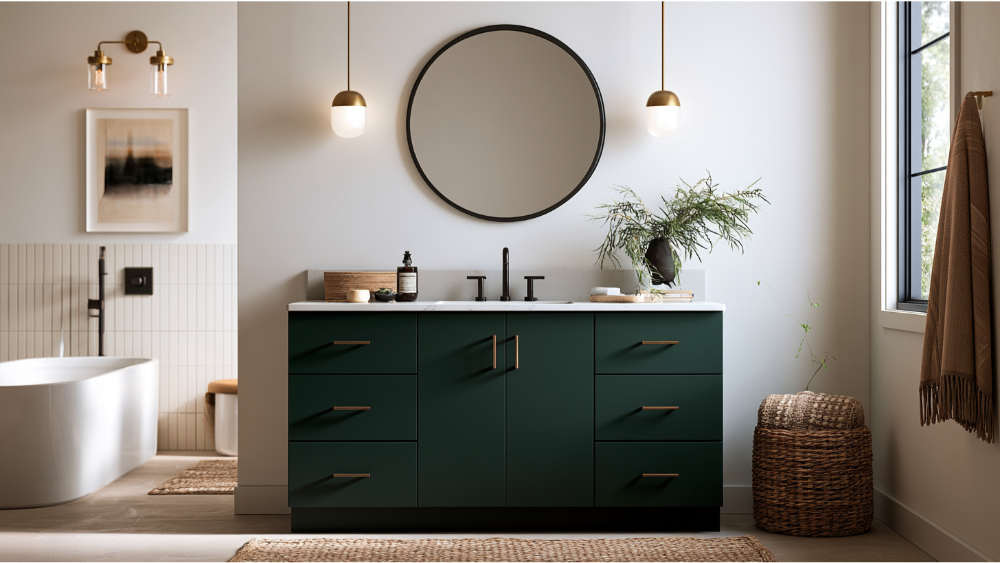
Key Takeaway
Painting bathroom cabinets is one of the most cost-effective ways to refresh a vanity without replacing it, but the finish only lasts when surfaces are cleaned, sanded, properly primed, and coated with a cabinet-grade enamel. Use a waterborne alkyd or urethane-modified acrylic in satin or semi-gloss. Allow 3 to 5 days before heavy use, and up to 30 days for full hardness.
Yes, you can paint bathroom cabinets, and it's one of the best ways to update a tired vanity without replacing it. But the finish only holds up when the cabinets are cleaned, sanded or deglossed, properly primed, coated with a durable cabinet-grade product, and given real time to cure. Think of this as a moisture-resistant refinishing project, not a quick coat of wall paint. In a bathroom, humidity and prep matter as much as the color you pick. At Cover Pro Painting, we handle interior painting and cabinet refinishing across the greater Seattle-Tacoma area from our home base in Edgewood, WA, and prep is where every lasting result starts.
When Painting Bathroom Vanity Cabinets Makes Sense, and When It Doesn't
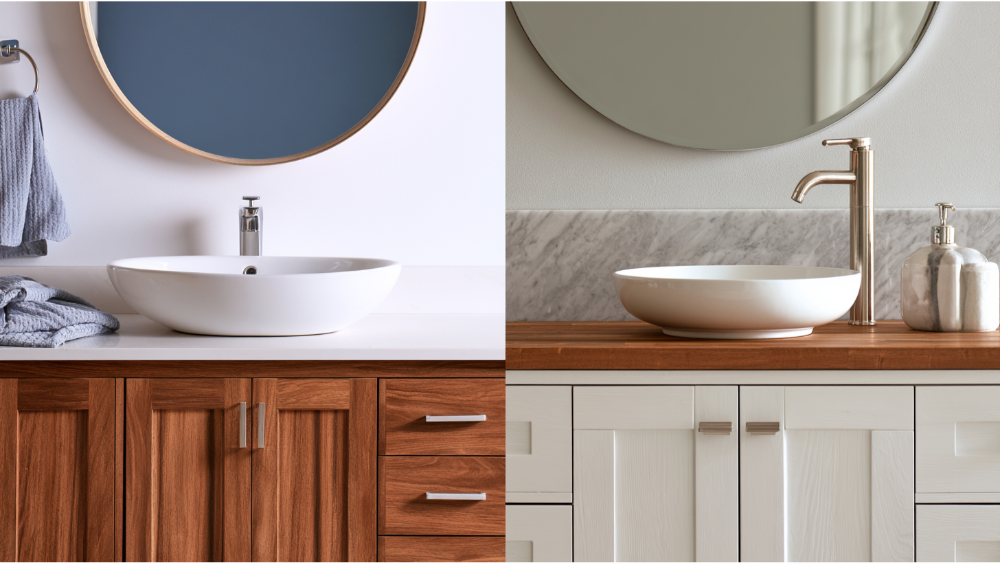
Before you buy a single can of paint, look at what you're actually working with. Paint improves the look of a sound surface. It won't fix damaged material underneath.
Good candidates for painting:
- Solid wood cabinets in stable condition, including a wooden bathroom vanity with a sound frame
- MDF that isn't swollen or crumbling
- Intact laminate or thermofoil that can take a bonding primer
- Boxes, cabinet doors, and drawer fronts that are structurally sound
Not ready to paint yet:
- Swollen, soft, or crumbling panels
- Active plumbing leaks or standing moisture
- Mold or mildew that hasn't been cleaned and addressed
- Rotting wood or damaged framing
- Peeling laminate or thermofoil
- Old paint that's already failing or flaking
If there's rot or damaged material behind or around the vanity, it needs to be repaired before any coating goes on. That's where full-service capability helps: the same team can handle the rot repair or carpentry and then paint, so you're not managing two contractors and hoping they coordinate.
Why Bathroom Vanity Cabinets Are Harder on Paint Than Hallway Trim
A bathroom vanity takes abuse that hallway trim never sees. Humidity, water splashes, soap, lotion, hairspray, and cleaning sprays all land on it, plus constant hand contact around the drawers and doors. The doors and drawers get opened and closed daily, so the coating has to be durable and moisture-resistant everywhere your hands reach. Even the area around the sink sees splashes that a shelf elsewhere in the house never would.
Ventilation protects both the finish and the room. The EPA recommends keeping indoor humidity between 30% and 60% to limit mold, and the CDC advises no higher than 50%. The Home Ventilating Institute suggests roughly 1 CFM per square foot for a bathroom exhaust fan, commonly a 50 CFM minimum. A fan that actually vents outside (not one that just makes noise) keeps moisture off your fresh paint while it cures.
The Prep Work That Decides Whether the Finish Lasts
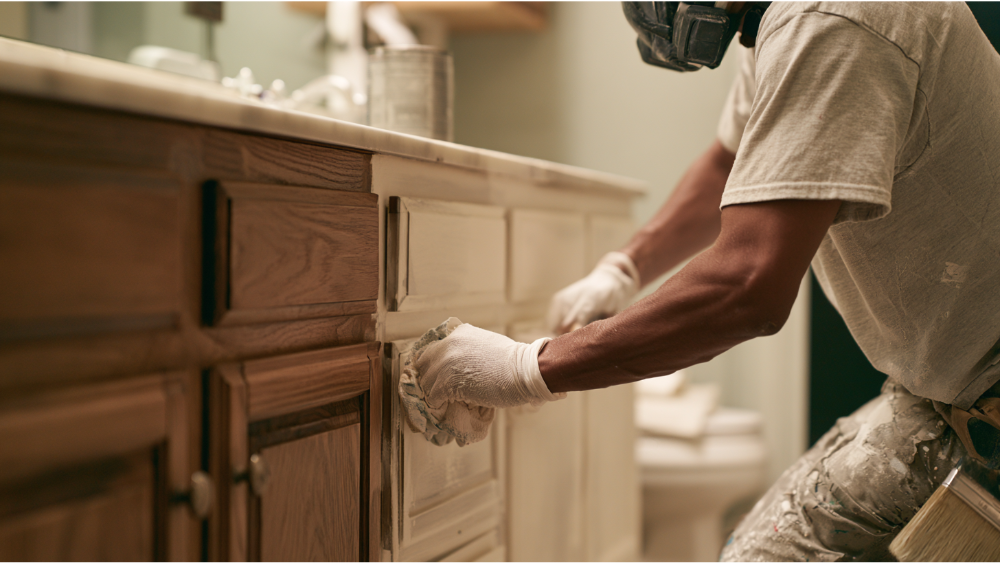
Prep is the whole durability story. Nearly every case of peeling or chipping traces back to a skipped step here. Take your time with this part of the project.
- Remove all cabinet doors, drawers, drawer fronts, and hardware, including the hinges.
- Label each door and drawer so it returns to its exact opening later.
- Clean and degrease every surface, then rinse. Soap, lotion, and hairspray residue will ruin adhesion if left behind.
- Scuff-sand glossy or finished surfaces with medium-grit sandpaper, around 150-grit, so primer has something to grip. Lightly sand the flat surfaces and the profiled edges alike.
- Fill nail holes and repair loose edges with wood filler, then sand those spots smooth. To completely remove an old failing finish, sand back to a sound base first.
- Vacuum the sanding dust, then wipe everything down with a damp cloth. A gritty surface leaves a gritty finish.
After priming, a light pass with 220-grit gives you a smoother feel before the topcoat, and it helps the next coat go on without uneven paint buildup. Miss the cleaning or the sanding and the paint has nothing to hold onto.
Choosing the Right Paint and Primer for Bathroom Vanity Cabinets
Pick primer by the problem you're solving, not by the label on the shelf. For slick, glossy, or laminate surfaces, use a bonding primer so the paint actually adheres. For stained wood or anything with bleed-through risk, a stain-blocking primer (shellac or oil-based) keeps tannins and old stain from ghosting through your fresh color.
Be honest with yourself about paint-and-primer-in-one products. On bathroom vanity cabinets, where adhesion and moisture are both in play, they're often not enough. A dedicated primer step is cheap insurance for a finish you don't want to redo in two years. Getting the right paint on top of the right primer is what makes the difference between a coat of paint that lasts and one that fails. Whether you pick a light color or a dark color, the primer underneath is what lets the paint adhere for the long haul.
Choosing Paint and Sheen: Satin or Semi-Gloss?
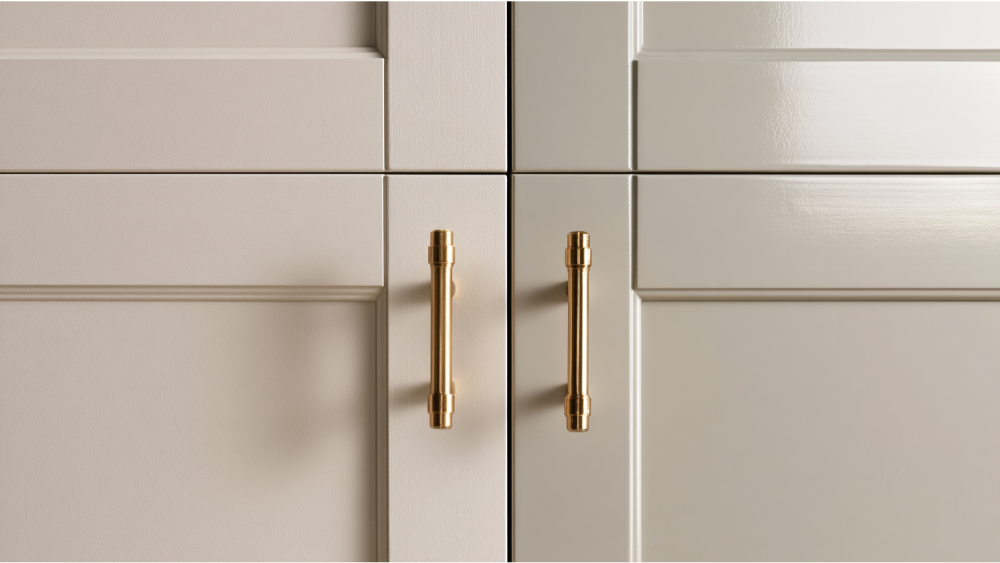
Reach for a cabinet-grade enamel or trim/cabinet coating. A waterborne alkyd or urethane-modified acrylic enamel dries to a hard, moisture-resistant film that stands up to daily wear far better than standard wall paint. Brands like Sherwin Williams make enamels in this category, but the product type matters more than the label. When you visit the paint store, read the paint and primer instructions on the can before you commit.
For sheen, satin is durable and easy to wipe down. Semi gloss holds up especially well in moisture-prone spaces and resists water better than a flat finish, which is why it's a common choice for a painted bathroom vanity. If low-VOC matters to you, Green Seal generally considers nonflat paints under 100 g/L to be low-VOC, and zero-VOC products are generally under 5 g/L. Ventilate well during application either way. What matters is the product category and how it's applied, not chasing a specific Sherwin Williams line over another.
How to Paint Bathroom Vanity Doors and Drawers: A Step by Step Guide
Gather your painting tools before you start so you're not hunting for a brush mid-project. You'll want a drop cloth, painter's tape, a quality brush, a foam roller, and your primer and paint. With the right tools staged from the shop, the work moves cleanly.
- Protect the room. Lay a drop cloth on the floor, run painter's tape along the bathroom walls and vanity top, and mask or remove any hardware you're keeping. Tape near the mirror if it's close to the vanity.
- Set cabinet doors and drawer fronts flat on a covered surface so you can paint them lying down.
- Apply primer to the boxes and pieces, then let it dry fully.
- Brush the corners and detail areas, then use a foam roller on the flat surfaces. A foam roller gives you a smoother finish with fewer marks and helps you avoid drips on vertical edges.
- Apply the first coat of paint in thin, even passes. Resist the urge to lay it on thick.
- Let it dry completely, lightly sand, wipe the dust, then apply a second coat in another thin, even pass. Two thin coats beat one heavy coat every time.
- Reassemble only after the appropriate dry period, returning each door and drawer to its labeled spot. A clear coat over the enamel is optional if you want extra protection.
How Long Before You Can Use Your Painted Bathroom Vanity?
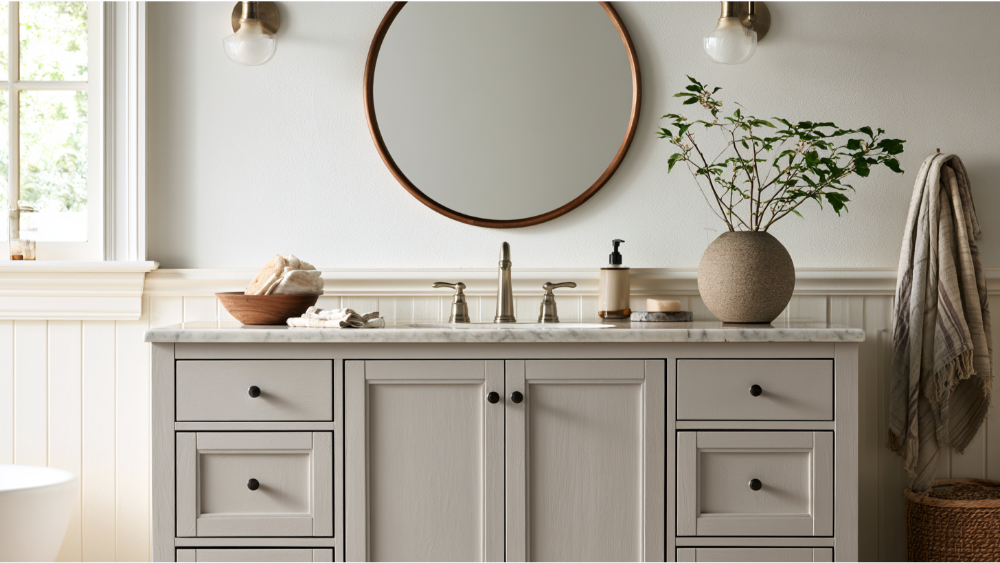
This is where a lot of good paint jobs get wrecked. "Dry to touch" is not "ready to use." The painted surfaces can feel dry in a few hours while the film underneath is still hardening for weeks, so give a fresh coat plenty of cure time.
As a product-specific example, one waterborne alkyd enamel lists about 4 to 6 hours dry to touch and roughly 16 hours to recoat at 77°F and 50% relative humidity, with heavy use held off for 3 to 5 days and up to 30 days for full hardness. These are examples, not universal rules: your numbers shift with the product, temperature, and humidity, so always follow the label.
Let the doors and drawers dry a few days before reinstalling, and reattach hardware only after the paint is completely dry and the new coat has cured. Put each piece back in its labeled opening, and drill fresh holes if you're switching to a different hardware style. New hardware is one of the easiest ways to make a painted bathroom vanity feel fully renewed and ready for regular use. Poor ventilation and high humidity stretch every one of these timelines.
Older Home? Check Lead-Safe Requirements Before You Lightly Sand
If your home was built before 1978, the existing paint may contain lead, and sanding or scraping can release it. The CPSC banned lead-based residential paint in 1978, and paints at or above 0.009% lead by weight are banned hazardous products. Under the EPA's Renovation, Repair, and Painting rule, contractors paid to disturb more than about 6 square feet inside a room of a pre-1978 home must be certified and use lead-safe practices, and the surfaces must be tested or presumed to contain lead. Cover Pro Painting is EPA Lead-Safe (RRP) Certified, which matters on older vanities where sanding is unavoidable.
Should You DIY or Hire a Professional?
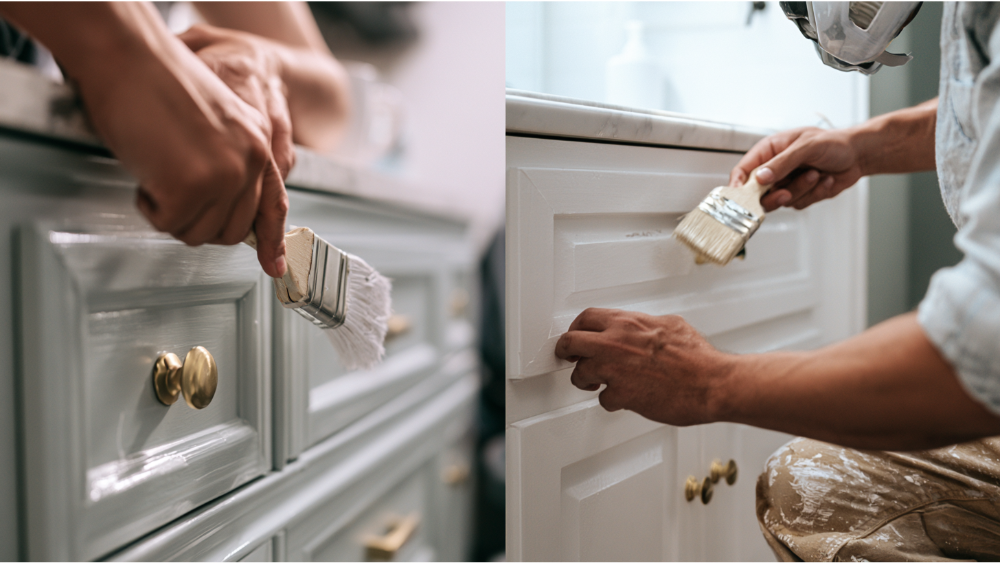
A small, stable, solid-wood vanity in good shape is a reasonable weekend project if you're comfortable with careful prep. Lean toward a pro when the cabinet doors and drawers are glossy or laminate, previously painted and failing, in a high-use primary bath, in a pre-1978 home, or part of a larger interior painting job that also touches the surrounding walls.
When we take on cabinet refinishing, you get proper surface prep, a clean work area, premium products, and clear communication start to finish, plus a transparent estimate with no surprises. Clean up your brushes with fresh water if you're using a waterborne product, and store leftover paint sealed. And if there's rot or damaged material behind the vanity, the same team handles that too, so nothing gets patched over instead of fixed.
Start With a Free Estimate
Cover Pro Painting handles interior painting and cabinet refinishing for homeowners and businesses across the greater Seattle-Tacoma area, including Edgewood, Federal Way, Tacoma, Puyallup, Kent, Bellevue, and surrounding cities, from our home base in Edgewood, WA. We don't post fixed prices online because every project is different, so we give you a clear estimate before work begins. First-time customers get 10% off, and 0% APR financing is available. Get a free estimate by calling 206-222-0435. Don't see your city listed? Contact us to confirm service availability.
Is painting cabinets in a bathroom a good idea?
Yes, when the cabinets are structurally sound and prepped correctly. It's a cost-effective way to update a bathroom and delivers clean, long-lasting results without the expense of full replacement.
What kind of paint do you use to paint bathroom vanity cabinets?
A durable cabinet-grade enamel, either a waterborne alkyd or a urethane-modified acrylic, in satin or semi-gloss. Those finishes resist moisture and wipe clean easily, which is exactly what a bathroom demands.
Is it better to spray paint or brush paint cabinet doors?
Spraying can produce the smoothest finish, but it takes more masking and skill. For most DIYers, a quality brush paired with a foam roller gives excellent, even results on doors and drawers alike.
What is the most popular color for a painted bathroom vanity?
Soft whites, warm greiges, and muted blues and greens are consistently popular. A color consultation helps you match the shade to your space and lighting so it looks right in the room, not just on the chip.
