



Paint on the Ceiling Bubbling? Here's What It Means and How to Fix It

Key Takeaway
Paint on ceiling bubbling is most often caused by water from a roof or plumbing leak, or condensation from high humidity, breaking the paint film's bond with the surface beneath it. The bubble is evidence of a problem, not the problem itself. Stop the moisture source, let the area dry fully, scrape back loose paint, prime, and then repaint for a lasting fix.
Ceiling paint bubbles when the paint film loses its grip on the surface underneath, most often because water from a roof or plumbing leak, or condensation from too much humidity, has reached the ceiling. Smaller bubbles can come from poor surface prep or a rushed application. Either way, the bubble is evidence, not the problem itself. If you've spotted raised or blistered paint overhead and you're wondering whether it's urgent, what caused it, and how to fix paint bubbles so they stay fixed, the key is simple: find and correct the cause before you ever pick up a roller again.
First: Is a Bubbling Ceiling Dangerous?
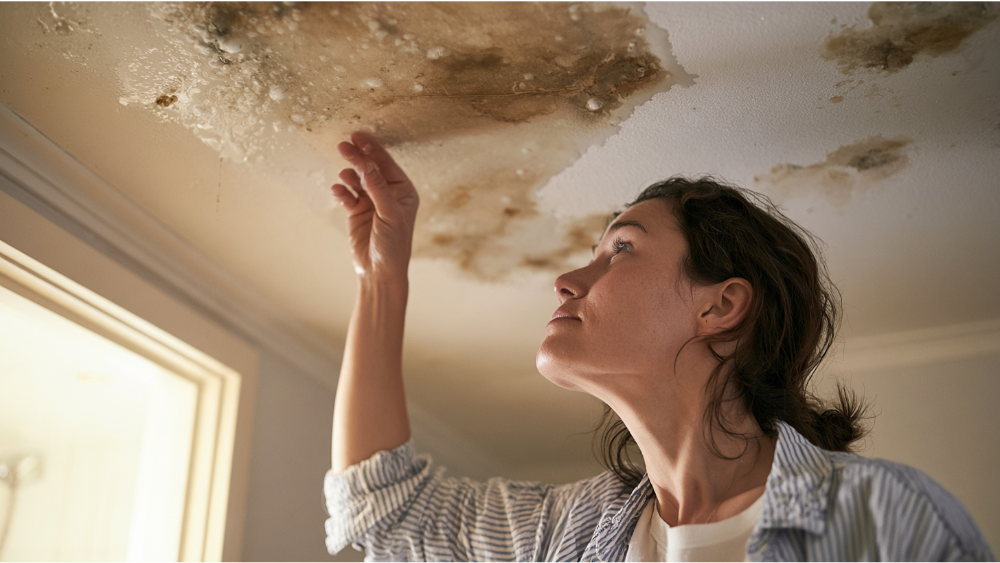
Before anything else, check for safety. A ceiling that's sagging, soft, holding water, or wet near a light fixture should be treated as a water and electrical hazard, not a paint project. An active roof leak can pool water above the drywall, and FEMA warns that water trapped in a sagging ceiling can be unsafe. Keep people out of the area.
If water is anywhere near wiring, don't touch wet electrical equipment, and don't flip a breaker with wet hands. The Electrical Safety Foundation recommends having water-affected electrical components evaluated by a qualified electrician before power is restored.
Watch for these red flags:
- Sagging, bowed, or bulging drywall
- A bubble that's visibly filled with water
- Water near a light, fan, or smoke alarm
- Pieces of drywall or plaster starting to fall
Don't casually puncture a water-filled bubble. It's safer to have the ceiling evaluated first.
Blistered Paint vs. Foaming: Two Different Kinds of Paint on Ceiling Bubbling
"Paint bubbling" actually describes two different failures, and they need different fixes.
Blistering (or delamination) is when dried paint lifts away from the drywall, plaster, primer, or an old paint coat because the bond failed. These paint blisters look like spongy round bumps, and when it gets worse the paint can start peeling off in larger sheets. Moisture is the usual culprit, but contamination, a glossy surface, incompatible layers that cure at different rates, or skipped prep can all break the adhesion and leave you with blistered paint.
Foaming (or cratering) happens during application, when small bubbles appear in fresh paint while you're rolling. This is a technique and conditions issue, not hidden moisture. Telling the two apart early saves you from treating a cosmetic problem like a plumbing emergency, or the reverse.
What the Type of Bubble Tells You
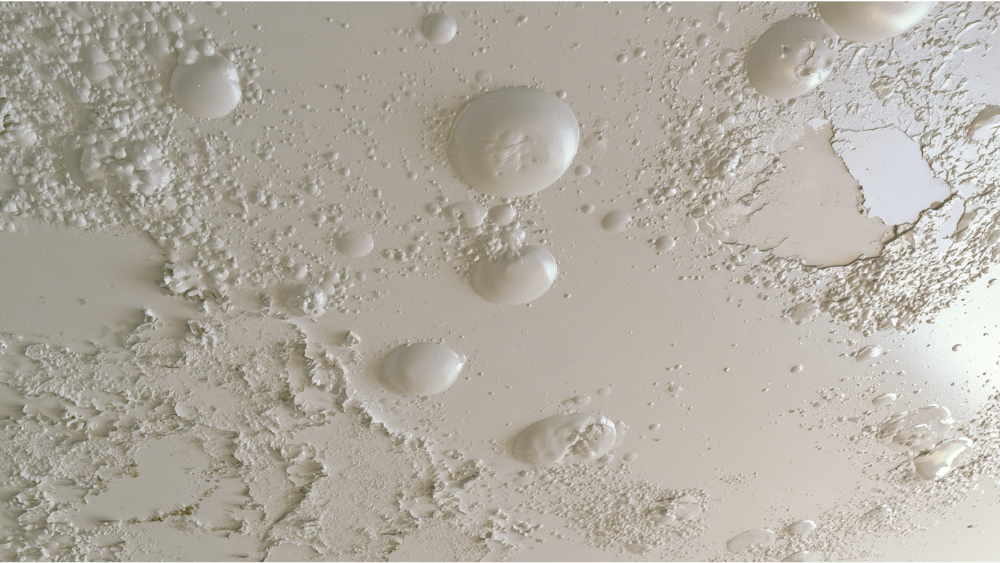
These are clues, not proof. Water travels along framing, pipes, and drywall seams before it shows up, so the bubble may not sit directly below the moisture source.
Why Paint on the Ceiling Bubbling Is Commonly Caused by These Issues
- Roof or flashing leak: rain finds its way in and pools above the drywall, breaking the paint's bond.
- Plumbing leak from above: a pipe, fixture, appliance, or upstairs bathroom dripping moisture into the ceiling cavity.
- Condensation and bathroom humidity: steam settles on a cool ceiling and saturates the paint film over time.
- Sweating HVAC duct or cold pipe: moisture condenses on cold surfaces in the attic or ceiling space.
- Dirty, glossy, chalky, or unprimed surface: paint can't grab an underlying surface that wasn't cleaned or primed, and grease or oil left behind makes it worse.
- Incompatible layers: rolling latex paint over a glossy oil based paint or alkyd paint coat without prep leaves the new paint with nothing to hold onto.
- Trapped moisture during application: painting over a primer that's still wet traps moisture and lifts the film.
Why Does Ceiling Paint Bubble While You're Painting?
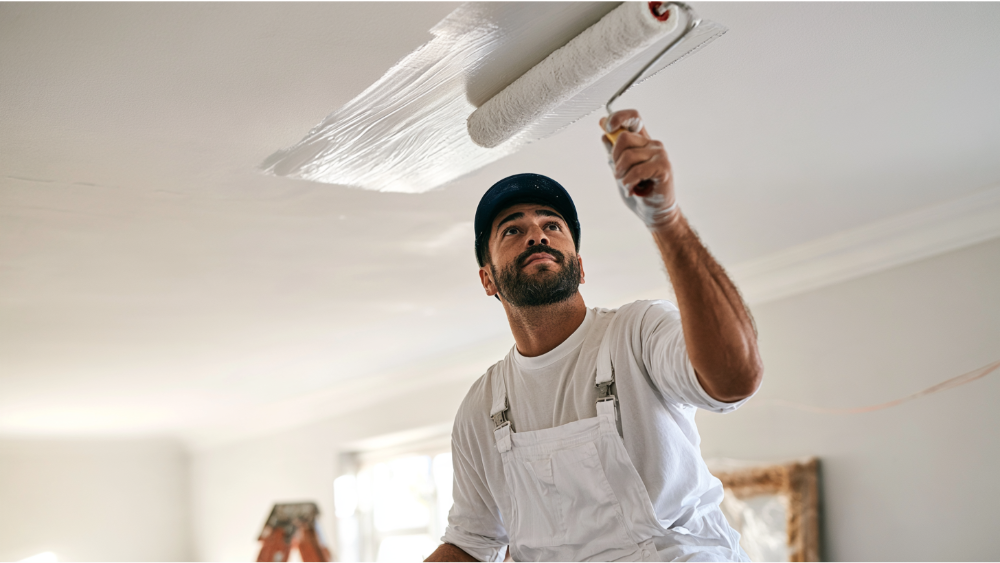
Bubbles that show up as you roll are usually foaming, not water. The triggers are overworking the roller, moving too fast, trapping air, using the wrong roller cover, painting in high heat, or coating a porous, unsealed surface that drinks in the paint. Recoating over a primer that hasn't dried does it too, and so can rolling latex paint too aggressively in a warm room.
The fix is often patience. Let the base coat dry and see whether the bubbled areas level out into a smooth film on their own before you chase them. Thin coats help, since a heavy pass traps more air than it releases. Then follow the product label: use the recommended roller nap, keep the room in the 50 to 85°F range the paint is formulated for, watch the humidity and heat, and respect the recoat window instead of rushing the second coat.
How to Find the Source Before You Repair
Play detective before you patch anything. Does the bubbling paint change after rain? That points to the roof. Does it flare up after showers? That points to the bathroom. Look at what sits directly above the spot: a room, plumbing, ductwork, or a section of roof. Check for stains, soft spots, a musty odor, or any sag. Hidden moisture in the cavity often shows itself before the bubble spreads.
A moisture meter can help, but with limits. It's good for comparing wetter and drier areas, not for producing a magic "safe to paint" number. The Gypsum Association notes there's no industry-standard acceptable free-moisture level for gypsum board, so don't trust a made-up percentage or a fixed "wait X days" rule. And don't cut open a questionable ceiling before you've accounted for electrical, lead, and asbestos risks.
How to Fix Paint Bubbles on a Ceiling for a Long Lasting Finish
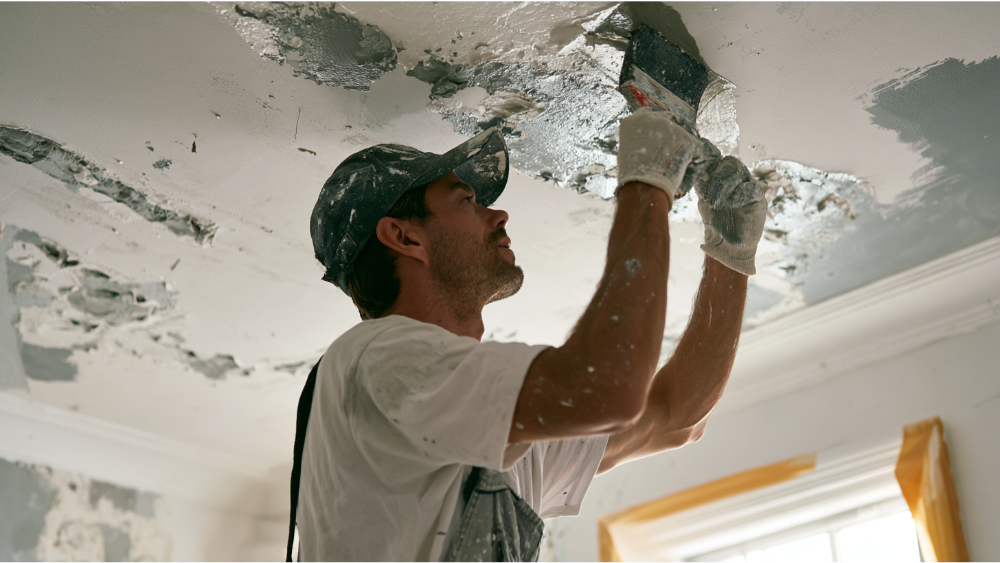
- Stop the water or humidity source. A new layer over an active leak just hides the moisture temporarily.
- Dry the assembly. EPA advises drying wet materials within 24 to 48 hours to limit mold.
- Evaluate whether the drywall or plaster can stay. Sound material can be repaired; damaged material can't.
- Remove only the loose paint and failed coating, scraping back to a sound surface using appropriate safety practices (more on older ceilings below) until it's completely removed.
- Repair and smooth the surface with patching and joint compound, then lightly sand the area smooth and flat.
- Prime for adhesion and stain control, using a stain blocker, and a latex primer where you plan to top-coat with latex paint over water staining.
- Apply the finish per the product instructions, allowing full dry time between coats.
- Correct the ventilation so the moisture that caused this doesn't bring it back.
Lasting results start with a dry, stable, properly prepared surface. Proper preparation isn't a step you skip to save an afternoon. It's the whole reason the finish holds and the paint film stays put. Skipping primer is one of the fastest ways to invite more problems down the road.
When Does Water-Damaged Drywall Need to Be Replaced?
The Gypsum Association says water-exposed drywall should be replaced unless all of these are true: the source was found and stopped, the water was clean, the panel dried before mold began (that 24 to 48 hour window again), and it's still structurally sound, meaning no swelling, crumbling, sag, failed seams, or rusting fasteners. EPA agrees drywall may dry in place if there's no obvious swelling and the seams stay intact.
Soft, crumbly, swollen, or sagging drywall isn't a paint repair. It's a materials repair, and the right repair materials make the difference between a patch that lasts and one that fails. If you see visible mold spreading past about 10 square feet, EPA recommends professional help. Keeping indoor humidity below 60%, ideally in the 30 to 50% range, helps prevent the next round of water damage.
Preventing Bathroom Paint on the Ceiling Bubbling
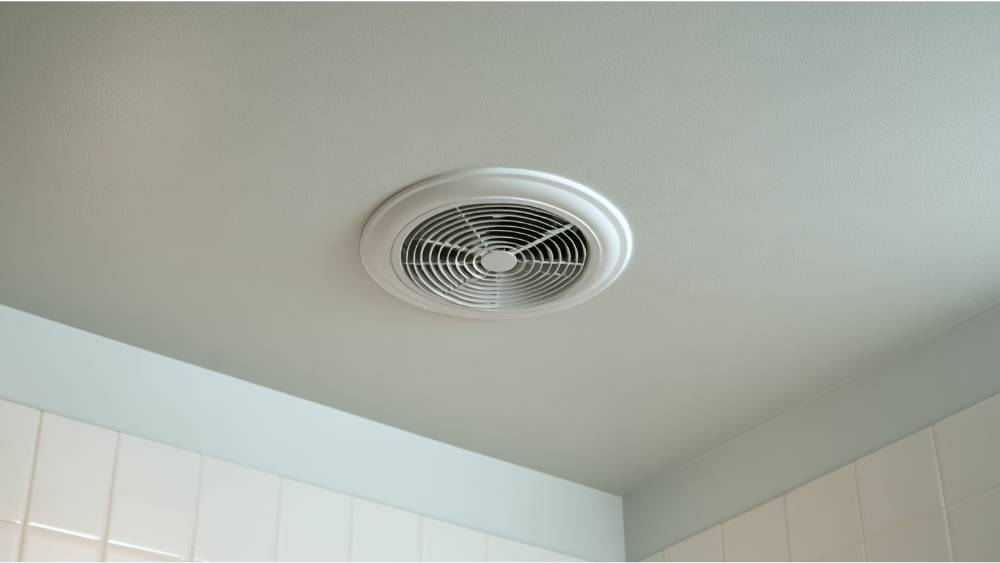
Bathrooms are the repeat offender because steam has nowhere to go. A few habits keep the ceiling surface dry:
- Vent the fan outdoors, not into the attic. Both EPA and the Department of Energy's Building America program are clear on this.
- Use enough fan capacity. Washington's residential code currently calls for 50 cfm intermittent or 20 cfm continuous bathroom exhaust (WAC 51-51-1505). Note the 2024 codes are scheduled to take effect May 3, 2027, so recheck after that.
- Run exhaust fans long enough. Building America recommends leaving an intermittent fan on for about an hour after a shower.
- Clean the fan and check the exterior outlet so moist air actually escapes.
In the cool, wet Seattle-Tacoma area, condensation and attic moisture are especially worth ruling out before you blame the paint. The same humid weather and high humidity that bubbles a flat ceiling paint can lift exterior paint on the eaves and soffits of your house too.
Safety Rules for Older and Textured Ceilings
If your home was built before 1978, disturbing painted surfaces can trigger lead-safe RRP requirements. The federal threshold generally kicks in past 6 square feet of interior painted surface per room, and Washington runs its own RRP program through the Department of Commerce. Cover Pro Painting is EPA Lead-Safe (RRP) Certified, which matters when older ceilings and interior walls are involved.
Textured and popcorn ceilings carry a separate concern: they can contain asbestos. Washington L&I lists ceiling texture among materials that may contain it, and EPA says lab testing by an accredited inspector is the only reliable way to confirm. Don't sand or start scraping a suspect textured ceiling until asbestos requirements have been addressed.
DIY Fix or Call a Professional?
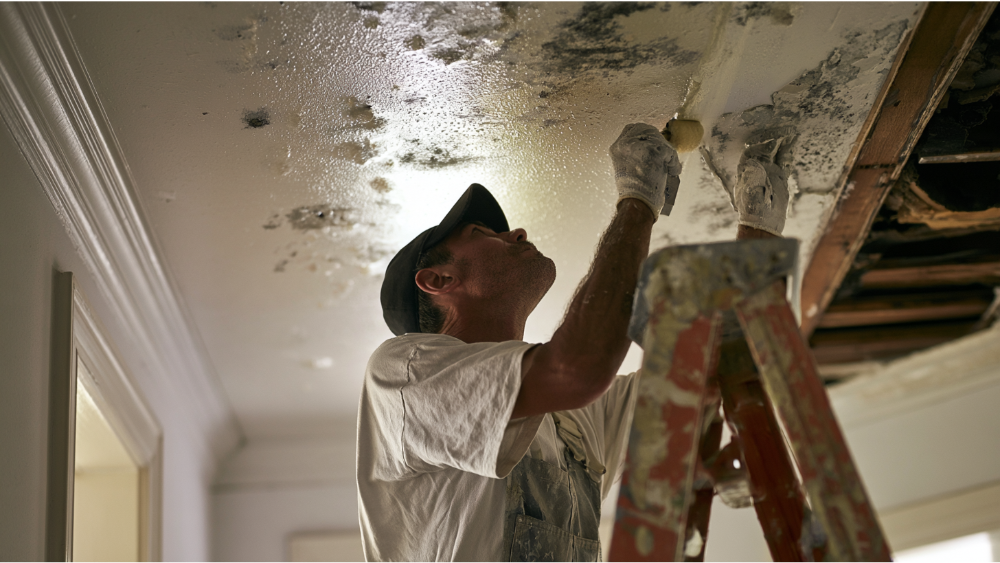
A small, dry, stable adhesion defect is reasonable to tackle yourself. Call a pro when there's an active leak, soft or sagging drywall, widespread or recurring paint bubbling, suspected mold, or a pre-1978 or textured ceiling.
Match the symptom to the right trade:
- Bubbling after rain → roofing professional
- Pipe, fixture, or upstairs bathroom → plumber
- Condensing duct or weak ventilation → HVAC/ventilation pro
- Sagging or extensive damage → water-restoration or qualified repair contractor
- Water near wiring → electrician
- Dry, stable adhesion failure → professional painters
- Pre-1978 paint disturbance → RRP-certified firm
- Suspect popcorn or texture → accredited asbestos inspector first
Whoever you hire for the repair work, verify their Washington contractor registration through L&I.
How Cover Pro Painting Approaches Ceiling Paint Failure
We don't treat bubbling paint as a cosmetic problem until we know the ceiling is dry, completely dry, sound, and ready for proper surface prep. That means stopping the moisture source, scraping back the failed paint film, repairing the surface, and priming it before a single finish coat goes on. Alex, our founder, personally oversees every project, and our team brings over 100 years of combined painting experience across 13-plus years in business. We're licensed, bonded, and insured in Washington State, and EPA Lead-Safe Certified for older homes.
If there's rot or damaged drywall behind the failure, our full-service team handles the repair too, so you're not juggling multiple contractors. You'll get a transparent estimate and clear communication from start to finish, inside and out, from your interior ceilings to the home exterior. We serve Edgewood and the greater Seattle-Tacoma area. Start with a free estimate and see exactly what your ceiling needs. Call 206-222-0435 or request your free painting estimate online.
Frequently Asked Questions
Does bubbling paint mean water damage?
Moisture is the most common cause, but not the only one. Contamination, a glossy surface, incompatible paint layers like latex over oil based, or application foaming can all do it. Bubbling is commonly caused by hidden water, so diagnose the cause before assuming the worst.
Why is my ceiling bubbling even though there's no leak?
Condensation, bathroom or kitchen humidity, a sweating duct, or poor prep and incompatible layers can all bubble paint with no active leak present. Low heat and trapped moisture during drying can also leave blistered paint behind.
Should I pop a water bubble in my ceiling?
No. Keep people away and treat a water-filled or sagging bubble as a safety issue. Have it evaluated, especially if it's near a light or fan.
Can you paint over bubbled paint?
No. Painting over it traps the problem and the paint film lifts again. Stop the source, dry the area, remove loose paint by scraping, repair and sand the surface smooth, prime with the right primer, then repaint for a smooth finish.
How long must a ceiling dry after a leak before repainting?
There's no universal timeline. EPA advises drying materials within 24 to 48 hours to limit mold, but actual readiness depends on how much moisture the assembly took on and the drying conditions. Never repaint a surface that's still wet.
