



Interior Limewash Paint: What to Know Before You Use It
Key Takeaway
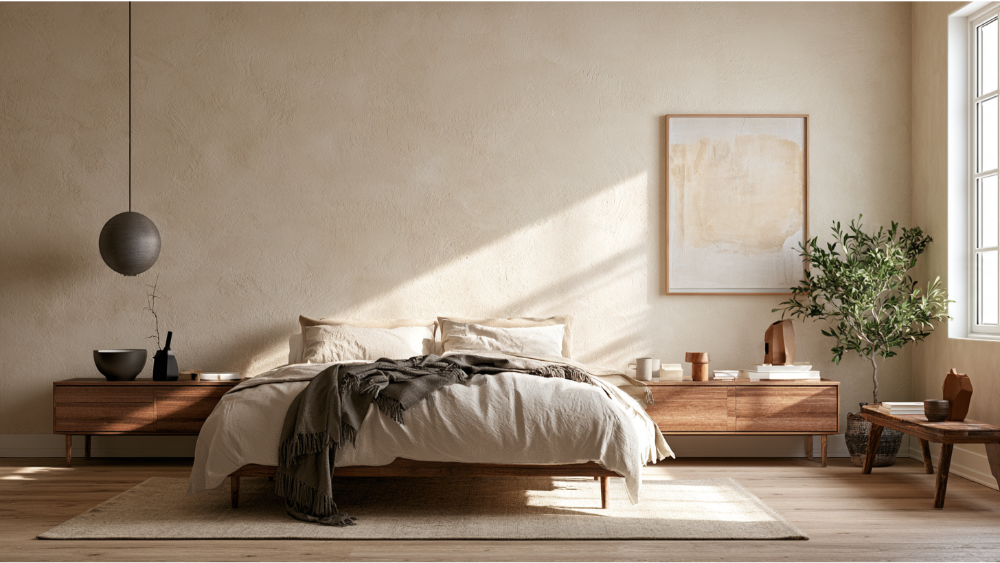
Limewash paint interior walls with a mineral-based finish that soaks into porous surfaces and cures into a soft, matte texture with natural color variation. Two coats are typically recommended, and coverage runs roughly 150 to 175 square feet per gallon per coat. Surface preparation and primer compatibility matter more than the paint itself. It is not suited to direct wet zones or high-scrub areas without a protective sealer.
Is Limewash Paint Good for Interior Walls?
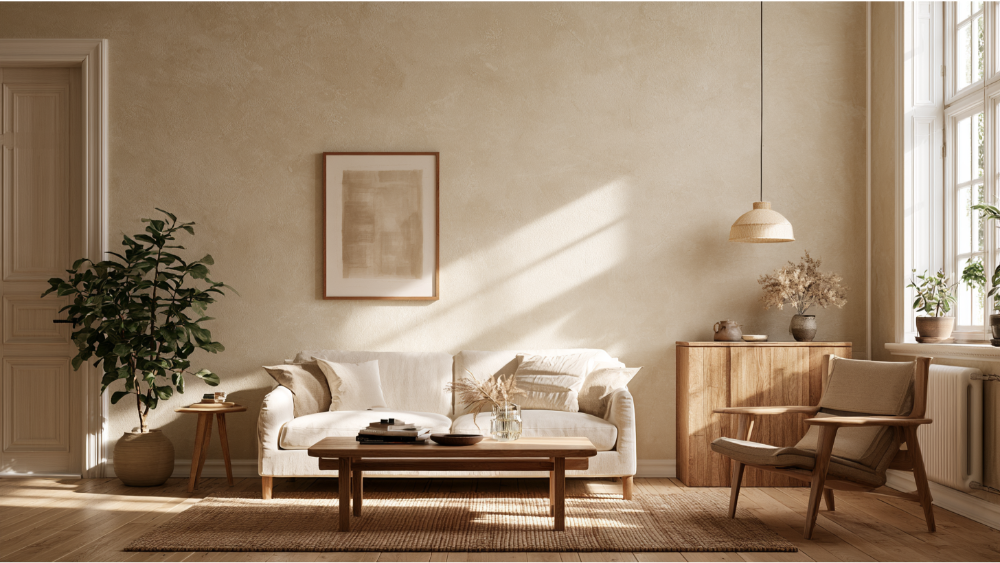
Interior limewash is a mineral-based paint that creates a soft, matte finish with natural tonal movement. It can go over new drywall and existing wall paint, but those surfaces usually need a compatible primer, and the finish is generally less scrub-resistant than regular wall paint. If you like depth and gentle colour variation more than a perfect wall finish, limewash paint is worth a serious look. It won't crack or peel from UV exposure the way some paint films do, and two coats are typically recommended to build depth. Here's the honest part most trend articles skip: the wall beneath the finish matters as much as the finish itself. Prep is what decides whether limewash looks beautiful in five years or patchy in one.
What Is Lime Wash Paint, and How Is It Different From Traditional Paint?
Traditional limewash is made from slaked lime (calcium hydroxide), water, and mineral pigments. These natural ingredients cure as the lime paint absorbs carbon dioxide from the air and hardens into calcium carbonate, essentially turning back into a form of soft stone on your walls. People have used it since ancient civilizations, which is part of its appeal. That chemistry explains the velvety finish you see: a matte surface with natural colour variation across it.
The big difference from ordinary wall paint comes down to how each one grips the surface. Conventional interior paint forms a film that sits on top of the walls. Limewash is a mineral finish that bonds by soaking into a porous surface. That's why wall condition and porosity matter so much for coverage and adhesion. A surface that can't absorb the limewash properly won't hold it well, which is the root of most limewash problems. Traditional paint hides the wall; lime wash becomes part of it.
True Limewash, Lime Paint, and the Faux Limewash Look
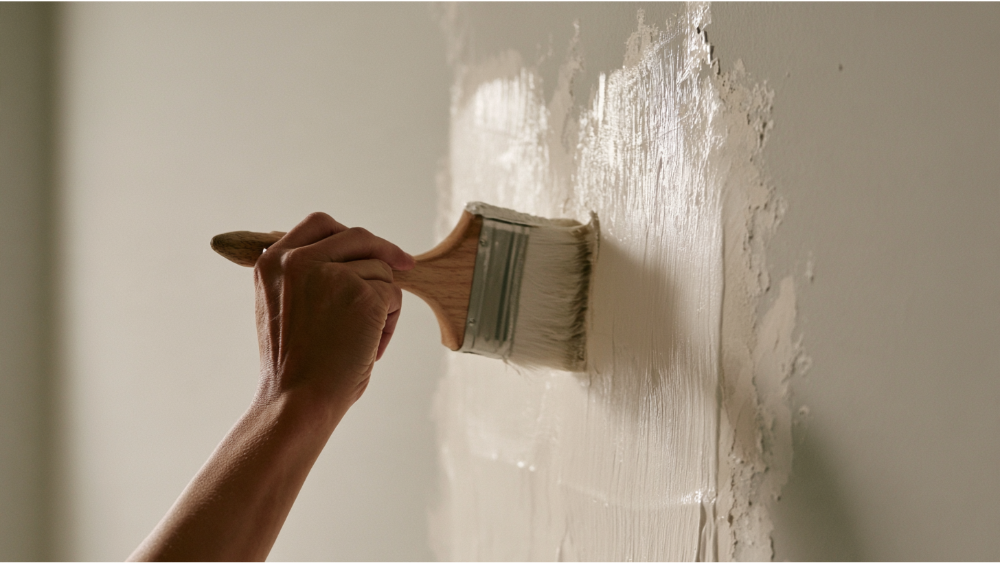
Three different things get called "limewash," and mixing them up leads to bad advice:
- True traditional limewash: lime and water with mineral pigments, relying on absorption and carbonation. These are the original natural ingredients.
- Modern lime paint or mineral wash: often includes binders or comes as part of a multi-product system with primers, densifiers, or sealers.
- Faux limewash look: a decorative effect you create with regular paint and glaze, not a mineral finish at all.
The label on the can does not tell you the application process or what the surface needs. Always follow the specific product's current technical data sheet rather than treating every "limewash" as the same thing.
Interior Limewash Paint Pros and Cons
A couple of these deserve a caveat. "Breathable" means the paint lets moisture vapor pass through; it does not mean the wall is mold-proof. The low-emission, minimal environmental impact appeal belongs to a specific product, not the whole category, since primers, pigments, and sealers can change the emissions of the complete system. Because true limewash is virtually odorless, many people find it a healthy choice for a lived-in space.
Can Limewash Go Over Your Existing Walls? (Drywall, Painted, Brick, and More)

It depends almost entirely on what's already on the walls. Use this as a starting guide, then confirm against your chosen product's data sheet.
A common approach for drywall and painted walls is one coat of a compatible bonding primer followed by two limewash coats. The point to hold onto: primer choice has to match the limewash paint system you selected.
Why Surface Prep Decides Whether Limewash Lasts
This is where good limewash is won or lost. Before any colour goes on, the walls need to be cleaned, damage repaired so patches don't show, and absorbency made uniform across the whole surface. Then comes the compatible primer, and a large sample area tested in the actual room, because limewash colour shifts noticeably with light and with the surface underneath it. A quick practical tip: order roughly 15 to 20 percent more paint than you think you need, often an extra gallon or two, so touch-ups match later. Keeping a little extra in stock also helps if you want to blend a repair.
Older-home lead note: Homes built before 1978 may contain lead paint. Sanding, scraping, or disturbing those coatings can fall under the EPA's Renovation, Repair and Painting Rule, with a general minor-repair exemption of about 6 square feet per room indoors. We're EPA Lead-Safe (RRP) Certified, so this gets handled correctly when prep touches old paint.
What the Limewash Paint Interior Application Process Involves
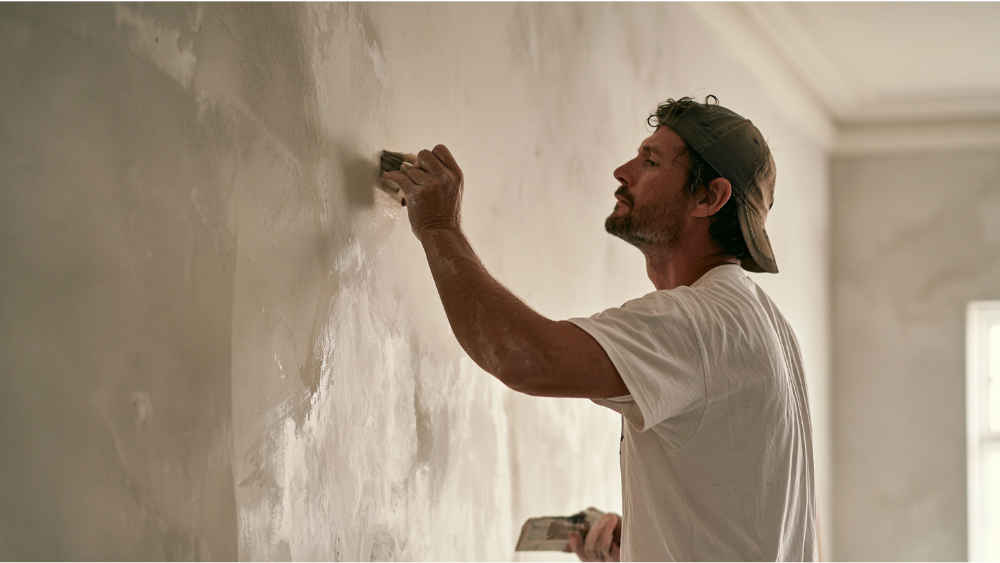
The general process is consistent even when the exact recipe isn't. You mask and protect the room, prime the surface, then apply thin layered coats with a block brush using random, multi-directional broad strokes. Those overlapping brush strokes are what build the subtle texture and the durable mineral bond. The first coat often looks uneven, and the second coat is where the depth comes together, so don't judge too early. Limewash looks darker and more transparent when wet and dries to a lighter, more opaque colour, so resist the urge to judge it while it's still damp. Let each coat dry fully, and wait until the finish is dry before pulling tape.
Coverage runs roughly 150 to 175 square feet per gallon per coat on porous surfaces, with two coats typical for depth. A single gallon stretches further on smooth drywall and less on raw masonry, so measure before you buy. To create natural movement, many people pick a base colour plus a tone a shade lighter or darker, using a photo or sample for inspiration. A lighter color reads softer and more chalky, while darker colors show more depth. Recoat times are strictly product-specific, with real-world examples ranging from a few hours to overnight to around 24 hours. Brands sold across the USA, including options from Sherwin Williams, publish their own data, so follow the sheet for your product rather than any universal number.
Best Rooms for Limewash, and Where to Think Twice
Where it shines:
- Bedrooms, living rooms, and dining rooms
- Ceilings
- Fireplaces and architectural features, within product limits
- Lower-contact feature walls
Where to be cautious:
- Children's rooms and high-touch hallways
- Mudrooms and walls behind cooking surfaces
- Shower interiors and direct wet zones
- Any wall that needs frequent scrubbing
Limewash can work in a bathroom or kitchen outside the direct wet zones with good ventilation, but it is not a shower coating or a waterproofing system. The CDC recommends keeping indoor humidity no higher than 50 percent and venting exhaust fans outdoors. Fix any leak, condensation issue, or mold before painting. A breathable finish does not fix a moisture problem. Limewash is also used on exterior surfaces like masonry to produce a weathered look, though exterior work brings its own prep and weather considerations.
Sealing, Cleaning, and Painting Over Limewash Later
Sealing: Some systems offer a densifier or sealer for higher-touch areas to make the finish more durable. It can also change the colour, texture, matte look, and breathability, so test it on a sample before committing. It is not an automatic final step.
Cleaning: Don't assume limewash is washable. A gentle wipe with mild soap and water may be fine, but care instructions are system-specific, so follow the manufacturer's guidance. Decide before you apply whether the room really needs a scrub-resistant surface. Mineral finishes can also develop a natural bloom over time, which is normal rather than a defect.
Repainting later: You can paint over limewash, but spot repairs may stay visible, and switching to conventional paint requires proper surface prep first.
DIY vs. Professional Limewash, and a Note for Puget Sound Homes
A small, forgiving feature wall in a lighter color can be a reasonable DIY project if you don't want to bother with heavy prep. Professional help pays off on patched walls, large rooms, ceilings, darker colours, glossy existing coatings, moisture damage, and older homes, where absorbency and brush technique make or break the result. This is also where one team handling both the repairs and the finish matters: damaged drywall, moisture staining, failing coatings, or rot should be corrected before any decorative work. We handle that under one roof, interior and exterior.
Around Edgewood and the greater Seattle-Tacoma area, many homes need moisture control and bathroom ventilation addressed first, and plenty of older houses call for lead-safe prep to achieve a result that lasts. Start with a free estimate and see exactly what your interior painting project will involve. Call us today at 206-222-0435 for a consultation on the desired look and the right finish for the room. If you want product ideas, your local paint store is a good place to gather color inspiration before we meet.
Frequently Asked Questions
What are the downsides of limewash paint?
Limited washability, a tendency to chalk or mark, colour that varies with light, more demanding surface prep, and it's not suited to direct wet zones like showers.
Is limewash paint a good idea?
Yes, if you value natural matte movement over perfectly uniform colour and your walls and room are a good fit. The prep work is what decides the final result.
Does limewash need a primer on drywall or painted walls?
Usually, yes. Traditional limewash won't bond to latex or acrylic paint without a compatible mineral or bonding primer, and raw drywall may need a sealing primer first.
Is interior limewash washable?
Don't assume so. Washability is system-specific, so follow the manufacturer's care instructions and choose a scrub-resistant finish for high-touch rooms.
How much limewash paint do I need?
Plan for roughly 150 to 175 square feet per gallon per coat on porous surfaces, and buy a bit extra so touch-ups match. Two coats are typical, so a small room often needs more than one gallon.
Can you paint over limewash later?
Yes, but spot repairs can show, and conventional paint needs proper surface prep before it will adhere.
