
%201.svg)


How to Remove Paint From Wood Without Damaging the Grain
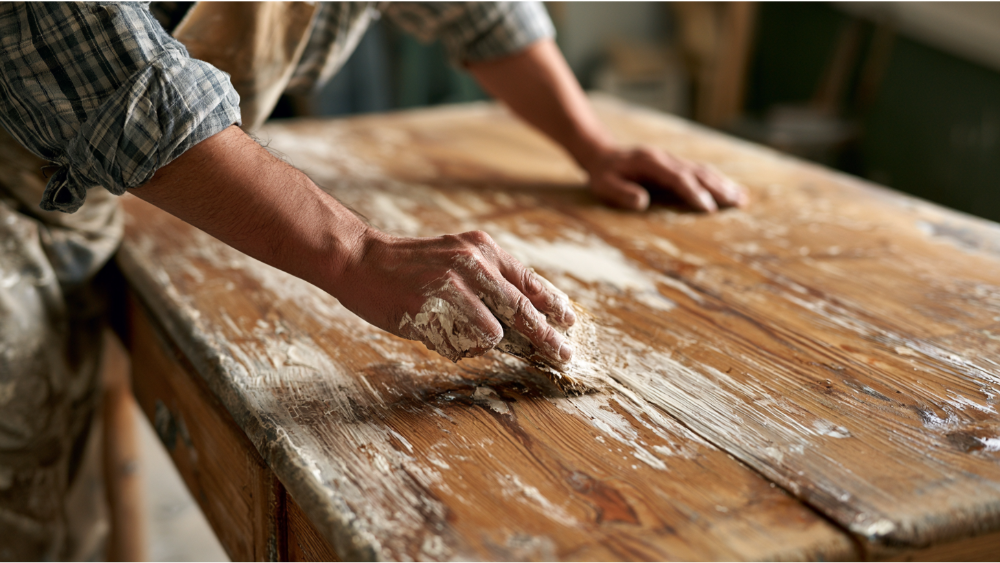
Key Takeaway
To remove paint from wood without damaging the grain, start with the least aggressive method: apply a non-methylene-chloride gel or citrus-based stripper, let it dwell fully, then scrape gently with the grain using a plastic scraper. Reserve sanding for a light final pass at 180 to 220 grit only after most paint is already off. If your home predates 1978, test for lead before doing anything else, since sanding and heat can turn lead paint into airborne dust.
The safest way to remove paint from wood without damaging the grain is to start with the least aggressive method and work up only if you have to. If the surface might predate 1978, test for lead first. Then soften the paint with a non-methylene-chloride paint stripper or controlled low-temperature heat, scrape gently with the direction of the wood grain, and finish with light sanding only after most of the old paint is already off. Patience does the real work here. Rushing it, with a torch, heavy grit, or a pressure washer, is what actually wrecks the wood.
This guide is for homeowners refinishing trim, a door, cabinets, furniture, or siding who want the wood and its grain to survive the process. The mindset that keeps you out of trouble is simple: paint stripping is surface preparation, not a demolition job. The goal is to remove the paint that has failed while leaving sound wood underneath. Treat the grain like something you're protecting, not something in your way, and most of the hard decisions get easier.
Before You Start: What Wood Are You Working With and What's the Goal?
Two things decide how aggressive you can safely be, and you should settle both before you touch a tool.
The first is your finish goal. If you're repainting, you don't need the wood perfectly bare. A little residual paint tucked in the grain disappears under primer and two coats of topcoat. If you're planning to stain or go to a clear finish, the standard is much higher. Any paint left in the pores will show, so removal has to be more complete. That changes how much effort, and how much risk, the job is worth.
The second is the substrate. Solid wood can take more than veneer, which is a thin layer over a core and can be sanded through in seconds. Detailed trim and a paneled door have profiles a flat sander can't reach. Exterior siding and decks deal with moisture and weathering that interior furniture never sees. Match the method to the material, not the other way around.
Run through these questions first:
- Is it solid wood or veneer?
- Am I repainting, or planning to stain and clear-coat?
- Is it interior or exterior?
- Could the house or component be from before 1978?
- Are there soft spots, rot, or moisture damage hiding under the paint?
That last one matters more than most people expect. On exterior wood in a wet climate like the Seattle-Tacoma region, paint often masks moisture damage or rot underneath. Testing a small, hidden area with your chosen method before committing to the whole surface saves you from finding out the hard way. The right approach depends on the surface and the goal. There's no universal shortcut that works on every house or every piece.
First Check: Could Your Old Paint Contain Lead? (Pre-1978 Homes)
This is a decision point, not a footnote. Handle it before you pick a method.
The federal government banned consumer lead-based paint in 1978, so anything older is a real possibility. EPA estimates put it in roughly half of homes built before 1978, two out of three built between 1940 and 1960, and nine out of ten built before 1940. The problem isn't the paint sitting on the wall. It's what happens when you disturb it. Sanding, scraping, and burning turn lead paint into fine dust and chips, and even small amounts of that dust put children and families at risk.
If lead is possible, some methods are off the table. The EPA's Renovation, Repair and Painting rule prohibits certain practices on covered work for good reason, and homeowners doing their own projects should follow the same logic even though the contractor rule doesn't legally bind them:
- No open-flame burning or torching of painted surfaces.
- No heat guns above 1,100°F.
- No uncontrolled power sanding without HEPA containment to capture dust at the source.
The honest answer for older homes is that stripping lead paint safely takes containment, HEPA vacuums, and cleanup practices most homeowners aren't set up for. As an EPA Lead-Safe (RRP) Certified contractor, we handle pre-1978 surfaces with proper testing and dust control, which is often the safest route when lead is in play. You can also test a component yourself with an EPA-recognized kit before deciding. Either way, know what you're dealing with before the first scrape.
Chemical Paint Removers: How to Apply Paint Stripper Without Wrecking the Grain
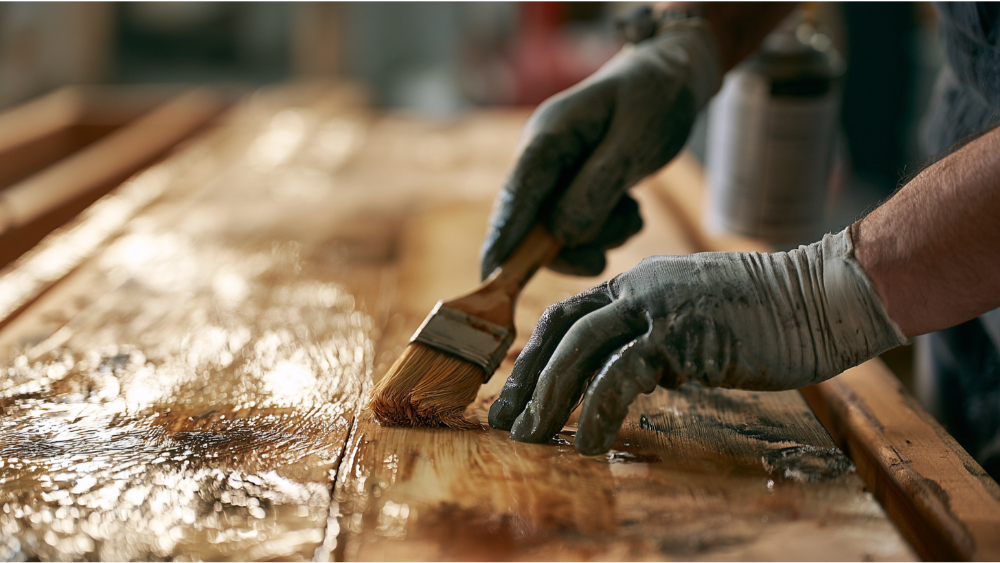
Chemical paint removers shine where sanding can't reach: detailed trim, a paneled door, cabinets, furniture, and anything wearing multiple coats. Done right, these chemicals lift paint without touching the wood surface underneath.
Start with the product. Avoid methylene chloride entirely. EPA prohibited it for consumer paint and coating removal after November 22, 2019, and the 2024 TSCA rule extended the prohibitions further, so if you have an old can containing it, don't use it on this job. Reach instead for a citrus based paint remover or another eco-friendly gel or paste paint stripper. These cling to vertical and detailed surfaces instead of running off, which is exactly what you want on a raised trim profile or a cabinet door.
Here's the working sequence when you apply paint stripper:
- Test a small, hidden area first. Some chemicals darken wood noticeably, and you want to know that before you coat the whole piece.
- Brush on a thick, even coat with a natural-bristle paint brush, moving with the grain.
- Lay a plastic sheet or plastic wrap over the wet stripper. It keeps the product active and stops it from drying out before it's done working.
- Wait the full time on the label. Let the chemistry do the lifting.
- Scrape gently with the grain using a plastic scraper. Softened paint should come off in sheets or ribbons with almost no pressure.
One warning worth taking seriously: strong caustic or alkaline paint removers can pulp and leave a raised grain, leave salts behind in the wood, and cause adhesion problems for whatever finish comes next. That's the opposite of what you're after. USDA Forest Products Laboratory guidance flags this clearly, and it's why gentler formulas are usually the smarter first choice and often the most effective method for delicate work.
Once the bulk is off, clean up the remnants. Mineral spirits and 0000 (extra-fine) steel wool lift stubborn residue from the grain, and a clean rag lets you wipe the surface between passes. Rinse or neutralize according to the label, then let the wood dry completely before any sanding. Stripping is only half the job. Getting to a clean, finish-ready surface is the other half, and skipping the drying and cleanup steps is where a lot of DIY projects go sideways.
On safety: wear chemical-resistant gloves, work with real ventilation, and use a respirator in tight or enclosed spaces. Some chemicals give off oils and vapors you don't want to breathe. Store solvent-soaked rags safely, because they can ignite on their own if you ball them up and leave them.
Heat Guns and Infrared: Softening Paint Without Scorching the Wood
A variable-temperature heat gun softens multiple coats of paint fast, which makes it an effective method for thick, sound paint on solid wood, as long as lead isn't in the picture.
The technique is about restraint. Hold the gun a few inches off the surface and keep it moving. Let the heat soften and melt the paint, then follow behind with a scraper working with the grain. The heat does the work. If you find yourself forcing the scraper, the paint isn't warm enough yet. Park the gun in one spot and you'll scorch the wood, produce smoke, or, worse, push heat into a wall cavity where it can smolder. That's a real fire risk on siding and trim with framing behind them.
Infrared strippers are a gentler alternative worth knowing about. They run around 200°F, far below a standard heat gun that can top 1,100°F. The lower temperature reduces scorching and cuts down on the vaporized-lead-dust risk that high heat creates. It's slower, but it's kinder to the wood grain.
The hard rule stays in place: never use a heat gun, high heat, or open flame on suspected lead paint without lead-safe professional controls. High heat is one of the fastest ways to turn lead paint into an airborne hazard.
Choosing a Method: A Quick Comparison
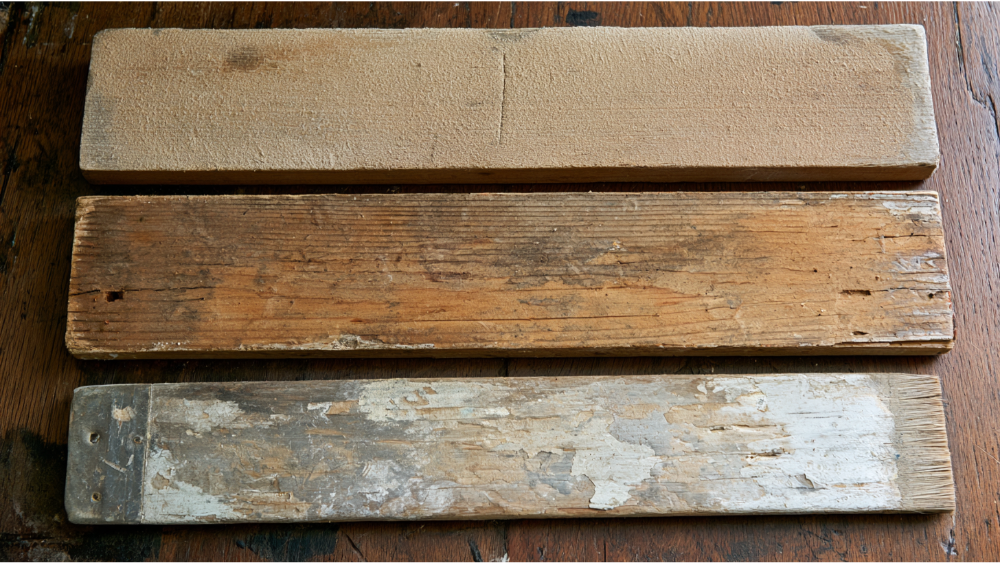
Every method has a place. The trick is matching it to the surface, the finish goal, and whether lead is a factor. This table pulls together the temperatures, best uses, and cautions covered above so you can see the trade-offs at a glance.
Sanding and Scraping: Finishing Tools, Not Starting Tools
Sanding is where most grain damage happens, because people reach for it first and lean on it too hard. It belongs at the end, after a stripper or heat has already done the heavy lifting. Used as a primary way to remove paint, sanding erodes soft earlywood faster than the harder growth rings, rounds over crisp edges, and leaves scratches that show under a clear finish or a coat of stain.
Sanding
On flat solid wood, start only as coarse as the job actually needs, then step down through finer grits. You'll see different DIY progressions recommended, like 80 to 120 to 180, or 80 to 150 to 220. That variety is the point: there's no single universal sequence. The right starting grit depends on whether you're working solid wood, veneer, exterior siding, detailed trim, or stain-grade wood where every scratch matters.
Light final hand sanding is usually 180 to 220 grit, always with the grain, with light pressure. For bare wood on weathered exterior surfaces that's going to be repainted, USDA guidance allows a coarser 50 to 80 grit to knock down the gray surface and feather paint edges, but only when no lead is present. Never sand veneer aggressively, and never dry-sand suspected lead paint.
Scraping and detail tools
Keep scrapers sharp and clean, and reach for plastic or shaped scrapers over metal on delicate profiles. Metal edges dig into soft earlywood and leave gouges you'll be filling later with wood filler. For detail work and residue in tight spots, a brass bristle brush, a wire brush, and steel wool all help, used gently and with the grain. Brass is softer than steel, so the brush clears paint from crevices without scoring the wood. An old toothbrush is handy for the same job on smaller pieces and carved detail. Wipe the profile clean as you go so you can see what's actually left. This slow, controlled work is exactly where patience protects the grain.
How Do You Get Paint Out of Open Wood Grain?
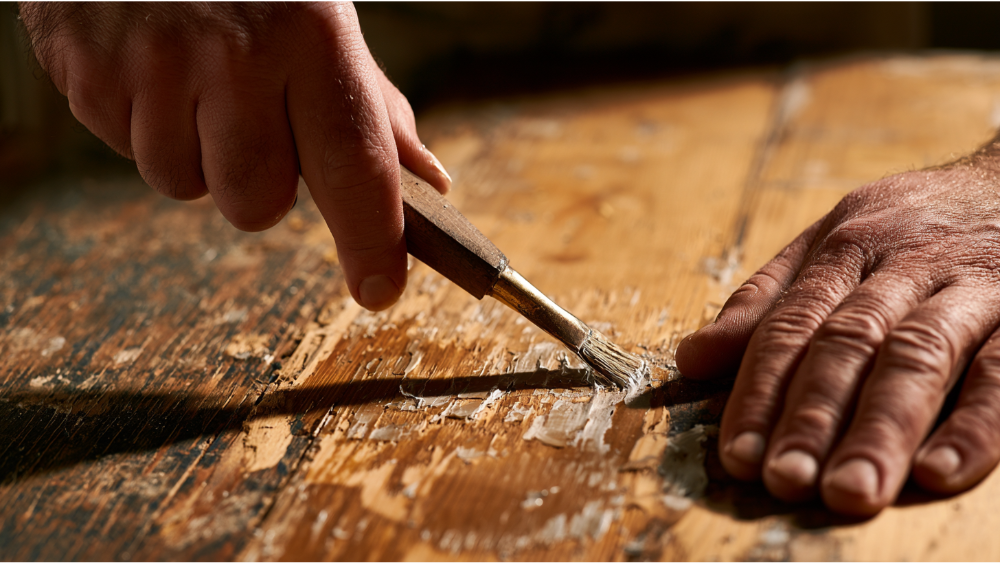
Open-grain woods like oak and ash hold paint deep in their pores, and that's the paint that outlasts everything else. To reach it, reapply stripper to small areas and work it along the grain with a brass or nylon detail brush. Mineral spirits lift stubborn oil-based remnants and any waxy oils in the pores, and denatured alcohol works well on water-based and latex paint. Picks and a dental pick can help in a pinch, but use them sparingly, because it's easy to score the wood while chasing a fleck of pigment. A stubborn line of white paint tucked in oak pores is common, and it usually needs more than one pass and a little elbow grease to remove the paint fully.
Here's the honest part. Some deeply embedded pigment won't fully lift without removing wood along with it. When you hit that point, you have real options: fill the grain, tint or recolor to blend it in, or simply accept the light residue, which usually vanishes under multiple coats of stain or a paint finish. Perfectly bare open-grain wood isn't always realistic, and chasing it with picks and heavy sanding can do more damage to the grain than the leftover paint ever would. Knowing when to stop is a skill. If you plan to refinish with a clear coat, a light final wipe with mineral spirits will show you exactly how the grain will read once the finish goes on.
Bringing Back the Original Finish on Old Wood
Sometimes the goal is not a fresh color but the piece's original finish coming back into view. Once all the paint is off a section of old wood and the surface is clean and dry, you can read what was there before, whether it was a stain, a clear varnish, or bare timber. If only the top layers of paint are hiding a sound original coat, go slowly so you don't cut through it. On furniture that's staying its natural tone, a light rub of paste wax or a fresh coat of wax after the finish cures adds protection and a soft sheen. Work through the layers with care, one at a time, and stop the moment you reach the surface you want to keep.
What Not to Do, Plus Safe Cleanup and Disposal
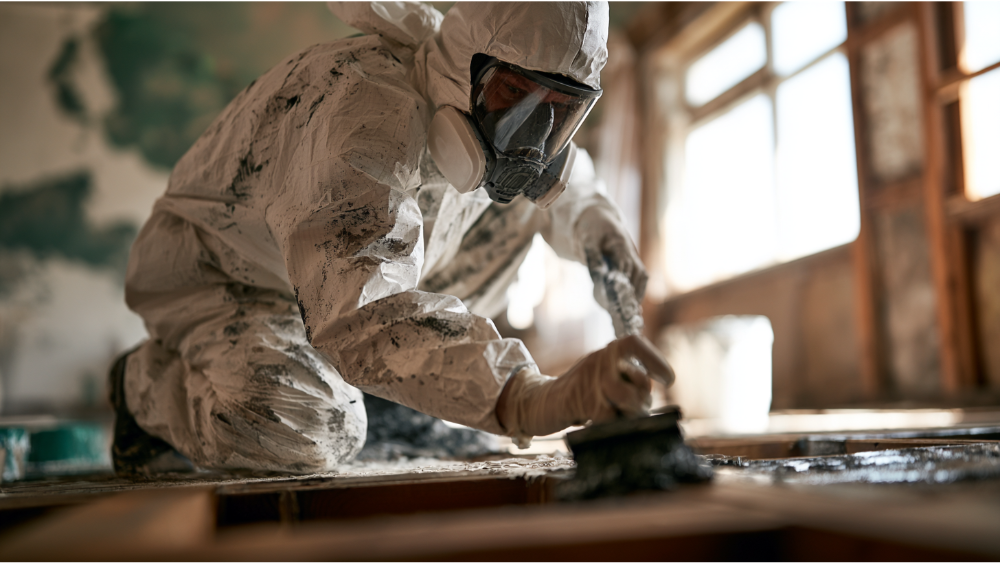
A few methods cause more damage than the paint you're trying to remove. Avoid these:
- No open flame or torching. It scorches wood and, on lead paint, releases fumes.
- No dry sandblasting. USDA is clear that it should never be used on wood getting a new finish.
- No aggressive pressure washing. High pressure erodes soft earlywood and can gouge holes into siding.
- No high-heat removal on suspected lead paint without lead-safe controls.
- No heavy sanding on veneer. You'll sand straight through it.
- Never leave stripper residue or wax behind. It sabotages adhesion for the next finish, and any paint that fails to bond will peel within a season or two.
- Never paint over rot or damp wood, whether it's siding, walls, or trim. The failure just comes back through the fresh coats.
Cleanup matters as much as the removal. Contain paint chips and stripper sludge in sealed heavy plastic. Keep children and pets clear of the work area and the debris. Store solvent-soaked rags safely because of the fire risk. And never pour rinse water, stripper, or leftover chemicals down a drain, into a storm sewer, or onto the ground.
For local readers: in Washington, oil-based paint, solvents, and paint stripper are treated as household hazardous or moderate-risk waste. Pierce County, which covers Edgewood, and King County, which covers Seattle, Bellevue, Kent, Renton, and nearby cities, both accept these at hazardous-waste collection sites. King County, for example, takes paint stripper in containers of 5 gallons or less. Hours, limits, and accepted items change, so confirm current local guidance before you haul anything.
When to Call a Professional (and How Cover Pro Painting Can Help)
Plenty of paint-removal projects are genuinely DIY-friendly. Others carry enough risk, or enough hidden surprises, that bringing in a pro is the smarter move. Consider hiring out when:
- The house or component is pre-1978 and lead is possible.
- Exterior siding or trim has many failed coats or covers a large area.
- Removing paint exposes rot, failing siding, or damaged trim.
- The work is multi-story and requires ladders or staging.
- It's stain-grade wood where the grain appearance carries the whole finish.
- It's an HOA or commercial property where scheduling and compliance matter.
That third point is where things often turn. On older exterior wood in a damp climate, stripping paint regularly reveals moisture damage or rot that has to be repaired before any new finish makes sense. That's the strength of a full-service team: rot repair, siding replacement, and carpentry are handled by the same crew doing the prep and the paint, so you're not chasing separate contractors to close the gap.
If removing paint uncovers rot, siding damage, or a surface that needs more than sanding, start with a free estimate. Whether you're trying to refinish a single interior door or strip and repaint a whole exterior, we're EPA Lead-Safe Certified, licensed, bonded, and insured in Washington State. We'll look at the wood, walk you through the surface prep it actually needs, and give you a clear plan and number before we lay down the first coat or a final coat of anything. No surprises, and no guessing. Call us at 206-222-0435 to schedule your free estimate.
Frequently Asked Questions
What is the most effective method to remove paint from wood without damaging the grain?
Start with the least aggressive method. Test for lead if the surface might predate 1978, soften the paint with a non-methylene-chloride stripper or controlled low heat, scrape gently with the grain, and sand lightly only after most paint is off. The patience is what protects the wood grain.
Can paint stripper damage wood?
Yes, especially strong caustic or alkaline paint removers, which can pulp and raise the grain, leave salts behind, and cause adhesion problems. Some chemicals also darken wood. Test a hidden spot first and favor gentler gel or citrus-based products, and always wipe the surface clean afterward.
Is sanding or stripping paint better for wood?
Stripping is usually gentler on the grain for detailed or layered surfaces because it lifts paint without abrading the wood. Sanding works best as a finishing step after most paint is removed. Leaning on sanding alone tends to erode soft grain and round over edges.
What grit sandpaper should I use after stripping paint from wood?
Light final hand sanding is typically 180 to 220 grit, always with the grain and with light pressure. Coarser grits are only for heavier removal on solid or weathered exterior wood, never for veneer or delicate stain-grade surfaces. If you plan to refinish with stain, sand a little finer so no scratches show through the coats.
What if my house was built before 1978?
Treat the paint as possible lead until tested. Skip open flame, heat guns over 1,100°F, and uncontrolled power sanding, since all of them create hazardous lead dust. For older homes, hiring an EPA Lead-Safe Certified contractor with proper testing and containment is often the safest route.
More Posts and Related Reading
If this post helped, watch for more posts in this series on prep, finishing, and exterior care. Ran into a similar issue on your own project, or have a question about a tricky door or piece of furniture? Leave a comment and tell us what you're working on. The more detail you share about the stuff you're up against, the better we can point you in the right direction.
