



How to Remove Paint From Brick Without Wrecking the Masonry
Key Takeaway
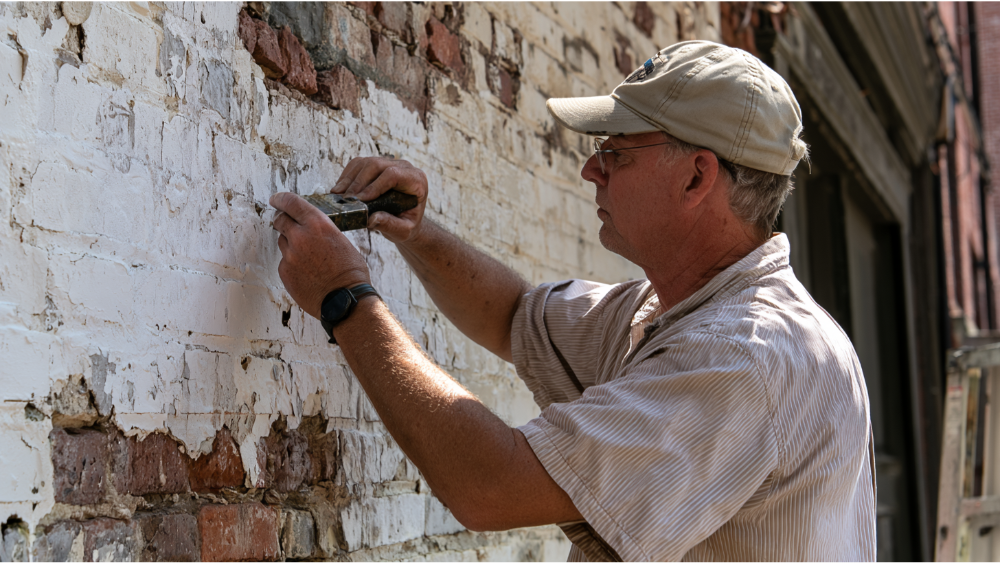
To remove paint from brick safely, apply a masonry-compatible gel, paste, or poultice stripper to a hidden test area first, let it dwell for the time on the label, then lift the softened coating with a plastic scraper and nylon brush. Rinse or neutralize exactly as directed. Avoid sandblasting, wire brushes, muriatic acid, and high-pressure washing, all of which cause permanent damage to brick and mortar.
The safest way to remove paint from brick is to test a masonry-compatible gel, paste, or poultice stripper on a hidden spot, let it dwell for the time printed on the label, then lift the softened coating with a plastic scraper and a nylon brush. Rinse or neutralize exactly as directed. What you should not do is reach for force: sandblasting, grinding, wire brushes, muriatic acid, and a pressure washer on full trigger all risk permanent damage to brick and mortar.
Painted fireplace, peeling wall, or a few splatters, the principle is the same. Paint removal from brick is a surface prep and preservation job, and complete removal isn't always possible or always the right goal.
Can you remove paint from brick, and should you?
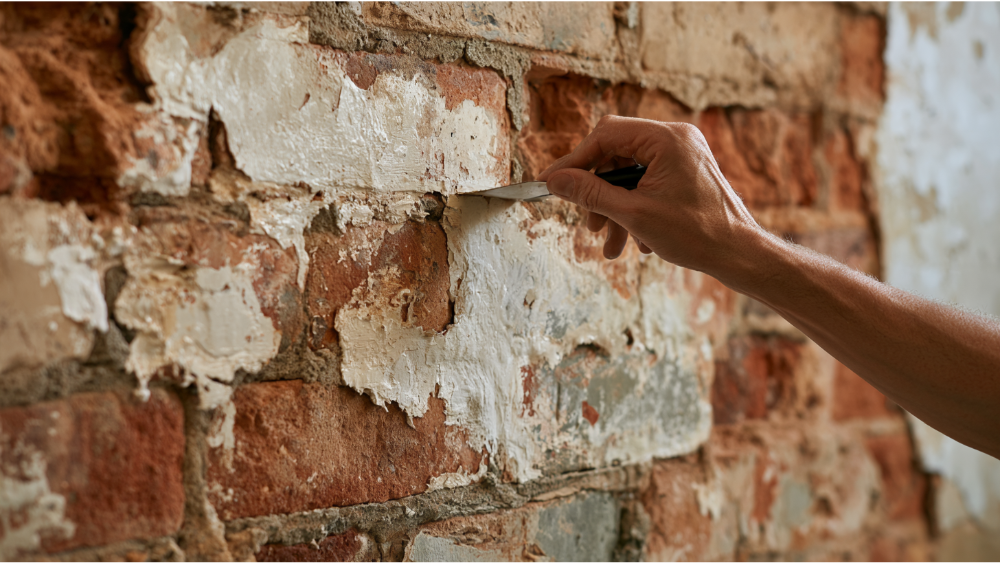
Brick is porous. Paint sinks into the pores and the mortar joints, which is why a wall can come out mostly clean and still hold faint pigment in the deepest pockets. Multiple coats of old paint mean repeat applications, not one pass. If the coating is already flaking off in sheets, scraping alone may remove more than you expect.
Ask a second question first. National Park Service guidance on cleaning masonry recommends identifying what you're removing, choosing the least harmful method that works, and asking why the brick was painted at all. Somebody may have had a good reason: paint can hide mismatched repairs or protect unusually soft brick. A test area tells you whether you should strip the whole wall.
What kind of paint removal job do you have?
Scope drives the method, and the cost.
Test for lead before you strip paint on an older house

Lead-based residential paint was banned in the U.S. in 1978. The CDC estimates roughly 29 million housing units have lead-paint hazards, about 2.6 million of them home to young children. Scraping and sanding turn intact paint into hazardous dust, so if your house predates 1978, test before you disturb peeling or chalking paint.
EPA's Renovation, Repair and Painting (RRP) rule covers paint disturbed during renovation or painting. Abatement is separate work done to permanently eliminate lead hazards, and most homeowners need the first, not the second. EPA recommends a Lead-Safe Certified contractor for pre-1978 homes, and paid work disturbing more than about 6 square feet indoors or 20 square feet outdoors generally triggers RRP requirements. Cover Pro Painting is EPA Lead-Safe (RRP) Certified, the credential that matters on a house built before 1978.
Tools and supplies to strip paint from brick
- Masonry-compatible gel, paste, or poultice stripper, low-VOC for indoor work
- Plastic or wood scrapers
- Nylon or natural-bristle brushes, never wire brushes or steel wool
- Chemical-resistant gloves, goggles, long sleeves, and the respirator the label specifies
- Painter's tape to mask adjacent trim and window frames
- Plastic sheeting, drop cloths, buckets, absorbent material, heavy waste bags
- Clean water or the neutralizer named on the label
Read the label and the Safety Data Sheet before you purchase anything. Dwell times and cleanup vary, and chemicals that are harmless on wood trim can etch masonry surfaces. Wear gloves rated for the product, ventilate, and never mix chemicals.
Always test the stripper on an inconspicuous spot first
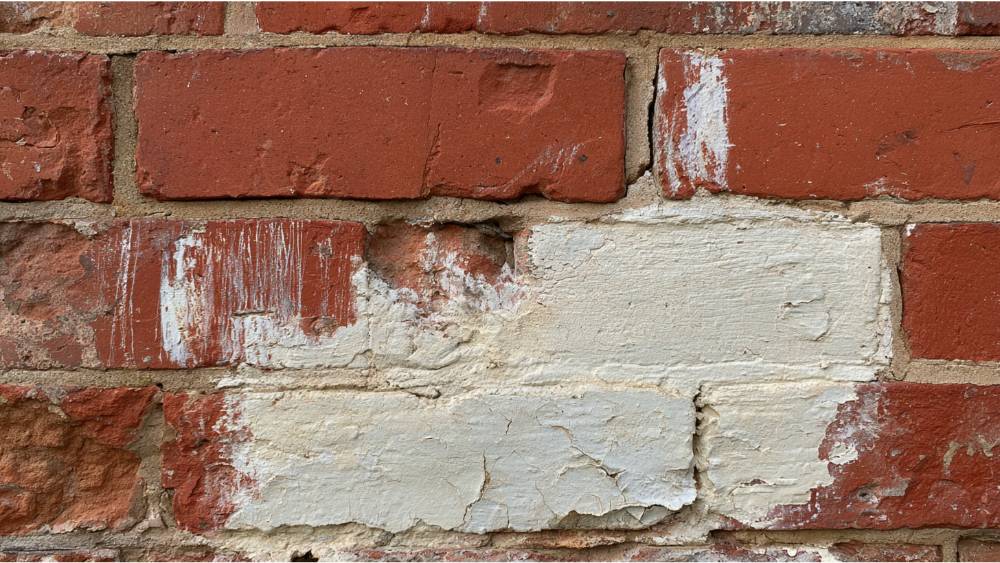
Don't skip this step. Let the test patch dry completely before judging it, because damp brick hides staining and color shifts. Then check:
- Did the coating soften and bubble, or just smear?
- Did pigment bleed further into the brick?
- Is the brick surface rough, pale, or etched?
- Did the mortar soften or change color?
- How many applications will this take, and what will the product cost?
- Does the exposed natural brick justify doing the whole wall?
A careful test patch also gives you a realistic idea of how long the full wall will take.
How to remove paint from brick, step by step
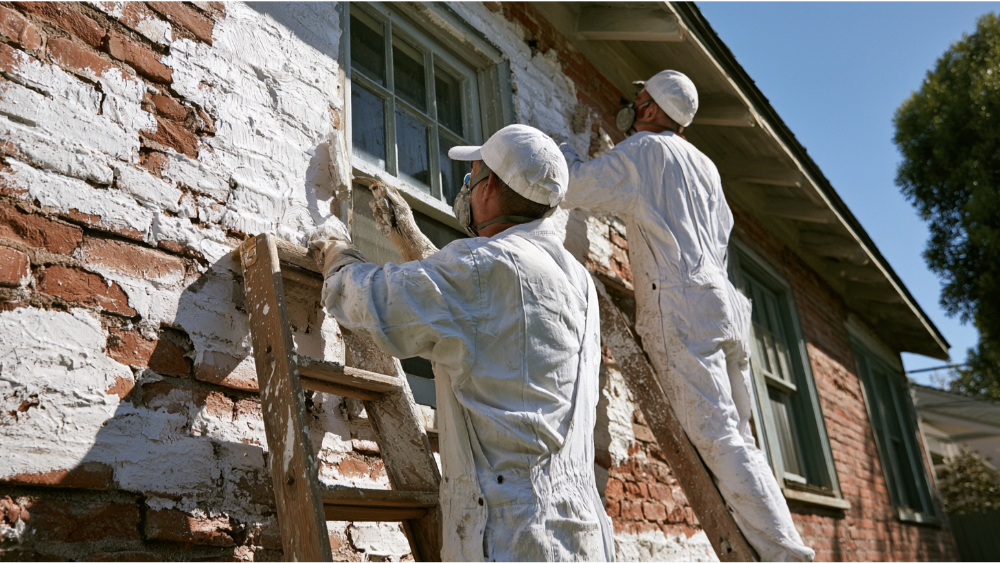
- Protect occupants, floors, trim, plants, soil, and adjacent siding with sheeting and drop cloths. Containment keeps the mess contained and the runoff where you can collect it.
- Scrape loose paint and rinse surface dirt with a garden hose, no aggressive pressure.
- Apply the tested stripper at the labeled thickness, one workable section at a time.
- Respect the dwell time exactly. Some products start in about 15 minutes, others need overnight. The chemicals do the work, not muscle, and there is no magic product that lifts a century of coating in one pass.
- Lift the softened coating with a plastic scraper, then scrub the texture, tight mortar joints, and crevices with a nylon brush. If the paint resists, don't push harder. Reapply.
- Neutralize or rinse exactly as directed, then collect residue, chips, and rinse water for disposal per the manufacturer and your local waste authority.
- Let the masonry dry fully before judging. Historic brick can take more than a week to dry after wet cleaning.
NPS advises against cleaning masonry with chemicals below about 50°F, and never below 40°F. The process rewards patience more than pressure.
Methods to avoid: power washing, sandblasting, and other shortcuts
A controlled low-pressure rinse can be appropriate when the stripper calls for it. NPS starts at 100 psi or less on historic masonry and generally stays under 300 to 400 psi. Power washing alone should never be expected to remove bonded paint from brick. One note on older advice online: methylene-chloride strippers left the consumer market on November 22, 2019, and most commercial uses were prohibited after April 28, 2026.
Post-stripping: inspect, repair, then decide
Once the brick is dry, look at it honestly. Check for loose or missing mortar, spalled faces, signs of moisture entry, failed joints where brick meets windows and trim, and residue that would block a new coating. Paint that was peeling before you started usually means water is getting in somewhere.
Expect some pigment to stay behind. It literally sits inside pores and mortar joints no brush can reach. More treatment may lift the last of it, but stop when the work starts changing texture or chewing up mortar. A clean repaint is sometimes the more responsible outcome, and it costs less than repairing or replacing brick you damaged getting there. Once you've decided how far to take it, repairs come first: open joints get tuckpointed and sealed, and bare brick may need a breathable masonry sealer. Removal, surface prep, mortar work, and rot repair on adjacent trim and siding go better as one coordinated project than as three contractors pointing at each other.
When a brick house needs a professional, and how to start

We're a licensed, bonded, and insured painting contractor in Washington State, EPA Lead-Safe (RRP) Certified, with over 13 years in business and a team carrying over 100 years of combined experience. Cost depends on your brick, your coating, and what's underneath, so we walk the job in person and give you a transparent estimate before work begins. Start with a free estimate and see exactly what your project will involve. Call 206-222-0435. We're based in Edgewood, WA. Contact us to confirm service availability.
Frequently Asked Questions
What is the best paint remover for brick?
A masonry-compatible gel, paste, or poultice stripper. Alkaline, mildly caustic products are gentlest on soft or historic brick and usually need a neutralizing step and rinse. Test on a hidden area first.
Does WD-40 remove dried paint?
It can soften fresh spots on hard nonporous surfaces, but it isn't a stripper. On brick it leaves oil in the pores that ruins adhesion for any new coating.
Will acetone take paint off brick?
It may lift small splatters. It's also highly flammable, evaporates too fast to dwell, and can drive pigment deeper. It won't strip a whole wall.
Can a pressure washer remove paint from brick?
A low-pressure rinse can support a stripper when the label calls for it. The pressure needed to remove bonded paint will pit brick and blow out mortar, so it isn't a standalone method.
