
%201.svg)


How to Paint Kitchen Cabinets: What Goes Wrong When You DIY
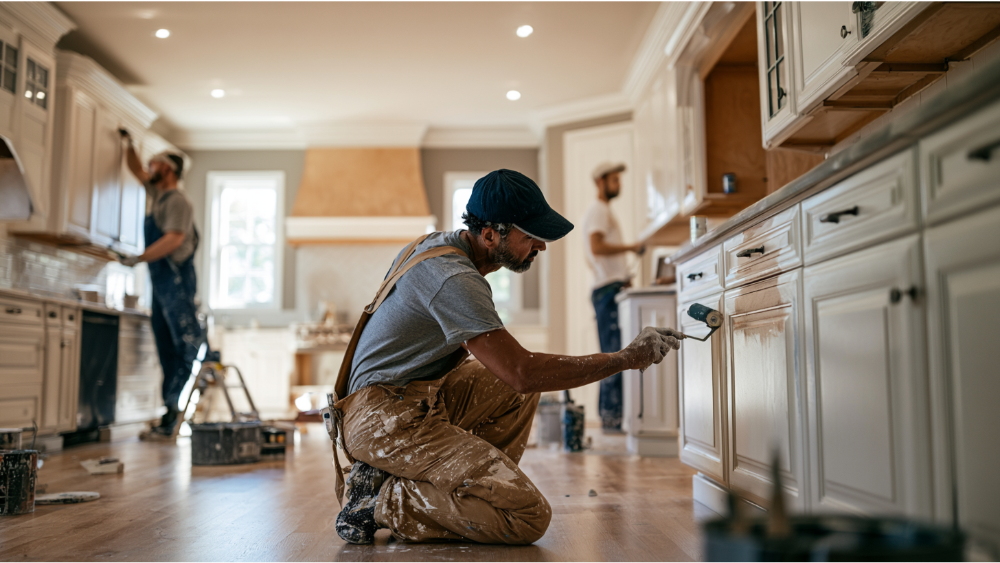
Key Takeaway
DIY kitchen cabinet painting fails most often because of poor surface prep, not poor painting technique. Grease, gloss, and sanding dust left on cabinet surfaces prevent bonding, causing peeling and chipping within months. Cabinet paint must survive 120°F heat, daily cleaning, and constant contact, so the job demands cabinet-grade enamel, proper degreasing, the right primer, and 30 days of cure time before the finish is truly durable.
Can You Paint Kitchen Cabinets Yourself? The Honest Answer
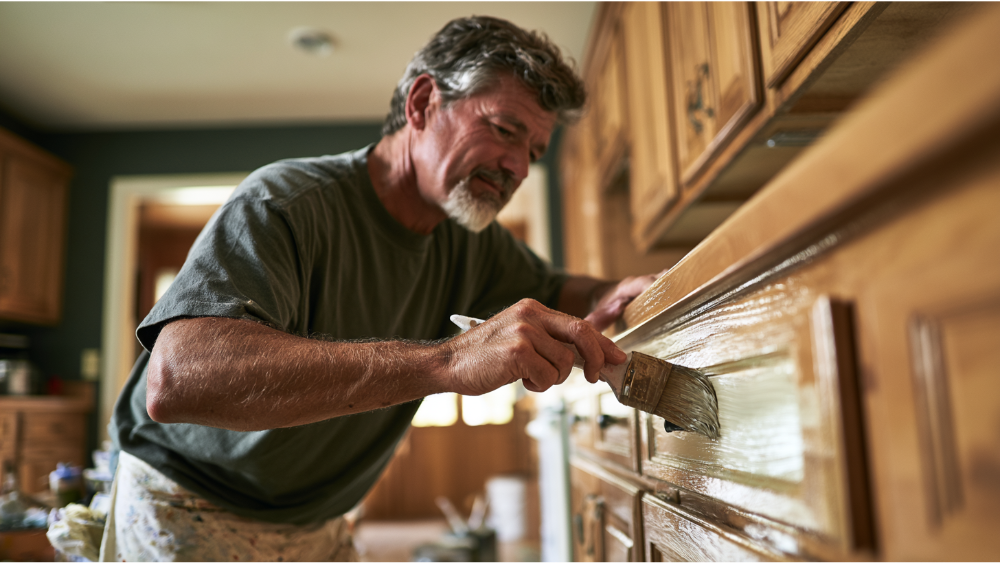
Yes, you can paint kitchen cabinets yourself. But most DIY failures happen long before the paint touches the surface. Grease, gloss, leftover sanding dust, and the wrong primer or cabinet paint system keep the finish from bonding, which is exactly why so many home projects peel, chip, or stay tacky months later.
If you're a homeowner staring at dated cabinets and weighing whether to tackle them yourself or hire it out, this is written for you. We'll walk through what actually goes wrong, what proper prep involves, and when calling for a free estimate is the smarter move. The one idea underneath all of it: a cabinet painting project is a surface-prep and finishing job, not a quick wall paint job. Treat it like a wall, and it will look and wear like a rushed wall. Treat it like fine finishing work, and you have a shot at clean, long-lasting results.
Why Painting Kitchen Cabinets Is Harder Than Painting a Wall
Cabinets take abuse that a bedroom wall never sees. They get grabbed with greasy hands, wiped with cleaners, splashed near the sink, and slammed shut a dozen times a day. That's why the finish has to be tougher than standard wall paint, and why prep has to be more demanding. The same is true of bathroom cabinets, which fight moisture and daily wear and tear on top of everything else.
The Kitchen Cabinet Manufacturers Association tests certified cabinet finishes against conditions that would wreck an ordinary coating. Doors sit in a hotbox at 120°F and 70% relative humidity for 24 hours, then face spills of vinegar, citrus juice, coffee, olive oil, and 100-proof alcohol left on the surface for 24 hours at a stretch. Factory finishes are engineered to survive that. Wall paint isn't. High quality paint made for cabinets is formulated for hardness and washability that standard interior paint simply doesn't have, which is the first reason so many DIY paint jobs disappoint.
The Biggest DIY Mistake: Painting Over a Surface That Isn't Ready
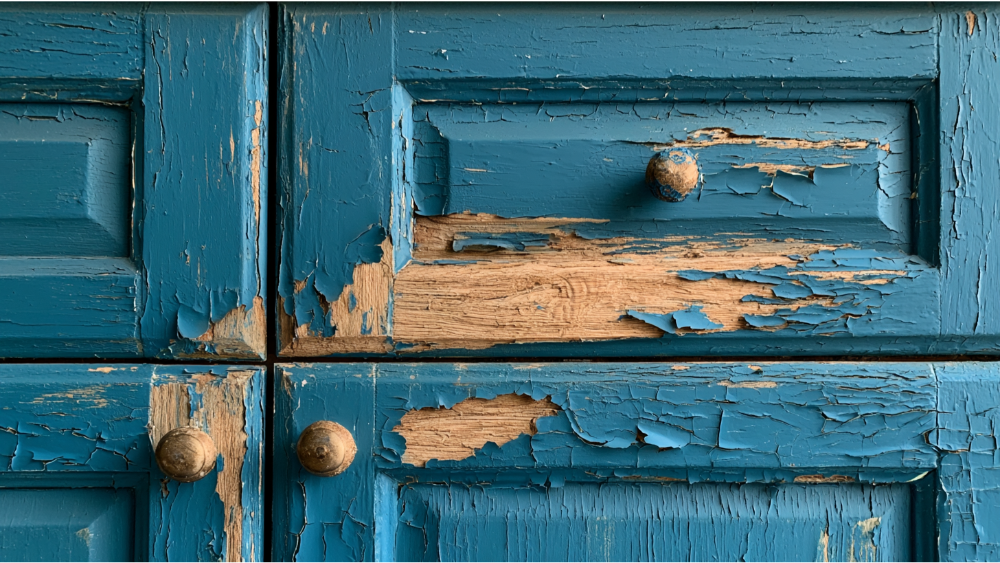
Paint won't fix a bad surface. A coating only protects and decorates when it stays bonded, and the ASTM adhesion standard is blunt about it: the substrate and its surface preparation, or lack of preparation, have a drastic effect on how well the coating holds. Skip the prep and you've already lost.
Here's what makes a cabinet surface "not ready" for new paint:
- Grease and hand oils built up on the cabinet doors and face frames
- A glossy factory finish the new coating can't grip
- Old dried paint that's already peeling or lifting
- Fine sanding dust left sitting on the surface
- Damaged MDF, veneer, or thermofoil that's swollen, cracked, or delaminating
The Painting Contractors Association draws a useful line between sound surfaces, deteriorated surfaces, and damaged substrate. When a surface is severely deteriorated or the substrate itself is damaged, the fix is restoration or resurfacing, not a coat of paint over the problem. A swollen sink-base cabinet door or peeling thermofoil doesn't want paint. It wants repair or replacement first, sometimes down to bare wood, with wood filler used to rebuild chipped edges and gouges before anything gets a coat. Existing cabinets in good shape are the ones that reward a repaint. Everything that follows is really a map of what breaks when this step gets skipped.
What Goes Wrong When You Skip Proper Cleaning
Skip degreasing and you get peeling, fish-eye cratering, patchy coverage, and paint that clings to residue instead of the cabinet itself. It looks fine for a week, then starts letting go.
Kitchen grease builds up invisibly. It's worst around the stove and above the sink, where cooking oils drift and settle into a thin film you can't always see but the paint can definitely feel. A proper degreaser cuts through it. To properly clean, wipe every cabinet door, drawer front, and frame with a quality degreaser, follow with a clean pass using a non-scratch rag, and let the surfaces dry fully before you go further. Thorough cleaning is what prevents future peeling and the blotchy, uneven coverage that screams "amateur paint job." It's unglamorous work, and it's the single step that saves the most finishes.
What Goes Wrong When You Skip Sanding or Deglossing
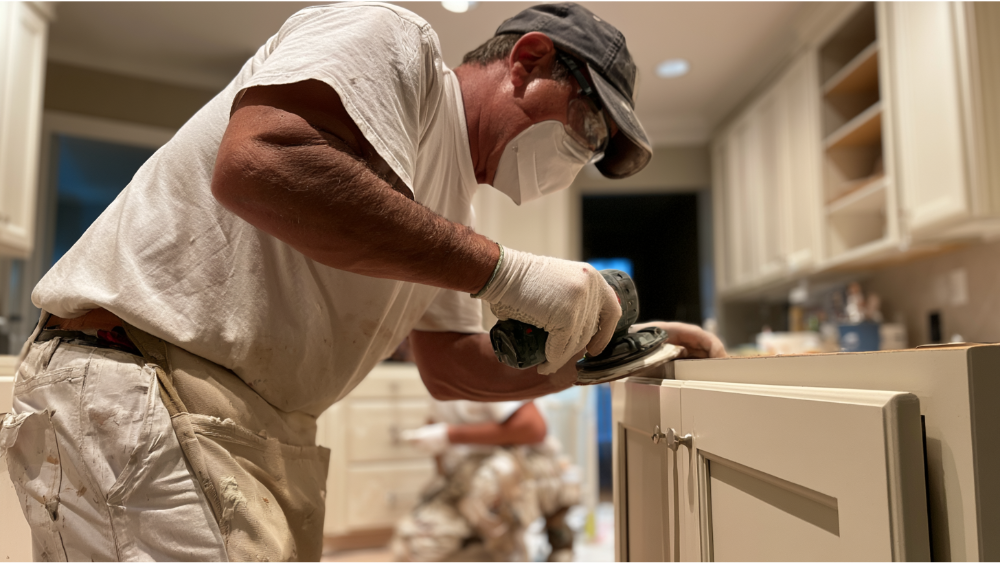
Skip abrasion on a slick factory finish and the paint scratches off with a fingernail. Primer can't grip, and the high-wear edges around knobs and pulls chip first. A light sanding gives the new coating something to hold onto, which is the whole point.
So can you paint cabinets without sanding? Sometimes. On a sound, non-glossy surface, a deglosser or a high-adhesion bonding primer can stand in for sanding. But that shortcut has limits. If a previous owner already painted over gloss, or you're dealing with peeling paint, deep scratches, glossy laminate, or damaged cabinets, you still need to completely sand and do real prep, and no product claim changes that. Match the approach to the surface, not to what's easiest.
Sanding creates its own trap. Fine dust that isn't fully removed settles into the wet paint and leaves a rough, gritty finish full of dust nibs. After sanding, vacuum every surface, then wipe with a tack cloth or damp rag until nothing comes off on your hand. A kitchen is a hard place to keep clean, which is part of why controlled dust is so tough to manage on your own. This is one of the most common mistakes we see on cabinets someone tried to paint over one weekend.
What Goes Wrong When You Use the Wrong Primer
Wrong primer, or no primer, and you get brown tannin streaks bleeding through your fresh white finish, old stains ghosting up through the topcoat, and paint that won't bond to slick surfaces. Sometimes the topcoat and primer simply aren't compatible and the whole system fails.
Two jobs matter here. A high-adhesion bonding primer grips slick and glossy surfaces so the topcoat has a stable base. On bare wood cabinets or previously stained wood, a stain-blocking primer locks down the natural tannins that otherwise migrate up and leave brown streaks across light colors. Choose the primer for the surface you actually have, and give it the recoat time its label calls for. Primer is the bridge between the cabinet and the finish, and a weak bridge takes the whole job down with it.
Oil Based vs Water-Based: Choosing the Best Paint for Cabinets
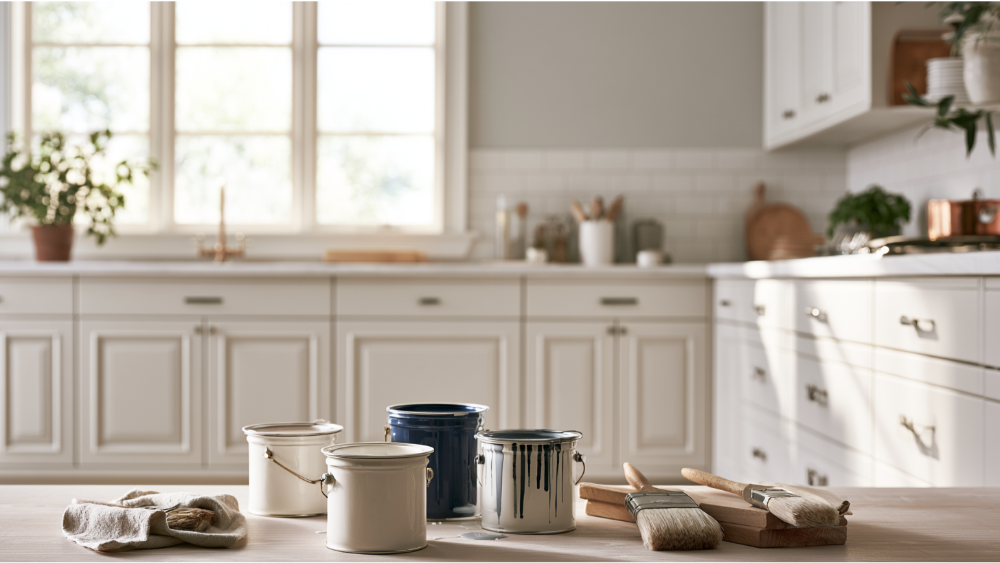
Use standard wall paint on cabinets and you'll live with a soft finish that never fully hardens, doors that stick shut where painted surfaces meet (called blocking), poor cleanability, and early chipping around every knob and pull. Latex paint made for walls isn't built for the daily contact a cabinet takes, and neither is basic trim paint in every case.
Cabinet-grade enamels are made for it. They dry harder and clean up better under repeated wiping. Your two broad options work differently:
- Oil based paint: oil based enamel is very durable and self-levels into a smooth finish, but it dries slower, carries more odor, and needs solvents for cleanup.
- Water-based enamel: dries faster, cleans up with water, and modern versions cure to a hard, washable surface.
For sheen, satin or semi gloss are the practical picks: durable, wipeable, and forgiving of the light imperfections cabinets pick up. The best paint for this job is a cabinet-specific enamel, formulated to survive kitchen wear rather than dress a wall. Trusted lines from makers like Benjamin Moore and Sherwin Williams offer products built for exactly this kind of high-wear work. The right paint matters as much as the prep, and the two only work together to deliver a durable finish. At Cover Pro Painting we use premium products backed by lifetime manufacturer warranties for precisely this kind of high-wear work.
Dry Time vs Cure Time: Why Cabinets Feel Done Before They're Ready
Dry-to-touch means the paint is no longer wet. Cured means it's fully hardened all the way through. Those are two very different milestones, and confusing them ruins more finished cabinets than almost anything else.
Manufacturer guidance gives a useful frame, with the caveat that these numbers are product-specific and shift with ventilation, temperature, humidity, paint color, and how thick you laid it on. Always follow the label. As a general picture: cabinet paint may feel dry to the touch in about 2 to 4 hours, but shouldn't be used for 2 to 3 days, and reaches full cure around 30 days. Some cabinet paints need up to 16 hours before you can recoat, and rushing the second coat can extend curing time and hurt the finish.
Why it matters: touch a paint that's dry but not cured and you leave dents, fingerprints, and doors that stick to their frames or peel when opened. Build the finish in several thin coats rather than one heavy one, letting the drying process run its course, and don't reinstall doors or reload cabinets before the coating has hardened enough to take it. Two thin coats almost always beat one thick coat. Patience is part of the technique.
Brush Strokes, Roll, or Spray? What Each Finish Problem Looks Like
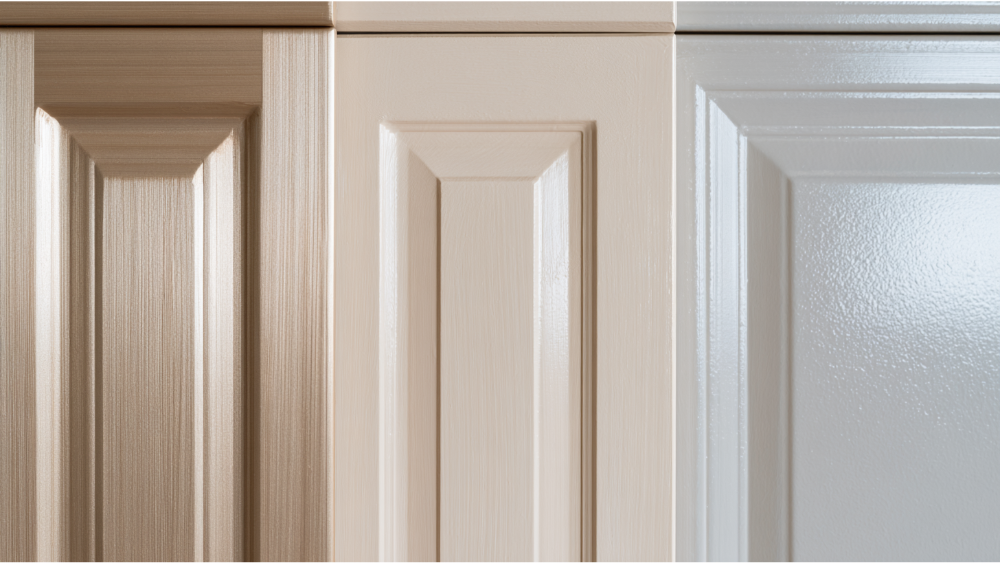
The application method shows up in the finish, for better or worse. Hand painting with a brush leaves visible brush strokes and streaks in the dried surface, and those brush marks are hard to hide once the coat sets. Rollers can leave an orange-peel texture, that fine stippled look that catches the light wrong. Spraying lays down the smoothest, most even coats, which is why professionals reach for a sprayer instead of a brush on cabinets. A controlled spray booth is how shops get a perfectly smooth finish, and some even add a clear coat over the color for extra durability.
Spraying isn't a free upgrade, though. A spray setup demands careful masking of everything you don't want coated, real ventilation, and a controlled, dust-free space so overspray and airborne particles don't settle into the wet finish. That's tough to create in a working kitchen. If you're brushing or rolling, use high-quality synthetic brushes and dense foam rollers to keep brush strokes and texture to a minimum while applying paint.
Then there's time. A careful DIY approach can run well over two hours per cabinet door once you factor in prep, priming, and multiple thin coats. Across a full kitchen of doors and drawers, that adds up into a project that stretches across many days. This painting step is easy to underestimate. Before you take anything off, label doors and their matching hinges so every piece goes back exactly where it came from. Bag the hardware by location too, and note the hardware holes on the drawer fronts and cabinet faces, since mismatched knobs and pulls are an easy way to turn good work into a sloppy-looking result.
Common Mistakes That Leave You With a Bad Paint Job
Most of the failures above share a root cause: rushing a step that doesn't show until later. A bad paint job on cabinets rarely comes from a lack of effort or elbow grease. It comes from applying paint over grease, skipping steps like the degloss, loading on one heavy first coat instead of thin coats, using the wrong type of paint, or reinstalling doors before the finish has cured. Removing the hardware instead of cutting around it, filling dings with wood filler before priming, and letting each coat cure on its own schedule are the small disciplines that separate a lasting finished product from a redo.
Safety Issues DIY Guides Often Skip Over
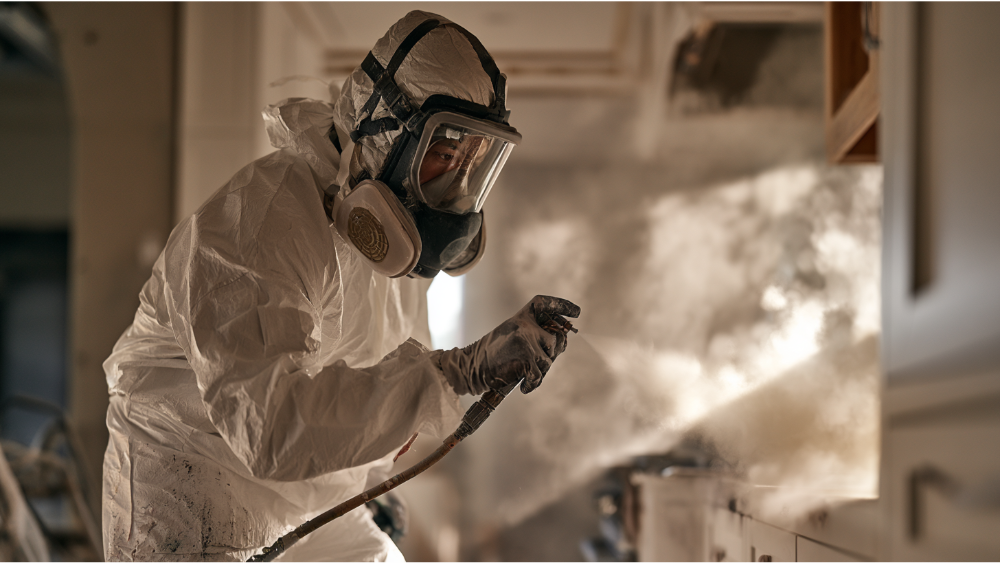
Most cabinet tutorials wave past the parts that actually protect your health and your home. These deserve real attention.
- Lead paint in older homes: Homes built before 1978 may contain lead-based paint. Sanding or stripping cabinets or nearby painted trim can release dangerous lead dust, and the EPA recommends hiring a lead-safe certified contractor for this kind of work. Cover Pro Painting is EPA Lead-Safe (RRP) Certified, which matters directly for older kitchens.
- VOCs and ventilation: Paints, deglossers, and solvents release volatile organic compounds as gases. The EPA notes that indoor VOC levels commonly run 2 to 5 times higher than outdoors, and sometimes up to 10 times higher. Open windows, run fans, and follow product ventilation guidance.
- Sanding dust: Wood dust is a health concern, not just a mess. A properly fitted N95-style respirator filters at least 95% of airborne particles (N99 and N100 filter 99% and 99.97%), but none of them stop solvent vapors. Particle masks and vapor exposure are two separate problems.
- Oily rags: Rags soaked with oil based paint, stain, or varnish can catch fire on their own. The NFPA links spontaneous combustion to an average of 1,700 home fires a year, with about 900 tied specifically to oily rags igniting. Dry them flat outdoors away from the house, or store them in a sealed metal container filled with water and detergent.
When DIY Cabinet Painting Actually Makes Sense
DIY can be the right call. It tends to work out when the conditions line up:
- Your wood cabinets are structurally sound with no swollen, cracked, or delaminating panels
- The existing finish isn't peeling or failing
- You're comfortable with visible wood grain or slight brush texture in the result
- You have space to remove, label doors, dry, and cure them off-site while you work
- You can lose kitchen function through the full prep, paint, and cure window
- No pre-1978 lead-painted surfaces will be disturbed without lead-safe practices
If most of those are true and you're patient with the prep, a careful homeowner can get a result to be proud of.
When to Hire a Professional Painter Instead
Some situations tilt clearly toward hiring out. A professional painter is your best bet when:
- You want a smooth finish without brush strokes or roller texture
- Your cabinets are glossy, laminate, thermofoil, damaged, peeling, or high-value
- The job needs carpentry, rot repair, or millwork work before painting can even start
- You can't lose your kitchen for the days of prep, drying, and curing a good job requires
- Your home predates 1978 and lead-safe handling matters
- You want a clear scope and a transparent estimate before anyone lifts a brush
This is the kind of work we do every day. As a full-service team, we handle the prep, any repairs, the hardware, and the finish under one relationship, so you never have to coordinate a separate carpenter and painter. We use the right paint and the right process on these cabinets bc a finish coat only lasts when the steps beneath it are done properly. We treat every home like it's our own, lead with surface prep, and back our work with clear communication start to finish. Cabinets are exactly the high-touch surface where proper prep and controlled application decide whether the finish lasts two years or many, and small touch ups down the road are far easier when the base work was done right.
Frequently Asked Questions
Can I paint kitchen cabinets without sanding?
Sometimes. On a sound, non-glossy surface, a deglosser or high-adhesion bonding primer can replace sanding. Peeling paint, deep scratches, glossy laminate, or damaged cabinets still need real prep.
Why is my cabinet paint peeling after I painted it?
Peeling almost always traces back to prep. Leftover grease, a glossy surface that wasn't abraded, or the wrong primer keeps the paint from bonding, and it starts letting go under everyday use.
How long should painted cabinets cure before I use them?
Cabinet paint may feel dry in 2 to 4 hours, but plan to wait 2 to 3 days before light use and roughly 30 days for full cure. These times are product-specific, so follow the label.
Can I paint laminate or thermofoil cabinets?
They can be painted, but only with the right high-adhesion bonding primer and careful prep. Failing or delaminating thermofoil usually needs repair or replacement first, since paint won't fix a damaged surface.
Why do painted cabinets feel sticky?
Sticky or blocking cabinets mean the paint isn't fully cured or the wrong paint was used. Standard wall paint stays soft; cabinet-grade enamel dries hard, but even good paint needs its full cure time before doors go back on. Homeowners who tried this years ago with the wrong product often see the same result.
Ready to skip the guesswork? Start with a free estimate so you know exactly what your cabinet painting project or interior painting will involve before work begins. Whether you need one weekend project reworked or a full kitchen refresh, applying more paint over a bad base only repeats the problem. Call Cover Pro Painting at 206-222-0435 or reach out through our site to schedule your free estimate. Don't see your city listed? Contact us to confirm service availability.
