%201.svg)


How Do Painters Repair Wall Imperfections Before Painting?
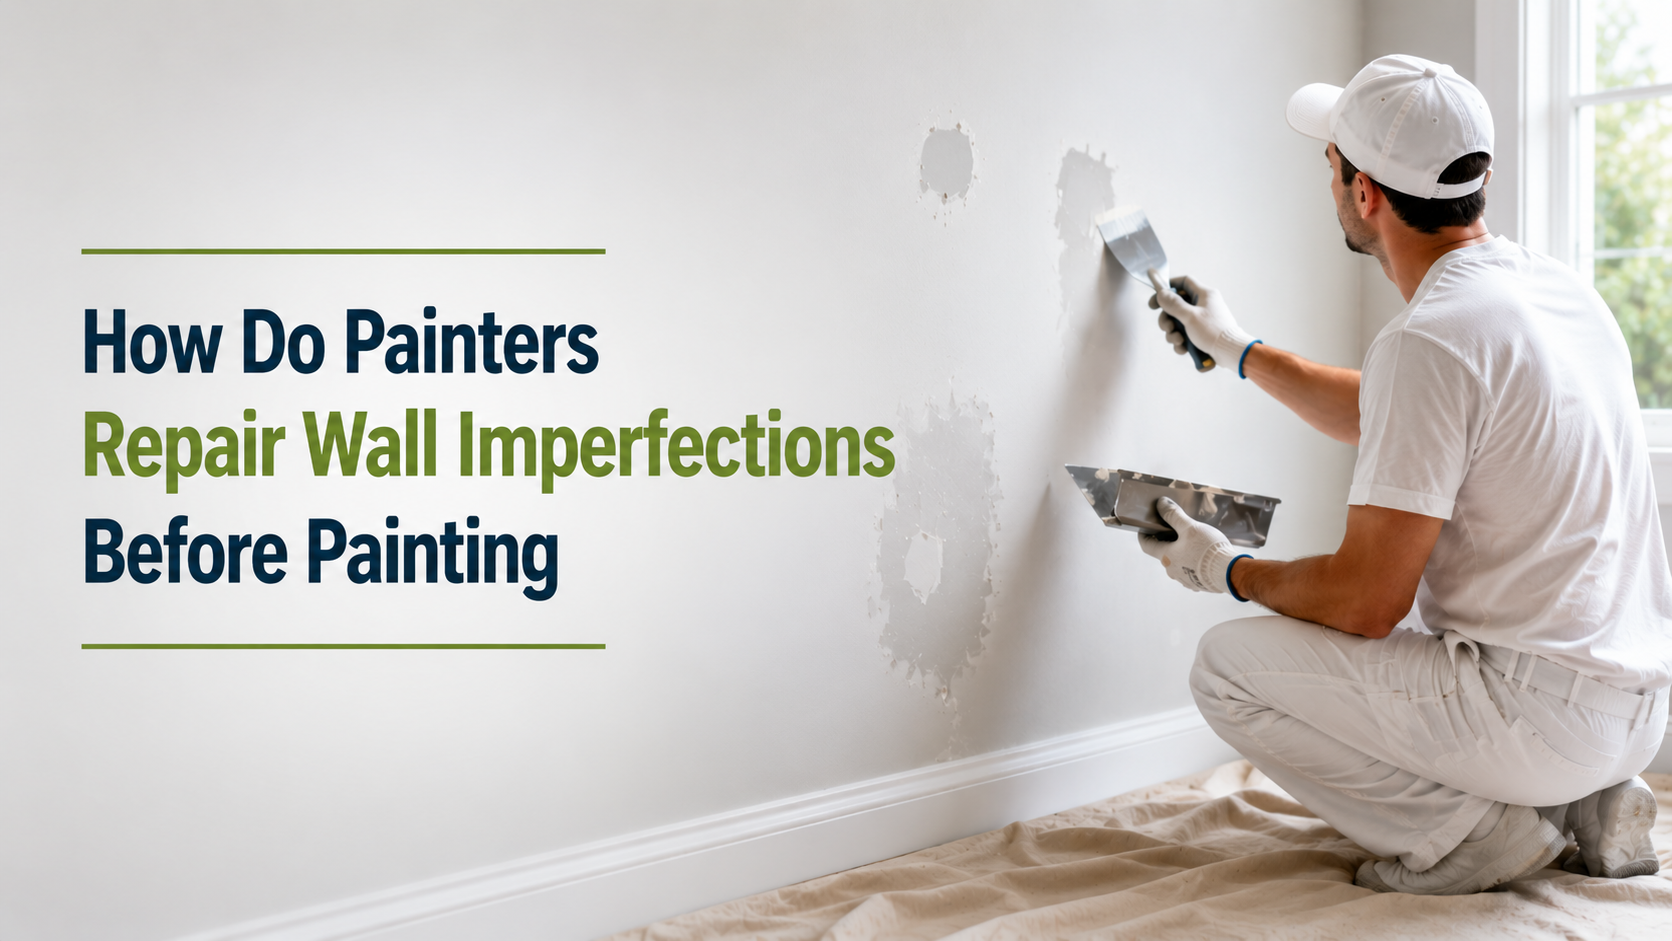
How Do Painters Repair Wall Imperfections Before Painting?
Here’s a quick answer: how do painters repair wall imperfections before painting? They focus on careful preparation, detailed drywall repair, and controlled priming to create a smooth surface that allows paint to bond evenly and last. Most of the work happens before the first coat of paint is applied, and that preparation is what leads to a seamless finish.
Why Proper Wall Preparation Makes or Breaks a Paint Job
A quality paint job always starts with the walls, not the paint itself. Every surface needs to be inspected, cleaned, and repaired before any paint goes on. If this step is rushed, small imperfections turn into visible flaws once light hits the walls. Uneven areas, patched spots, and poor paint absorption can all ruin the final paint finish.
Professional painters treat preparation as one of the most important steps in the entire painting process. When walls are properly repaired and primed, the paint lays down evenly, creating a smooth finish with consistent sheen. Without that prep, even high-quality paint will struggle to cover cracks, nail holes, and texture issues.
What Types of Wall Imperfections Do Painters Fix?
Minor Surface Damage
Most homes have small imperfections like nail holes, dents, and scuffs. These small holes may seem minor, but they stand out once new paint is applied. Painters use spackling paste or patching compound to fill each hole, then smooth the edges so the repair blends into the surrounding wall.
Cracks and Movement Issues
Cracks are common in drywall and plaster, especially around doors and windows. Temperature changes can cause materials to expand and contract, which makes cracks form or crack slightly over time. These need proper repair with mesh tape and compound to prevent them from reopening.
Surface Coating Problems
Peeling paint, bubbling, or uneven texture must be removed and repaired. Painters will sand these areas down, remove loose material, and create a flat surface before moving forward.
Water and Moisture Damage
A damaged area caused by moisture requires more than a quick fix. Soft drywall or staining must be repaired fully before paint is applied. If not, the problem will return and affect the new paint.
Step-by-Step: How Professional Painters Repair Walls Before Painting
1 | Full Surface Inspection
Every job starts with a close inspection of the walls and ceiling. Painters look for cracks, holes, uneven texture, and signs of damage. They check how the existing paint is holding up and identify areas that need repair. This is one of the most important steps because it sets up the entire job for success.
2 | Cleaning and Surface Prep
Before any repair begins, painters clean walls thoroughly. Dust, grease, and residue prevent materials from bonding properly. A damp cloth or sponge is used to wipe down the surface. Clean walls are critical to help compound and primer stick properly and create a strong base.
3 | Filling Holes and Minor Imperfections
For nail holes and small holes, painters use spackle or joint compound. A putty knife is used to press the compound into each hole. The compound is spread into a thin layer and feathered across the surrounding wall to blend the repair. This step helps create a smooth look and removes small imperfections before paint is applied.
4 | Repairing Cracks the Right Way
Cracks require more than simple filling. Painters use a utility knife to open the crack slightly so the compound can bond better. Mesh tape is applied to reinforce the area, followed by a layer of joint compound. Each layer must dry completely before sanding. This process helps prevent cracks from coming back.
5 | Patching Larger Holes or Damaged Drywall
When a hole is too large, drywall repair is needed. Painters cut out the damaged area and install a patch. Patching compound or joint compound is applied in multiple layers using a putty knife. Each layer is feathered at the edges to blend into the surrounding wall. This creates a flat and stable surface for paint.
6 | Sanding and Smoothing the Surface
Once repairs are dry, painters sand the area using a sanding block or sandpaper. Fine grit sandpaper is often used to create a smooth surface and remove excess compound. Dust is removed with a cloth or sponge after sanding. This step helps create a smooth finish and ensures patched areas are not visible under paint.
7 | Priming for a Uniform Finish
Priming is essential after any repair. Primer helps seal the surface and improves paint absorption. Without primer, patched areas may show through the paint. Painters apply primer to all repaired areas and allow it to dry fully before applying the first layer of paint.
8 | Final Inspection Before Paint
Before painting begins, painters check the walls under proper light. They look for uneven areas, missed spots, or rough texture. Final sanding and touch-ups are completed to ensure a smooth finish.
Tools and Materials Professionals Use (That Most Homeowners Don’t)
Professional painters rely on the right tools and materials to get consistent results and follow a well-planned house painting preparation process. A putty knife, sanding block, utility knife, and quality sandpaper are all essential tools. These help create clean edges and smooth surfaces.
Joint compound, patching compound, and primer are key materials used throughout the repair process. Clean cloths, sponges, and dust control tools also help maintain a clean work area and protect floors during the job.
How Long Does Wall Prep Take?
The time needed to repair walls depends on the condition of the surface. Small holes and light imperfections can be fixed quickly, while larger drywall repair and patching may take several days.
Each layer of compound must dry completely before sanding and priming. Rushing this process can lead to visible patched areas, cracks, or uneven texture after paint is applied.
Proper preparation takes time, but it leads to the best results and a longer-lasting paint finish.
Common Mistakes Homeowners Make When Repairing Walls
Many homeowners try to repair drywall themselves to save money, but mistakes can affect the final result. Skipping primer is a common issue that leads to uneven paint absorption and visible patched spots.
Using too much compound, failing to sand properly, or not allowing materials to dry fully can all cause problems. Ignoring cracks or underlying issues can also lead to repeated repairs.
When to Call a Professional Painter Instead of DIY
Some repairs require professional experience. Large holes, recurring cracks, and uneven areas across multiple walls are signs that a professional Seattle painting company should handle the job.
A professional painter knows how to blend repairs, smooth edges, and create a seamless finish that looks consistent across the entire room, especially when you choose a company that prioritizes quality craftsmanship and customer satisfaction.
How Proper Prep Impacts the Final Paint Finish
When walls are properly repaired, sanded, and primed, the final paint finish looks smooth and even. The paint adheres better, covers more consistently, and holds up over time.
A well-prepared surface helps create a smooth look and prevents patched areas from showing through. This is how painters achieve a flawless finish.
Why Homeowners in the South Puget Sound Trust Cover Pro Painting
At Cover Pro Painting, every repair is handled with care. From nail holes to full drywall repair, we take the time to prepare every surface properly before painting, whether you’re working with our Gig Harbor painting team or another nearby service area.
We use proven tools and materials to fix imperfections, sand surfaces smooth, and apply primer the right way. Our team understands how to create a consistent paint finish that lasts for homeowners who choose our Newcastle residential painters.
We keep your room clean, protect your floors, and complete every job with attention to detail. That’s how we deliver results you can trust for projects handled by our Sammamish painting professionals.
FAQs – Wall Repair Before Painting
Can paint hide wall imperfections?
No. Paint highlights imperfections instead of hiding them. Proper repair is always needed.
Do all walls need to be sanded before painting?
Most walls benefit from sanding to create a smooth surface and improve paint adhesion.
What’s the difference between spackle and joint compound?
Spackle is used for small holes and quick fixes, while joint compound is better for larger repairs and multiple layers.
How do painters fix cracks so they don’t come back?
They use mesh tape and apply compound in layers to reinforce cracks and prevent them from reopening.
Should I prime patched areas before painting?
Yes. Primer helps seal the surface and ensures even paint absorption.
How much does wall repair add to a painting project?
It depends on the condition of the walls and the extent of the repair needed, as well as whether you hire professional painters in Covington or tackle the work yourself.
How do I know if my wall damage is serious?
Recurring cracks, soft drywall, or large damaged areas should be evaluated by a professional, such as experienced painting contractors in Newcastle who can assess both cosmetic and structural concerns.
Conclusion
Properly repairing wall imperfections before painting is the secret weapon to achieving a flawless, long-lasting finish in any house. Taking the time to inspect, clean, fill holes and cracks, sand smoothly, and prime repaired areas ensures that paint adheres evenly and hides flaws effectively. Avoid rushing these steps or skipping primer, as these common mistakes can lead to visible tears, uneven texture, and premature paint failure. Whether tackling minor dents or larger drywall repairs, a careful and methodical approach is key. By following professional techniques and using the right tools and materials, you can transform imperfect walls into a smooth canvas ready for paint — resulting in a beautiful, durable finish that enhances your home’s appearance for years to come.
Get a Smooth, Professional Finish That Lasts
A quality paint job starts with proper preparation. From cleaning and patching to sanding and priming, every step matters. When done right, it creates a smooth surface, a seamless finish, and a paint job that lasts.
If you want professional results, schedule your service or get your quote today and let our team handle the repair and painting process from start to finish.