%201.svg)


Expert Techniques for Painting Textured Walls in Your Edgewood Home
Textured walls give a home character, but when it comes to painting them, things can get tricky. Uneven surfaces such as knockdown, orange peel, or popcorn textures need more planning and attention than flat walls. Homeowners in Edgewood looking to update their interiors often find themselves frustrated when standard painting methods don’t deliver smooth, uniform results.
Whether you’re covering dated textures or matching a fresh coat to a newer design, getting it right matters for your home’s appearance and value. Painting textured walls is more than just picking a paint color and rolling it on. It takes careful preparation, the right tools, and knowledge of proven methods to make sure every inch is covered properly without smudging the texture or leaving patchy results.
Understanding Common Textured Wall Types

Before picking up a brush, it’s important to know what kind of texture you’re dealing with. Each style requires a slightly different approach to create a smooth, finished look.
- Popcorn texture: Often used on ceilings in older homes, it’s thick and bumpy. It can chip easily during painting if the wrong tools are used.
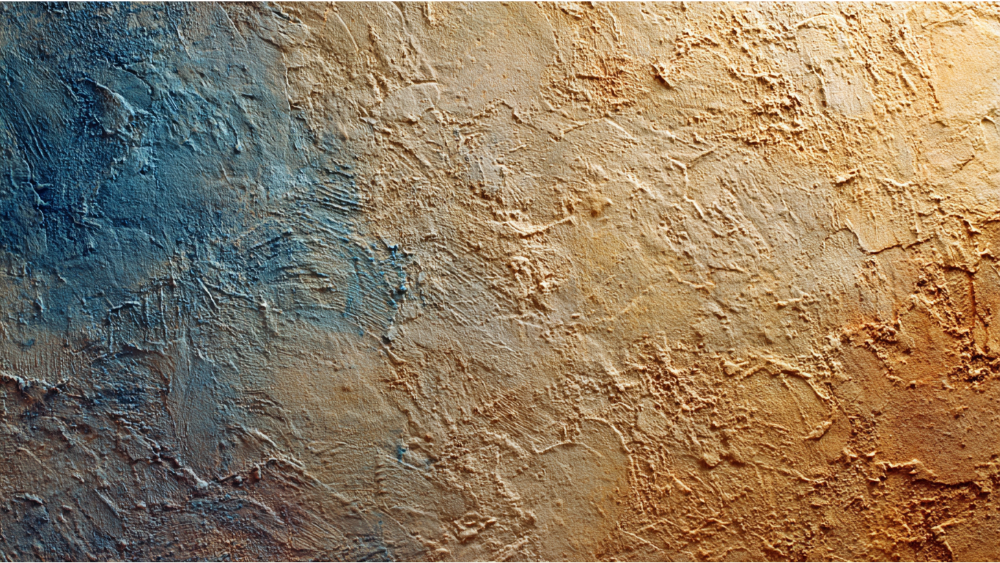
- Knockdown texture: Looks like a flattened out stucco finish. It has a subtle pattern and gives walls a bit of movement.
- Orange peel texture: This one looks exactly like its name, slightly rough like citrus skin. It’s smoother than popcorn but still requires thoughtful paint application.
Each of these textures has its own difficulties when it comes to painting. The rough surface makes it hard to spread paint evenly, and depending on how deep the texture goes, you might find certain areas look darker because they absorbed more paint. Using too little paint can leave bald patches, while using too much can cause sagging, making the wall look sloppy once it dries.
Another thing to think about is how easy it is to miss spots. For example, one Edgewood homeowner started painting over knockdown texture with a basic brush and roller combo. After everything dried, they noticed many small dips were still bare. That led to them redoing the work from scratch with better tools and techniques. It’s not just frustrating, it’s time-consuming and costly.
To avoid that kind of result, it’s best to know what preparation and methods deliver solid results. This makes the painting process smoother and helps get a more even, professional-looking finish on your textured walls.
Preparation Steps Before Painting Textured Surfaces
Good preparation is more than half the battle when it comes to painting textured walls. Skipping groundwork usually leads to visible marks, uneven coverage, and peeling paint down the road.
Here are the key steps to follow before painting textured walls in your Edgewood home:
1. Clean the walls thoroughly
Dust, dirt, and oils cling easily to uneven surfaces. Use a vacuum with a brush attachment or gently wipe down walls with a damp sponge and mild soap. This helps the paint stick better and gives a cleaner finish.
2. Repair any damage
Check for cracks, dents, or loose texture. Fill small cracks with spackle and use a putty knife to smooth things out. Let it dry fully before moving forward. For areas where texture is missing, consider having our technicians match the existing pattern.
3. Choose the right tools
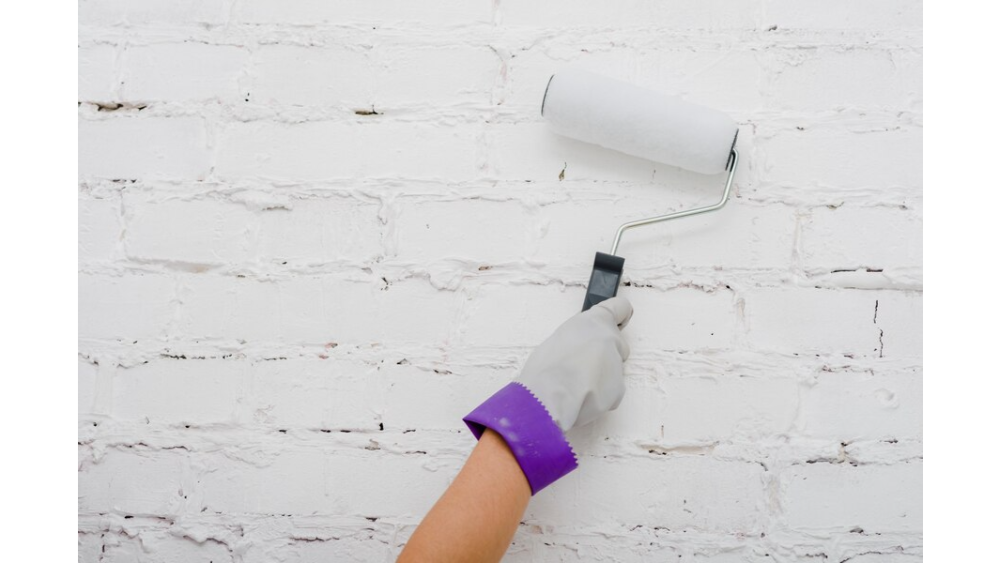
Painting textured walls calls for special rollers with thicker nap (about 3/4 inch or more) to get paint into cracks and dips. Depending on the pattern, a brush alone will not get you even coverage.
4. Use painter’s tape and drop cloths
Protect baseboards, trim, and floors. Textured walls tend to splatter more when painted, especially with thick rollers or spray equipment.
5. Prime the surface if needed
Primer creates a better base for new paint, especially if you're covering a dark color or dealing with porous surfaces like raw drywall. It also helps prevent patchy blotches after drying.
By handling these preparation steps correctly, you reduce the chances of costly mistakes and wasted time. Proper prep makes a big difference in how your walls end up looking and how long they stay looking that way.
Expert Painting Techniques for Textured Walls

Once the surface is prepped and primed, applying the paint the right way is where the real work begins. Textured walls need more effort and planning during application to ensure every ridge and crevice is coated evenly. Using the same brush stroke method you’d use for a smooth wall will not deliver a good result.
Stick with thick nap rollers and use a slow, steady motion when rolling paint on textured walls. This helps the roller push paint into the recesses without overloading one area. When using a roller on popcorn or knockdown texture, work in small sections and go over each part a few times from different directions. It’s easy to miss spots if your angle doesn’t catch the raised areas.
Brushwork can still come in handy, especially around corners, light switches, or trim where a roller won’t fit. Use a firm-bristled brush and dab gently instead of dragging it. That will push the paint into the texture without splattering or causing drips. Avoid using too much pressure, as it can flatten the texture or damage softer materials, which cannot always be fixed without retexturing the wall.
Here are a few things to look out for while painting:
- Watch for thick spots and sagging. These happen if the paint pools in deeper grooves or if too much is applied at once.
- Don’t overload your roller. While thicker rollers are a must, they also absorb more paint. Roll off the excess before applying to the wall.
- Double-check the wall under good lighting. Uneven lighting can hide missed patches, especially in rooms with darker colors or shadows.
Using these methods helps improve the final look while avoiding uneven patches, blotchy areas, or thick, runny sections. It's much easier to do it right the first time than fix it later.
Post-Painting Care for a Lasting Finish
After the paint is up, giving it proper time to cure is just as important as the painting itself. Textured walls hold paint differently than smooth walls. The surface might feel dry on the outside, but the inner grooves can stay tacky longer. This can lead to smudging or damage if touched too early.
Let the painted surface dry fully before putting décor back on the walls or leaning furniture against them. If your room sees a lot of moisture or warmth, such as a bathroom or a sun-exposed wall, drying can take even longer. Use fans to help air out the room and speed up the process without exposing the surface to direct airflow.
For small touch-ups, keep a small can of the original paint on hand. You can use a foam brush for quick fixes instead of redoing whole sections. Don’t spot paint with a brush that’s drastically different from what was originally used, or the texture and finish might not match.
Keep painted walls clean by dusting them every few weeks with a microfiber cloth. Avoid harsh chemicals or scouring pads, as these can strip the finish or scratch the texture. If you need to clean a spot, use light pressure and a soft cloth with mild soap. Test in a low-visibility area first to make sure it doesn’t dull the paint.
These follow-up steps don’t take long but play a big role in making your walls last. The better they’re cared for, the longer they’ll stay sharp and uniform.
Why Professional Help Makes the Difference in Edgewood
Every home has a different wall layout, lighting setup, and wall texture. This makes painting textured walls more than a one-size-fits-all job. A professional understands how to adjust to each home’s details, from matching primer to selecting the right tools for precise paint coverage.
Trying to manage this process on your own without the right experience often leads to wasted materials, uneven finishes, and time-consuming corrections. Hiring our professionals means fewer headaches and better results. Our technicians understand the unique needs of homes in Edgewood, including how local building materials or previous wall treatments can affect paint performance.
Professional help also means faster turnaround with less mess. Clean lines, fully covered patches, and strong finishes come from knowledge developed through years of experience. Homeowners who leave their textured paint projects in the hands of our professionals see more consistent results, especially with difficult designs or hard-to-reach areas.
Whether you’re updating a single room or refreshing the walls in your entire house, it makes sense to trust experienced hands. With the right crew, your textured walls get the attention and care they need to look great and last longer than a rushed DIY job.
If you're ready to transform your textured walls and elevate the interior of your home, rely on trusted experts in house painting in Edgewood to deliver flawless, long-lasting results. At Cover Pro Painting, we prioritize precision and care with every project. For a quick estimate or to book a service visit, please contact us today.