



Dry Brush Painting: How to Create Texture Without Skipping Prep or Durability
Key Takeaway
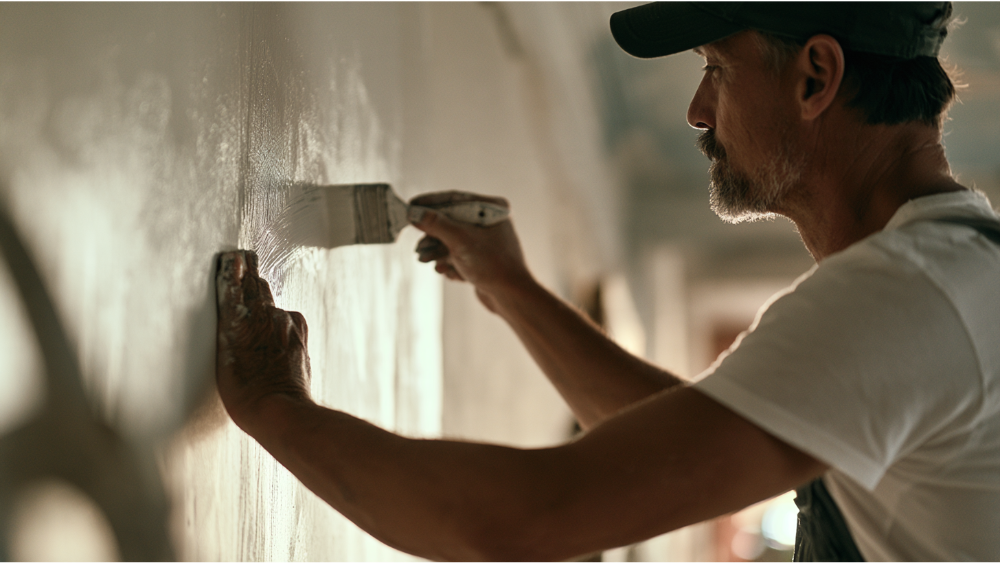
Dry brush painting is a decorative technique where you drag a nearly dry, lightly loaded brush over a surface, leaving broken marks that catch raised details while letting the base color show through. Load only the bristle tips, then wipe off about 90% of the paint before applying. Build the effect in thin, gradual layers for depth. It works well on furniture, trim, millwork, and accent walls, but never replaces proper surface prep.
What Is Dry Brush Painting? (Quick Answer)
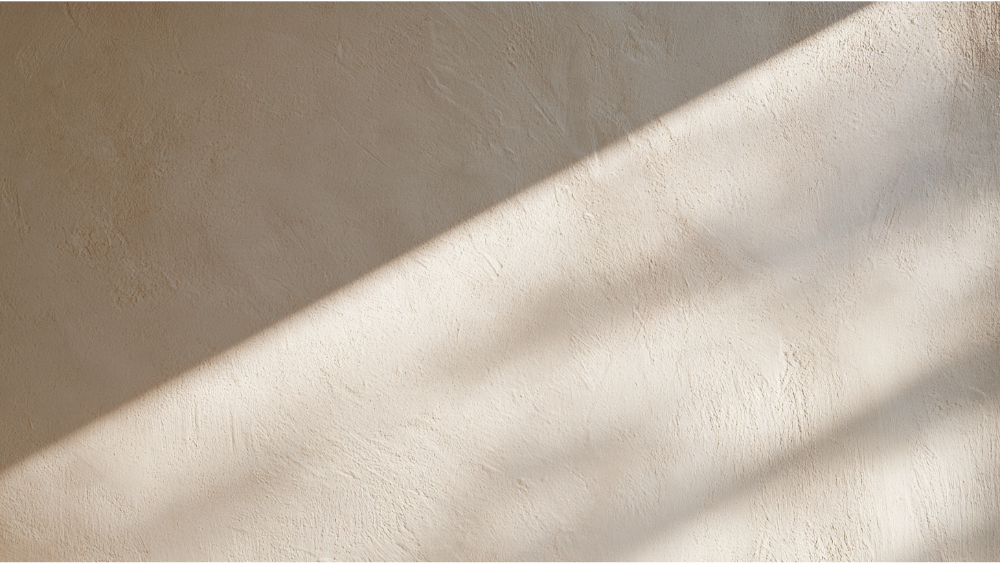
Dry brush painting is a decorative technique where you drag a nearly dry, lightly loaded brush over a dry surface, leaving broken, textured marks that let the base color show through. The word "dry" is relative here: the brush still holds paint, just very little of it. That intentionally incomplete application is what highlights raised grain, edges, and carved detail instead of covering them. You build the effect in gradual layers to create depth. If you're a homeowner planning a decorative accent on furniture, trim, doors, millwork, or an accent wall, the dry brush painting technique is a useful tool. It's an accent effect, though, not a full-coverage protective paint system.
What Does a Dry-Brushed Finish Look Like?
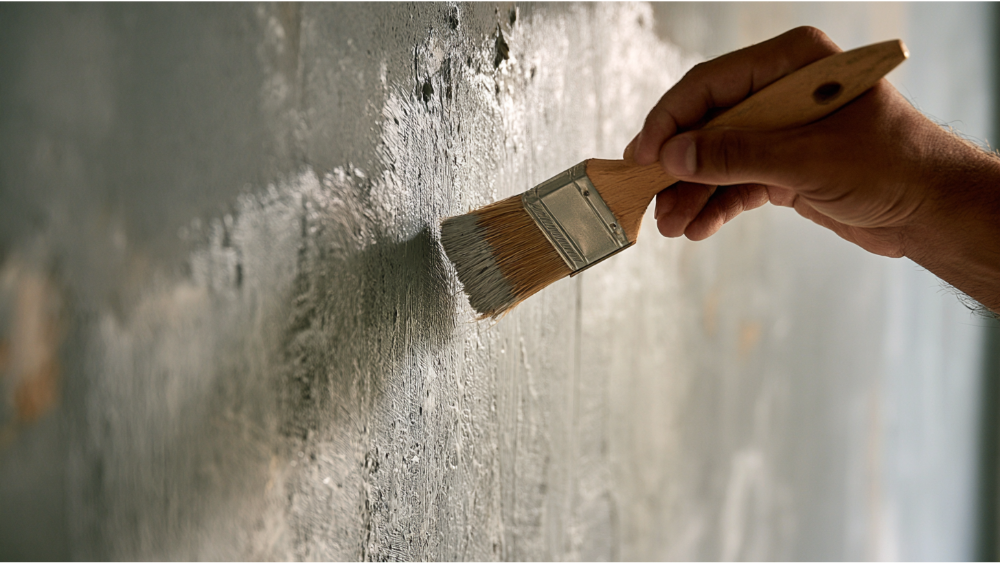
A dry brush finish has broken coverage. You see the base color underneath, with paint catching only the raised details: wood grain, ridges, raised panel edges, and carved detail. It's most visible on textured surfaces where the brush skips across high points and leaves the recessed details untouched. On a smooth surface you get a softer, hazier result instead of sharp, defined marks.
The effect can read two very different ways depending on your color contrast. A subtle tonal layer, close to the base color, adds quiet dimension to millwork or a frame. A high-contrast pass, like a lighter color over a dark base, reads as intentionally weathered or gives a textured look. Both come from the same technique. The look you land on depends on how much paint you load, how hard you press, and how far apart your colors sit.
Where Dry Brushing Works, and Where It Doesn't
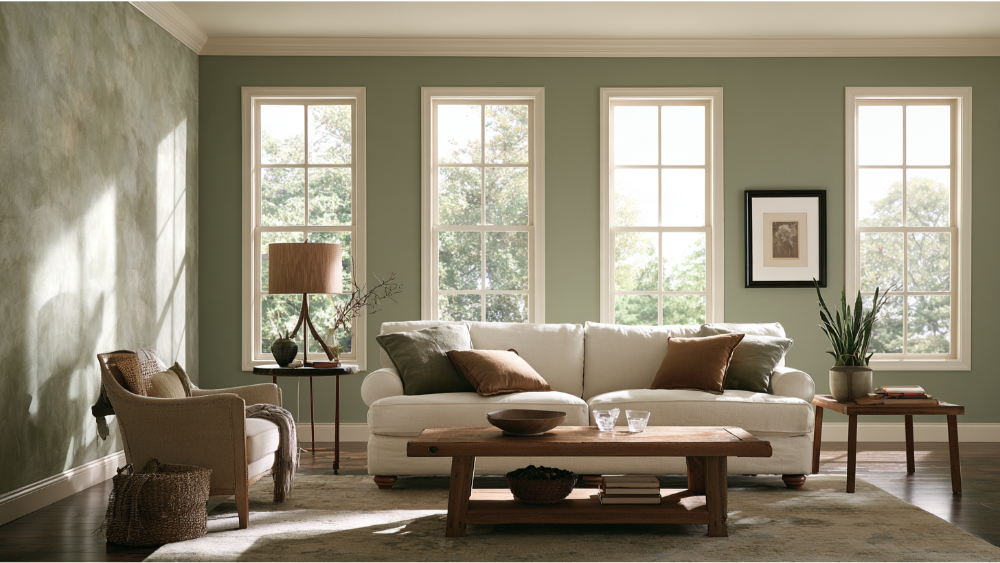
Dry brushing shines when you want texture and highlight rather than clean, even coverage. Despite the dated "shabby chic only" reputation, it works for restrained modern finishes too.
- Picture frames and decorative panels
- Furniture accents and carved doors
- Trim and millwork that benefits from subtle depth
- Faux stone, brick, and feature-wall effects
- Murals and small model work
Where it falls short:
- Primary exterior protection on siding, doors, or trim that faces weather and moisture
- Failing or contaminated surfaces
- Heavily handled areas without a suitable protective topcoat
- Anything needing flawless, uniform, or washable coverage
Dry brushing controls appearance. It won't solve contamination, poor adhesion, rot, or moisture damage. Those problems need to be fixed first, not painted over.
Dry Brush vs. Wet Brush and Similar Painting Techniques
Several decorative painting techniques get lumped together, which leads to mixed-up instructions. Here's how they actually differ.
Dry brushing and washing are opposites: one catches highlights, the other fills shadows. A wet brush loaded with thinned paint flows into the low spots, while a dry brush skims the high ones. Painters often pair both on the same piece to build real depth.
What Paint and Brushes Work Best for Dry Brushing?
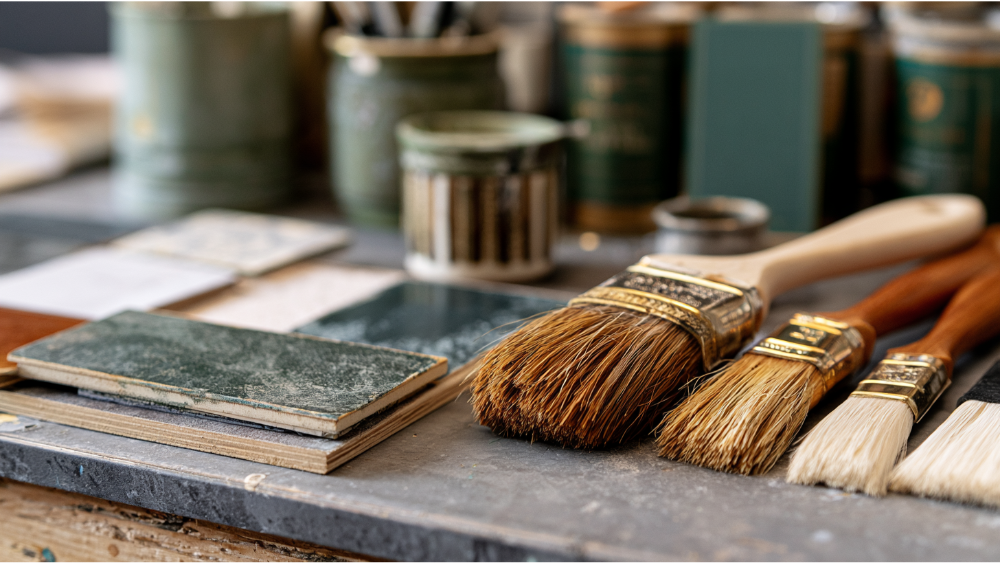
You can dry brush with acrylic, oil paint, watercolor, ink, or household water-based coatings. The right consistency and brush moisture depend on the medium and the surface, so there's no single paint type you're required to use. Skip the absolute rules you'll see online and test on scrap first. You'll find most of these supplies at any art store.
Brush choice shapes the marks. Stiffer, coarser bristles make defined, separated strokes. Softer goat hair brushes give a dusty effect with smooth highlight transitions. Flat brushes cover a large whole surface well, while small paint brushes handle fine detail and precision work. Purpose-built dry brushes are made to take repeated lateral friction without the hair falling apart. Keep a scrap board next to you and adjust from there rather than committing one bristle to every job. Spend a bit of time matching the brush to the surface and the rest of the technique gets easier.
How to Prepare the Surface First
Prep is where a dry-brushed finish is won or lost. Dry brushing never fixes dirt, grease, loose paint, a glossy surface, or damaged wood. Those issues show through and wreck adhesion.
What prep looks like depends on the surface:
- Previously painted wood: clean it, then scuff-sand glossy areas so the new coat grips.
- Bare wood: sand smooth and prime; raw wood can drink paint unevenly.
- Drywall and walls: clean, patch, and prime repairs so they don't flash.
- Doors and trim: degrease, scuff, and spot-prime any bare or repaired spots.
- Metal or slick manufactured surfaces: clean thoroughly and use a bonding primer made for the substrate.
There's no universal grit or primer rule, because it varies by substrate and coating. Once prep is done, lay the base coat and let it dry completely per the label before any dry brushing. If the base isn't completely dry, the dry brush will lift it and muddy your colors.
The Dry Brush Painting Technique Step by Step
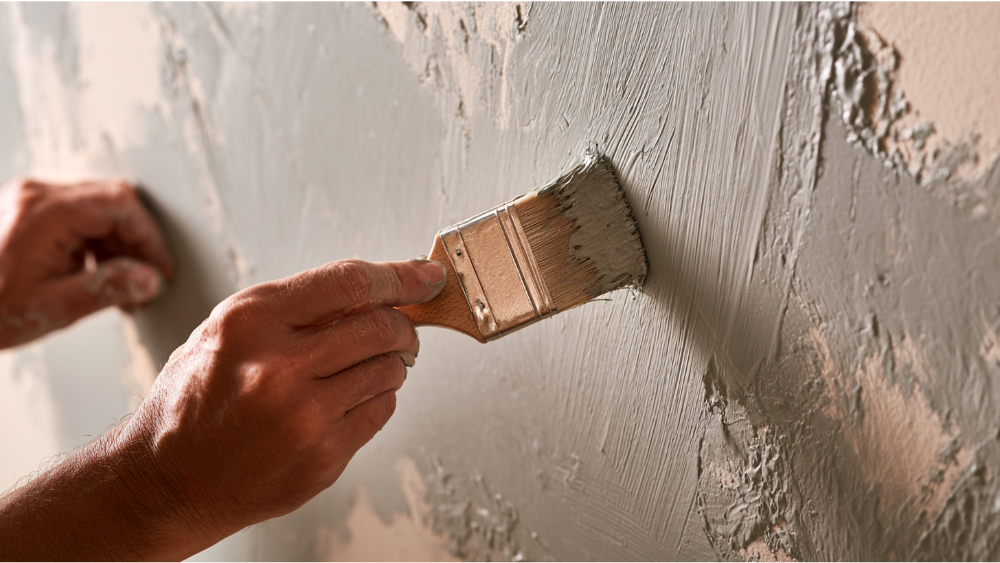
- Prepare the surface and let the base coat dry per its instructions. This first layer sets up everything that follows.
- Test your color pairing. A lighter color over a darker base (or the reverse) gives contrast; closer colors give subtle depth.
- Dip only the tips of the bristles. You want to avoid picking up too much paint.
- Wipe off roughly 90% of the paint onto a paper towel or rag until the bristles are separated, not clumped. This is the step that turns a wet brush into a working, almost completely dry brush.
- Run test strokes on scrap material to check the mark.
- Apply light, controlled strokes, brushing gently so the dry paint catches only the raised edges. A light touch keeps the effect clean.
- Build the effect gradually in thin layers for depth; a second layer deepens the highlights without filling recesses.
- Vary your pressure and direction on purpose rather than randomly.
- Step back and assess before adding more.
- Protect the finish only if the surface and its use call for it.
This gradual, light-touch layering is the same approach miniature painting relies on for quick highlights on models. When you start drybrushing, lightly brush over the highest points so the resulting effect reads as a true highlight rather than a flat coat. Thin passes, built up, almost always beat one heavy pass. The key to the whole painting process is restraint: it's easier to add another layer than to undo a load of paint that filled the recesses.
The Four Controls That Shape the Result
- Paint load: less paint gives more broken, textured marks. Too much excess paint and you lose the effect.
- Pressure: light pressure catches high points; heavy pressure transfers more paint and fills recesses.
- Brush type: stiff bristles read as defined; soft bristles read as diffused.
- Stroke direction: with the grain for a controlled wood effect, across sculpted details to catch edges, or a planned pattern for walls.
Surface texture and color contrast are your secondary levers. Together these give you something to adjust instead of one rigid recipe, which is what makes this one of the more forgiving miniature painting techniques to learn, even for a new painter.
Common Dry Brush Painting Problems and How to Fix Them
Does a Dry-Brushed Finish Need a Clear Coat?
It depends on how the piece will be used, not a single rule. A decorative object sitting on a shelf often needs no topcoat at all. Working furniture, washable walls, doors, trim, and other high-touch areas benefit from a compatible clear coat that protects the effect from wear and cleaning.
If you do seal it, let the dry brush layers dry completely, test compatibility on scrap first, then follow the paint and topcoat makers' recoat and cure instructions. Skip any "set number of coats" or "dry overnight" advice you see online. Real drying and cure times shift with the product, film thickness, temperature, and humidity.
Lead-Safe Prep on Pre-1978 Homes
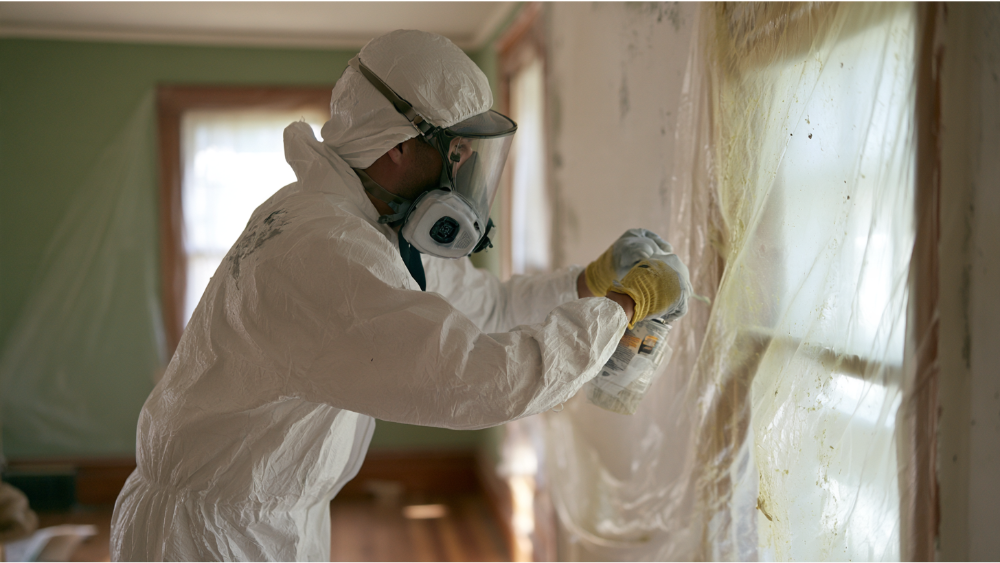
Plenty of decorative projects involve sanding or scraping older trim, doors, and millwork, and that's where safety matters. The federal government banned consumer lead-based paint in housing in 1978, and the EPA estimates about three-quarters of pre-1978 U.S. homes still contain some lead-based paint. Disturbing it creates hazardous dust.
Paid contractors working on covered surfaces in pre-1978 housing are generally required to follow RRP lead-safe work practices, and Washington administers its own RRP program. We're EPA Lead-Safe Certified (RRP Certified), which matters on older homes across our area. For interior work of any kind, ventilate the space and follow the precautions on your product labels.
When to DIY and When to Call a Professional
A small decorative item or a single accent piece is a reasonable DIY project. Test, go slow, and you can get a result you're proud of.
A whole feature wall, a large built-in, cabinets, doors, millwork, damaged or rotted wood, or an uncertain older coating is worth a professional assessment first. Those situations are where adhesion and durability problems tend to show up months later. We're a founder-led team based in Edgewood, and we handle surface prep, rot repair, carpentry, siding, interior and exterior painting, and door and millwork finishing under one full-service relationship. You get the decorative result and a sound surface underneath it, without juggling multiple contractors.
Frequently Asked Questions
What kind of paint is used for dry brushing?
Acrylic, oil paint, watercolor, ink, and household water-based coatings all work. The right consistency and brush moisture depend on the medium and the surface, so test on scrap before committing.
Do you water down paint when dry brushing?
Generally no. Thinning paint turns your brush into a wet brush, which is closer to washing and settles into recessed areas for shadow. The dry brush technique uses minimal, undiluted paint on a mostly-wiped brush to catch raised detail. Follow product guidance for your specific coating.
What are the downsides of dry brushing?
It won't give uniform or washable coverage, and it can look chalky or streaky if you overload the brush. It isn't suited to exterior protection, and it never substitutes for proper surface prep.
What are dry brushes used for in painting?
Many painters use the dry brush painting technique to apply highlights on raised edges, suggest textures like stone and wood and fur, and create subtle glow effects and object source lighting on a model. In traditional painting and plenty of painting guides, the effect is built up in gradual, thin layers until it reaches the desired finish. If you're a big fan of texture, it's a quick way to get there.
Can you dry brush over an existing painted surface?
Yes, as long as it's clean, sound, and completely dry. Scuff any glossy areas so the paint grips, and test compatibility first.
Start With a Properly Prepared Surface
A dry brush finish is only as good as the prep and coating choice beneath it. Get the surface sound first, and the texture, highlights, and depth fall into place. If your project is bigger than a weekend accent (interior painting, door and trim painting, millwork, surface prep, or repairs across Edgewood and the greater Seattle-Tacoma area) we're glad to take a look. Every project is different, so we start with a clear, transparent estimate before any work begins. Call us at 206-222-0435. Start with a free estimate and see exactly what your project will involve.
