%201.svg)


The Ultimate Guide to Painting Concrete and Epoxy Floors

Why Concrete Floor Painting is a Game-Changer for Your Property
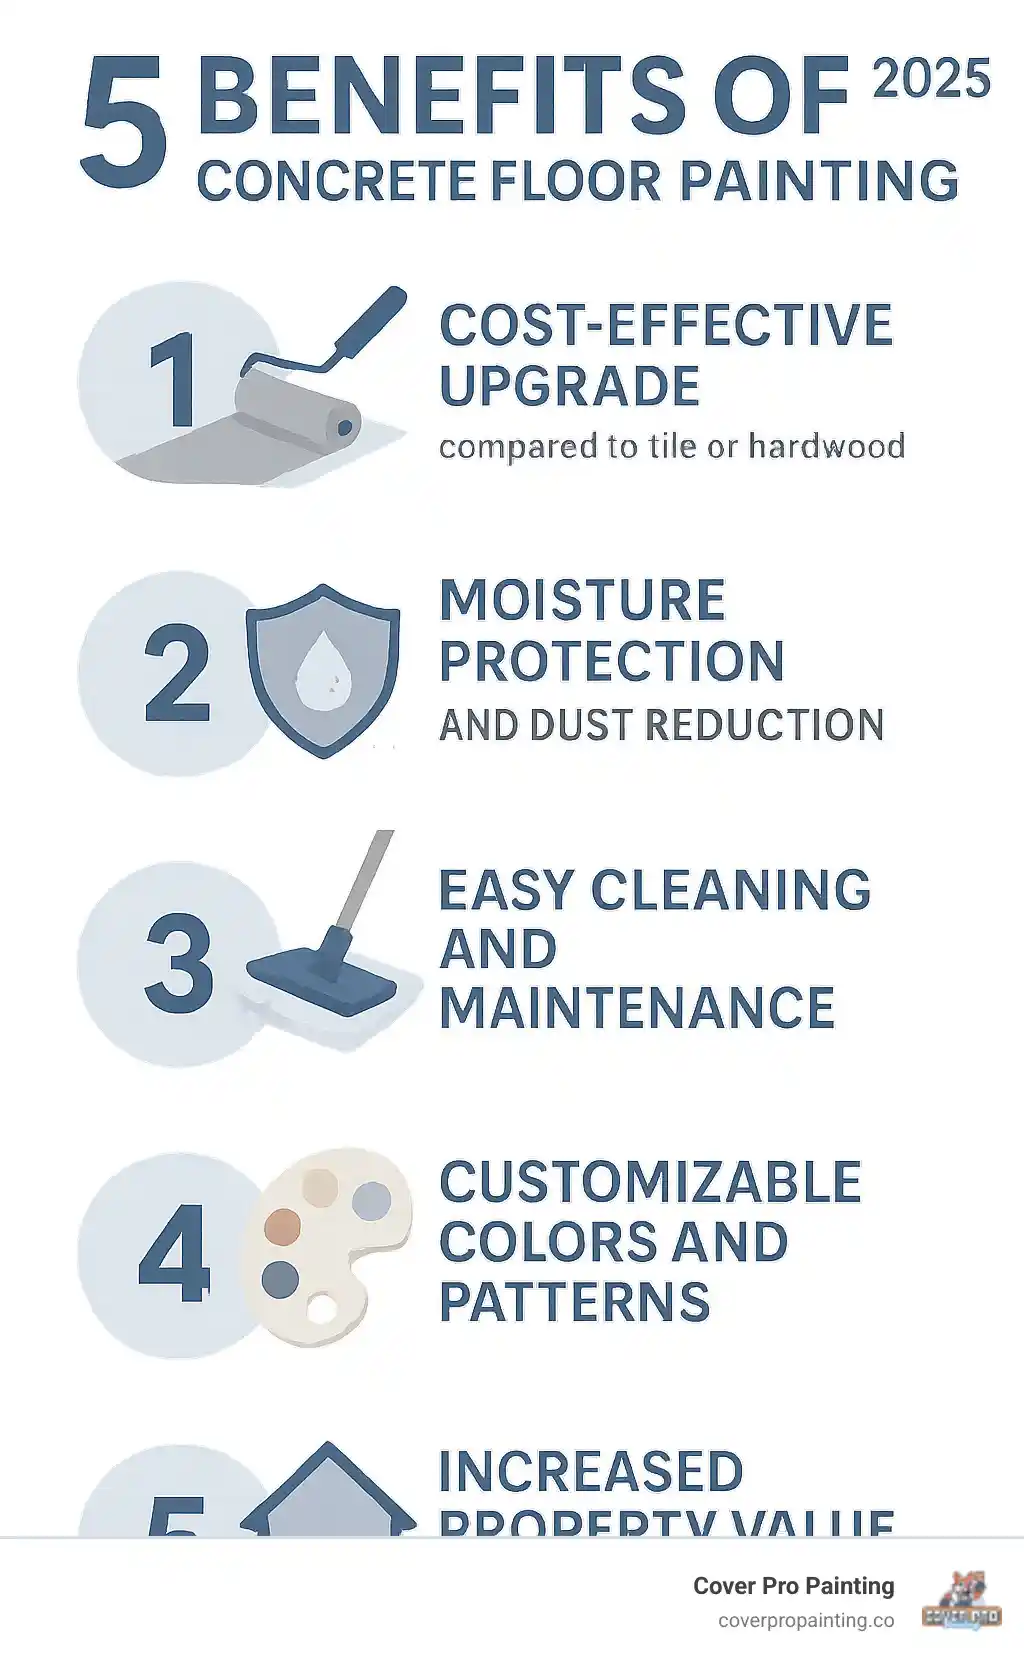
Concrete floor painting transforms dull concrete into beautiful, durable surfaces, protecting your investment and enhancing your space. Paint offers an affordable upgrade for bare garage floors, basements, or patios.
Quick Answer for Concrete Floor Painting:
- Best Paint Types: Epoxy for garages, latex for basements, oil-based for outdoor patios
- Key Steps: Clean thoroughly → Repair cracks → Prime → Paint in thin coats
- Durability: 3-5 years for DIY, 10+ years for professional application
- Cost: Most affordable flooring upgrade option
- Prep Time: 80% of success depends on proper surface preparation
The benefits extend beyond looks. Research shows proper surface preparation is crucial; without it, paint can chip within weeks. When done right, painted concrete offers:
Protection from moisture - Sealed concrete prevents water damage and reduces dust
Easy maintenance - Painted surfaces are simple to clean and maintain
Safety improvements - Anti-slip additives can be mixed into paint for better traction
Aesthetic versatility - From solid colors to stenciled patterns, the design options are endless
One Reddit user shared their experience: "I painted two bedroom floors and found it easy and loved the result." This mirrors a common finding: concrete floor painting is an achievable and rewarding project.
However, choosing between paint, stain, or epoxy depends on your space and needs. Garages benefit from epoxy's resistance to "hot-tire pickup," while basements might need latex paint's moisture-handling properties.
Choosing Your Finish: Paint vs. Stain vs. Epoxy
When you're ready to tackle your concrete floor painting project, the coating you choose can make or break your results. It's like choosing shoes for an activity—you shouldn't use basement paint on your garage floor.
The three main options are paint, stain, and epoxy. Each works best in specific situations. Let's explore them so you can pick the right match for your space.
Coating Types Explained
Here's how these three coating types compare:
FeaturePaintStainEpoxyDurabilityModerate; susceptible to chipping/peelingHigh (acid-based); Moderate (water-based)Very High; resistant to abrasions, chemicalsCostMost affordableModerateHigher; especially professional-gradeAppearanceOpaque, solid color; can hide imperfectionsTranslucent, mottled, natural lookThick, glossy, plastic-like finishEase of ApplicationEasy (latex); Moderate (oil-based)Moderate (water-based); Difficult (acid-based)Moderate to Difficult (two-part mixing, quick work time)Best Use CasesBasements, low-traffic areas, patiosPatios, interior living spaces, decorativeGarages, industrial, high-traffic areas
Latex-based paint is reliable, easy to work with, and forgiving. It cleans up with water, simplifying your project. Crucially, latex paint "breathes," allowing moisture vapor to escape. This prevents the paint from peeling.
Oil-based paint creates a hard, glossy finish resistant to minor scratches. It's ideal for outdoor patios and porches. The downside is the need for mineral spirits for cleanup and its lower breathability compared to latex.
Water-based stains offer many color options and dry quickly. They also have fewer harsh chemicals. Stains are translucent and won't hide imperfections.
Acid-based stains react with minerals in the concrete to create unique, natural stone or marble-like patterns. Each floor is one-of-a-kind. Warning: these stains require serious safety gear and good ventilation.
Epoxy coatings create a thick, glossy, and highly durable surface. Epoxy is ideal for garages because it resists hot-tire pickup, where hot tires peel regular paint off the floor. Professional-grade epoxy can last over a decade, while DIY kits have much shorter lifespans.
Best Coating for Your Space
Your space's personality should guide your coating choice. Here's how to match them up:
Garage floors need epoxy. Its chemical resistance and durability make it the clear winner for the tough garage environment.
Basement floors with potential moisture need Latex-based paint. It's ideal because it breathes, allowing vapor to escape. Avoid epoxy here, as it won't bond properly with moisture.
Patios and outdoor concrete face weather extremes. Oil-based paint handles temperature swings well, and acid-based stains create beautiful, fade-resistant finishes.
High-traffic areas need the heavy-duty protection of professional-grade epoxy or specialized industrial coatings.
Moisture-prone areas require coatings that can handle humidity. Breathable latex paint is a smart choice, but always test for moisture before applying any coating.
Interior living spaces like converted basements or sunrooms give you creative freedom. Stains can showcase the concrete's character, while paint and stencils offer unlimited design possibilities.
Matching the coating to your space is key for a durable, beautiful concrete floor painting result.
The Essential How-To Guide for Concrete Floor Painting
Concrete floor painting can transform your space, but we've seen many paint jobs fail within weeks due to poor preparation. Proper prep is the most important factor for success. Follow these steps carefully for a professional-quality finish that lasts.
Essential Tools & Materials
Gather all your tools and materials before you begin to avoid interruptions.
Safety gear is essential. You'll need a quality respirator mask, safety glasses, chemical-resistant gloves, and protective clothing. Don't skimp on safety.
For cleaning and prep, gather a heavy-duty broom, industrial vacuum, concrete cleaner/degreaser, stiff-bristle brushes, and a pressure washer for outdoor areas. You'll also need concrete filler/patch, a trowel, and etching solution.
The painting supplies are equally important: bonding primer, concrete floor paint, a high-quality paint roller with 5/16" nap, an extension pole, paintbrushes, and painter's tape. For slippery areas, grab a non-skid additive.
Step 1: Critical Surface Preparation
Surface prep is tedious but critical; skipping it ensures failure. Start by clearing the area and cleaning the floor thoroughly with a concrete cleaner/degreaser. Oil, dirt, and grease prevent paint adhesion. A pressure washer is great for grimy areas.
Removing oil and grease requires patience, as these prevent paint from bonding. You may need to clean spots multiple times.
Repairing cracks and holes comes next. Repair all cracks and holes with concrete filler, then sand any high spots for a smooth surface.
Now, you must etch or grind the concrete to create texture for the paint to grip. You can use an acid-based etching solution (follow safety instructions) or rent a concrete grinder for superior adhesion, which is what professionals use.
Finally, test for moisture. Tape a plastic sheet to the floor for 24 hours. Condensation underneath indicates a moisture problem that must be addressed before painting to avoid failure.
Step 2: Priming for Maximum Adhesion
Do not skip primer, even if the paint is self-priming.
Primer is essential. Porous concrete needs a bonding primer to create a stable surface for the paint, dramatically increasing the project's lifespan. Choose a bonding primer designed for concrete; it's formulated for maximum adhesion and is worth the investment.
Apply primer carefully. Cut in edges with a brush, then roll thin, even coats in overlapping passes. Allow the primer to dry completely, which can take several hours to overnight. Don't rush this step.
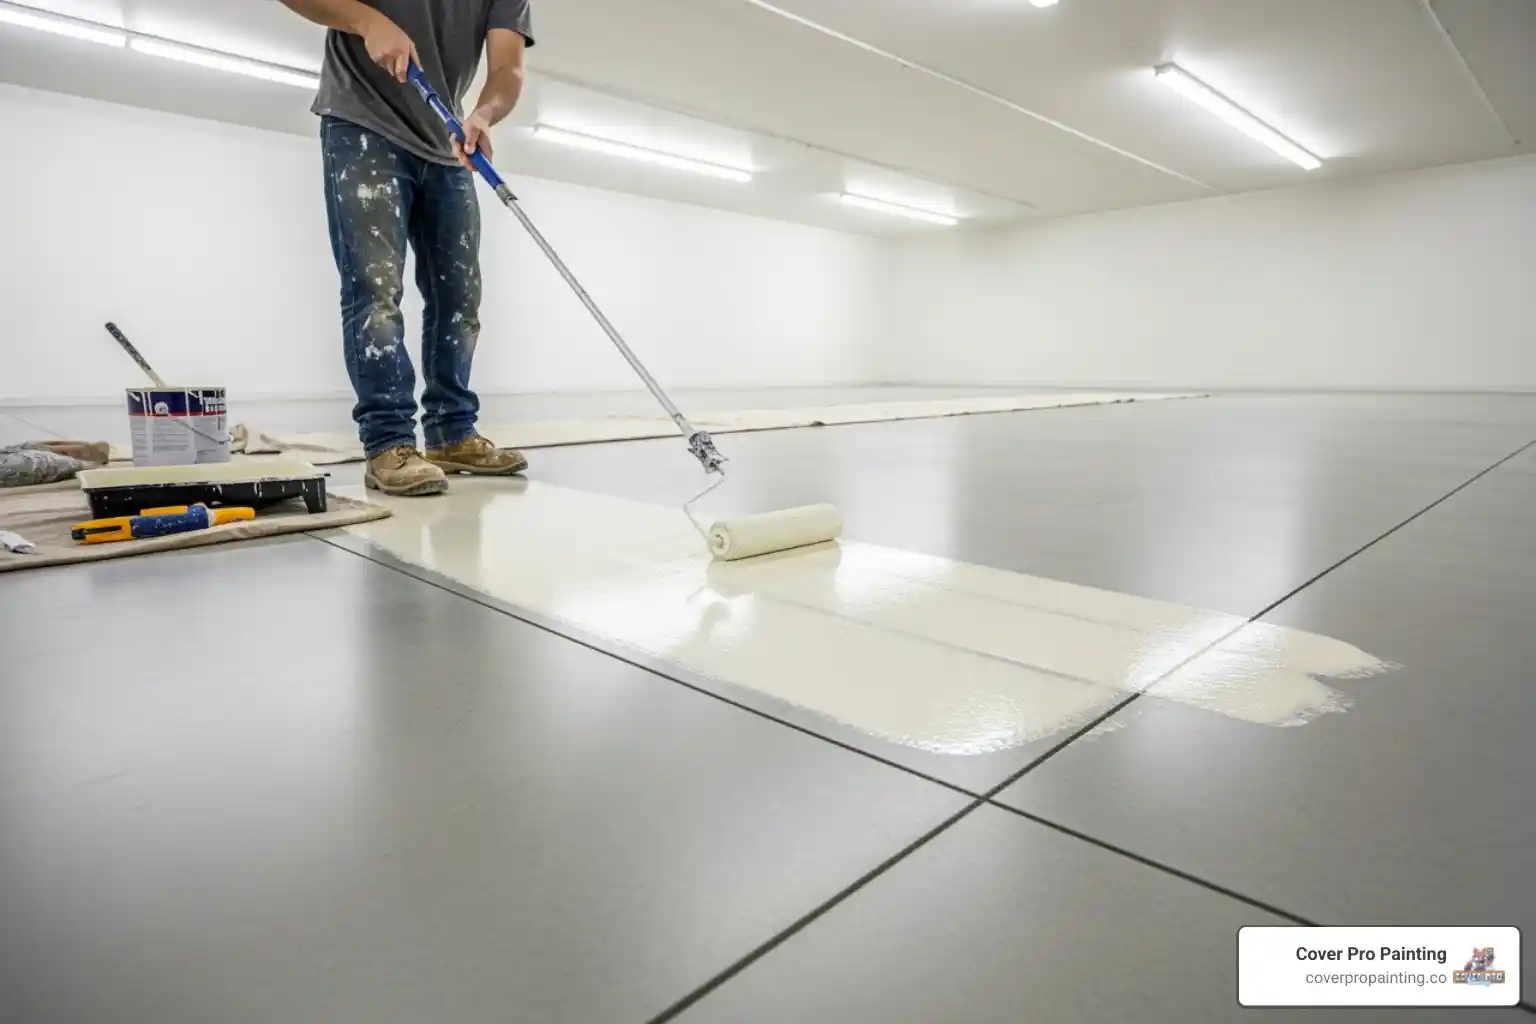
Step 3: Applying the Paint for a Flawless Finish
With the prep work done, you're ready to paint. First, use a brush to cut in the edges along baseboards and corners for a professional look.
For the main surface, use a roller in a W-pattern for even distribution, working in sections from the far corner toward your exit. You don't want to paint yourself into a corner.
Applying thin, even coats is crucial. One thick coat will not cure properly. Most paints require at least two thin coats for a durable, smooth finish.
Let the first coat dry completely (usually about 24 hours) before applying a second coat, perpendicular to the first, for the smoothest finish.
Consider non-skid additives for safety in wet areas like garages. These fine particles add texture without affecting the look.
Your floor might feel dry in a day, but full curing time takes much longer. Avoid heavy traffic for at least a week to ensure a durable finish.
Step 4: Safety First When Working with Concrete Coatings
Safety is paramount during your project.
Personal Protective Equipment (PPE) isn't optional. Use a proper respirator, safety glasses, and chemical-resistant gloves to protect against fumes from cleaners, etchers, and paints.
Ensuring proper ventilation is crucial for safety and proper paint curing. Open windows and use fans to keep air moving.
In older homes, be aware of lead paint hazards. Take serious precautions and consult the EPA's guide on protecting your family from lead exposure.
Read and follow all chemical safety instructions on product labels. Always follow manufacturer instructions for safety and to ensure the durability of your finish.
When done right, concrete floor painting is a great DIY project. Take your time with prep, use quality materials, and follow these steps for excellent results.
Durability, Maintenance, and Creative Ideas
Your concrete floor painting project is a long-term investment. Understanding its durability, potential issues, and creative options will help you get the most from your work.
How Long Does Painted Concrete Last?
Durability depends on several key factors. Surface preparation is the most critical factor for longevity; rushing this step will lead to chipping within weeks.
Traffic levels also affect durability. A low-traffic basement floor will last longer than a high-use garage floor. Match your coating choice to the intensity of use.
Moisture exposure is a silent killer for painted concrete. Constant water seepage or pooling will cause paint to fail, especially non-breathable coatings.
There is a massive quality gap between DIY and professional materials. DIY epoxy kits may last only 3-5 years, while a professional-grade application can last 10+ years with occasional touch-ups. A well-done DIY concrete floor painting project can last 3-5 years, but professional application extends this timeline significantly.
Common Mistakes to Avoid in Concrete Floor Painting
Most concrete floor painting failures stem from a few common mistakes. Avoiding them will save you headaches.
Poor surface preparation is the top mistake. Skipping cleaning, etching, or repairs leads to disappointing results.
Choosing the wrong paint type, like using wall paint for a floor, guarantees failure. Always match the coating to the environment.
Applying coats too thickly is a common error. Thick coats don't cure properly and can peel. Multiple thin coats are always better.
Not allowing proper dry/cure times is problematic. Rushing use can permanently damage the finish before it's fully hardened.
Painting over moisture is a critical error. Painting over damp concrete prevents bonding. Always perform a moisture test.
Skipping primer is a project-killer. It's essential for creating a strong bond between the concrete and the paint.
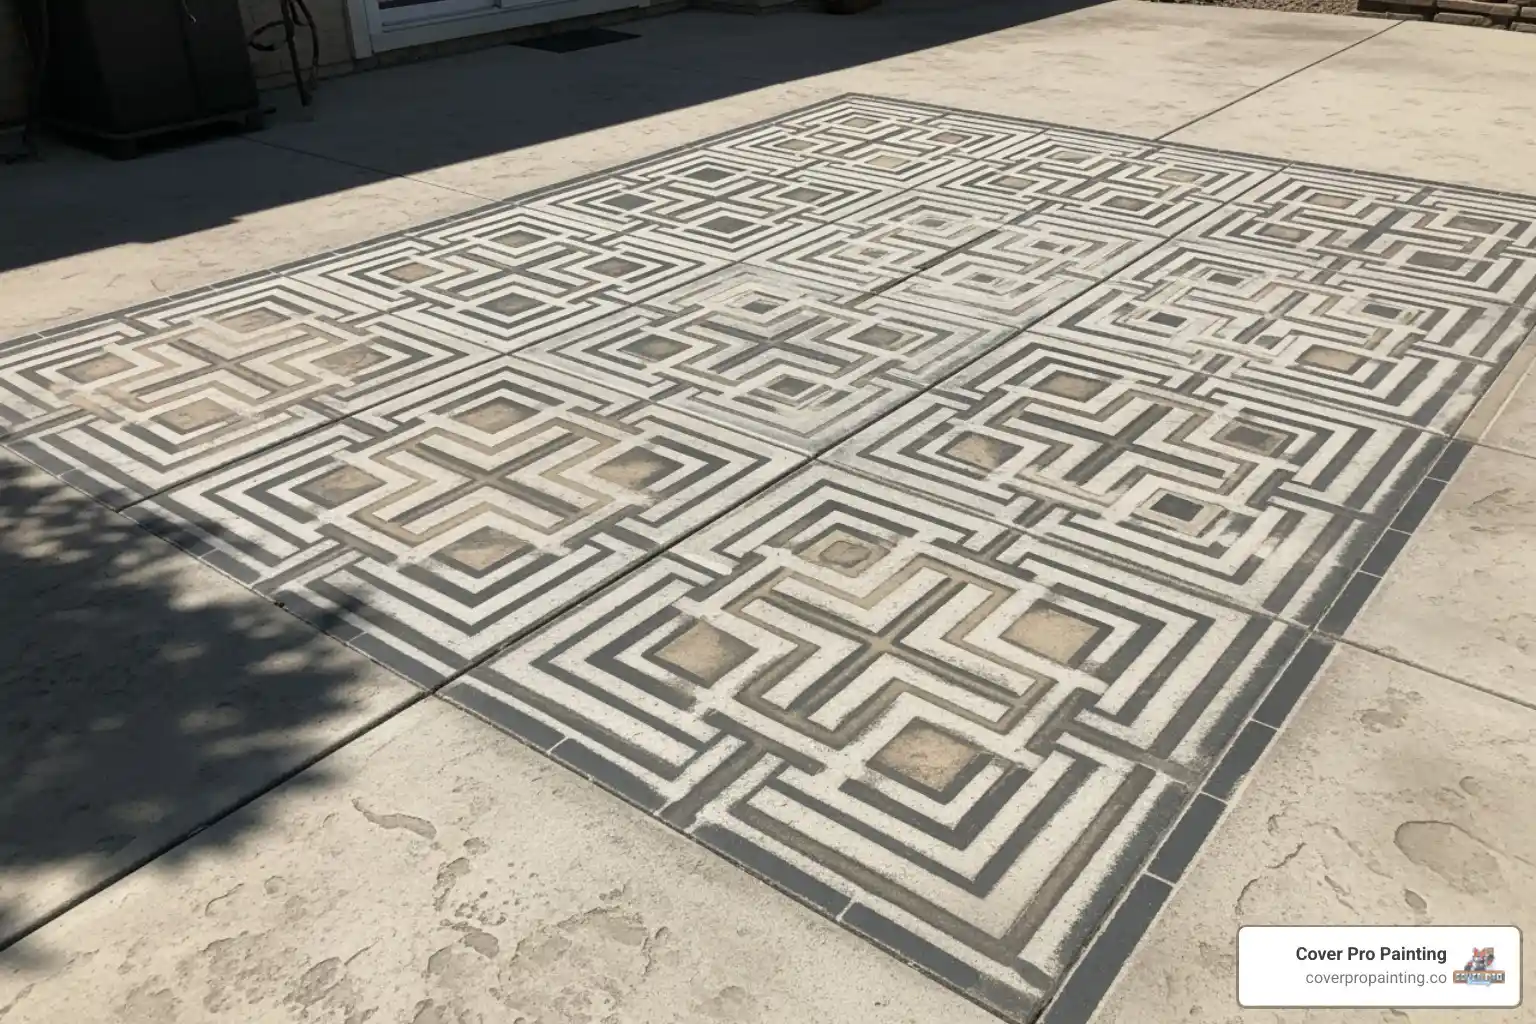
Get Creative with Stencils and Colors
Once you master the technique, concrete floor painting allows for great creativity. Your floor can become a canvas.

Stenciling offers endless design possibilities that rival expensive flooring. They allow you to add personality without artistic skill. Plan your design carefully before starting.
With the right stencils and colors, you can create faux finishes that mimic tile, stone, or brick.
Color selection dramatically impacts the atmosphere. Neutrals offer versatility, while bold colors can create focal points. The right color can transform a garage or make a basement feel cozy.
Don't be afraid to experiment with color. Unexpected shades or custom tints can create a unique finish that matches your vision.
For the best stencil options and professional-quality designs, check out specialized suppliers like Find a stencil design where you'll find everything from simple borders to complex patterns.
Your concrete floor painting project is an opportunity to express your personality while adding real value to your space.
Frequently Asked Questions about Painting Concrete Floors
Here are answers to common questions about concrete floor painting, based on our experience.
What is the best paint for a concrete garage floor?
Epoxy paint is the best choice for garage floors. It withstands challenges like "hot-tire pickup," where hot tires lift regular paint from the concrete. Its durability and chemical resistance make it ideal for handling oil spills and other automotive fluids, creating a tough, protective coating.
The catch: the floor must be carefully prepped. This includes thorough cleaning, etching or grinding, and complete grease removal. Skipping these steps will cause even the best epoxy to fail.
Do I really need to prime my concrete floor before painting?
Yes, absolutely. Skipping primer is a critical mistake that ensures the paint job won't last. Concrete is porous and dusty, so paint can't adhere well directly to the surface.
A bonding primer penetrates the concrete to create a stable foundation for the paint to grip, dramatically improving durability from months to years. Think of primer as insurance for your hard work and preparation.
Why is my concrete floor paint peeling?
Peeling paint is a common but preventable problem. Inadequate surface preparation is the cause in nearly all cases. Common mistakes include not removing all grease and oil, skipping the etching step, or painting over a damp floor.
Concrete is tricky; oil can remain in the pores even after cleaning. Use a quality concrete degreaser and be thorough.
Moisture is another silent killer. Painting over damp concrete from any source will cause the paint to lose its bond and peel. Peeling may not appear for weeks or months, which is why proper prep is essential for a long-lasting concrete floor painting project.
Conclusion: Is DIY or Professional Painting Right for You?
Concrete floor painting can be a rewarding DIY project, but success depends on choosing the right coating and, most importantly, on critical preparation work. If you have the time and enjoy detailed work, a DIY project can be fulfilling and save you money.
However, calling a professional is wise for high-traffic areas, large spaces, or if you have time constraints. A pro job provides durability and peace of mind that often pays for itself in the long run. The difference is in the lifespan: a DIY project may last 3-5 years, while a professional job can last 10+ years. This helps you make the right choice for your situation.
Get a Professional Finish
At Cover Pro Painting, we know the right prep and materials create spectacular results. Our team brings quality craftsmanship and attention to detail to every basement, garage, or patio project.
We use the latest techniques and premium-grade materials unavailable to DIYers. We handle the rigorous prep work—cleaning, grinding, and priming—to give you durable, beautiful results without the hassle.
Whether you're in Edgewood, Tacoma, or anywhere in our service area, we'd love to help you explore what's possible for your concrete floors. Learn more about our painting services in Tacoma, WA and find how we can transform your space with a professional touch that's built to last.