
%201.svg)


Choosing the Right Paint for Bare or Weathered Wood
Key Takeaway
Choosing the right paint for bare or weathered wood requires a complete system, not just a single product: clean and dry the wood, sand away degraded gray fibers, apply a compatible exterior wood primer, then finish with two coats of high-quality acrylic latex paint. USDA research shows boards weathered just one week before painting lasted 13 years, while those weathered 16 weeks peeled within 3 years. Prep and primer matter as much as the paint itself.
The Short Answer: The Right Paint Starts With the Wood's Condition
For bare or weathered wood, the right paint is almost never a single can off the shelf. It's a system: clean and dry the wood, remove loose or weathered surface fibers, repair any rot first, apply a compatible exterior wood primer, then finish with a high-quality acrylic exterior paint top coat. That sequence is what separates a finish that holds for a decade from one that peels in two years.
If you take pride in how your home looks and you want the result to last, this is the distinction that matters most. A paint product is what's in the bucket. A paint system is prep, primer, and topcoat working together on wood that's actually ready to hold a coating.
Bare wood and weathered wood each ask for different handling, and moisture, wood species, and existing damage all change the plan. Get the condition right first, and choosing the paint type gets much simpler. Whether you're painting siding, window trim, or a whole house exterior, the wood's condition drives every decision that follows.
Bare Wood vs. Weathered Wood: Why the Difference Changes Everything
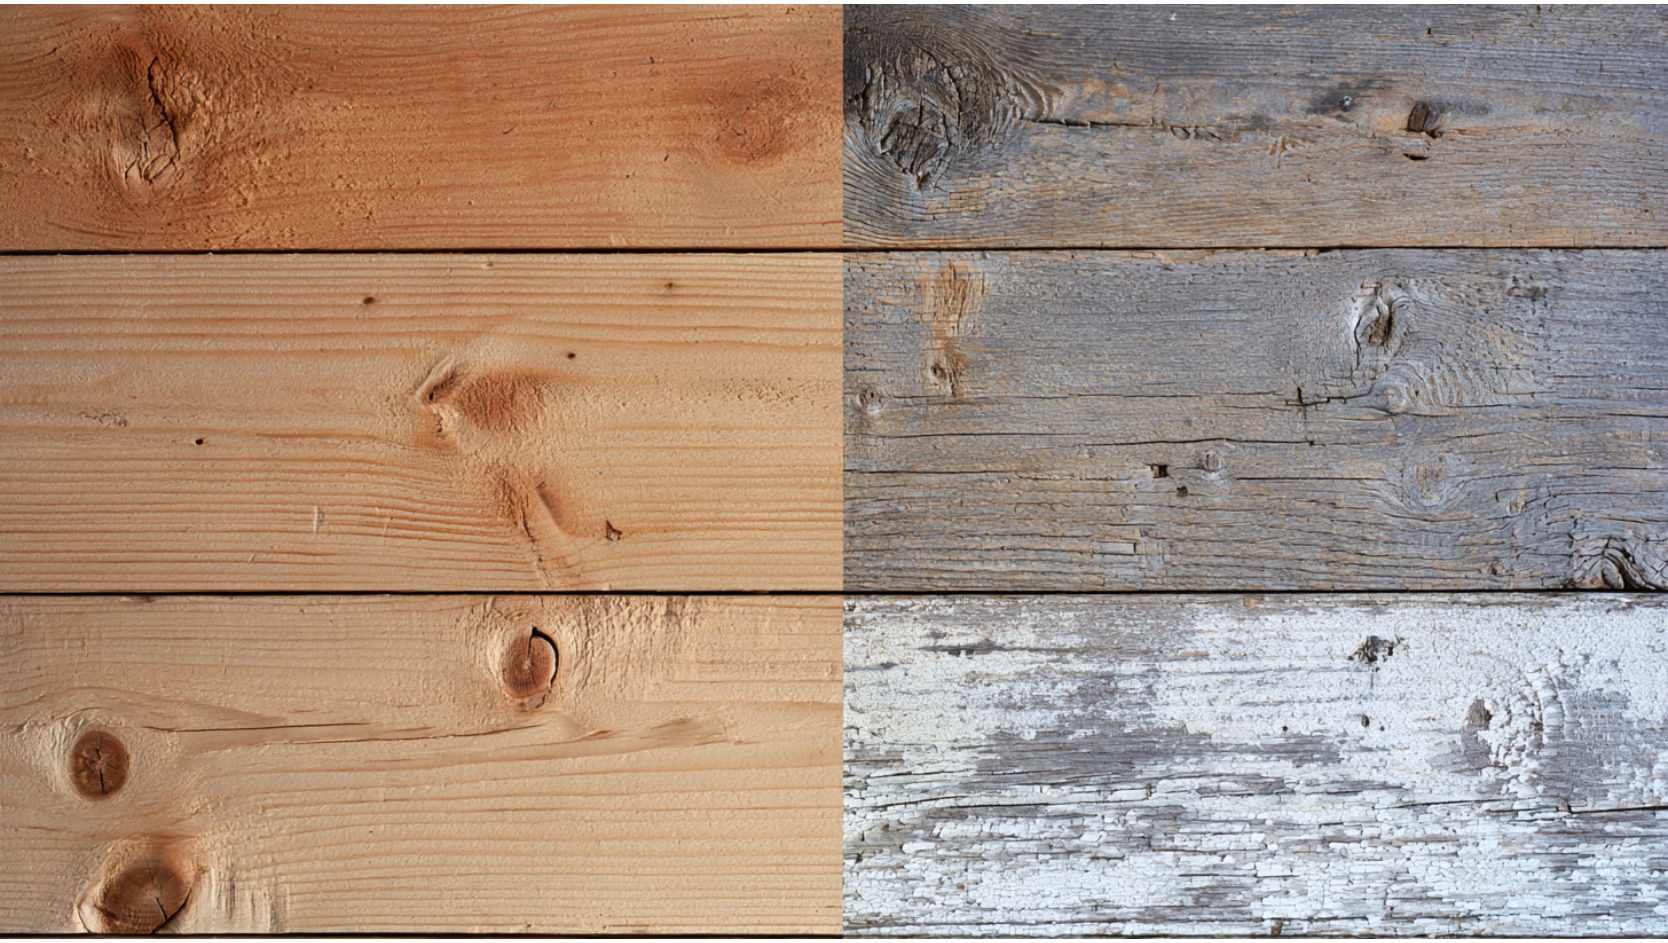
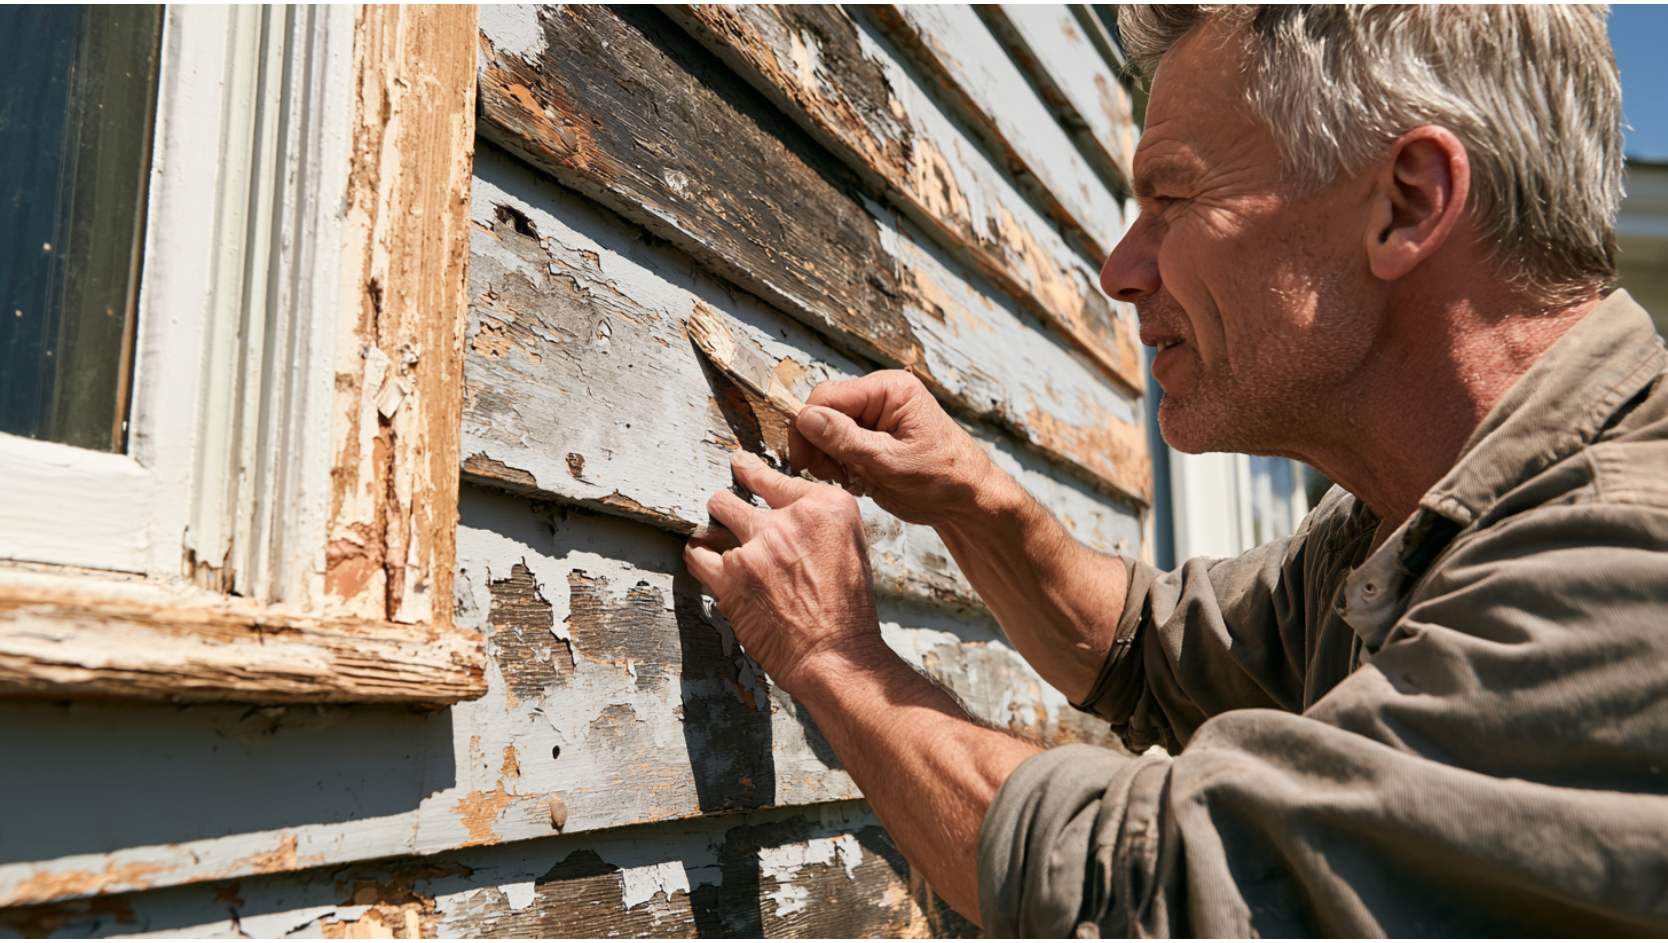
Bare wood is freshly milled or newly exposed wood with no coating on it: clean fibers, a sound surface, ready to accept primer. Weathered wood is bare wood that's been left exposed to sun and rain long enough to change. It goes gray, the wood grain roughens, small checks and cracks open up, and the top layer of fibers starts to loosen.
Here's the part most people miss. UV light and moisture chemically break down the wood surface before you can see much damage. USDA Forest Products Laboratory research found that wood weathered for just 2 to 3 weeks can look unchanged while already losing its ability to hold paint well. So the exterior paint may look like it's bonding, when it's actually gripping a layer of fiber that's already letting go.
The USDA test numbers make the point hard to argue with. Boards preweathered for 16 weeks before painting peeled within 3 years. Boards preweathered just 1 week lasted 13 years before peeling. Panels painted with no weathering at all showed no peeling after 20 years in those test conditions. That is a striking difference for what looks, to the eye, like the same paint job on the same wood.
The takeaway is simple: if the surface is failing, the paint sticks to failure. That's why timing and prep matter as much as which paint you buy.
Is Your Wood Paint-Ready? A Quick Diagnostic Checklist
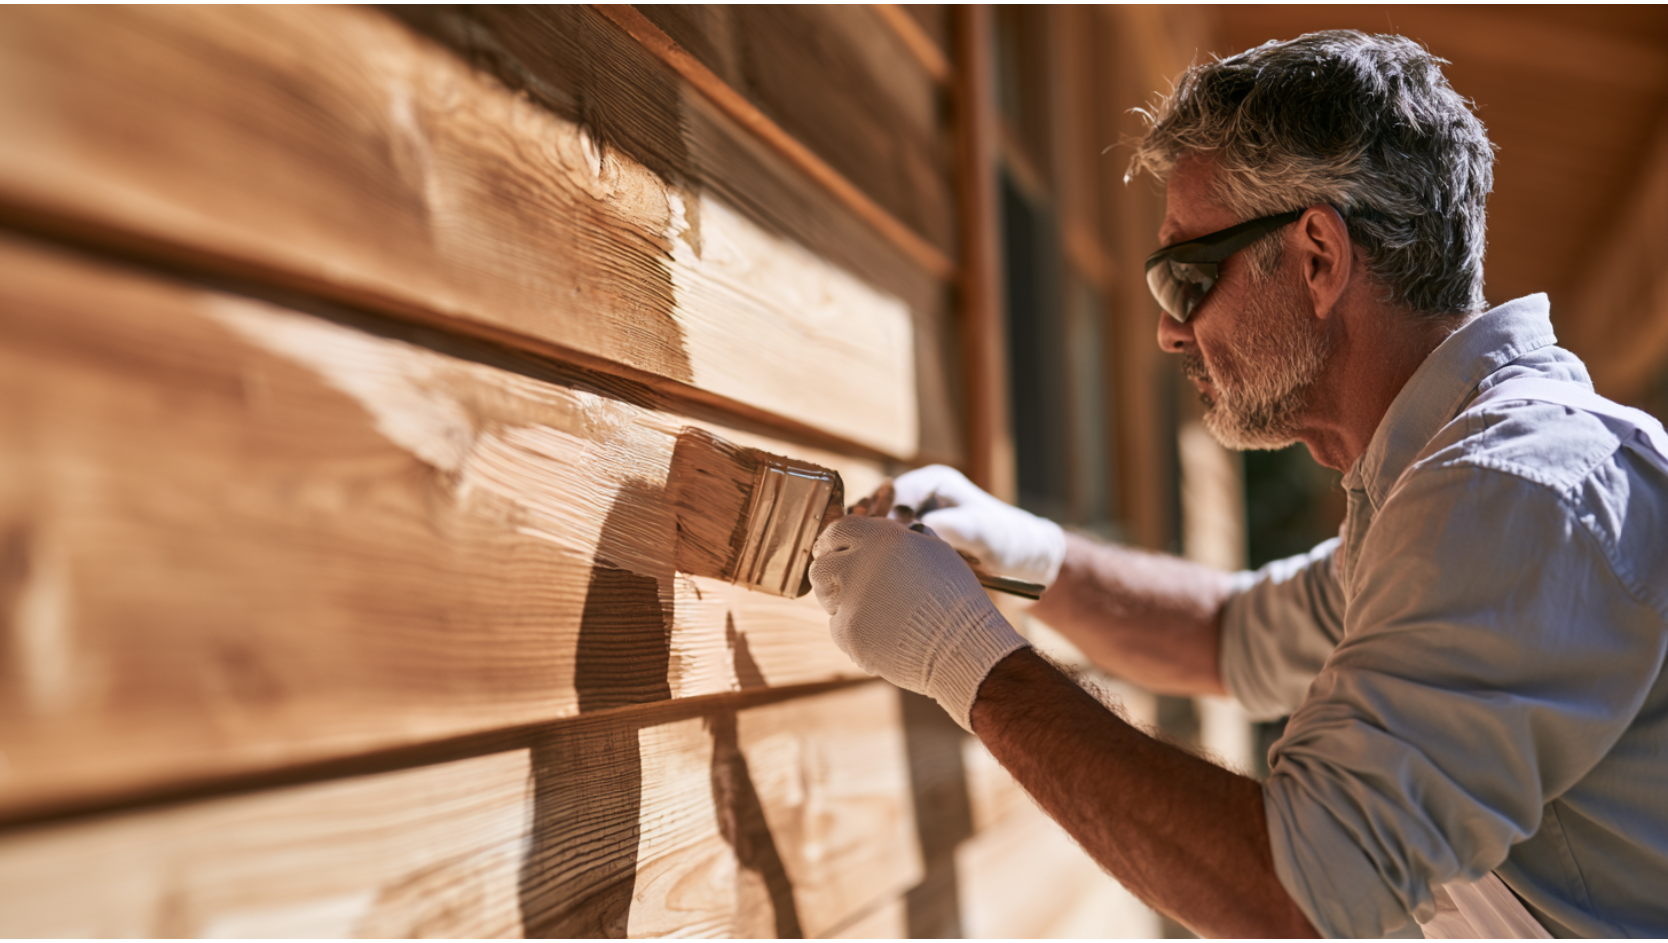
Before you think about color or sheen, walk the surface and answer these. Each "problem" answer changes the plan for your project.
The sections below walk through what each answer means for your painting project.
- Is it dry? Wood needs to be dry through, not just to the touch. A moisture meter is a cheap, practical field tool for confirming it.
- Is it clean? Dirt and grime keep paint from wetting the surface. Proper cleaning is a requirement, not an upgrade.
- Is there mildew or chalk? Both have to be washed off. Paint over mildew and it grows back through your new finish.
- Is the surface gray and fibrous? Gray, fuzzy fibers are the weathered layer that won't hold a coating.
- Is old paint sound or flaking? Tight, sound paint can be recoated. Loose paint and flaking paint have to go.
- Is there soft wood or dry rot? Press with a screwdriver. If it sinks in, that's rot, and paint won't fix it.
- Was the house built before 1978? Older paint may contain lead, which changes how prep is handled.
- Is the surface vertical or horizontal? Siding and trim take paint well. Decks and porches usually don't.
When You Should Not Paint Yet
Sometimes the most honest advice is to wait. Painting under any of these conditions is close to a guaranteed callback.
- Wet or recently pressure-washed wood. Washing is good prep, but the wood has to dry first. Coat it too soon and you trap moisture under the film. Verify with a moisture meter, not a guess.
- Active rot or soft siding and trim. Paint hides rot for a season, then the damage keeps spreading underneath. The wood has to be repaired or replaced before anything goes on it.
- Loose gray fibers. If the weathered surface layer is still attached, your exterior paint bonds to fibers that are already failing.
- Widespread flaking paint or peeling old paint. A fresh coat over flaking paint fails on the same schedule as the coat underneath.
- Suspected pre-1978 lead based paint. Stop. Sanding or scraping suspected lead paint without proper practices spreads toxic dust. This is work for a certified crew.
- Decks and porches. Horizontal, walked-on wood needs a finish rated for foot traffic. Ordinary house paint and standard solid-color stains tend to peel there.
Best Primer for Bare or Weathered Wood
Why bare wood needs primer
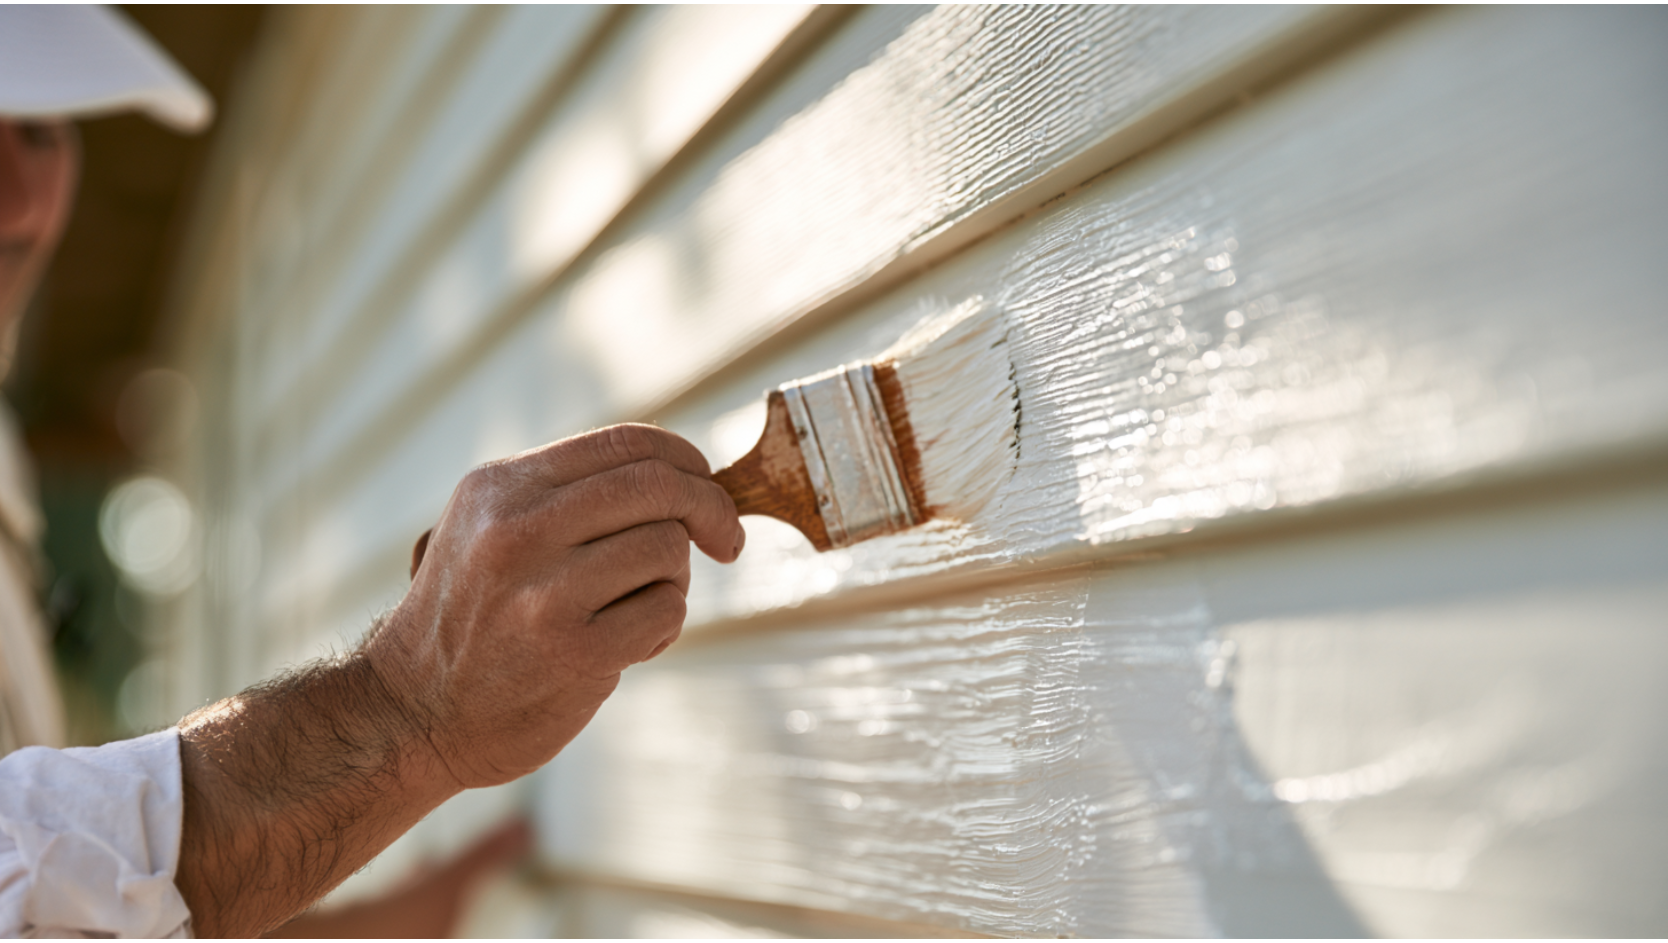
Primer flows into the tiny voids in a wood surface, seals it, and builds the bond your topcoat depends on. Skip it on bare wood and you're asking finish paint to do a job it wasn't formulated for. USDA guidance is straightforward: bare exterior wood should be primed before topcoating.
Stain-blocking primer for cedar and redwood
Cedar and redwood are rich in natural extractives that bleed through paint and leave brown stains. For these woods, use a primer labeled to block extractives. Oil based paint primers, sometimes called oil-alkyd primers, generally block them better, though some acrylic stain-blocking primers are made for this too. If you use a latex paint stain-blocking primer on these species, allow 24 to 48 hours before your first topcoat so the primer can do its job.
General exterior wood primer for pine, fir, and spruce
For most other bare wood, a quality exterior wood primer is what you want. On smooth wood, primer covers roughly 250 to 300 square feet per gallon. Saw-textured wood soaks up more, so coverage drops. Buying enough primer up front is part of planning the materials for the whole job, and a quick call to your local paint store can confirm how much you'll need.
Oil vs. water, and paint-and-primer-in-one
The oil-versus-water question comes up constantly. Oil based primers block extractives better and bite into problem surfaces. Latex primers stay more flexible over time. And you can put a latex paint topcoat over an oil based primer with no issue, which gives you the best of both. As for paint-and-primer-in-one products, they're fine for repainting over sound existing paint. They are not a substitute for a dedicated primer on bare or weathered wood.
Best Exterior Paint for Bare Wood: Why Acrylic Latex Usually Wins
For most vertical exterior wood (siding, trim, fascia, doors, and general woodwork), a high-quality acrylic exterior paint over a compatible primer is the reliable choice and usually the best paint you can put on wood siding. USDA testing shows acrylic latex paint resists weathering and holds its gloss better than oil based paint, which tends to lose gloss within a year or two and grow brittle. Acrylic stays flexible as the wood moves with temperature swings and humidity, which is exactly what keeps it from cracking and helps prevent bubbling.
Quality matters as much as paint type here. Premium lines from established manufacturers, Benjamin Moore among the names homeowners recognize, are formulated with more binder and better pigments, and that shows up directly in how long an exterior paint job holds. Plan on two topcoats over primer, aiming for roughly 4 to 5 mils of dry film across the whole system. One coat rarely delivers the longest lasting paint result on bare wood, so resist the urge to stop after a single light coat.
Sheen is a practical choice. A semi gloss or soft gloss holds up well on trim and doors where you want a durable finish and a crisp look, while a low lustre or flat paint suits broad siding. Window trim in particular does well in a tougher sheen, since it takes the most sun and hand contact.
Conditions matter too. Apply latex when it's at least 50°F and expected to stay above that for 24 hours. Oil based paint can go on at 40°F or warmer, but always follow the product label. Don't paint hot surfaces in direct sun, and don't paint late in the day if heavy dew is coming, or the finish can wrinkle or streak.
Paint or Stain for Weathered Wood?
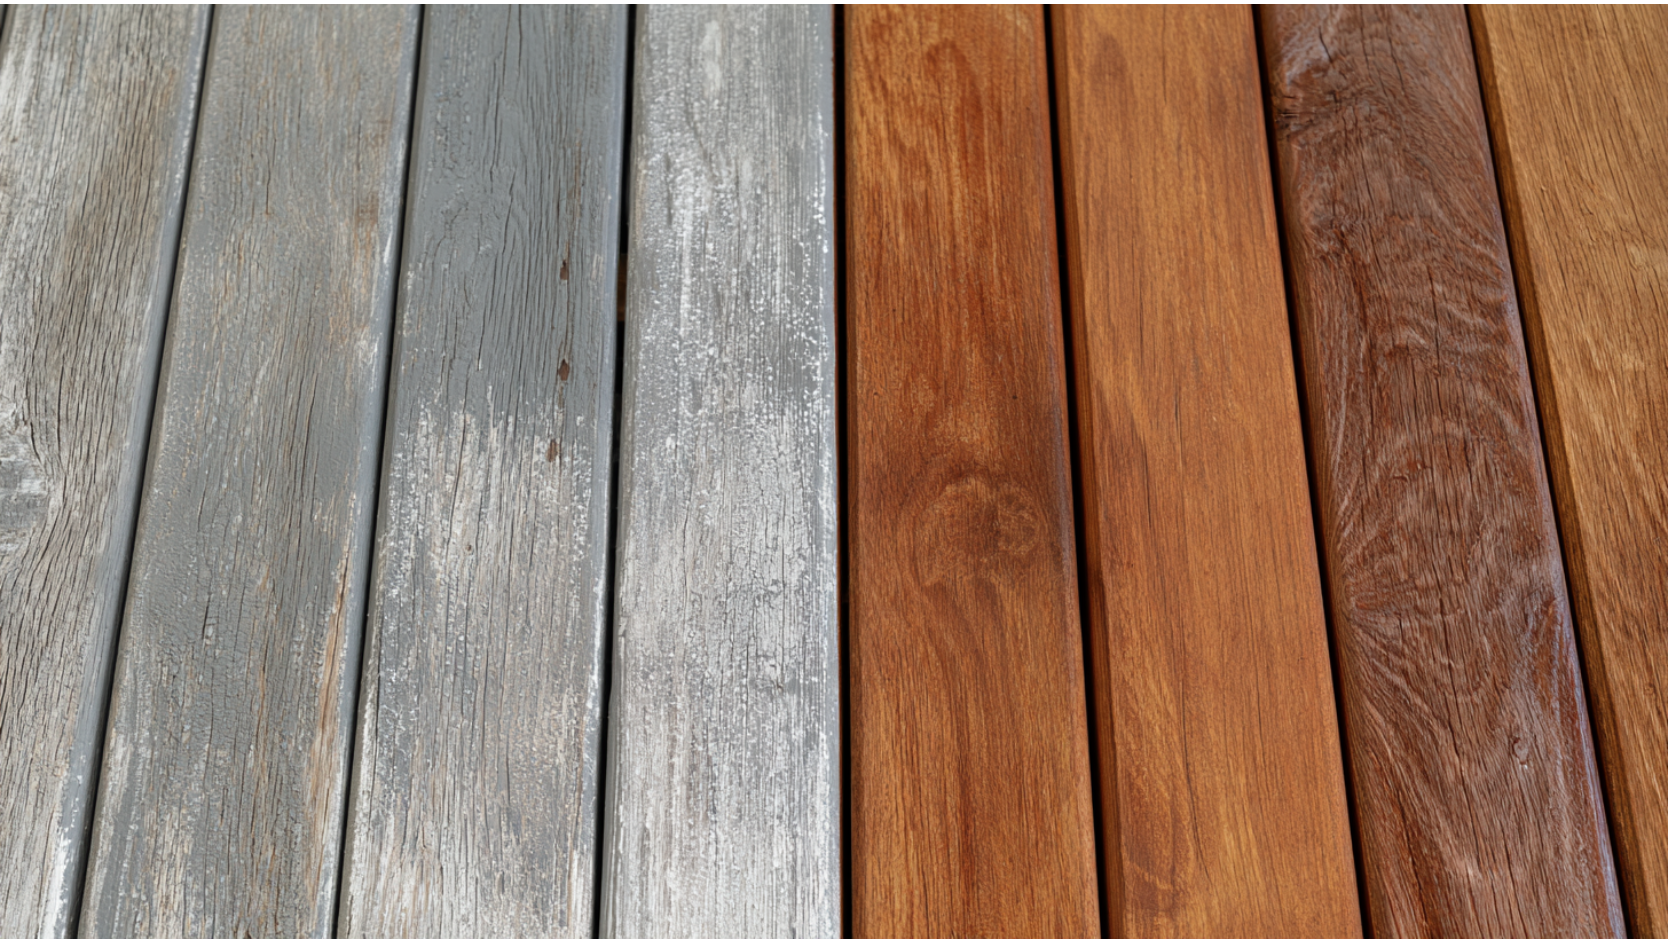
Paint isn't always the right call. The best finish depends on the surface and how exposed it is.
- Paint: Best when you want opaque color and the most film protection on sound vertical wood like siding and trim. A three-coat exterior paint system (one primer, two topcoats) can last roughly 10 to 15 years on smooth cedar or redwood siding, 15 to 20 years on saw-textured cedar or redwood, and 6 to 10 years on smooth pine, fir, or spruce under average conditions.
- Solid-color stain: A reasonable option for some siding and fence work. It carries less film than paint, so it protects less but shows off texture.
- Semi-transparent or penetrating stain: Better for rough, absorbent, or weathered wood where peeling is the real risk. It soaks in rather than forming a film, so it wears rather than flakes. Decks and fences often do best here.
- Deck coatings: Horizontal, walked-on wood needs a product specifically formulated for walking surfaces. USDA warns that solid-color stains shouldn't be used on decks or porches unless they're made for it, because they can lack abrasion resistance and tend to peel.
The short version: paint and film-forming finishes belong on vertical wood. Penetrating stains belong on the rough, absorbent, and horizontal surfaces where a film would fail.
How to Prep Weathered Wood So the Finish Lasts
This is where lasting results are made or lost. The order matters as much as the steps.
- 1. Inspect and repair. Fix rot and damaged siding before anything else. Paint can't stabilize wood that's already gone. Small gouges and nail holes get filled with an exterior-grade wood filler and sanded flush.
- 2. Wash. Remove mildew, chalk, and dirt so the coating can actually bond. A power washer used carefully makes quick work of dirty wood siding, as long as you let it dry fully afterward.
- 3. Dry and verify. Let the wood dry fully and confirm moisture content before coating.
- 4. Scrape. Scrape loose paint and take off everything that's flaking.
- 5. Sand the weathered wood. Where no lead paint is present, sand exposed weathered wood with 50 to 80 grit to cut away degraded fibers. For bare wood in finish work, NPS guidance points to a finer 120 to 150 grit. Wood filler patches get the same sanding so they disappear under the finish. Wipe off the dust before you prime.
- 6. Feather the edges. Blend the edges of sound paint into bare spots so the transition doesn't telegraph through the finish and leave it looking uneven.
- 7. Prime bare wood. Every exposed spot gets a compatible primer. On new smooth wood, apply that first coat within about 2 weeks of installation.
- 8. Caulk after priming. Seal the gaps that should be sealed, once the primer is down. Mask crisp lines with painter's tape rather than duct tape, which can lift the finish when you pull it.
- 9. Topcoat. Apply two coats under proper weather conditions, back-brushing when rolling or spraying so the finish wets into the surface instead of sitting on top. A good brush earns its keep on trim, where the exterior paint needs to be worked into corners and edges to stick. Lay a drop cloth to protect anything below.
One note from preservation work: if old paint is tight, clean, chalk-free, and dulled by a light sanding, it can be recoated without stripping everything to bare wood. Previously painted surfaces in good shape rarely need more paint than a fresh top coat to look renewed.
Older Homes, Rot, and End Grain: The Cases That Need a Pro
Lead-safe painting on pre-1978 homes
Lead based paint was used in more than 38 million homes before the 1978 residential ban, so any older house deserves caution. The EPA's Renovation, Repair, and Painting (RRP) Rule applies to paid work that disturbs paint in homes built before 1978. Minor repairs are generally exempt only when they disturb about 6 square feet or less inside a room or 20 square feet or less outside, and window replacement or demolition of painted surfaces is always covered. Sanding or scraping suspected lead paint casually is how you turn a paint job into a health hazard. For covered work, hire an EPA Lead-Safe (RRP) Certified contractor. Cover Pro Painting is EPA Lead-Safe (RRP) Certified, which is exactly why this matters on older homes.
Rot, siding damage, and end grain
Painting over rot only hides it. The moisture and decay keep working underneath, and the failure comes back worse. Rotten and soft wood has to be repaired or replaced first, and small areas may respond to a two-part epoxy wood filler once the wet, punky material is cleared out. End grain (the cut ends of boards) drinks up moisture far faster than the face of the wood, so it needs to be sealed and primed or it becomes the first place the final finish fails.
This is where handling everything under one roof pays off. Cover Pro Painting does rot repair, siding replacement, and carpentry alongside the painting, so you're never coordinating a carpenter, a siding crew, and a painter to get one job done right. The same team assesses the wood, fixes what's failing, and builds the finish on top of a sound surface, whether that's clapboard siding or the railings on a porch.
A Quick Decision Table for Common Wood Conditions
When to Call Cover Pro Painting
Plenty of small bare-wood projects are within reach of a careful homeowner. But some situations call for a team that handles the whole job. If you're dealing with moisture or rot, widespread flaking paint, a large exterior repaint, siding that needs replacing, pre-1978 lead-safe work, or high-access areas, that's where we come in.
We inspect the wood, repair the rot or replace the siding, prep the surface properly, and choose premium products, including quality exterior paint suited for exterior use and backed by lifetime manufacturer warranties, for the condition in front of us. We bring the right materials for each surface and the right paint type for each job. Painting, rot repair, siding, and carpentry are all handled by one team, so you never manage multiple contractors. You'll get a clear, transparent estimate with no surprises, a free color consultation, and a five-year warranty on exterior work from a licensed, bonded, and insured contractor with over 13 years in business.
Start with a free estimate and see exactly what your project will involve. Call us today at 206-222-0435.
Do I need primer on bare wood before painting?
Yes. Primer flows into the wood surface, seals it, and builds the adhesion your topcoat depends on. On bare or weathered wood, a dedicated primer is the safer choice, and paint-and-primer-in-one is not a substitute.
Can I paint directly over weathered gray wood?
No. That gray, fibrous layer is degraded and loosely attached, so paint bonds to a surface that's already failing. Sand it back to sound wood first, then prime.
Should I use oil based or water-based primer on bare wood?
Oil based paint primers block wood extractives better, which matters on cedar and redwood. Latex paint primers stay more flexible. Either works, and you can apply a latex topcoat over an oil based primer.
Is paint or stain better for weathered wood?
Paint gives opaque color and the most protection on sound vertical wood. For rough, absorbent, or weathered surfaces (and decks and fences), a penetrating stain wears rather than peels and is usually the better choice.
What if the wood has rot?
Repair or replace it before painting. For small spots, an epoxy wood filler can rebuild a damaged edge, but paint over rot only hides the damage while it keeps spreading. This is a case where a full-service team that handles rot repair and painting together saves you real trouble.
