
%201.svg)


Caulking Before Exterior Paint: Where It Matters and Where It Fails

Key Takeaway
Caulk before exterior paint, but only after washing, repairs, drying, and spot-priming bare wood. Caulking before painting exterior walls means sealing vertical siding-to-trim joints, window frames, and penetrations while leaving weep holes, lap siding overlaps, and drainage paths open. The wrong joint sealed is worse than one left alone.
Yes, caulk before the finish paint. But only after the house has been washed, repaired, dried, and any bare or repaired wood has been spot-primed. Caulk belongs on sound surfaces, not problem surfaces. And not every gap should be sealed. Some openings in a wall are there on purpose to let water escape, and filling them causes the exact water intrusion you were trying to prevent. If you're planning a repaint or reading through what your painters wrote into the scope, the framework we use for caulking before painting exterior walls is simple: caulk it, leave it open, or repair it first.
What Exterior Caulking Actually Does, and What It Can't Do
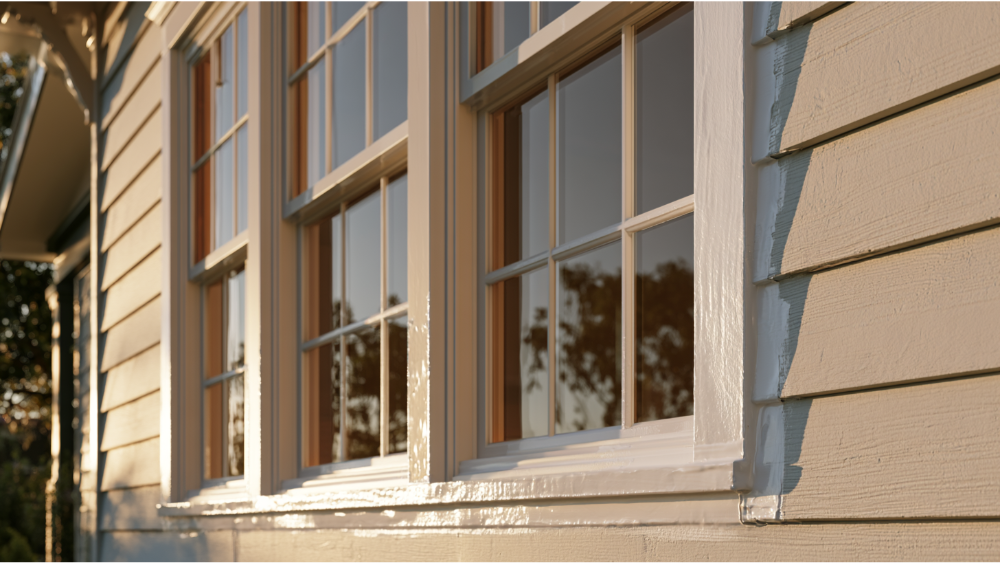
Caulk seals selected joints against water, air, and pests. It absorbs a limited amount of seasonal movement, cuts drafts around windows and doors so the house holds heat better, and gives paint a smooth transition where two surfaces meet so the finished wall reads clean instead of choppy. That draft reduction is a genuine contribution to energy efficiency, and the aesthetic payoff shows up in the crisp appearance of every trim line. Well-sealed joints also add durability to the paint film at the points that fail first.
Here's the limit. Building-science guidance from the Department of Energy's Building America program is clear that siding systems are not watertight by design. Walls rely on a water-resistive barrier and flashing to move incidental moisture down and out. Caulk supports that system by reducing moisture intrusion at specific joints. It never replaces flashing, siding overlaps, or the drainage built into the assembly.
Caulk It, Leave It Open, or Repair It First
Before you pick up a caulk gun, sort every condition on the wall into one of three buckets.
One rule sits above all of this: general painting advice never overrides the installation instructions for your siding, windows, doors, flashing, or sealant.
Where Exterior Caulking Matters Most: Trim, Window Frames, and Seams
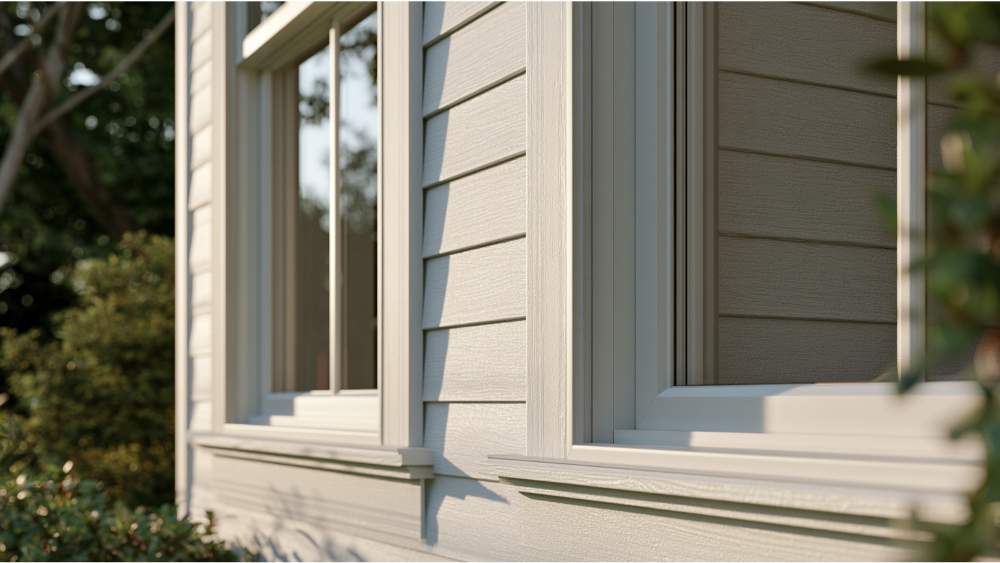
These are the gaps that usually deserve a bead:
- Vertical siding-to-trim joints where the siding butts into a corner board, casing, or band board.
- Window frames and door perimeters, including garage doors, at the head and jambs where the manufacturer specifies sealant. Not the sill drainage.
- Corner-board seams and outside corners.
- Transitions between dissimilar surfaces, such as wood trim meeting masonry or stucco.
- Penetrations for pipes, wiring, exterior light fixtures, and vents serving appliances like dryers, range hoods, and bath fans. Seal around the penetration, never across the opening itself.
- Selected fascia, eave, and molding seams.
- Previously sealed joints that were correctly designed and where the old bead has simply worn out.
Those sealed joints around window frames and appliance vents are also where most of the air leakage on a typical house happens, so careful exterior caulking here does double duty for energy efficiency. The assembly and the manufacturer's instructions decide what gets sealed. The caulk gun doesn't.
When Not to Caulk Outside: Drainage Paths You Must Leave Open
Some gaps are entry points. Others are exit paths. Learning to tell them apart is most of the skill here.
Leave these alone:
- Window weep holes and weep hoods.
- The horizontal overlap between lap or clapboard siding.
- The bottom edge of siding.
- Sill pan openings and sill drainage routes.
- The clearance above horizontal or Z-flashing where the siding manufacturer requires it. One major fiber-cement maker calls for a 1/4-inch gap there. That's a manufacturer-specific number, not a universal one, so check your product.
- Drip edges, including those at the roof line.
- Vented soffits and louvers.
- Moving window sashes and hardware.
- The face openings of vent hoods for appliances, which need a clear exhaust path.
- Fiber-cement butt joints designed to use joint flashing behind them instead of sealant.
Seal an exit path and you create a trap for the water that gets in. It shows up a year or two later as peeling paint, dark staining below the windows, and soft wood behind the trim.
Caulking Before Painting Exterior Walls: The Correct Prep Sequence
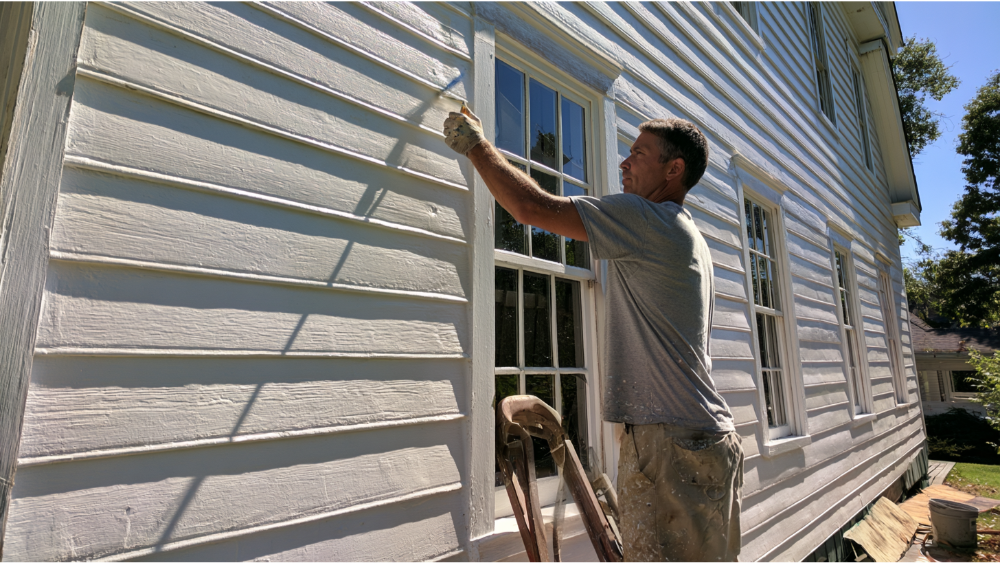
- Inspect for water damage and movement.
- Diagnose why the old paint or caulk failed.
- Wash the house, clearing mold and mildew off shaded exterior surfaces, then scrape and sand loose, peeling paint.
- Complete rot repair, siding replacement, or carpentry.
- Clean the bonding surfaces so no sanding dust or debris is left and the sealant can adhere to something sound.
- Let the wood dry. One major paint manufacturer's guidance is below 15% moisture content before exterior paint. That's manufacturer guidance, not code, but it's a sensible benchmark.
- Spot-prime bare wood, new wood from repairs, and patches with an exterior primer.
- Install backer rod where the joint depth calls for it.
- Apply caulk and tool it.
- Observe the product's paint-ready time, then apply the finish coats so the caulked areas end up covered and shielded from UV.
You'll sometimes hear that caulking after painting makes color matching easier. It does. It also leaves joints open to moisture during the project and denies the bead the protection of the topcoat, which is why we don't do it that way on exterior jobs. Yes, this sequence takes longer. That's the point of surface prep.
Why Exterior Caulk Fails After Painting
When a bead splits, shrinks, develops cracks, or pulls away from one side, the cause is almost always one of these:
- Applied over dirty, chalky, damp, or loose surfaces.
- New caulk smeared over a failed bead, so the original weak bond stays underneath.
- The wrong sealant for that substrate.
- A non-paintable product placed under paint.
- Painting before the bead reached its paint-ready time.
- A bead too thin to survive movement, or so thick it never cured through.
- No backer rod in a deep joint, so the caulk bonds to three sides and can't stretch.
- Sealing a joint at an extreme width during very hot or very cold weather, which loads the cured bead with compression or tension later.
- Rot or failed flashing underneath that keeps feeding water into the joint.
Choosing the Right Exterior Caulk
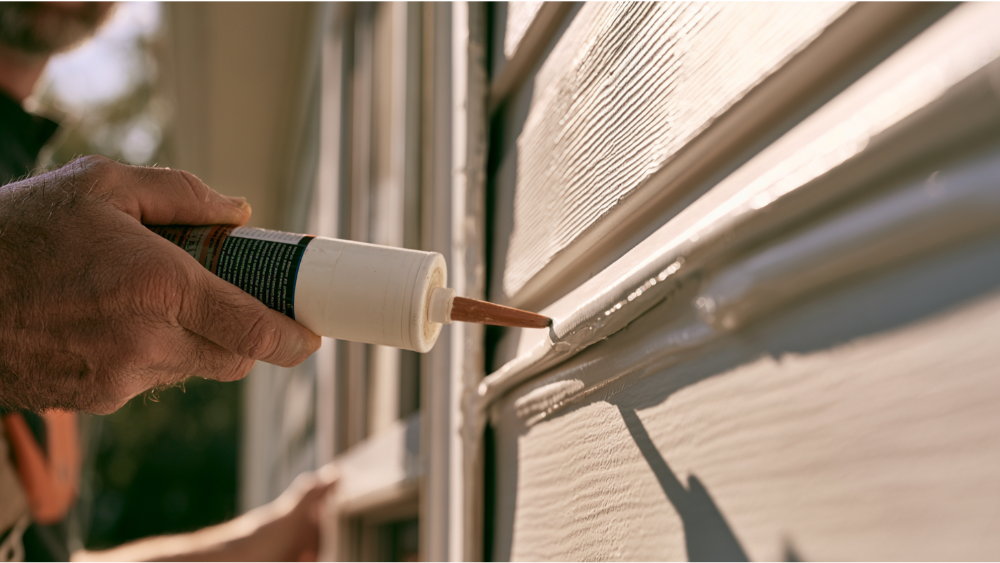
Judge the product by its technical data sheet, not by the word "exterior" on the tube. Look for an exterior-rated sealant that is explicitly paintable, suitable for both materials in the joint, rated for enough movement to account for seasonal expansion, approved for non-sag vertical use, and workable in the temperatures you'll actually be painting in. ASTM C920 is the current specification for elastomeric joint sealants and sorts products into movement classes, though meeting the standard doesn't make a sealant right for every substrate.
One common myth deserves correcting: conventional 100% silicone generally can't be painted, but paintable silicone and hybrid formulations do exist. The label controls, not the category.
When Backer Rod Is Needed and How to Apply Caulk in Deep Joints
Deep or wide designed joints need backer rod to control bead depth and stop the caulk from bonding to the back of the joint. USDA Forest Products Laboratory guidance points to a roughly 2:1 width-to-depth ratio, with about 1/4 inch as a typical minimum bead width and depth, and a tooled concave profile. Two tips that matter more than technique: gun a continuous bead rather than a dotted one, and tool it within the product's working time so it presses into both faces. Packing a deep cavity full of caulk feels thorough and shortens the life of the joint.
When Caulk Isn't the Answer
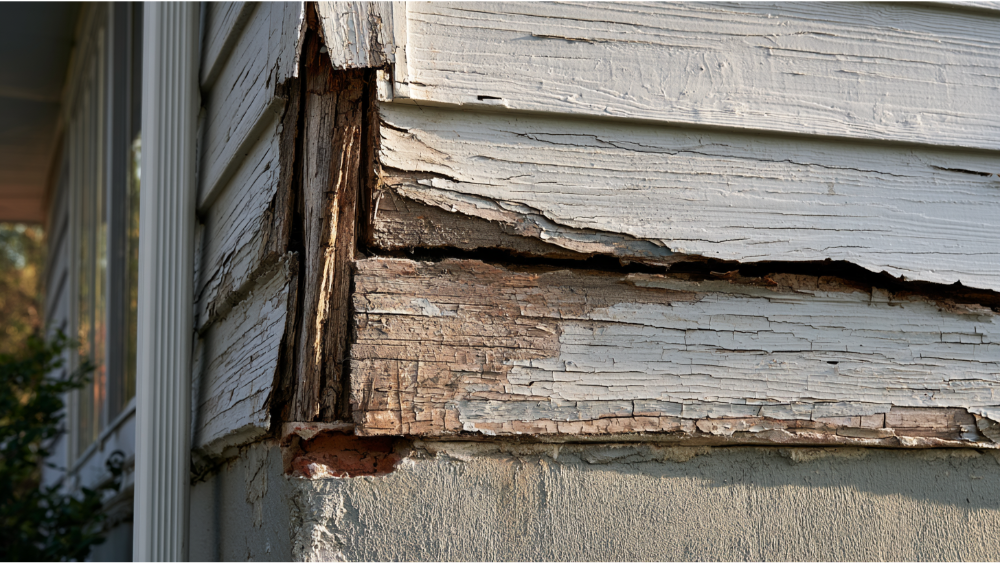
Caulk seals joints. It doesn't restore strength to decayed wood, hold loose siding in place, or make up for missing flashing. Watch for soft wood at trim bottoms and porch post bases, staining below windows, siding that flexes under hand pressure, cracks and bubbling paint along seams, and the same joint failing repeatedly. Ledger connections where decks and patio covers attach to the house rely on flashing too, not sealant. Those are repair conditions. Painting over them buys a season, maybe two.
This is where handling everything under one roof matters. We do the rot repair, siding replacement, and carpentry ourselves, then paint. No hiring one contractor for the woodwork and another for the finish, and no finger-pointing over who owns the problem.
Caulk Checks as Routine Home Maintenance
Exterior caulking is not a one-time item. Sealant ages, and our wet season finds every weak spot. Once a year, walk the house and look closely at window frames, door casings, corner boards, and the penetrations for appliance vents. You're looking for shrinkage at the ends of a bead, hairline cracks along the middle, and any edge lifting away from the trim. Small gaps caught early are a caulk repair. The same gaps ignored for three winters become carpentry. Building that walk into your home maintenance routine also tells you honestly how much life is left in the paint job.
Lead-Safe Prep on Pre-1978 Homes
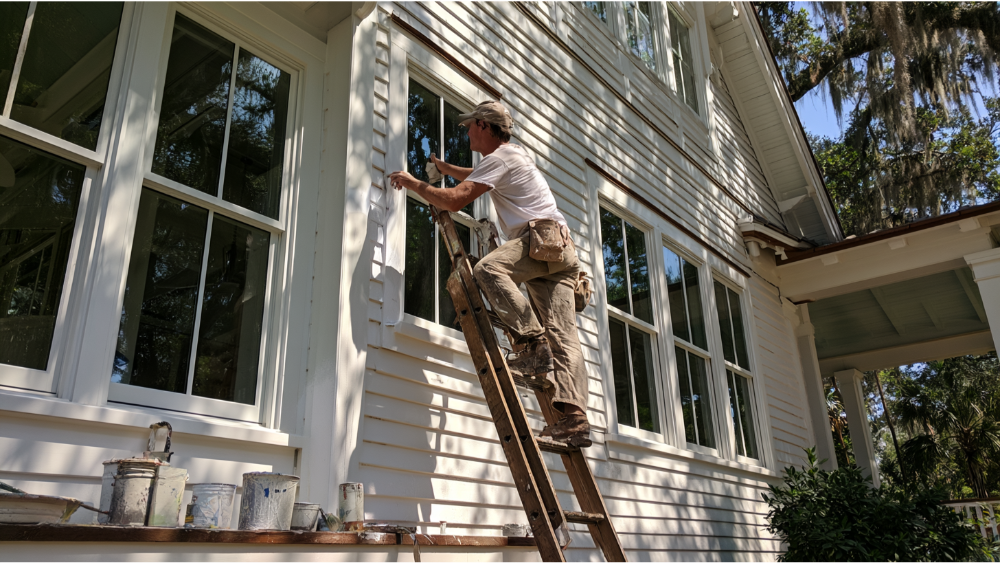
Cutting out old caulk usually means disturbing the paint next to it. On homes built before 1978, the EPA's Renovation, Repair and Painting Rule applies to paid work that disturbs painted surfaces, and scraping and sanding count. The minor-repair exception covers no more than 20 square feet of total exterior painted surface, and it doesn't cover window replacement, demolition of painted components, or prohibited work practices. Cover Pro Painting is EPA Lead-Safe (RRP) Certified, so older homes get handled correctly.
Frequently Asked Questions
Should you prime bare exterior wood before caulking?
Generally yes. Spot-priming bare and repaired wood before you apply caulk gives the sealant stable surfaces and protects the wood. Follow the sealant's data sheet, since some products call for a different sequence or a separate adhesion primer.
Can you caulk over old exterior caulk?
Not over failed caulk. If the old bead has cracks, has hardened, or is pulling away, cut along both sides and remove it. New sealant over a bad bond just hides the bad bond.
How long after caulking can you paint?
It depends on the product, bead size, temperature, and humidity. "Wait 24 hours" is a common shortcut, not a rule. Use the paint-ready time on the technical data sheet, which is often different from skin time, rain-ready time, and full cure.
Should siding butt joints be caulked?
Only if the siding manufacturer says so. Many fiber-cement systems use joint flashing behind butt joints instead, and caulking them can conflict with the installation instructions and the warranty.
Can caulk stop wood rot?
No. Caulk seals a joint between sound materials. Decayed wood has to be cut out and replaced, and the water source corrected, before anything gets sealed or painted.
Start With an Honest Look at Your Exterior
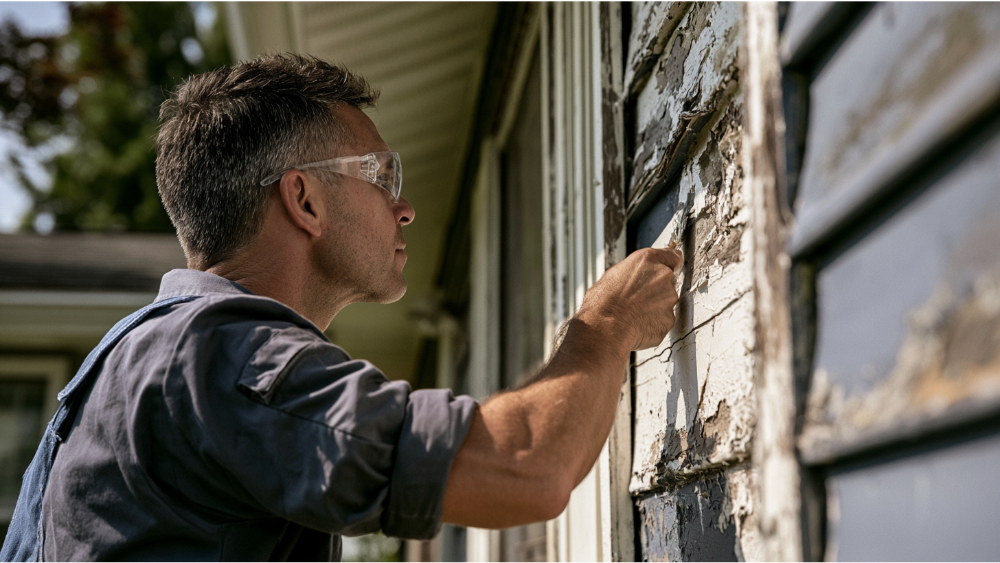
Every exterior painting project we take on starts with an inspection that separates the joints needing sealant from the openings that stay open and the areas needing real repair. Alex, our founder, oversees each project personally, and that attention to detail carries through to the last bead. You get a transparent estimate with the full scope before work begins, premium paint products backed by lifetime manufacturer warranties, and a five-year warranty on exterior painting. We're licensed, bonded, and insured in Washington State, working from our Edgewood home base across the greater Seattle area.
