
%201.svg)

Can You Paint Over Wallpaper? What Actually Happens
.webp)
Key Takeaway
You can paint over wallpaper, but it only works when the paper is smooth, tightly bonded, non-vinyl, and properly sealed with an oil-based or shellac-based primer. Without that prep, moisture from the paint softens the old paste, causing bubbling and lifted seams. Removal is almost always the better long-term choice, especially in textured, multi-layer, or high-visibility rooms.
Yes, you can paint over wallpaper, but it's usually a compromise, not the ideal first choice. It works when the paper is smooth, tightly bonded to the wall, clean, and properly sealed with the right primer. When the wallpaper is loose, textured, vinyl coated, or water-damaged, paint tends to expose the seams, bubble, or peel, and you end up worse off than when you started. If you're weighing whether to skip wallpaper removal and just roll paint over what's already there, this guide gives you a clear when-it-works and when-it-fails framework, plus the prep that actually decides the outcome. Here's the honest truth we tell every homeowner who asks: this is really a surface-prep question, not a paint question. Paint only performs as well as the surface underneath it.
Can You Paint Over Wallpaper: What Actually Happens
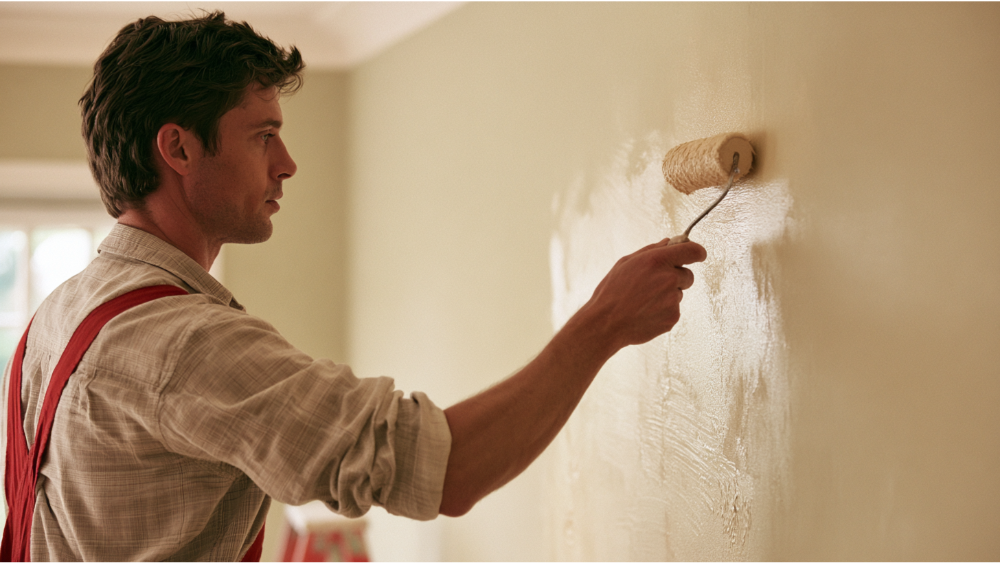
To understand the risk, you have to understand what paint does to the wall. Paint and primer add wet material to the surface. That moisture can soak through the paper and reach the old wallpaper paste underneath. When the paste softens, weak wallpaper seams start to lift and air pockets form, which is why bubbling and peeling show up during or after painting instead of a clean, flat finish. The short answer is that success depends entirely on the surface, not on any single product.
Adhesion is the other problem. Paint doesn't grip heavy vinyl coating or high-sheen wall paper the way it grips a properly prepared wall, so the finish can sit on top without bonding. And here's the part most people don't expect: a painted wall is a smooth, continuous field of color, so any seam, raised edge, or embossed wallpaper texture telegraphs through and often looks more obvious after paint, not less. Painted wallpaper rarely reads as a fresh wall the way people hope it will.
The specific ways it fails:
- Moisture reaches the paste, softening it and lifting the wallpaper seams
- Bubbles form where the paper releases from the wall
- Visible seams and embossed texture show through the finish
- Heavy vinyl and glossy surfaces resist adhesion, so paint won't bond reliably
- Dark patterns or colors can bleed through lighter paint over time without a proper sealer
- The surface ends up uneven instead of flat
There's also a long-term cost. Once wallpaper is painted, choosing to remove the wallpaper later becomes far harder, because you're now stripping paper, paste, and a bonded paint layer all at once. You may be locking in a hidden problem for yourself or the next owner of the house. That's a big reason wallpaper removal usually gives the better long-term result.
When Painting Over Old Wallpaper Can Actually Work
There is a narrow window where painting over wallpaper is a reasonable call, usually on a single low-visibility wall. Before you commit, the wall should pass every point on this list:
- The paper is firmly and fully bonded, with no lifting anywhere
- No active bubbles or peeling
- The surface is smooth, not heavily textured or embossed
- It's not vinyl coated wallpaper, foil, or high-sheen
- No water damage, staining, or mildew
- Seams can be repaired, filled, and feathered smooth
- A test area dries without lifting or blistering
Small trouble spots don't automatically rule it out. Loose edges and minor bubbles can often be re-secured with wallpaper adhesive before you start prepping, and any loose seams can be smoothed with a bead of paintable caulk where the paper meets trim. But if a wall is in good condition on some points and shaky on others, that mixed answer is your answer. The honest window here is small, and the wall has to genuinely earn its way into it. Even when a wall qualifies, expect to seal it and roll a couple of coats of paint over it rather than a single quick coat.
When You Should Remove the Old Wallpaper Instead
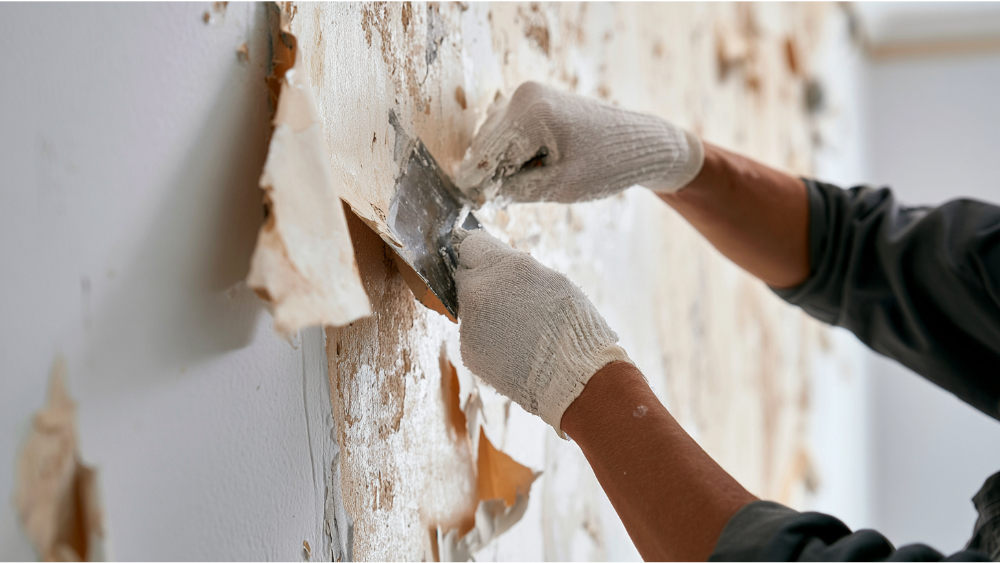
Flip the checklist around. If any of these describe your wall, wallpaper removal is the better path:
- Loose or lifting wallpaper seams
- Bubbles anywhere on the surface
- Multiple layers of paper stacked up
- Vinyl, foil, or slick, glossy surfaces
- Textured wallpaper or embossed patterns that would telegraph through paint
- Water damage or staining
- Mildew or moisture concerns
- Old wallpaper that was already painted over and is now failing
- A high-visibility room where you want the cleanest long-term finish
Deciding to remove the wallpaper can reveal damaged drywall underneath, and that's exactly why removal isn't a shortcut. It's the route to a wall that holds paint for years. A wallpaper border is the one easy exception: a border by itself can usually just be removed and the area patched, without stripping a whole room. For everything else, pulling the old wallpaper and starting from a sound surface almost always gives you the better long-term outcome.
The Prep That Makes or Breaks the Result
Prep is where a paint job is won or lost. Whether you're painting over wallpaper or working on a wall you've stripped, the surface has to be stable and smooth before any finish coat goes on. Rushing this step is what causes the peeling and seam lines people blame on the paint later.
The basic tools for this work are simple: a putty knife, sanding block or pole sander, a sponge, drywall mud or joint compound, a roller with a paint stick or extension pole, and the right primer for the surface. Here's the sequence a careful painter follows to evaluate and prepare the wall:
- Inspect the entire wall by touch and by sight, not just a quick glance across the room
- Re-secure loose edges and repair any damaged paper
- Clean gently with a mild detergent solution and a damp cloth to remove grease, dust, and hand oils, without soaking the paper, because moisture is the enemy here
- Fill seams, gaps, and damaged spots with joint compound and feather them out
- Sand smooth after the compound cures, and lightly scuff glossy areas so primer can grip
- Consider a skim coat to create a smooth field over textured or embossed paper
- Seal with the correct primer before any finish coats
- Spot prime any patched or repaired areas so they don't flash through the topcoat
- Test a small area and confirm it dries flat before committing to the whole room
None of this is a "roll it on and you're done" recipe. The inspection matters as much as the sanding, because that's the moment you find out whether this wall is a paintable candidate at all. It helps to remove grease and kitchen film with a second pass, since paint will not bond over a slick, oily surface no matter how good the primer is. Clean, long-lasting results come from reading the surface correctly first, then doing the detail work the finish depends on. Skip the prep and the paint will happily broadcast every flaw you tried to hide.
Why Primer and Wallpaper Paste Decide the Outcome
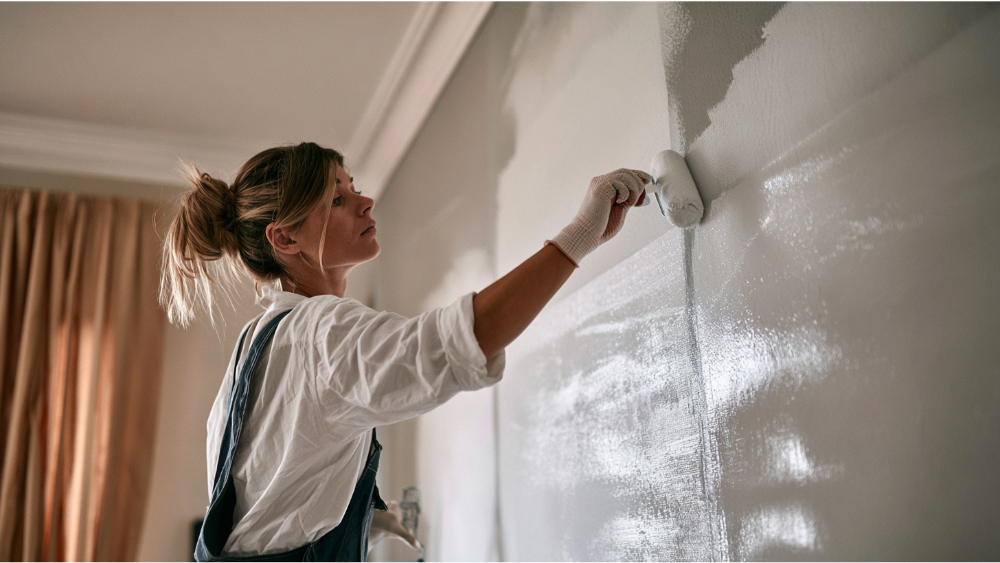
Primer is where painting over wallpaper quietly succeeds or fails. A standard water based latex primer adds moisture that can reach the old paste and trigger the same bubbling you were trying to avoid. That's why an oil based paint primer or shellac based primer is often recommended over wallpaper: it locks down the surface and blocks adhesive and pattern bleed-through without feeding water to the paste. A high quality primer with an oil base in particular resists the water-soluble glue that can telegraph through a water-thinned coat.
But "always use oil base primer" is the wrong lesson. Solvent-based primers carry stronger fumes and need proper ventilation, which matters a lot when there are kids, pets, or anyone with respiratory sensitivity in the house. The EPA notes that water based paints generally give off fewer vapors, and that a "low-VOC" label doesn't automatically mean a product is fume-free. The right primer depends on the wallpaper condition, the adhesion risk, the ventilation, and who's living in the space. A pro chooses the sealer for the situation instead of reaching for one bottle every time. As for how many coats, plan on one solid coat of sealing primer plus two finish coats for even color, though a dark pattern or a patchy surface can call for more than two coats.
If you go the removal route, the wallpaper paste is its own job. Stripping the paper isn't finished until the adhesive is gone too. Professional finishing standards are clear on this: proper prep means physically removing the paper, then washing and rinsing away water-soluble wallpaper paste. Sanding the glue and painting over it is not acceptable surface preparation. Leftover paste interferes with paint adhesion and can telegraph through the finish, and any drywall that got scuffed or torn during removal may need patching or a skim coat before you paint directly on it. Handled right, you end up with a sound wall. Handled lazily, the glue undoes everything the latex or oil base finish was supposed to fix.
Older Homes: Check for Lead Before You Scrape or Sand
Removing wallpaper, scraping, and sanding can disturb the old painted surfaces underneath, and that's where age matters. Homes built before 1978 may contain lead-based paint, and disturbing it creates dust that's genuinely hazardous. This is easy to overlook when you're focused on wallpaper, but the prep work can reach right into the layers that carry lead.
Paid contractors working in pre-1978 homes have to follow the EPA's Renovation, Repair and Painting (RRP) work practices: containing the area, cleaning up carefully, and verifying the space afterward. There's a minor-work exception for jobs disturbing less than 6 square feet of interior painted surface per room, but wallpaper prep across a full wall can easily exceed that. Washington also requires contractors to be registered, bonded, and insured through the Department of Labor & Industries. Cover Pro Painting is licensed, bonded, and insured in Washington State and EPA Lead-Safe (RRP) Certified, which matters most in the older homes throughout the greater Seattle-Tacoma area.
Should You DIY It or Bring in Professional Painters?
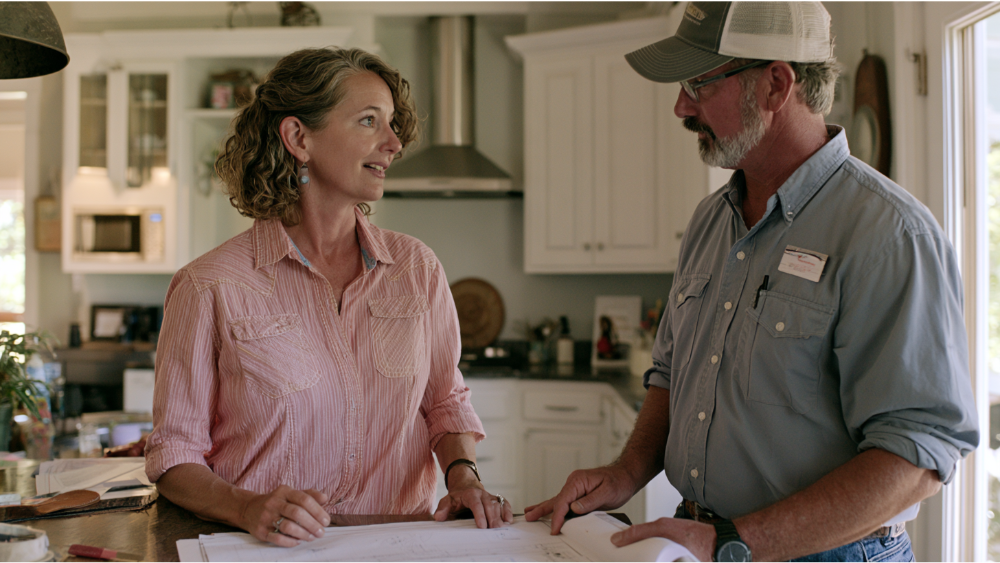
DIY can be reasonable for a small, low-visibility wall with tight, smooth, non-vinyl paper in good condition that passes a test patch. If the risk is low and the wall is sound, painting it yourself with basic tools, and maybe a few reference videos, is a fair project.
Bring in professional help when you're dealing with bubbles or lifting seams, multiple or old layers, wallpaper that was already painted over, textured or vinyl surfaces, possible water or drywall damage, an unknown home age or pre-1978 lead concerns, or a high-visibility room you want done once and done right. Because painting over wallpaper is really a surface question, the smartest first step is having professional painters inspect the actual wall and define the prep scope clearly, so there's no guesswork and no surprises later.
This is also where being full-service pays off. If wallpaper removal reveals damaged drywall, rot, or repairs behind the paper, the same team handles it, so you're not chasing down a separate contractor mid-project. When you'd rather start fresh with a clean, sound surface, we can strip the paper, repair the wall, and finish it right. Start with a free estimate. We'll inspect the wall, tell you honestly whether painting over it is realistic, and give you a transparent estimate before any work begins. Call us at 206-222-0435. We're based in Edgewood and serve the greater Seattle-Tacoma area. Don't see your city listed? Contact us to confirm service availability.
Is it better to remove wallpaper before painting?
In most cases, yes. Removing the paper, cleaning off the adhesive, and repairing the wall gives you the cleanest, longest-lasting finish. Painting over wallpaper is a reasonable compromise only when the paper is smooth, tightly bonded, and removal would cause more damage than it's worth.
Can you paint over wallpaper without primer?
You shouldn't. Without a sealing primer, moisture from the paint can reach the paste and cause bubbling, and old patterns can bleed through over time. A proper primer seals the surface so the finish coat has something stable to bond to.
What primer should you use over wallpaper?
An oil based primer or shellac based primer is often the safest choice because it blocks moisture and bleed-through, but it isn't automatic. Solvent-based primers need good ventilation, so the right pick depends on the wall condition and who's in the home. A professional chooses based on the situation.
How many coats do you need over wallpaper?
Usually one coat of sealing primer followed by two finish coats. A dark or busy pattern that tries to bleed through, or a wall with uneven texture, can need a second coat on top of that to hide it and reach an even color.
Why does wallpaper bubble after painting?
The wet paint and primer add moisture that can soften the old paste underneath. When the paste loosens, the paper releases from the wall and forms bubbles. Adequate sealing before painting is what prevents it.
Can you paint over vinyl or textured wallpaper?
It's not recommended. Paint doesn't stick well to vinyl and high-sheen surfaces, and textured or embossed patterns telegraph straight through a smooth coat of paint. For both, removal gives a far better result.
