
%201.svg)


Best Paint Sprayer: Which Type Is Right for Your Project?
Key Takeaway
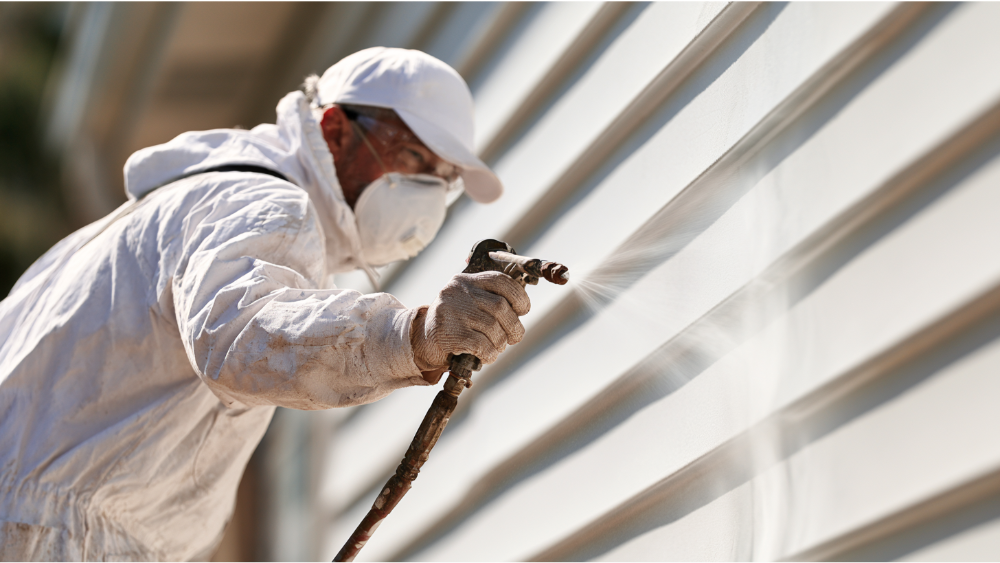
For most homeowners, the best paint sprayer depends entirely on the job: airless sprayers are the practical choice for large surfaces like siding, walls, and decks, covering paint roughly three times faster than a roller, while HVLP sprayers deliver the fine, controlled finish cabinets, trim, and furniture demand. No sprayer replaces proper surface prep. A worn tip, skipped masking, or painting over rot will ruin results regardless of the machine you choose.
There's no single best paint sprayer. The right choice depends on what you're painting. Airless paint sprayers are the practical pick for large surfaces like exterior siding, walls, ceilings, fences, and decks, because they move fast and handle thicker paints. HVLP paint sprayers are better for detail work: cabinets, doors, trim, and painting furniture, where control and a fine finish matter more than speed. Pneumatic sprayers that run on air compressors suit certain smooth finishes on smaller workpieces.
If you're a homeowner planning a paint project and weighing whether to buy a paint sprayer, rent one, or hire a pro, this guide walks through the real decision. We paint homes and businesses across the greater Seattle-Tacoma area for a living, so we'll tell you what the tool actually does and, just as importantly, what it doesn't. The machine is only one part of a lasting result. Surface prep matters just as much, and often more.
Airless vs. HVLP vs. Other Sprayers: What's the Difference?
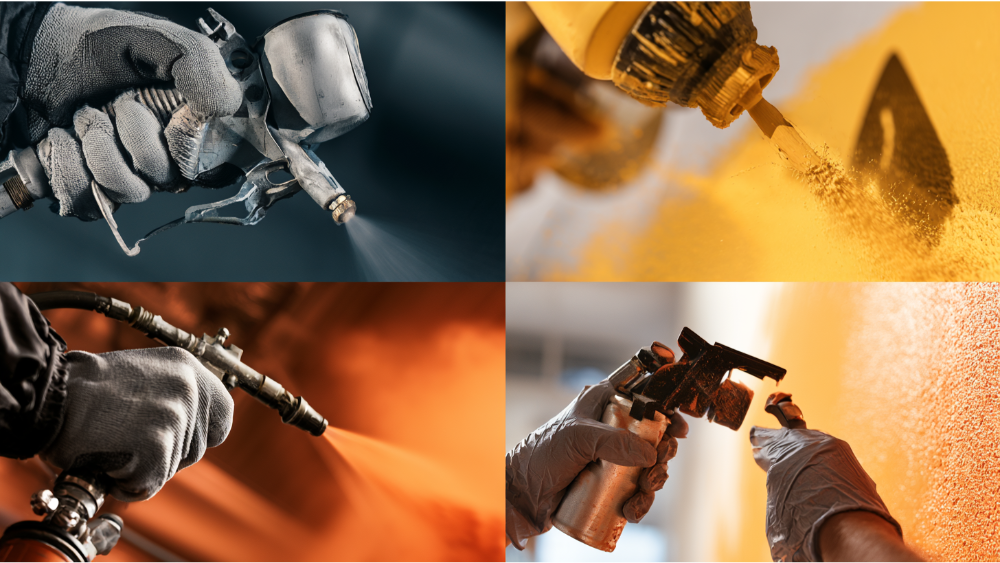
These three sprayer types work in different ways, and understanding the difference is the foundation for every decision that follows. Get this part right and the rest is straightforward.
Airless Paint Sprayers
An airless sprayer forces paint through a small tip under high pressure, which breaks the paint into a fine spray without any air. That high pressure lets it push unthinned latex paint, primer, and stain, and it covers large areas quickly. Airless is the workhorse for siding, decks, walls, and ceilings, and it shines on larger projects where a roller would take days. The tradeoff is overspray. An airless paint sprayer throws more paint into the air than other sprayers, so it demands careful masking and real attention to safety.
HVLP Sprayers
HVLP stands for high volume, low pressure. HVLP sprayers use a larger volume of air at lower pressure to atomize paint into fine particles with a controlled, soft spray pattern. That control is why an HVLP sprayer is the choice for fine finishes: cabinets, trim, doors, and painting furniture. It also puts more of your paint onto the surface, with transfer efficiency commonly in the 60 to 75 percent range, so you waste less. The downside is speed. HVLP paint sprayers are slower on big surfaces, and depending on the coating and the model, you may need to thin the paint to get it flowing well through the spray gun.
Pneumatic (Compressed-Air) Sprayers
Pneumatic sprayers rely on separate air compressors to atomize the paint through the spray gun. They can lay down a smooth finish on smaller workpieces, which is why they're common in shops and for painting furniture. Two things to know: you need one of the air compressors to run one, and they tend to produce more overspray, which means more paint used per job.
Best Paint Sprayer by Project: Quick Decision Table
Here's a starting point that matches common projects to a sprayer type. Treat it as a guide, not a rule. Before you commit to a machine, confirm its maximum tip rating and that it's compatible with the coating you plan to use (more on that below). Handheld and portable sprayers are handy for touch-ups, while direct-feed airless rigs that pull paint straight from a five-gallon bucket earn their keep on big jobs.
What Is the Best Paint Sprayer for Exterior Projects?
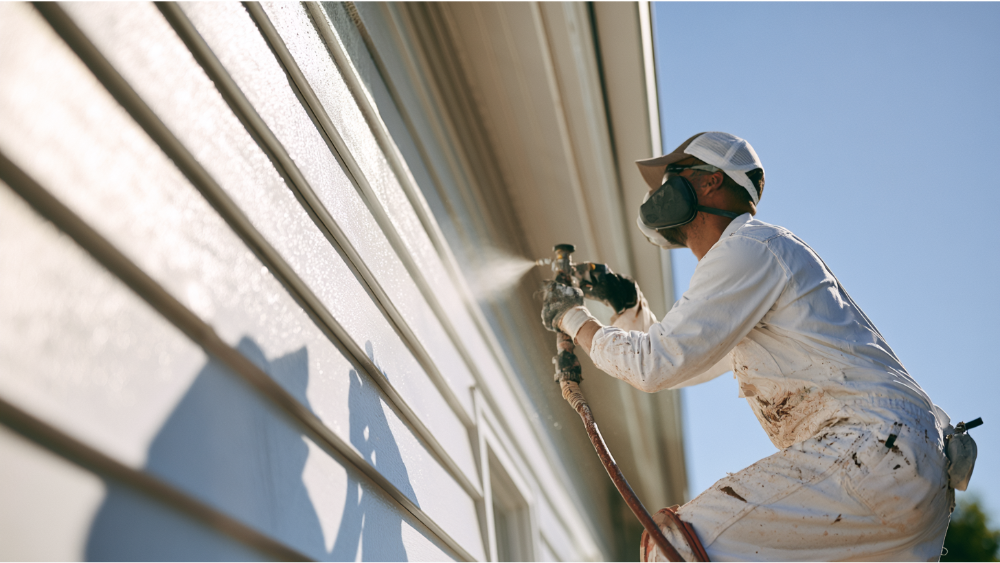
For a full exterior, an airless paint sprayer is almost always the practical choice. It handles siding, fences, and decks quickly, sprays unthinned exterior paint and stain at high pressure, and can apply paint roughly three times faster than a roller. On a two-story house, that speed is the difference between a weekend and a week. An extension rod on the gun also lets you reach high siding and soffits without constantly repositioning a ladder.
The catch is overspray. Airless throws a fine mist that drifts, so masking is a serious part of the job. Windows, gutters, light fixtures, plants, shrubs, and anything else you don't want painted has to be covered. Outdoors, wind direction matters too. A gust at the wrong moment can carry overspray onto a neighbor's car or your own roofline. This is why exterior spraying takes real planning before a drop of paint goes on. Painting fences with an airless rig is fast, but the same masking discipline applies to anything nearby.
Here's what most tool guides skip: a paint sprayer does not fix failing siding, wood rot, or moisture damage. When you spray directly over rotted trim or soft, damaged wood, fresh exterior paint just hides the problem for a season, then the paint fails along with the substrate. Those repairs have to happen first. That's part of why we handle rot repair and siding replacement in the same engagement as the painting, so the surface is sound before any coating goes down.
On porous or textured siding, spraying alone can leave paint sitting on the high spots without working into the surface. That's where back-brushing or back-rolling comes in: you apply paint with the sprayer, then immediately brush or roll it to push it into the grain and texture. It's slower, but it's how you get clean, long-lasting results on siding that would otherwise peel early. On big exterior projects, most spray painters plan two coats to get full, even coverage.
What Is the Best Paint Sprayer for Interior Walls and Ceilings?
Interior walls and ceilings are large surfaces where speed and even coverage win, so airless is the favored tool here too. Ceilings in particular are a slog with a roller, and an airless rig covers them fast and evenly. This is one of those larger projects where the sprayer really pays for the setup time. To paint an entire house interior this way, plan the sequence room by room.
But spraying inside a home comes with real disruption. Everything has to be protected. Floors need drop cloths, furniture needs to be moved out or fully covered, and every surface you're not painting needs masking. Outlets, switches, window frames, and baseboards all get taped off. In an occupied home, this turns a room into a work zone you can't really use until the paint job is done and the masking comes off.
Be honest with yourself about the math. On a single room, masking and clean up can easily take longer than the actual spraying. For one wall, a small room, or touch-up work, a roller is often the more practical choice. It's slower per square foot, but there's almost no setup and no overspray to chase. Save the paint sprayer for whole-home repaints, new construction, or empty rooms where you can commit to the prep. And plan for ventilation while you spray, which we'll get into in the safety section.
What Is the Best Paint Sprayer for Kitchen Cabinets, Doors, Trim, and Furniture?
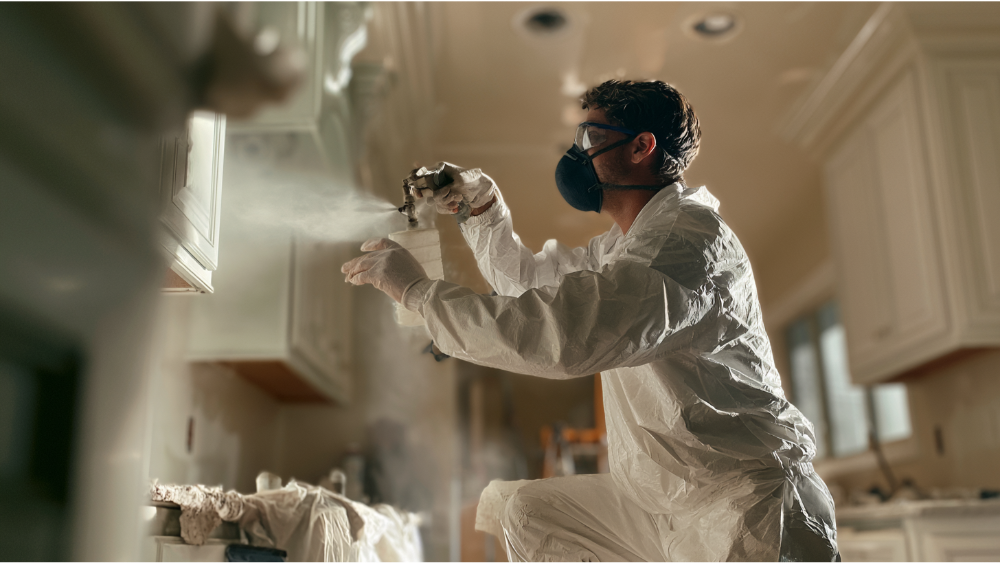
For kitchen cabinets, doors, trim, and painting furniture, an HVLP or fine-finish setup is the right tool. An HVLP sprayer atomizes paint into fine particles and gives you a controlled, narrow spray pattern, which is exactly what you want for a smooth surface with no brush marks. Good spray control comes from steady distance and consistent overlap. HVLP sprayers also waste less paint than airless on this kind of furniture painting work, thanks to their higher transfer efficiency.
Here's the part that separates a factory-smooth finish from a disappointing one: the machine is only half the story. The other half is prep. Cabinets need to be cleaned thoroughly to remove grease and kitchen film, then sanded so the coating grips. Dust control is critical, because a single speck of dust in a wet finish shows. You strain the paint to catch any particles before they reach the tip, then control your spray distance and overlap so each pass blends into the last.
Coating choice matters as well. Chalk paint and some specialty finishes behave differently through a paint sprayer and may need thinning to atomize properly. Spraying latex often needs a slightly larger sprayer tip or a touch of thinning to move cleanly through an HVLP unit, and letting each coat of paint dry fully before the next keeps the finish smooth. Get the prep and the product right, and the sprayer delivers a professional finish a brush can't match. Skip the prep, and even the best HVLP unit lays a smooth coat over a surface that won't hold it. Prep determines the final look. That's true on a kitchen full of cabinets and it's true on a single side table.
Paint Sprayer Specs That Actually Matter
Product roundups list specs like they're all equal. They aren't. A handful of numbers actually decide whether you get a good finish or a frustrating mess.
Spray Tip Size and Fan Width
The tip controls both how wide your spray width fans out and how much paint comes through, so the same paint sprayer performs completely differently depending on the tip you install. A quality sprayer still needs the right tip for the coating. Graco uses a three-digit code that's easy to read once you know the trick. Double the first digit to get the fan width in inches, and the last two digits are the tip opening in thousandths of an inch. A 517 tip means about a 10-inch fan with a 0.017-inch orifice. Larger orifices suit thicker paints like exterior latex paint, while smaller nozzle sizes give you the finer output you want for trim and cabinets. Some fine-finish kits include a detail finish nozzle for tight, precise work.
Max Tip Rating, Flow Rate, and Pressure Control
Not every sprayer can drive every tip. A machine's pressure and paint flow determine the largest tip it can support, so you have to match the tip to the model. The spread across electric airless units is wide: material flow rates run from about 0.08 to 0.47 gallons per minute, maximum tip sizes from about 0.014 to 0.021 inches, and manufacturers rate recommended annual use anywhere from 25 to 1,500 gallons per year depending on the class. That range is exactly why a small handheld sprayer and a full airless rig are not interchangeable tools. Adjustable flow control and pressure settings also help a lot, because dialing pressure down to the lowest setting that still atomizes well reduces overspray and improves the finish. Being able to fine tune the output for different coatings is what separates a forgiving tool from a fussy one.
Tip Wear, Strainers, and Cleanup
Tips wear out, and worn tips ruin results. As a tip wears, the orifice widens and the fan narrows, so more paint piles into a smaller area. That wastes paint and slows you down. Graco recommends replacing airless tips after 15 to 40 gallons for latex paint and 35 to 60 gallons for oils and stains. A paint strainer or filter keeps debris from clogging the tip in the first place and helps prevent paint buildup that ruins a pass. And cleanup is not optional. Every paint sprayer has to be flushed and cleaned after each use, and on an airless rig that takes real time. Dried paint in the pump or hose can end a sprayer's life fast.
Common Sprayer Models by Category (What the Numbers Show)
.webp)
These are examples to illustrate how sprayer classes differ, not product endorsements. We're not running a paint sprayer review here. The point is to show how a budget paint sprayer, a homeowner airless, and a more production-oriented airless serve different jobs.
- Budget HVLP: Units like the Wagner Flexio 590 are often recommended for lower-budget projects and can handle unthinned paint. The Wagner Flexio line is a common starting point for DIY projects, and HVLP setups in this class typically fall under $100, though cost varies by model and where you buy. For many first-timers, a Wagner Flexio is the best budget paint sprayer to learn on, and it makes a solid first paint sprayer.
- Low-pressure fine-finish HVLP: Something like the HomeRight Super Finish Max runs at very low pressure (around 3 psi max), which is what you want for controlled detail work on cabinets and furniture. Its iSpray nozzle handles wider coverage while a finer tip covers detail. It's another Wagner Flexio alternative in the fine-finish category.
- Homeowner airless: A Graco Magnum X5 handles up to about 10 gallons in a session and supports up to roughly 75 feet of hose, which suits whole-room and moderate exterior work.
- Production-oriented airless: A ControlMax 1900 Pro delivers ample power and applies paint about three times faster than a roller, aimed at bigger, more frequent jobs.
Here's how those classes line up side by side, using the numbers already covered above:
Airless units in general can move up to around 10 gallons at a stretch, which is why they dominate larger projects. Prices shift constantly, so treat cost as something that varies by model and project. If a budget paint sprayer is where you're starting, a Wagner Flexio-style HVLP is usually the most forgiving option. If you'd rather not buy at all, we'll cover the buy-versus-hire question below.
What Product Roundups Don't Tell You About Spraying
The tested-product guides are useful for comparing machines, but they tend to gloss over what spraying is actually like on a real job. Here's the honest version.
- Masking often takes longer than spraying. On many jobs, taping and covering everything is the bulk of the labor. The spraying itself can be the quick part.
- Overspray is normal, not a defect. That fine mist drifts and settles on floors, furniture, plants, cars, and windows. Adjustable settings help, but you can't eliminate it.
- Sprayers use more paint. Because of overspray, a paint sprayer typically uses more paint than a brush or roller for the same coverage. Knowing how much paint a job needs helps you budget correctly.
- Cleanup is non-negotiable. Skip it and you'll ruin the sprayer. Plan real time for it after every session.
- The wrong or worn tip wastes paint and wrecks the finish. Tip selection and tip condition matter as much as the machine.
- Spraying over rot, moisture damage, or peeling paint is not a fix. Fresh paint over a bad surface fails early. Prep and repair come first, every time.
Paint Sprayer Safety: What Homeowners Need to Know
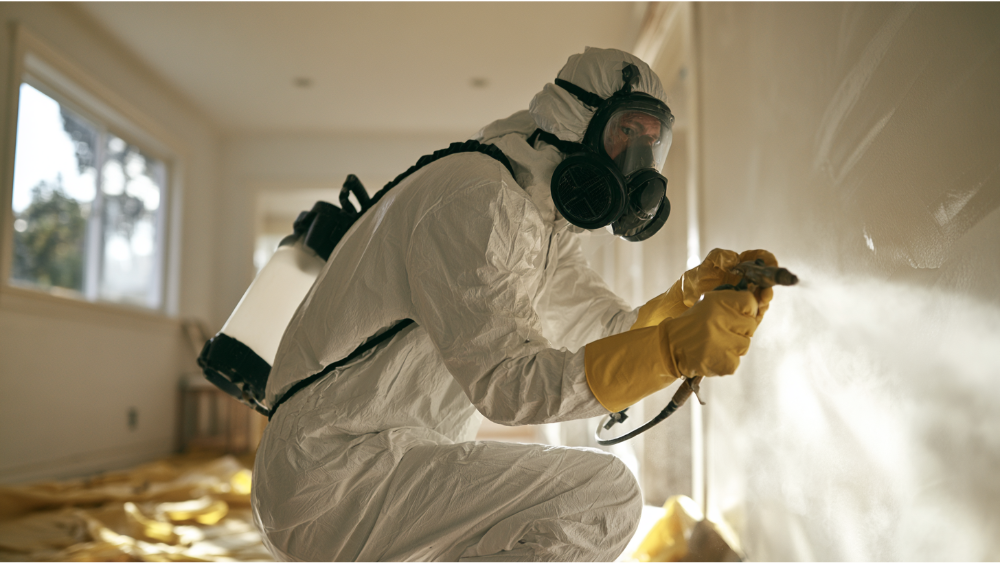
Airless paint sprayers are powerful tools, and the pressure that makes them fast also makes them dangerous if you're careless. This isn't meant to scare you off, just to make sure you use one with respect.
Airless units run at very high pressure, with the high volume of paint pushed at common working pressures listed up to 3,000 psi in manufacturer manuals. At that pressure, if the tip contacts your skin, it can inject paint and solvents under the skin. That's a serious injury that needs immediate medical care, even if it looks minor at first. Never put your hand in front of the tip, and always engage the trigger lock on the spray gun when you're not spraying. Before you start spraying, check that the trigger lock releases cleanly.
Personal protective equipment matters. OSHA treats spray operations as work that requires protection from liquids, vapors, and mists that pose inhalation, skin contact, or absorption hazards. That means eye protection, a proper respirator, and covering exposed skin. Ventilation is just as important, especially indoors. The EPA recommends maximum ventilation during painting and notes that concentrations of many volatile organic compounds are consistently higher indoors, sometimes up to ten times higher than outdoors. Open windows, run fans, and don't seal yourself into a small room with an active sprayer. Also keep the extension cord clear of wet paint and the work path.
OSHA also flags spray finishing with flammable and combustible materials as a hazard, so keep ignition sources away and ventilate solvent-based work carefully. This applies whether you're spraying full walls or using spray paint from a can for small touch-ups. Low-VOC and no-VOC paints are widely available now and can reduce the indoor air burden, which is worth considering for interior projects, particularly in occupied homes.
Can You Use a Paint Sprayer in an Older Home With Lead Paint?
This is the question most product guides ignore, and it's a big one. If your home was built before 1978, you need to think about lead paint before you touch a paint sprayer, because the prep work that comes before spraying is where the real risk lives.
Spraying itself doesn't create lead dust. But scraping, sanding, washing, and disturbing old coatings to prepare a surface can release lead dust if lead-based paint is present, and in older homes it very often is. The EPA estimates that 87 percent of homes built before 1940 and 24 percent of homes built between 1960 and 1978 contain some lead-based paint. That dust is a health hazard, especially for children and pregnant women.
The EPA's Renovation, Repair and Painting rule applies to paid work that disturbs painted surfaces in homes, child care facilities, and preschools built before 1978. There's a minor-maintenance threshold for very small disturbances, generally 6 square feet or less inside a room or 20 square feet or less on the exterior, but most repaint projects go well beyond that. Larger work falls under the RRP requirements, and the EPA recommends hiring lead-safe certified contractors for renovation and painting in pre-1978 homes precisely because DIY prep can so easily create dangerous dust.
We're EPA Lead-Safe Certified (RRP Certified), so on older homes we follow lead-safe work practices for containment and cleanup as part of the job. If your home is pre-1978, that's a good reason to get a professional read on the project before you start prepping.
Should You Buy, Rent, or Hire a Professional?

Honest guidance here saves people money and headaches, so here's how we'd frame it.
- Buy if you have several projects ahead, you're comfortable with the prep and the cleanup, and you have a safe space to spray without overspray reaching things you care about. A budget paint sprayer is a reasonable place to start for smaller projects and everyday diy painting projects.
- Rent if you have one large job, like a fence or a single exterior, and you're willing to learn the technique and clean the machine properly before returning it. Keep in mind that rental sprayers require a full flush before you hand them back.
- Hire a professional for a full exterior, a multi-room interior, cabinets that need a flawless finish, an older home with lead risk, or any job with rot, siding damage, a tight schedule, or a low tolerance for mess. Professional painters bring the right tool and the prep discipline for different coatings.
The buy-versus-rent math is really about how often you'll use the tool and how much of the labor is prep and cleanup versus actual painting. For a one-time painting project where masking, repairs, and cleanup dwarf the spraying, hiring out the whole thing is often the better value once you account for your time and the cost of getting it wrong.
How a Professional Painting Team Approaches Spraying
When we spray a project, the sprayer is one step in a longer process built to last. It starts with surface prep: cleaning, drying, and getting the surface sound. Any rot, failing siding, cracked trim, or moisture-damaged wood gets repaired before the first coat goes on, because a paint sprayer can't fix a bad substrate. Our full-service team handles those repairs, so you're not managing a carpenter and a painter separately.
From there it's careful masking, choosing the right application method and tip for the surface and coating, and using premium paint products backed by lifetime manufacturer warranties. On porous siding, we back-brush or back-roll where it's needed, then lay the final coat evenly. On older homes, we work lead-safe. And we keep clear communication start to finish, so you know what's happening and what it'll cost before we begin. Our exterior work carries a five-year warranty. That's what clean, long-lasting results actually take.
