



Bathroom Furniture Paint: Choosing a Finish That Lasts

Key Takeaway
Bathroom furniture paint should be a cabinet or trim enamel, specifically a waterborne alkyd or urethane-reinforced acrylic in satin or semi-gloss, not ordinary wall paint. These coatings cure harder, resist abrasion and moisture, and clean more easily. Success depends on a complete system: repair any damage first, degrease and scuff the surface, use a primer matched to the substrate, and allow up to 30 days for full cure before heavy use.
For bathroom furniture, use a cabinet or trim enamel (a waterborne alkyd or a durable urethane-reinforced acrylic) in satin or semi-gloss, not ordinary flat wall paint. Clean and degrease the piece, repair any moisture damage, scuff or sand as needed, use a primer matched to the surface, and let the finish cure before daily use. Whether you're refinishing a vanity, a cabinet, or a repurposed dresser, the right paint is a complete system: repair, surface prep, a compatible primer, a durable finish, moisture control, and enough cure time. It's never just a color in a can.
Before You Choose Paint: Is the Furniture Actually Paintable?
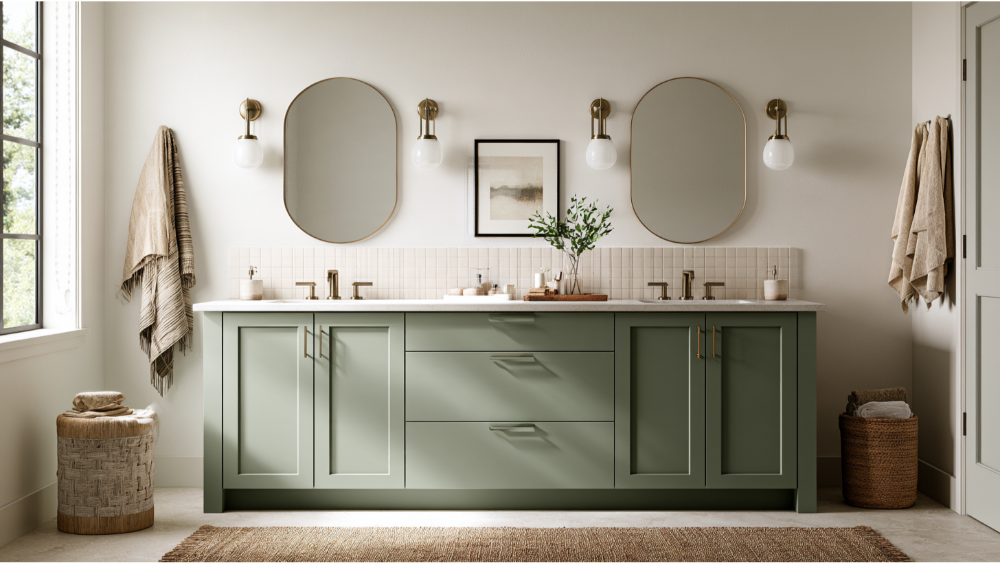
Paint protects and transforms a surface. It does not cover unresolved damage. Before you pick a color, confirm the piece is sound and dry. Wood naturally exchanges moisture with the surrounding air, which is why loose joints and exposed edges let water in and cause finishes to crack and peel.
Repair or replace before painting if you see any of these:
- Swollen MDF or particleboard
- Peeling thermofoil or lifting veneer
- Soft, spongy, or rotted wood
- Open joints or loose seams
- An active sink or supply-line leak
- Mildew or persistent dampness
This is where full-service capability helps. We can handle rot repair and carpentry first, so the piece is structurally sound before a drop of paint goes on.
Best Paint System by Material: Wood, MDF, Laminate, and More
Start by identifying what the furniture is made of, then match the system to it. Coating formulation comes first, color second. Acrylic latex enamel stays flexible and resists cracking. Waterborne alkyd paint levels into a furniture-like finish and cleans up with soap and water at lower VOCs. Epoxy and polyurethane enamels add extra protection against water on high-contact surfaces, which matters in high traffic areas like a busy family bathroom.
MaterialNotesPrimerFinishFinished solid woodDull the existing glossBondingCabinet enamelPreviously painted woodConfirm old coat is soundBonding or stain-blockingCabinet enamelRaw/bare woodSeal grain and knotsSubstrate-compatibleCabinet enamelMDF/particleboardMust be dry and intactSubstrate-compatibleAcrylic/alkyd enamelLaminate/melamineTest adhesion firstBonding (slick-surface)Durable acrylic enamelThermofoilFilm must be bondedBondingDurable acrylic enamelMetal parts/hardwareDegrease wellMetal-compatibleEnamelRepurposed furnitureIdentify the actual substratePer substrate aboveCabinet enamel
Cabinet-Specific Paints vs. Regular Wall Paint
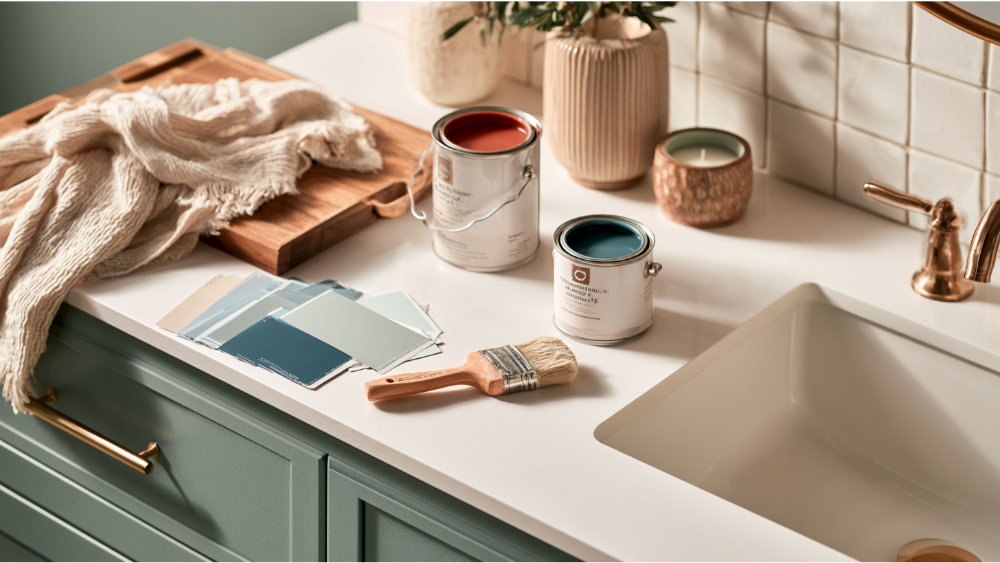
A vanity takes hand contact, wet towels, cosmetics, cleaning, and sink splashes all day. Wall paint is built for walls, so it won't hold up on furniture. Cabinet specific paints cure harder, resist abrasion and touch, clean more easily, and shrug off moisture better.
Oil based paints are durable, but they bring higher VOCs and solvent cleanup, usually with mineral spirits. A waterborne alkyd paint offers that smooth, furniture like finish with soap-and-water cleanup and lower VOCs. It's water based paint that behaves like a traditional alkyd. Either way, these coatings are moisture-resistant, not waterproof, so don't expect paint to seal out standing water.
Satin Finish or Semi Gloss: Which Is the Right Paint for Bathroom Cabinets?
Both work well. Semi gloss cleans the easiest and handles splashes near the sink. A satin finish hides minor flaws on flat surfaces a little better. The bigger point: formulation beats sheen every time. A satin cabinet enamel will outperform a semi-gloss wall paint. Higher gloss also reveals every dent and brush mark, so the more sheen you choose, the more your prep has to earn it.
The Surface Prep That Actually Prevents Peeling
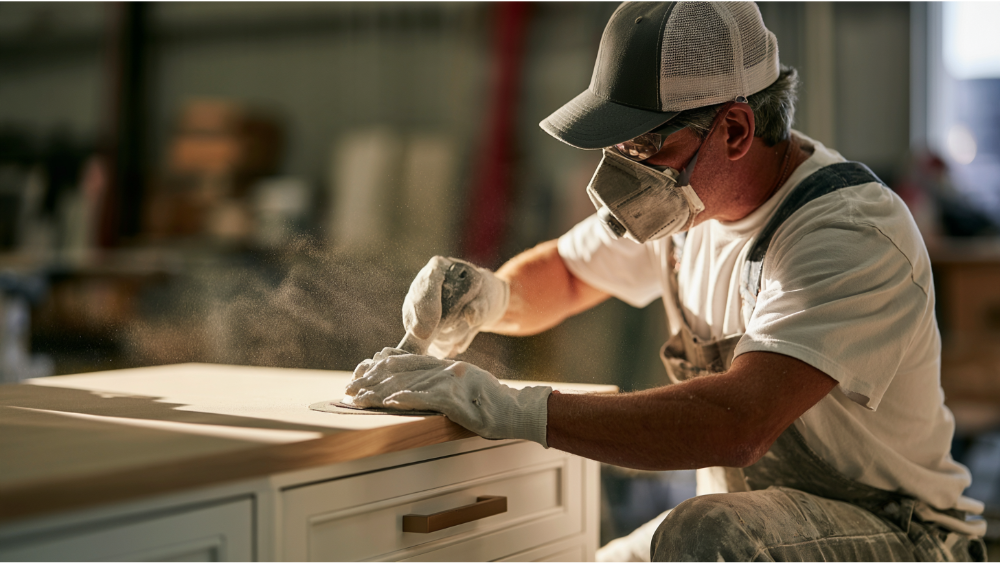
Prep is where lasting results are won or lost. Skip it and the best paint in the world will fail. Work through these steps in order:
- Remove all hardware, doors, drawers, and hinges, and label each one for easy reassembly
- Lay down a drop cloth to protect floors and the surrounding space
- Clean and degrease to strip soap film, lotion, hairspray, grease, and dirt
- Rinse off cleaner residue and let the surface dry fully
- Repair chips and open joints before you touch primer
- Dull the gloss by sanding (one common example sequence is 150 grit sandpaper then 220 grit, though grit is substrate-dependent, not a universal rule)
- Wipe away sanding dust with a damp cloth
- Mask edges and adjacent surfaces with painter's tape
- Test adhesion on slick surfaces like laminate before committing
How to Choose the Right Primer for Bathroom Furniture
Ignore any advice that says to always use one primer on everything. The primer follows the surface:
- Bonding/adhesion primer: glossy, laminate, melamine, or previously finished surfaces
- Stain-blocking (shellac or oil-based): knots, tannin bleed, and water stains
- Substrate-compatible primer: bare or freshly repaired wood
- Metal-compatible primer: metal hardware and components
Even "paint-and-primer" products may still need a separate primer when there's an adhesion, stain, or porosity problem. If you're going from a dark color to a light one, plan to prime twice for even coverage.
Applying the Finish: A Step by Step Guide to Coats, Brush, and Roller

Thin coats beat thick ones for a smooth finish you can be proud of. Start with primer applied evenly; a small 4-inch roller works well on cabinet doors and flat panels, with a brush for profiles and edges to minimize brush marks. Let the primer dry completely before painting. Following the paint and primer instructions and the manufacturer's instructions on the can keeps you from guessing.
Use a brush for detail and moldings, and a roller or sprayer for broad doors and panels. Work in one direction to avoid drips and uneven paint. The first coat lays the foundation; let it become fully dry, then add a second coat for a professional grade finish. Don't assume a fixed number of coats. Some systems cover in one coat of paint, others need a new coat or two depending on the substrate, the color change, and the coverage you want. If you want extra protection on hard-working cabinets, a clear coat over the same color finish can help. Follow the current technical data sheet for the exact primer and paint you're using.
Dry Time vs. Recoat Time vs. Cure Time
"Dry" and "ready to use" are not the same thing, and this trips up most DIY projects. There are four stages worth knowing:
StageWhat it meansDry to touchSurface feels dry, still fragileRecoatReady for the next coatLight serviceCan handle gentle useFull cureOptimum hardness and sheen
As one product-specific example, a waterborne alkyd data sheet lists around 4 to 6 hours dry to touch, about 16 hours to recoat, at least a few days before heavy service, and up to 30 days for optimum hardness. Waterborne alkyd dries quickly compared to traditional oil, but those are one product's figures, not a universal schedule. Cooler temperatures and higher humidity stretch every stage. Put doors, drawers, and hardware back only once the fresh coat is completely dry and can actually take regular use.
Moisture Resistance Is Not Waterproofing
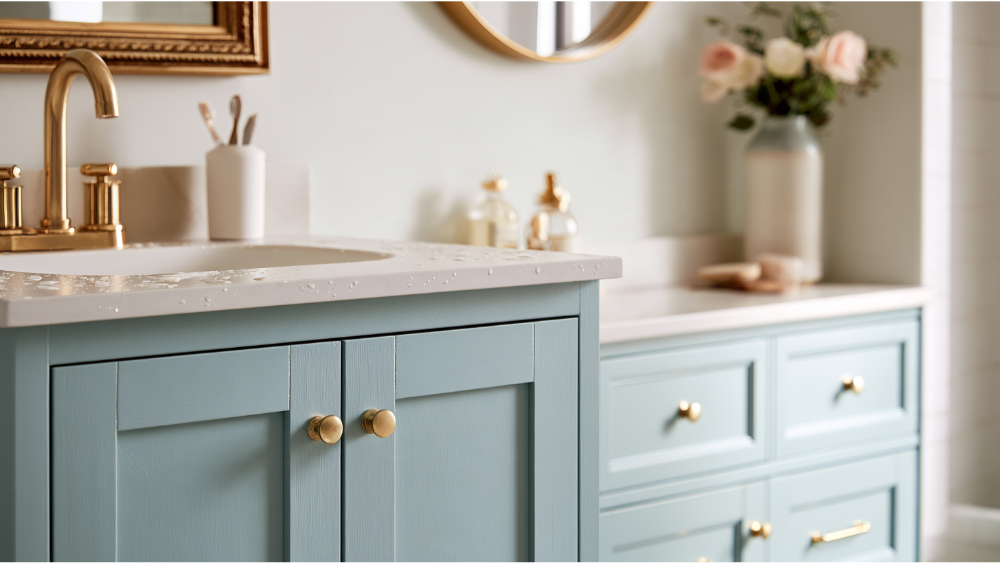
Cabinet enamel resists moisture. It does not waterproof. It improves cleanability and protection, but it can't overcome standing water, a leaking sink, saturated MDF, or chronic condensation. EPA guidance is to dry wet materials within 24 to 48 hours and keep indoor humidity ideally between 30 and 50 percent, and below 60 percent, to control mold.
Keep exposed MDF edges sealed and stay on top of caulk and joints. Ventilation protects the finish too: run a bathroom exhaust fan that vents outdoors during and after bathing until condensation clears. A common residential benchmark is 50 CFM intermittent or 20 CFM continuous, a guideline rather than a universal legal requirement.
Lead-Safe Prep for Pre-1978 Bathroom Furniture
Sanding or scraping painted vanities, built-ins, or older furniture in a pre-1978 home can release lead dust. EPA's Renovation, Repair and Painting Rule applies to paid contractors disturbing painted surfaces in most pre-1978 homes. The minor-repair exception is generally capped at 6 square feet of interior painted surface per room, with work in the same room aggregated over a 30-day period. Cover Pro Painting is EPA Lead-Safe (RRP) Certified, so older-home prep is handled the right way.
Should You DIY or Hire a Professional?
DIY can work on sound, simple furniture if you've got the patience for proper prep and a full cure. Lean toward a professional when there's water damage, swollen MDF, failing thermofoil, rot or carpentry needs, pre-1978 lead concerns, tight spaces, or you want a sprayed, furniture like finish with long lasting durability.
This is where having one team matters. We handle rot repair, siding, carpentry, and painting together, so you're not juggling contractors to get bathroom cabinets or a bathroom vanity done right. We'll walk you through a transparent estimate up front, and because timelines vary by scope, prep, and conditions, you'll get a clear picture before work begins.
How to Care for Painted Bathroom Furniture
Wipe splashes promptly and clean with a damp cloth and nonabrasive cleaners. Go easy during the cure window, and address chips before moisture reaches the substrate. Keep ventilation running and fix leaks quickly. Ready to refinish or repair a vanity the right way? Start with a free estimate. Call 206-222-0435, and if your city isn't listed, contact us to confirm service availability.
Frequently Asked Questions
What kind of paint is best for high-humidity bathrooms?
Use a moisture-resistant, hard-curing cabinet or trim enamel, either a waterborne alkyd or a durable acrylic enamel. Flat wall paint won't survive the splashes, handling, and cleaning a vanity in a bathroom gets.
What paint can I use on bathroom cabinets without sanding?
Even "no-sand" products perform best after cleaning, degreasing, and a bonding primer. Dulling the existing gloss with a light sand still improves adhesion and gives you a longer-lasting finish.
How do I repaint my bathroom vanity?
Remove and label the hardware, doors, and drawers, then clean and degrease. Repair any damage, scuff the surface, prime it to match the substrate, apply thin even coats, and let it cure before use.
Can you just paint over bathroom cabinets?
Only if they're sound, clean, and properly prepped. Paint won't fix water damage, mildew, or swollen MDF, so those need repair or replacement first.
