
%201.svg)


Bathroom Ceiling Paint: The Complete Guide to a Finish That Actually Lasts
Key Takeaway
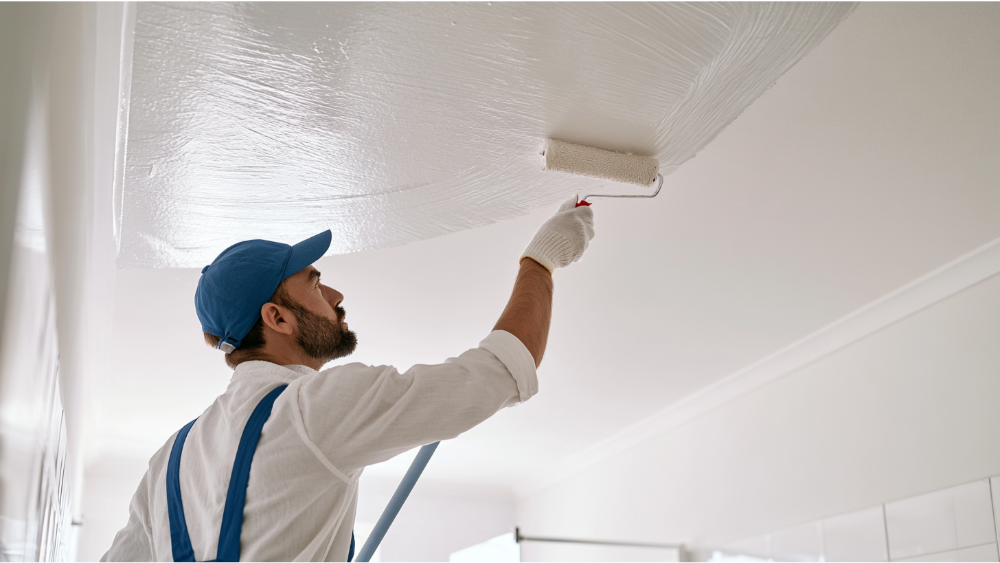
For a bathroom ceiling, use a moisture-resistant, mildew-resistant 100% acrylic latex paint in a satin finish, which handles humidity better than flat paint without highlighting ceiling imperfections. Semi gloss works in high-steam bathrooms with smooth ceilings. The paint alone won't prevent peeling - proper prep, a mildew-resistant primer where needed, and an exhaust fan running at least 20 minutes after each shower are equally critical.
What Paint Should You Use on a Bathroom Ceiling?
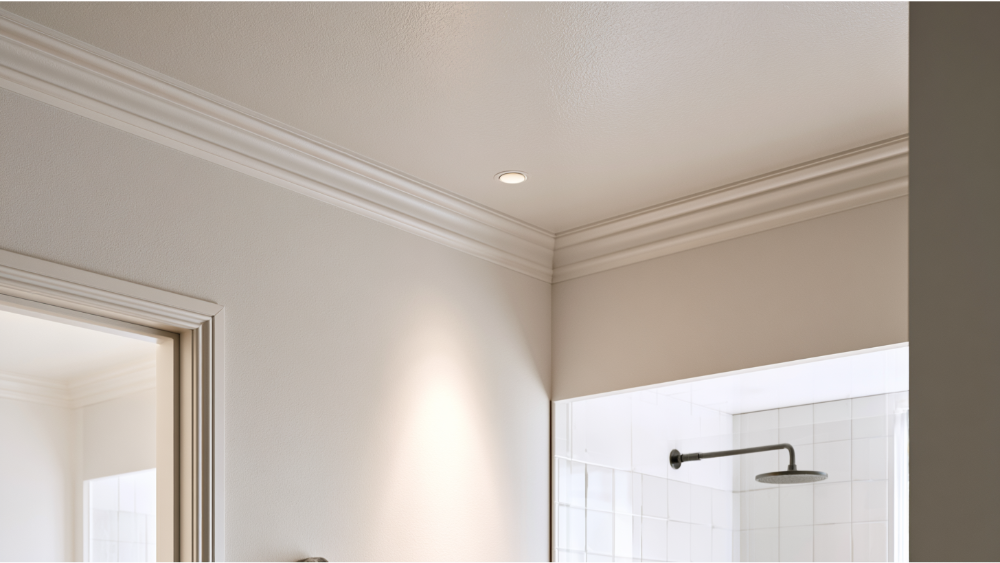
Use a moisture-resistant, mildew resistant interior acrylic latex paint applied over a clean, dry, properly prepped surface. Satin is the safest default for most full bathrooms, and semi gloss makes sense in a high-moisture bathroom where the ceiling is smooth enough to carry the extra shine. A 100% acrylic latex is the best paint for a humid bathroom because it stays flexible and sheds moisture better than a standard flat coating.
If you're tired of a bathroom ceiling that peels, spots, or grows mildew every year or two, here's the honest part: the paint is only one piece. Prep, primer, moisture control, and ventilation are what make it last. Think of it as a system, not just a sheen.
Why Bathroom Ceiling Paint Fails
Steam rises. That warm, wet air hits the coldest surface in the room (the bathroom ceiling) and condenses into a film of moisture that sits there long after the shower stops. When ventilation is weak, that cycle repeats every day, and even good paint eventually loses its grip. The same humidity works its way onto the walls, but the ceiling takes the worst of it. A high, damp room like this brings unique challenges you won't find in a dry bedroom.
Most bathroom ceiling paint fails for a handful of predictable reasons:
- Poor ventilation that traps humidity against the ceiling
- A hidden leak from a roof, pipe, or the bathroom above
- Old flat paint that soaks up moisture and starts flaking paint
- Skipped or rushed surface prep, so the new coat never bonded and paint adhesion suffered
- Applying paint before an earlier coat fully cured
- Mildew painted over instead of cleaned off
This is why "just buy a different can" rarely fixes a peeling ceiling. The can matters, but the conditions matter more.
Best Paint Finish for a Bathroom Ceiling
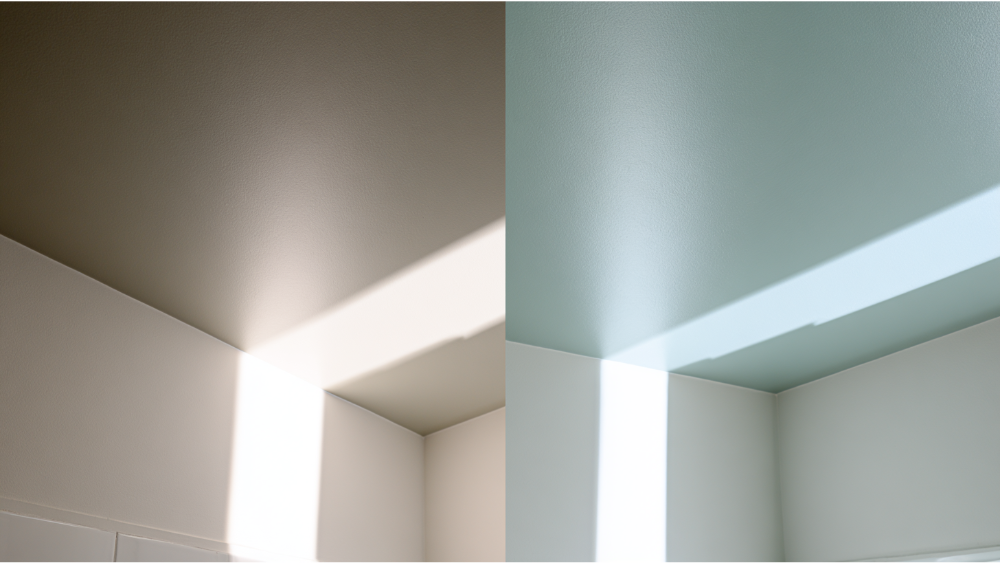
The right finish depends on how much steam the room sees and how smooth the ceiling is. Semi gloss offers the highest mildew resistance among common finishes, but a satin holds up well in most bathrooms, especially with a working exhaust fan. Kitchen-and-bath formulations, often sold as water resistant paint, are built for exactly this humidity. If wiping the surface down matters to you, the higher sheen makes cleaning easier and improves overall durability.
Satin vs. Semi Gloss vs. Eggshell vs. Matte Finish: What's the Tradeoff?
Sheen is a tradeoff between durable performance and appearance. The Master Painters Institute lists these finishes in ascending gloss: flat, eggshell, satin, then semi gloss. As gloss goes up, so does moisture resistance, stain resistance, and how easily you can wipe the surface clean. The catch is that higher gloss also spotlights every roller mark, patch, and texture change on the ceiling.
That's why satin is the practical default. It gives you enough moisture resistance and cleanability for a bathroom without turning every small imperfection into a shadow. A flat or matte finish is the opposite problem: it hides flaws beautifully but can let water penetrate and flake in a damp room. Lower sheens also touch up more forgivingly, so a small future repair blends in instead of leaving a shiny patch or visible streaks.
What "Mold-Resistant" and "Mildew Resistant" Paint Really Means
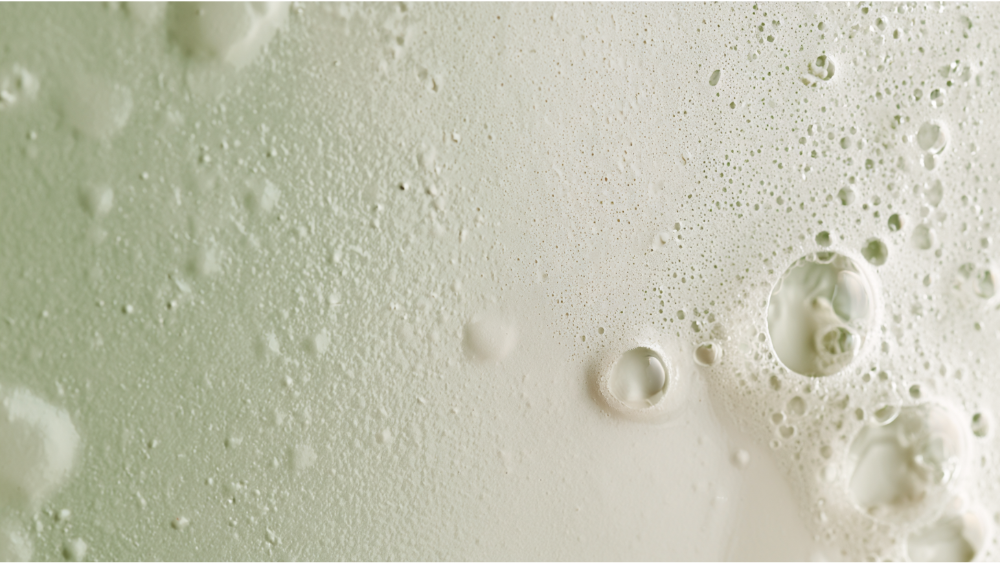
Here's where a lot of articles oversell. Mildew resistant paint helps protect the dried painted ceiling film from fungal growth. It does not fix a leak, poor ventilation, or mold that's already there. The EPA is direct about this: do not paint or caulk over moldy surfaces, because paint applied over mold is likely to start peeling. Clean the mold, dry the surface, then paint.
The EPA also notes that "mildew" is often just a common word for mold with a flat growth pattern, so treat both the same way when it comes to prep and cleaning. A mildew resistant primer can be a smart layer on a moisture-prone ceiling, but only as one part of the system. It buys the film some protection. It doesn't cancel out the reasons mold showed up in the first place.
How to Prep a Bathroom Ceiling: A Step by Step Guide
This is the part of any step by step guide that decides whether your paint lasts five years or five months. Proper surface prep is what gives paint something to grip, so don't shortcut it. Gather your tools and supplies first so you're not stopping halfway: a scraper, sanding block, joint compound, primer, brush, roller, and a paint tray.
- Remove fixtures and cover what you can't take down. Pull vent covers and light trim, and tape off the tops of the walls and any adjacent fixtures so your edges stay crisp.
- Inspect for leaks, stains, and bubbling. Brown rings or soft spots point to a moisture source above. Fix that first, or the new paint will fail the same way the old one did.
- Clean off soap scum, grease, and dirt, then let it dry fully. A sponge and warm water lift most surface grime. The EPA recommends cleaning and drying damp materials within 24 to 48 hours to help prevent mold growth, so give the surface real time to dry before you paint.
- Scrape loose and peeling paint back to a sound edge.
- Sand glossy or rough areas so the surface is smooth and the new coat can bond.
- Fill cracks, holes, and nail pops with joint compound, then feather the repairs flush and sand them fine. Fill any gaps at the trim line while you're at it.
- Prime where needed (see the next section for exactly when).
Plan on two coats. The first coat sets the base, and a second coat builds a more even film and better moisture protection than one thin pass ever will. Let the first coat dry completely before you recoat. Lay down drop cloths so you don't chase drips across the floors or vanity while you work, and keep them clear of the toilet and any low fixtures.
A Lead-Safe Note for Pre-1978 Homes
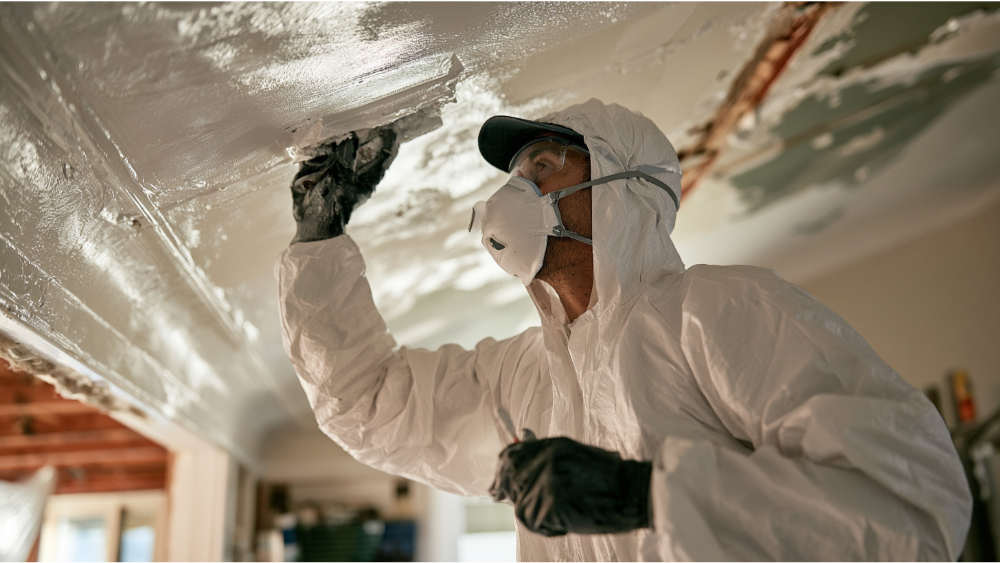
Scraping or sanding an old ceiling can disturb lead-based paint. Residential lead paint was banned in 1978, and the EPA requires certified lead-safe work practices when a project disturbs more than 6 square feet of interior painted surface in a pre-1978 home. If that describes your house, it's worth taking seriously. Cover Pro Painting is EPA Lead-Safe (RRP) Certified, so this kind of older-home work is handled the right way from the start.
When Do You Need Primer on a Bathroom Ceiling?
Primer isn't automatic, but skipping it when you need it is a common cause of early failure. Prime when you have:
- Bare drywall or fresh patches
- Water stains, which need a stain-blocking primer to keep them from bleeding through
- Spots that kept peeling even after scraping
- A glossy previous coating that new paint won't grab
- A big color change from the old ceiling
- A ceiling where mold was cleaned off, once the surface is clean and fully dry
Water stains and mildew-prone ceilings often call for a specialty stain-blocking or mildew resistant primer rather than a standard one. A good primer is cheap insurance against a topcoat that won't stick.
Ventilation: The Exhaust Fan That Makes Paint Last
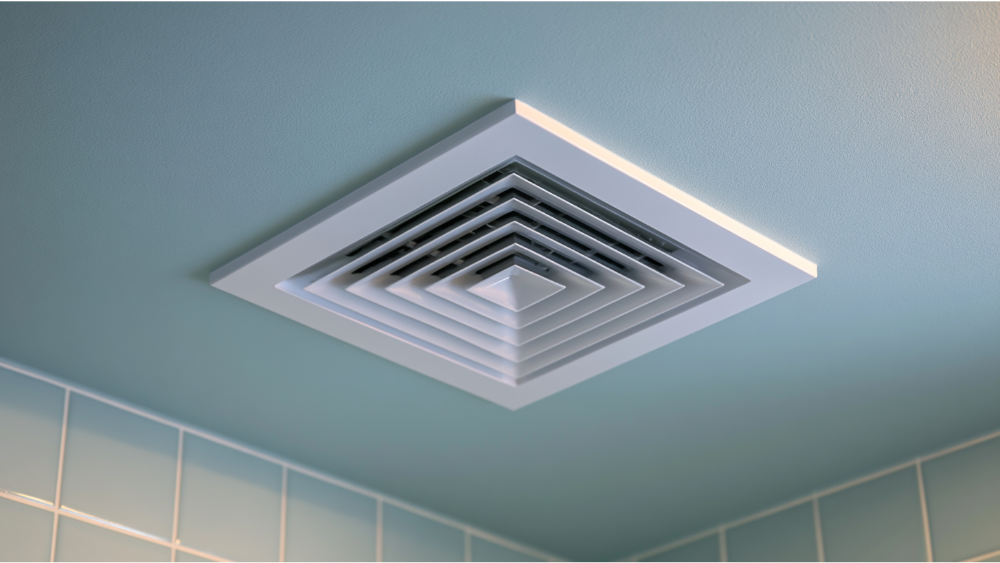
Most guides say "use a fan" and move on. But ventilation is often the difference between a ceiling that stays clean and one that peels no matter what you rolled on it. The Home Ventilating Institute recommends sizing a bathroom exhaust fan at 1 CFM per square foot for rooms up to 100 square feet, and running the fan for at least 20 minutes after each use.
The goal is to pull humidity out before it settles on the ceiling and walls. Cracking the windows helps too when the weather allows. The EPA suggests keeping indoor humidity roughly between 30% and 50% (up to 60%) to reduce mold growth. For reference, the 2024 International Residential Code model language lists bathroom exhaust at 50 CFM intermittent or 20 CFM continuous, though local code adoption varies, so it isn't a universal rule everywhere. The bottom line is simple: even the right paint peels if humidity keeps hitting it day after day. Treating the room like a small spa means it needs real airflow.
Applying Paint: Dry Time, Cure Time, and When You Can Shower Again
Dry-to-touch, ready-to-recoat, and fully cured are three different things, and mixing them up is how fresh paint gets ruined. When you're applying paint, work in thin, even passes with a quality roller so the film builds up without sags. A few practical tips: keep a wet edge, cut in the corners with a brush first, and don't overwork the first coat once it starts to set.
As one example, a typical interior acrylic technical data sheet lists dry-to-touch in 30 to 60 minutes, recoat in 2 to 4 hours, and full cure in about 30 days at 77°F and 50% humidity. Those are that product's numbers, not a universal law. Real times shift with temperature, humidity, how thick the coat is, and the specific paint, so always follow the label.
You can usually use the bathroom gently well before full cure, but keep it ventilated and hold off on long, steamy showers until the coating is completely dry and has hardened. Rushing heavy steam onto a film that's still tacky is a fast way to undo good work, so run the exhaust fan and give it time.
When Should You Call a Professional?

Some bathroom ceilings are a straightforward weekend job. Others are telling you something's wrong underneath. Call a professional when you see:
- Paint that keeps peeling no matter how many times you repaint
- Mold that returns after you clean it
- Mold covering more than about 10 square feet, which the EPA flags for more extensive handling
- A suspected leak behind the ceiling
- Textured or water-damaged ceilings and walls
- A pre-1978 home that needs scraping or sanding
These situations usually involve more than paint. Because Cover Pro Painting is full-service, the same team can handle rot repair, moisture-related repairs, and the painting together, so you're not juggling separate contractors to fix one ceiling.
Get a Free Estimate from Cover Pro Painting
Clean, long-lasting results come from proper surface prep, moisture control, and clear communication start to finish, not just a better can of paint. We're a founder-led team based in Edgewood, WA with over 13 years in business, EPA Lead-Safe (RRP) Certified, and licensed, bonded, and insured in Washington State. We back exterior work with a five-year warranty and handle painting alongside rot repair and siding, so the whole job is covered by one team. Call 206-222-0435 to Get My Free Painting Estimate.
Bathroom Ceiling Paint FAQ
What paint is best for a bathroom ceiling? A moisture-resistant, mildew resistant interior acrylic latex, with satin as the default finish and semi gloss for a high-steam bathroom.
Should bathroom ceilings be flat or satin? Satin. Standard flat paint can let water penetrate and flake in a damp room, so use a flat or matte finish only if it's specifically rated for bathrooms or high humidity.
Is there a difference between bathroom ceiling paint and regular ceiling paint? Yes. Standard ceiling paint usually lacks the mold and mildew resistant qualities that bathroom-rated water resistant paint is formulated to provide, so it breaks down faster in damp conditions.
Do I need primer before painting a bathroom ceiling? Often, yes. Prime bare drywall, patches, water stains, glossy old coatings, or an area where mold was cleaned off once the surface is clean and dry.
Why does my bathroom ceiling paint keep peeling? Usually persistent humidity, a hidden leak, skipped surface prep, or paint applied over mildew. Fix the moisture source, prep and prime the surface, and the new coat has a real chance to hold. If this post helped, save it before you start your project.
